Przelewy24 is an online payment method aggregator common in Poland that lets customers complete transactions online via bank transfers and other methods.
Let’s get down to configure the plugin.
Settings: Przelewy24 Pay
- Firstly, install and activate the Stripe payment gateway for WooCommerce plugin.
- From the WordPress dashboard, go to WebToffee Stripe > General Settings > Local Gateways.
- Head on to the Przelewy24.
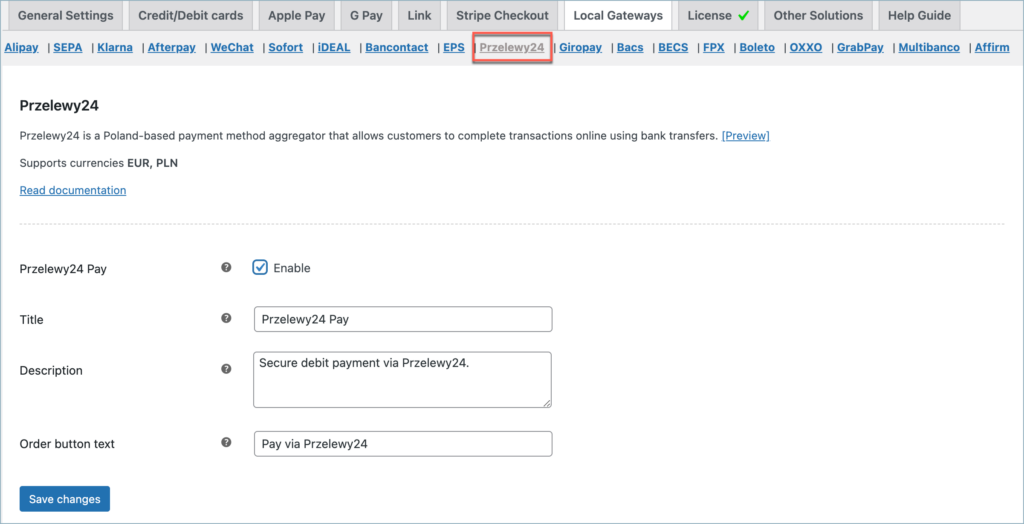
- Przelewy24: Enable to accept Przelewy24 payments.
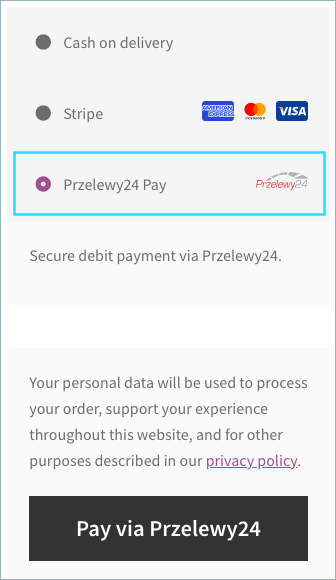
- Title: Enter a custom title for Przelewy24 payment. This title will be visible on the checkout page.
- Description: Enter a custom description for Przelewy24 payment. This description will be visible on the checkout page.
- Order Button Text: Enter a custom text for the Przelewy24 payment button.
Finally, click on the Save changes button to update the plugin settings.
Pay via Przelewy24
- Customer selects Przelewy24 at checkout
- Customer is redirected to Przelewy24 and chooses bank
- Customer enters account credentials
- Customer completes authorization process
- Customer is notified that payment is complete
- Customer returns back to business’s site for payment confirmation