This article will guide you on how to enable test mode in WooCommerce. We will be using the Stripe Payment Gateway plugin by WebToffee to set up test mode in WooCommerce. Test mode enables you to test if everything is working fine on your store site.
When you have an eCommerce store for your online business you should ensure that your customers never face anything wrong. Especially when it comes to payments. In order to make sure your store payment process is working flawlessly, you need to enable test mode for your payment gateway.
Now, let’s see why you should use Test mode in WooCommerce.
Test mode enables you to verify if all the essential features of your store, such as payment gateways, tax calculations, and shipping options, are functioning correctly. While testing your online store, you wouldn’t want to accidentally process any real transactions.
Test mode provides a safe environment to test all aspects of your store without charging. It allows you to test different scenarios, such as different payment methods, currencies, and shipping options, to ensure that your store is ready for real transactions.
Test mode helps you to identify and fix any issues that may arise during the testing process, enabling you to provide a smooth and error-free experience for your customers.
We will be using the Stripe Payment Plugin for WooCommerce by WebToffee to set up Test mode in WooCommerce.
Follow the below steps to set up Test mode in WooCommerce:
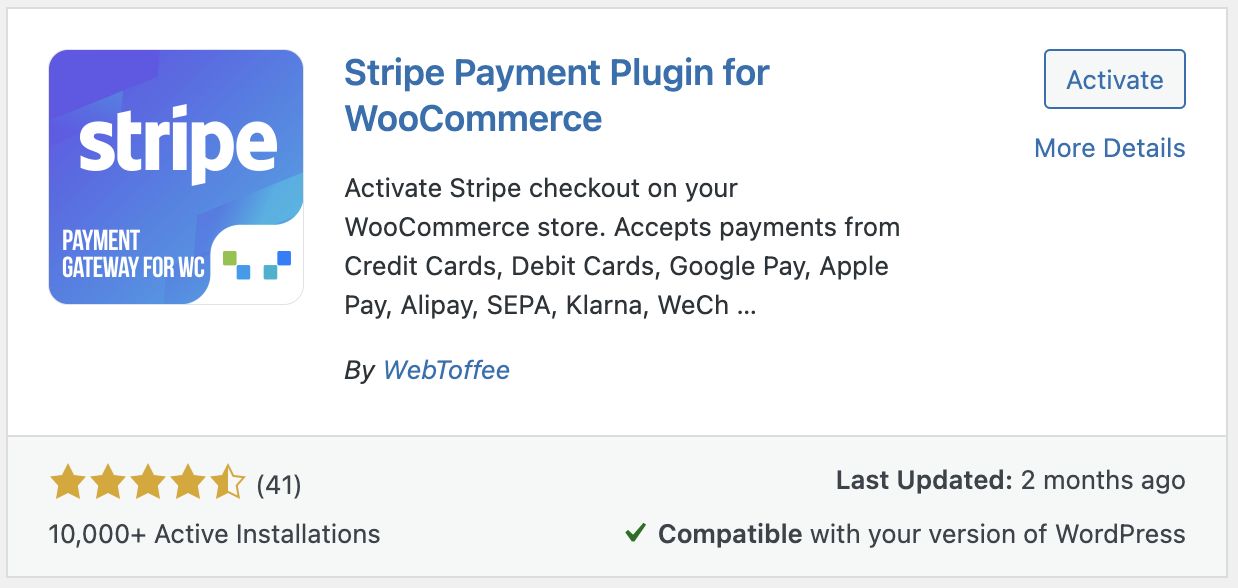
- Install WooCommerce Stripe Plugin
• From your WordPress dashboard, navigate to Plugins > Add New.
• Search for Stripe Payment Plugin for WooCommerce by WebToffee.
• Click on Install Now to install the plugin.
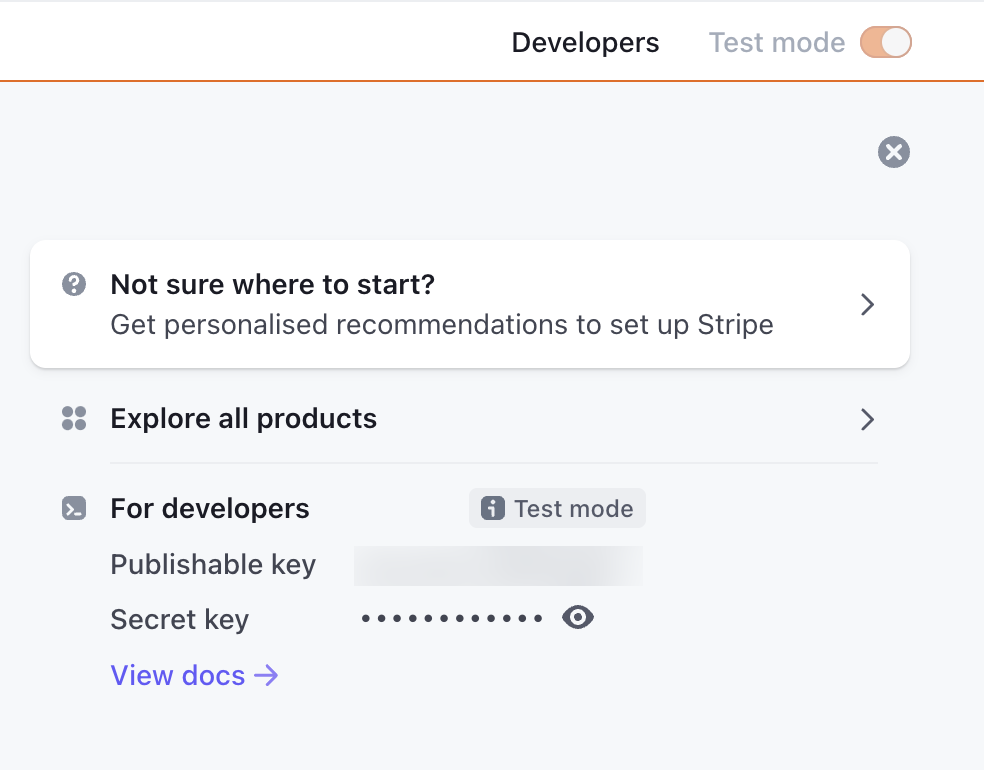
• Then, activate the plugin. - Activate Test mode in Stripe
If you have a Stripe account, log in to Stripe or create a Stripe account. Then, go to Stripe dashboard and enable the Test mode.

Now obtain the test API keys from the Stripe dashboard page. - Enable Test mode in WooCommerce
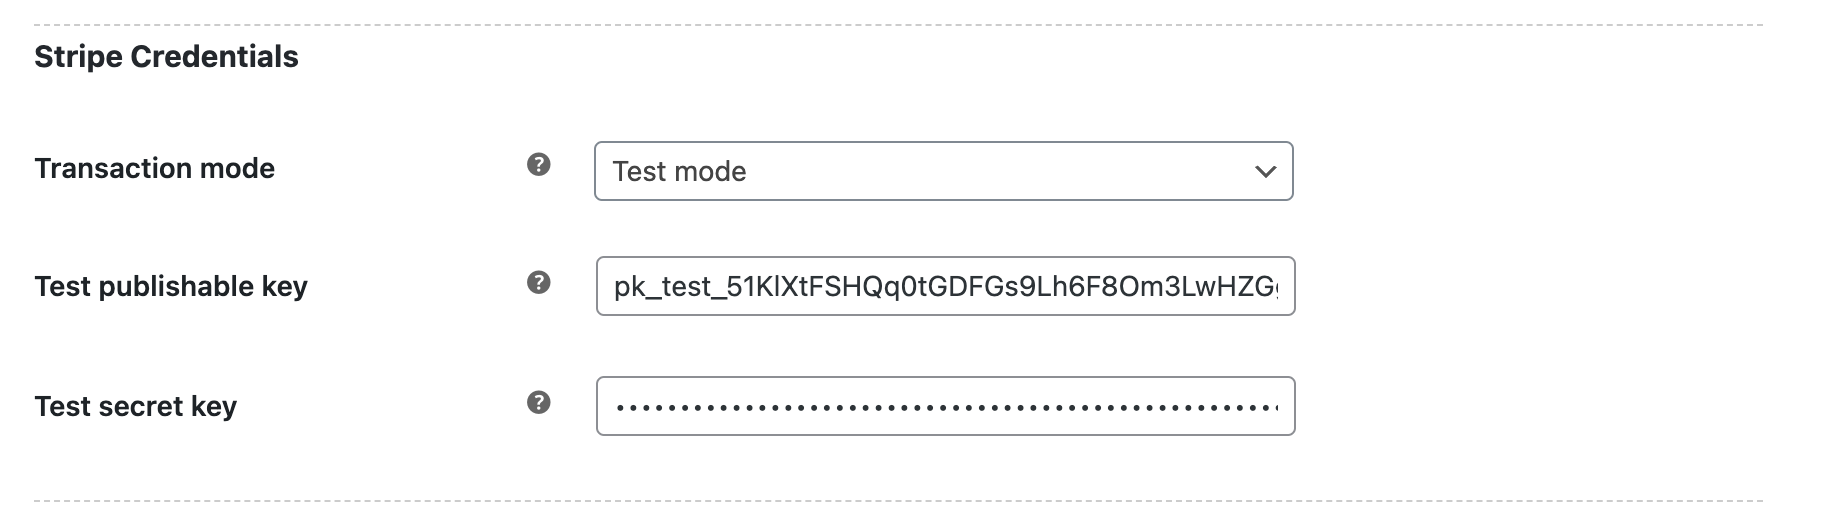
• After installing the plugin, go to WebToffee Stripe menu and select General Settings.
• Choose Transaction mode as Test mode and paste the API keys in the corresponding fields.
• Now, click on Save changes to save the settings. - Make a test order
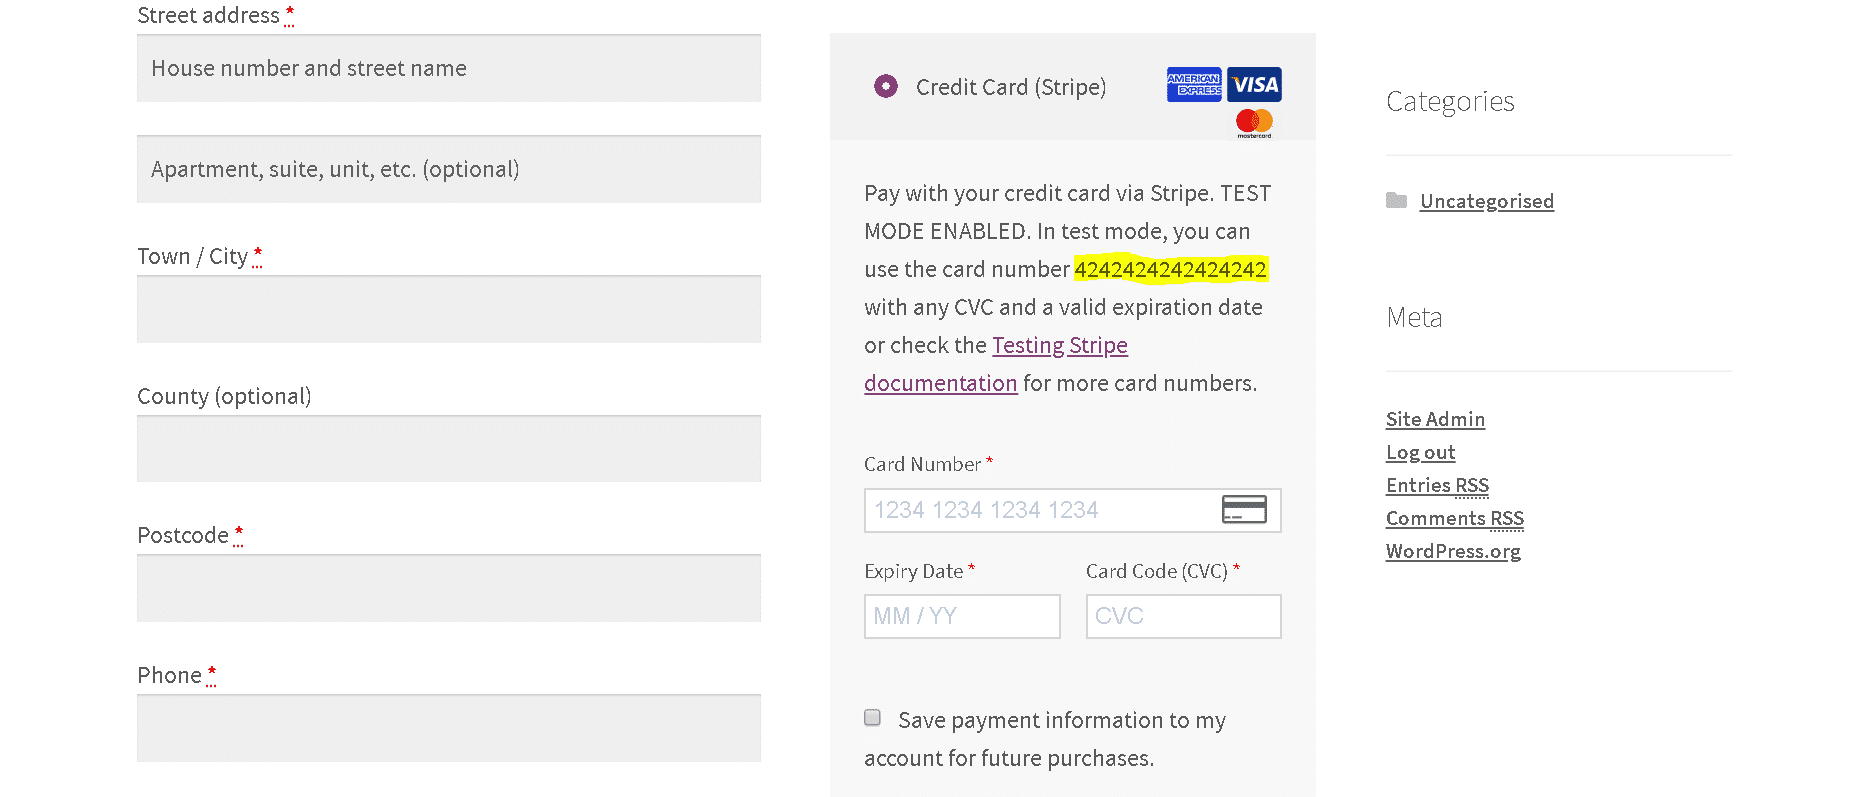
Now comes the easy part. Add something to your shopping cart and go to the checkout page as if you were a customer. You should see your checkout page as usual, with a few minor adjustments.

The Stripe checkout box should indicate that it is in test mode and request you to enter the test card number – 4242424242424242. You can use any expiration date beginning with the current date and any security code.
If the settings are accurate, you have just made a test payment. Once the order has been confirmed, the transaction will be executed.
Test credit cards for different payment processors
The test card is only valid for use with Stripe; it is still required to test alternative payment gateways, such as PayPal. This is achieved by employing dummy credit card numbers or a Credit Card Number Generator.
Credit card numbers and sandbox/test mode choices are provided below for testing purposes. Some of the most prominent WooCommerce payment processors have supplied these.
- PayPal FAQ for test Card Numbers
- Get Credit Card Numbers
- Credit Card Number Generator & Validator
- net Test Card Numbers
- FirstData / Payeezy Test Credit Card Numbers
- Klarna Test Credit Card (note: only one test card is provided)
WooCommerce Stripe Payment Gateway Plugin – An Overview
Stripe Payment Plugin for WooCommerce is a free plugin that allows you to set up Stripe Payment gateway in WooCommerce. Accept credit and debit card payments, as well as AliPay, Apple Pay, Google Pay, and other methods.
Key features:
- Customers can save their credit card information.
- Accept SEPA, Afterpay/clearpay, WeChat Pay, Klarna, Sofort, and iDEAL payments.
- Provides a dashboard for reviewing transactions.
- Allows for full and partial returns
- Customers should receive email receipts automatically after payment.
To access the advanced features of the WooCommerce Stripe gateway, you can install and activate the premium version of this plugin.
Also, you can refer to the article If you are looking for how to set up stripe checkout for your WooCommerce store using the WooCommerce stripe payment gateway.
PayPal Express Checkout Plugin for WooCommerce – An Overview

WebToffee PayPal Express Checkout Payment Gateway for WooCommerce is similar to the Stripe Payment Plugin for WooCommerce, but it works with PayPal instead of Stripe. It enables users of WooCommerce to integrate PayPal Express Checkout/PayPal Smart Checkout with their websites.
WebToffee PayPal Express Checkout Payment Gateway for WooCommerce includes the following features:
- Customers can pay with credit cards, debit cards, PayPal Credit, Pay later offers, and PayPal money.
- PayPal smart button lets clients make payments using the chosen payment methods in their country/region, which are automatically identified by PayPal Supports.
- PayPal’s Alternative Payment Method, allows customers to pay using their bank accounts, wallets, or other local payment methods.
- Intelligent checkout button personalization.
By installing and activating the premium version of this plugin, you will have access to the advanced features of the WooCommerce PayPal plugin.
If you would like to know how to set up PayPal checkout on your WooCommerce store using PayPal express checkout plugin, refer to this article.
Also Read: How to fix Unpaid Order Cancelled – Time Limit Reached error in WooCommerce?
Wrap Up
The most popular e-Commerce plugin is WooCommerce, but it is only as good as you make it. You will be able to sell to the best of your ability if you continue to test your WooCommerce shop to ensure that everything is working properly.
Additionally, we urge you to read how to enable smart checkout in WooCommerce, which offers valuable suggestions for smart people just like you.
Have you found this article useful? Please provide your opinions in the comments section.