The Best WooCommerce Order Import Export Plugin
20,000+ Active Installs as per WordPress Official Plugin Repository
#1 in Customer Satisfaction
WebToffee Guarantee: Get Your Money Back if You Are Not Satisfied With The Product
Buy Now!This tutorial explains how to Export/import Stamps Order XML file using Order / Coupon / Subscription Export Import Plugin for WooCommerce. Please refer to the product page to know more about the plugin features.
Overview
Order / Coupon / Subscription Export Import Plugin for WooCommerce allows you to easily export or update metadata of orders of your store into the XML file format required for printing the labels, shipment tracking, etc. by using Stamps.com Desktop Application. You can export/update existing hundreds, even thousands, of orders using one file which saves your effort and time of manually adding order information.
The plugin also exports individual orders from Orders listing page, export all orders or specified orders by offset/limit with a certain date range in bulk.
For updating orders to your online store, you must import the XML file which is a reply from Stamps.com application which contains information about the orders along with the Order ID.
Order Import/Export
Under Order Import/Export tab, you can export/update the order.
Export Orders
You can export all the required orders by using the Export Orders option. The window is as shown below:
- Select the Order Export Type as Stamps.
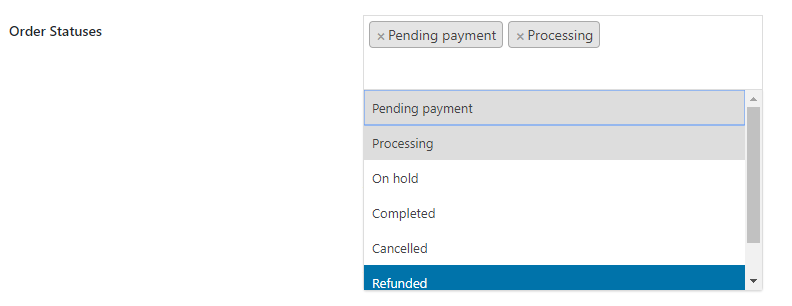
- Order Statuses: Select order statuses for which you want to export orders from the given list:

Order statuses
- Offset: Enter the order row number at which you wish to start the export.
- Limit: Enter the maximum number of orders that you wish to export.
- Start Date: Select the date from which you want to export the orders by clicking on the calendar icon.
- End Date: Select the date till which you want to export the orders by clicking on the calendar icon.
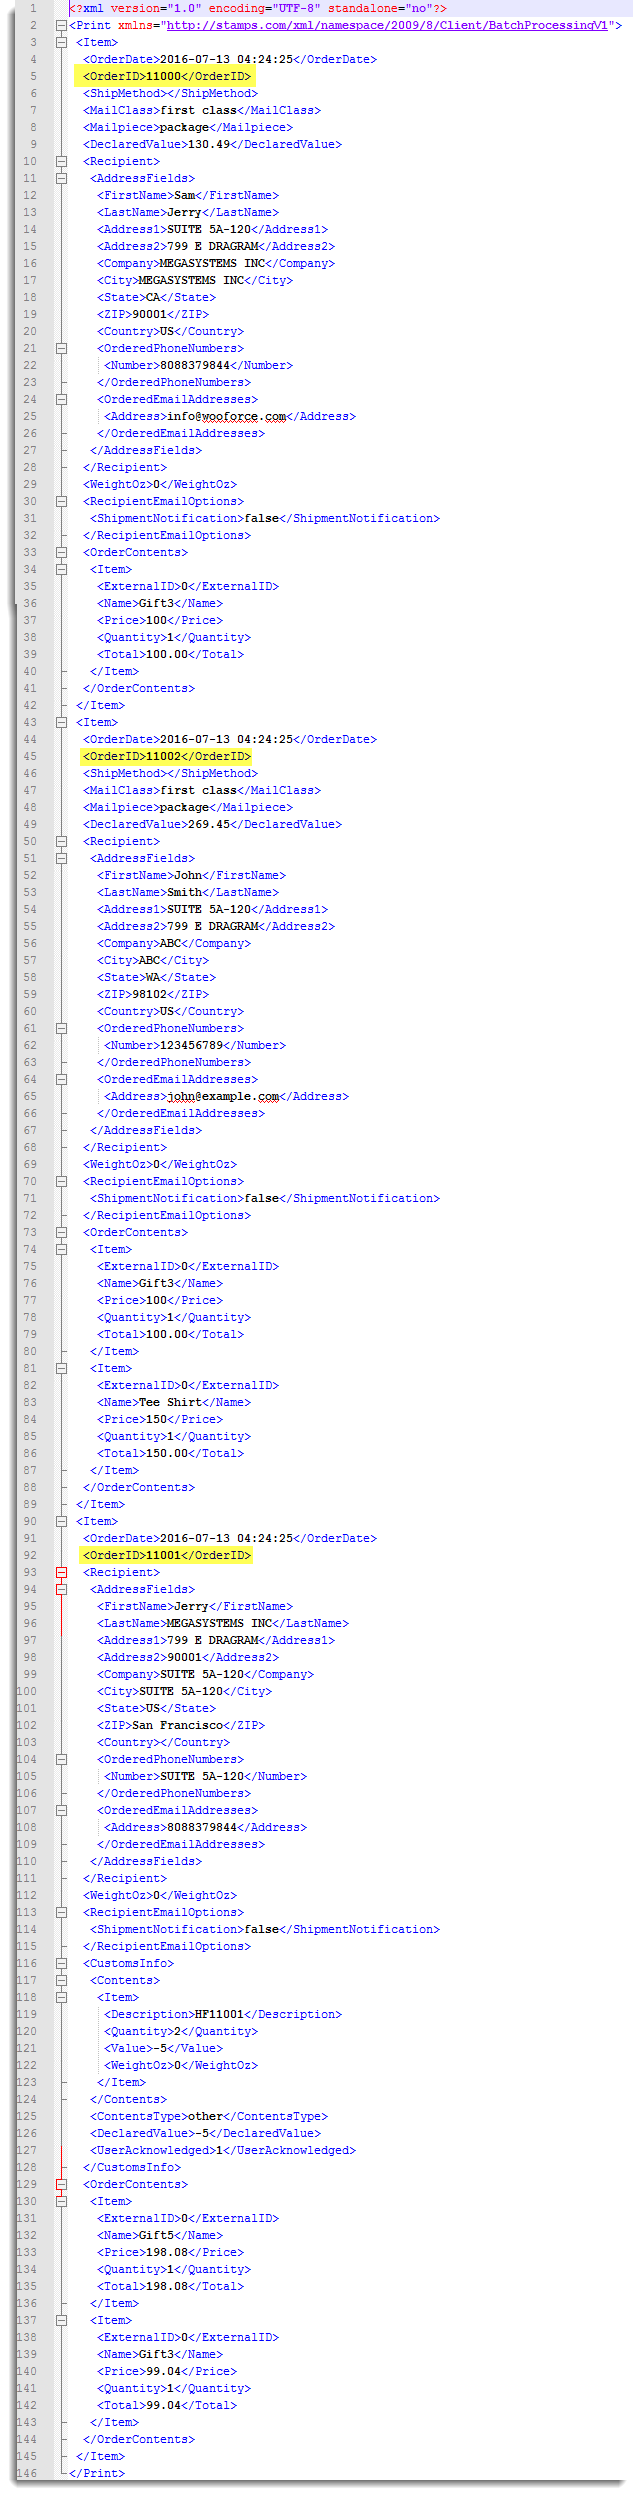
- Click Export Orders, the XML file gets auto-downloaded to your computer. The sample orders XML file is as shown below:

Exported XML
Export order(s) from Order Page
You can directly download the export file with all the fields. To do that, navigate to Dashboard > WooCommerce > Orders. The Orders listing page appears as shown below:
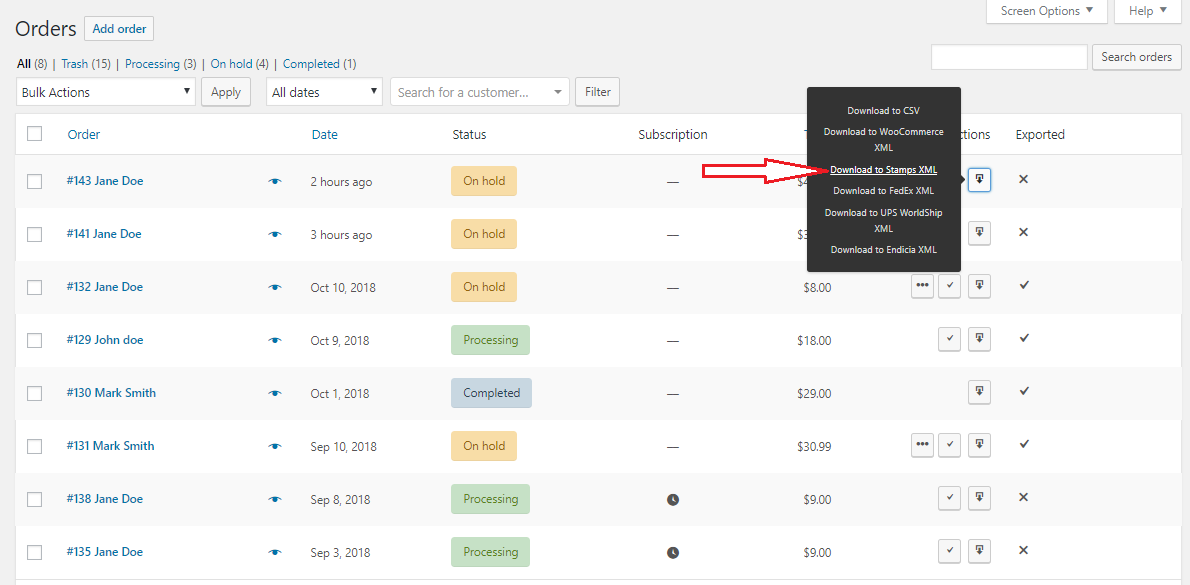
Download Stamps XML from Orders page
- Click Download to Stamps XML button to export a single order to an XML file.
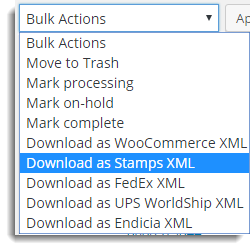
- To export bulk orders, select them. From Bulk Action drop-down list, select Download as Stamps XML and click Apply. It is shown as shown below:

Bulk Action drop-down list
All the information about selected Orders gets auto-downloaded to an XML file.
Update Orders by Importing XML File
The plugin takes Stamps Order XML file as input. It updates all metadata of the orders by importing XML file.
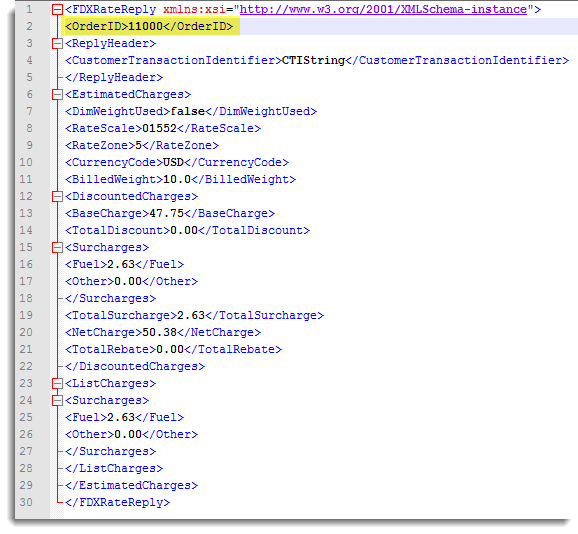
Sample Import File
Note: If there is any mistake in your import file, your order update may not work as expected. For Sample Stamps Order XML import file, navigate to Help tab. It is as shown below:
Note: Please make sure that Order ID exists in your online store to update that particular order. otherwise, you get a warning message during the update.
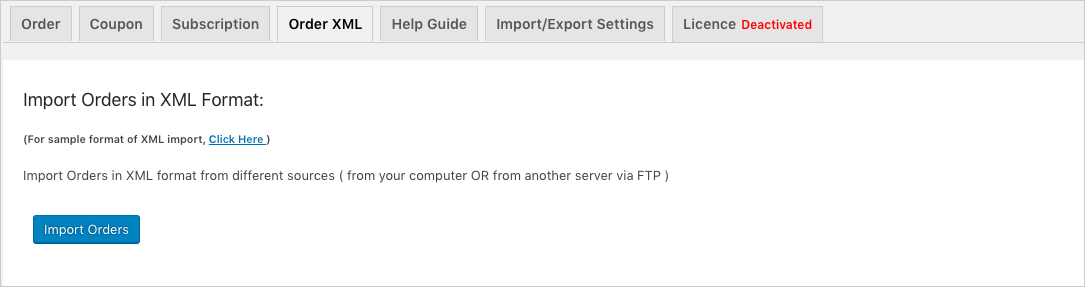
The Import Screen appears as shown below:

Click Update Orders, the window appears as shown below:
Select XML type as Stamps.com.
Method 2: Provide FTP Details. If your XML file is on the server, then to import it, you need to do FTP settings as given below:
- Select the checkbox to enable FTP import/export.
- Enter FTP Server Host/IP.
- Enter FTP User Name.
- Enter FTP Password.
- Enter FTP Server Path.
- Select the checkbox to use FTPS.
- Click Upload file and Import. The import window appears as shown below:

XML import successful

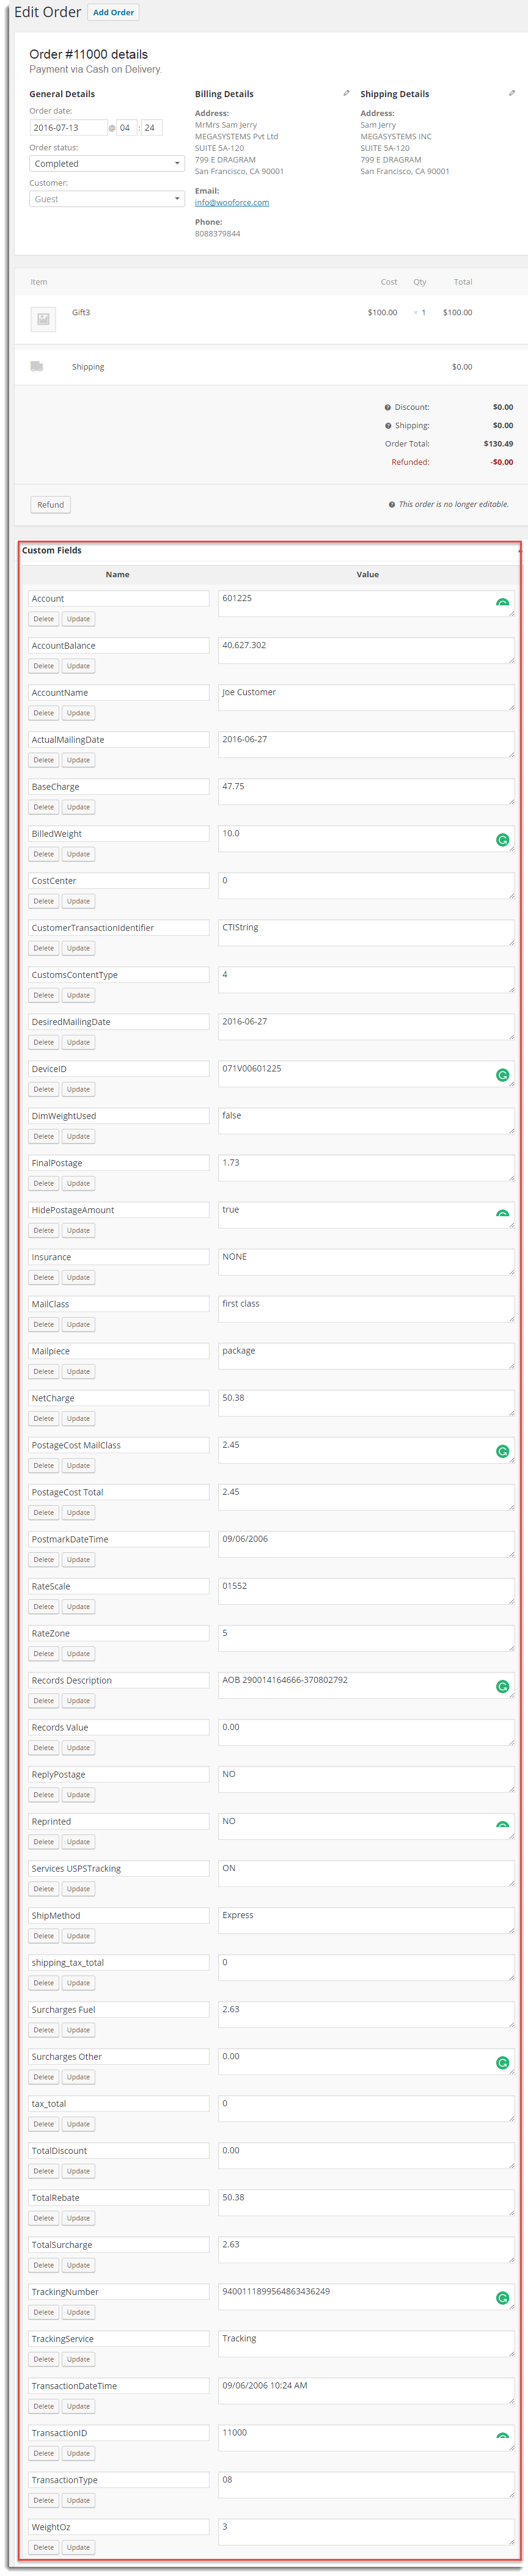
Individual Order Page
You can see the order gets updated with custom fields as shown below:
Check out our Order / Coupon / Subscription Export Import Plugin for WooCommerce.
The Best WooCommerce Order Import Export Plugin
20,000+ Active Installs as per WordPress Official Plugin Repository
#1 in Customer Satisfaction
WebToffee Guarantee: Get Your Money Back if You Are Not Satisfied With The Product
Buy Now!