Overview
Make all your export or import needs, to and from the WooCommerce stores easier with the Import export suite. With suite, you can export the below listed post types.
Here are the list of articles to ease your import process:
Features Offered
- Migrate multiple post types using the same plugin.
- The main migration methods are:
- Quick import/export
- Based on a Pre-saved template
- Advanced import/export
- Import/export data processing in batches ensures successful import/export irrespective of its size/count.
- Import/export customization attained via Filters.
- One can automate migration via FTP profiles and schedules.
- Detailed history, debug logs, and cron schedules are other main peculiarities.
Installation and Activation
After purchasing, the Import Export Suite for WooCommerce plugin will be available as a zip file in the API Downloads section of your My Account page.
- Log in to your WebToffee My Account page.
- Download the zip file from API Download.
- Log in to the WordPress Admin panel of your online store.
- Navigate to Plugins > Add New to upload the plugins.
- The downloaded ZIP consists of :
• wrapper plugin: Import Export for WooCommerce
• add-ons: Products/Reviews, Order, Users, Coupons, Subscriptions
- Initially, you can install and activate the import-export wrapper plugin.
- Next, you can install and activate the required add-ons.
Pre-requisite: Make sure mbstring is enabled on the server.
Getting Started
Hooray!!.. You have successfully activated the plugin.
Once activated, a new menu “WebToffee Import/Export(Pro)” appears in the WordPress dashboard sidebar menu. Let us now navigate through it and explore.
You can navigate to the Import Export Suite for WooCommerce settings in two ways:
- WebToffee Import/Export(Pro) from the WordPress dashboard
- Plugins > Installed Plugins > Import Export for WooCommerce Wrapper >Settings (the user will be taken to the General Settings window.)
Import/Export
The plugin consists of six different sub-modules :
- General Settings
- History
- Logs
- Scheduled actions
- Import Logs
- Export
Let us have a look at each one of them in detail.
General Settings
The General Settings tab helps to configure all the basic settings of the plugin. Let us navigate through this section:
- Click on WebToffee Import/Export(Pro) > General Settings.
This tab consists of six different sections:
- General
- FTP settings
- Email Settings
- Help Guide
- Other Solutions
- License
General
Here, you can configure the basic settings.
- Default import batch count: Provide the default number of records to be imported in a batch.
- Default Export batch count: Provide the default count for the records to be exported in a batch.
- Switch to website timezone: Enabling this option will help you switch to your local timezone.
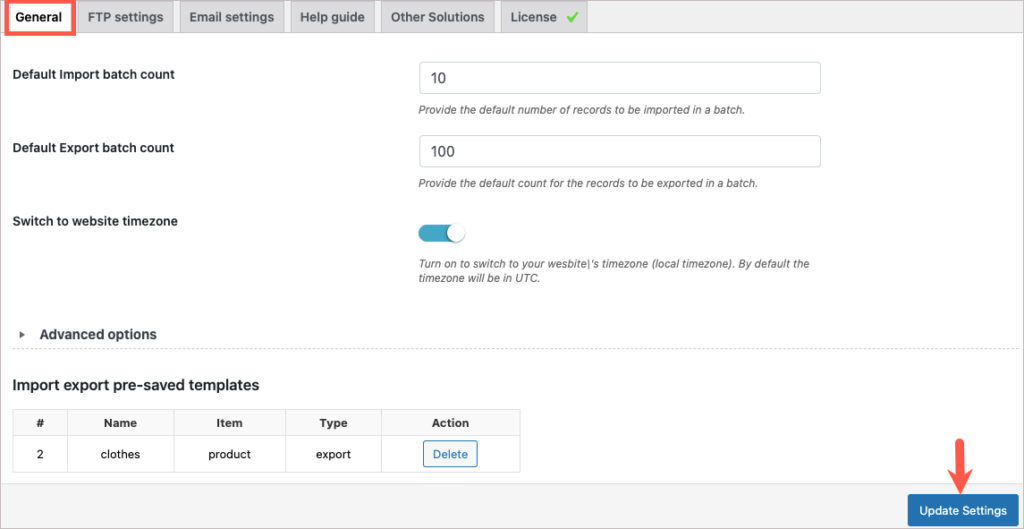
Import-export pre-saved templates
This section lists the pre-saved templates. You can delete the templates if not needed.
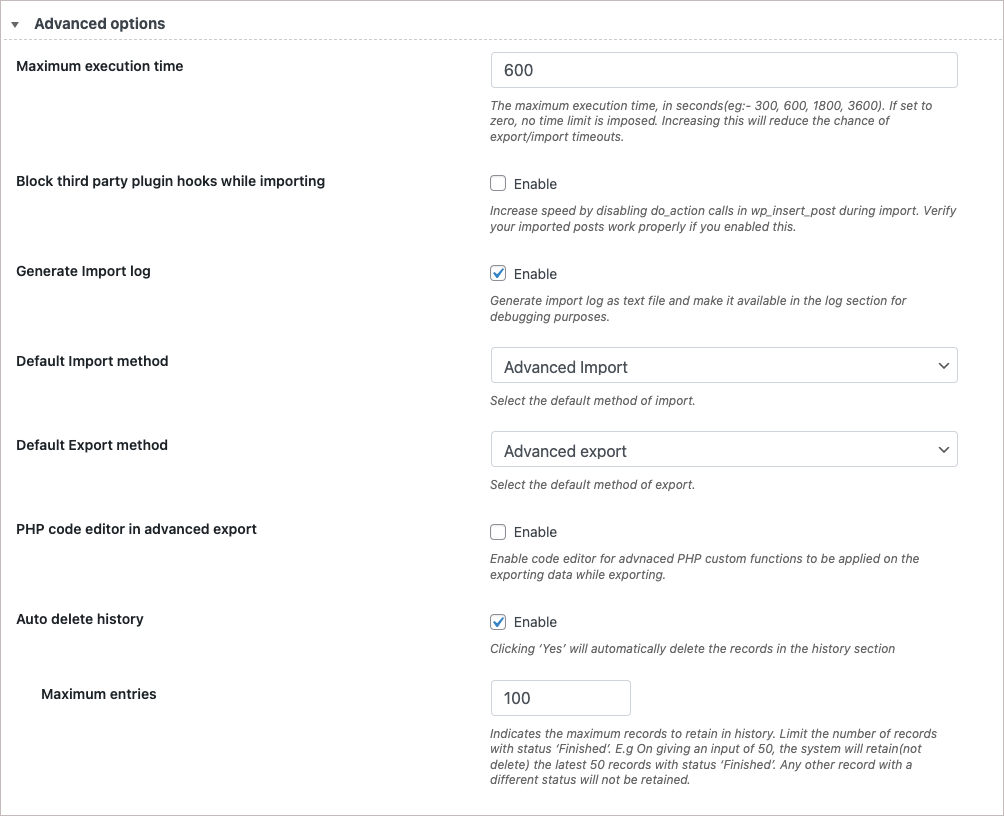
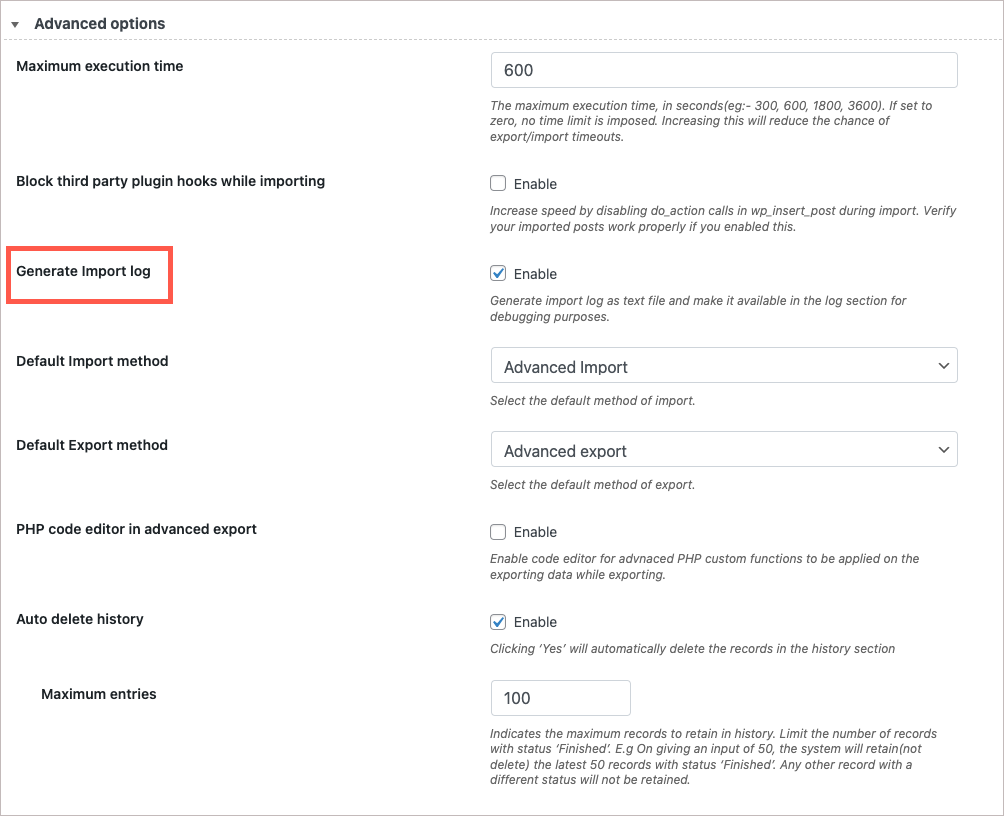
Advanced options
- Maximum execution time: Increasing this time will decrease the chances of import-export timeouts.
- Block third-party plugin hooks while importing: Enable this option to increase the speed by disabling the do_action calls in wp_insert_post during import. On enabling this option, we suggest you to verify if your imported posts work properly or not.
- Generate Import log: Enabling this option will generate an import log as a text file and makes it available in the history section.
- Default Import method: Choose an import method from three options:
- Quick Import
- Pre-saved template
- Advanced import (chosen by default)
- Default Export method: Here you can choose a default export method from the three given options:
1. Quick export
2. Pre-saved template
3. Advanced export (chosen by default) - PHP code editor in advanced export: Enable this option to apply advanced code editor options to your export.
- Auto delete history: You can enable this option to delete history automatically.
- Maximum entries: You can specify how many records to keep in history here. It will only display the number of records with the status ‘Finished‘ that you specify.
For example: if you enter 50, the system will keep only the most recent 50 records with the status ‘Finished’. This count will not affect any other records of any other status, such as In Progress (which may be active as part of the cron operation).
Once you are done with configurations click Update Settings.
FTP Settings
The plugin is equipped to handle multiple FTP profiles. These dedicated FTP profile settings can be used to manage and manipulate easy scheduled import/export.

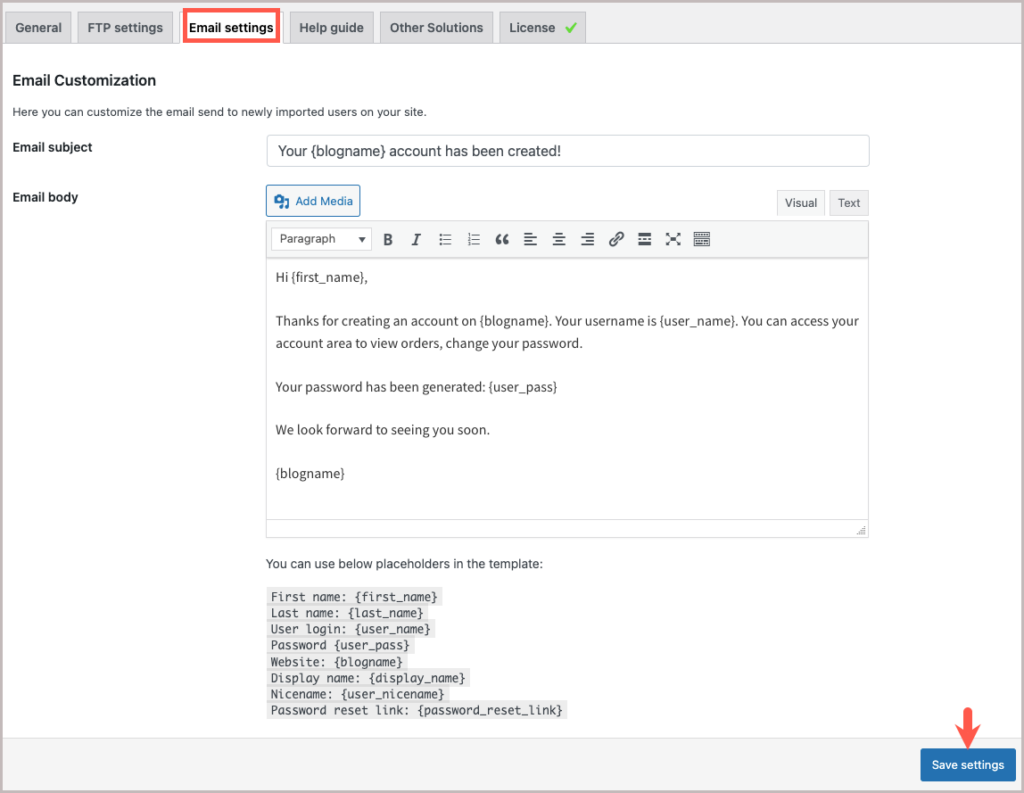
Email Settings
In this screen, you can customize the email sent to newly imported users.
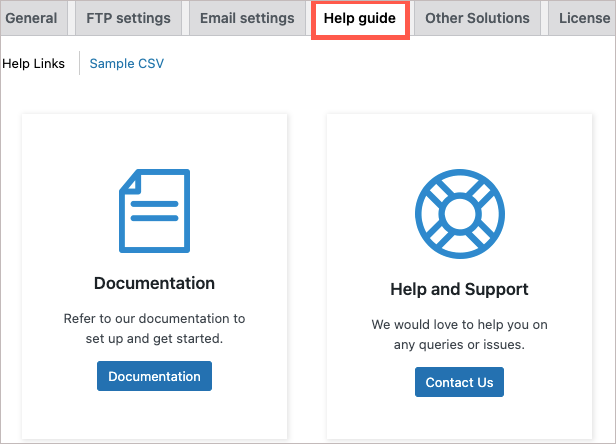
Help Guide
Provides direct links to resources like documentation, support, and sample CSVs.
License
After you have installed and activated the Import Export Suite for WooCommerce plugin on your website, you need to activate the plugin license to get notified about the plugin updates.
To do so, from the WordPress admin dashboard:
- Click WebToffee Import Export(Pro)> General> License.
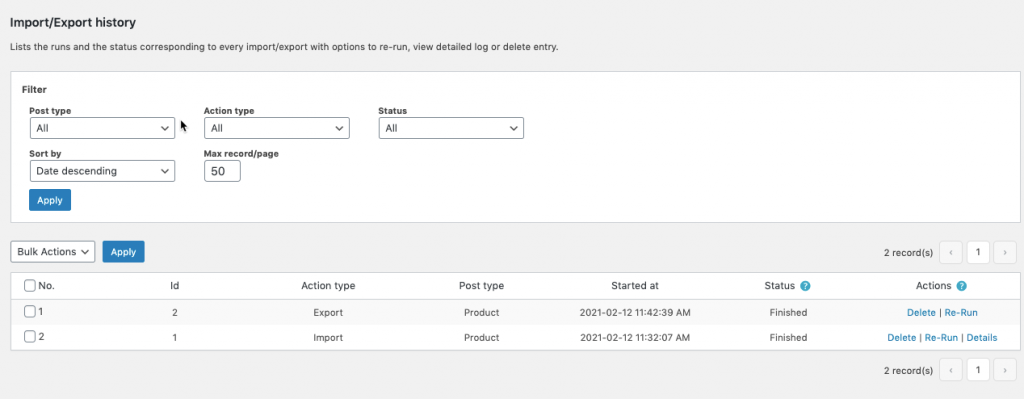
History
The History tab lists the runs and the status corresponding to every import/export with options to :
• Re-run: re-run the action will take the user to the respective screen.
• Details: view a detailed history
• Delete: delete the entry
To look into the History section:
- Click on WebToffee Import/Export(Pro) > History
- One can sort the list with these available Filter options:
• Post type: ALL, User/Customer
• Action type: All, Export, Import
• Status: All, Finished
• Sort by: Date descending, Date ascending
• Max record/page: The maximum number of records to be included in a page.
The actions will be listed in the following statuses:
- Success: Process completed successfully.
- Failed: Failed process triggered due to connection/permission or similar issues(unable to establish FTP/DB connection, write permission issues, etc.).
- Running/Incomplete: Process that are running currently or that may have been terminated unknowingly(e.g, closing a browser tab while in progress, etc).
Import logs
The Logs tab lists developer logs mostly required for debugging purposes with options to perform the following actions:
- View: to view detailed logs
- Delete: to remove the log
- Download: to share the log report with the support team in case of issues
To look into the Logs section: Click on WebToffee Import/Export(Pro) > Logs

To save the import Logs:
- Click on WebToffee Import/Export(Pro) > General Settings
- Click on General and enable the option Generate Import log to generate the import log as a text file and make it available in the log section for debugging purposes.
- Click on Update Settings to finish.
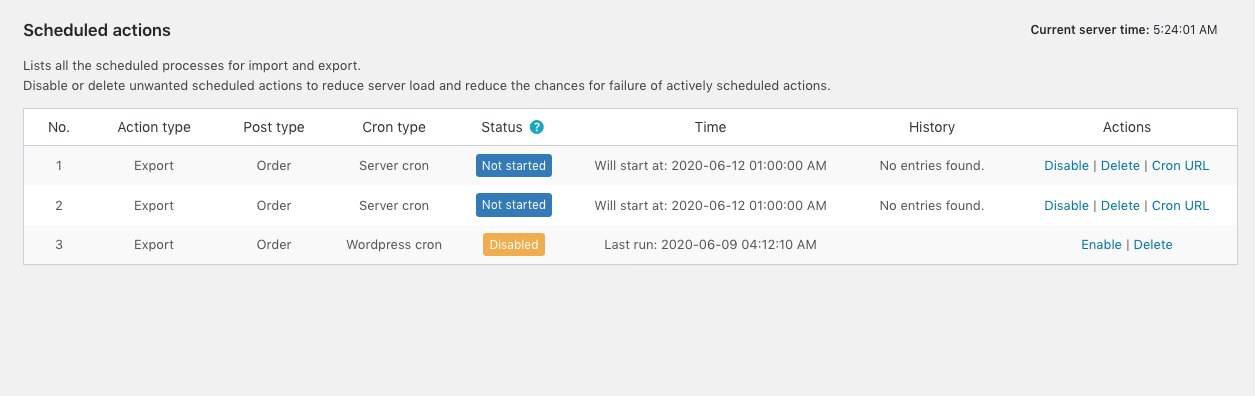
Scheduled Actions
The Scheduled Actions tab lists all the scheduled processes for import and export. One can disable or delete unwanted scheduled actions to:
- Reduce server load
- Reduce the chances for the failure of actively scheduled actions.
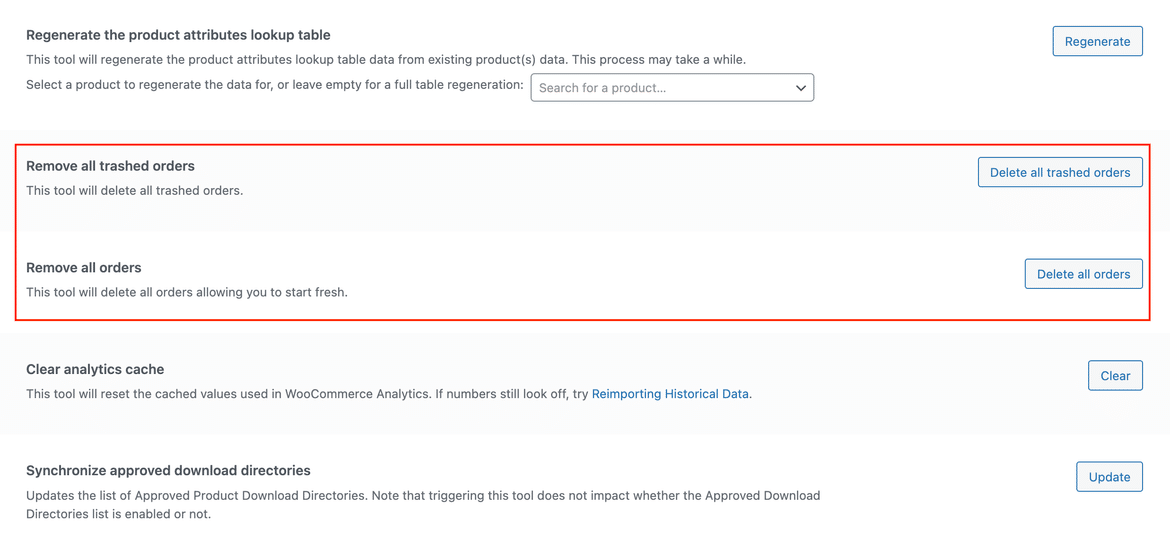
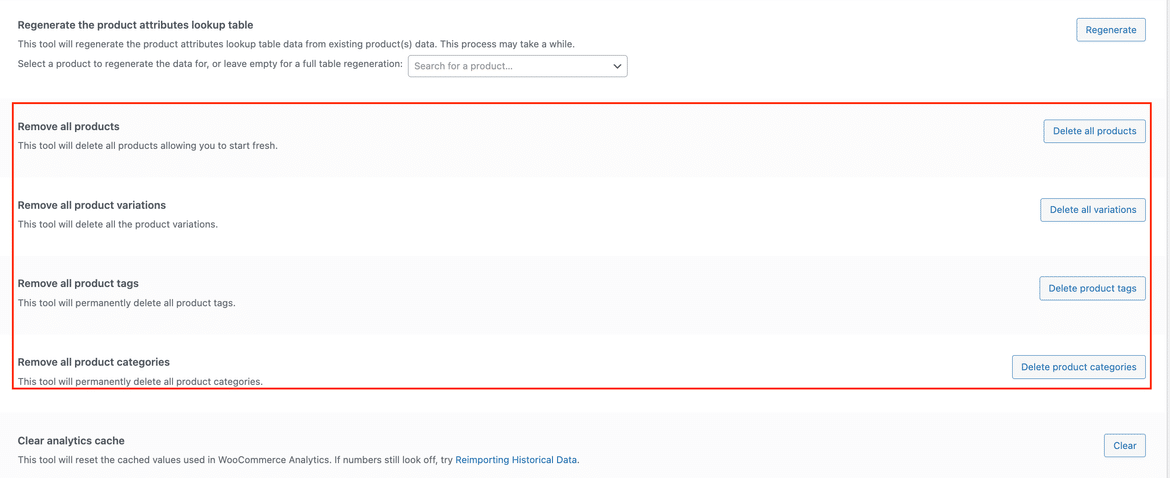
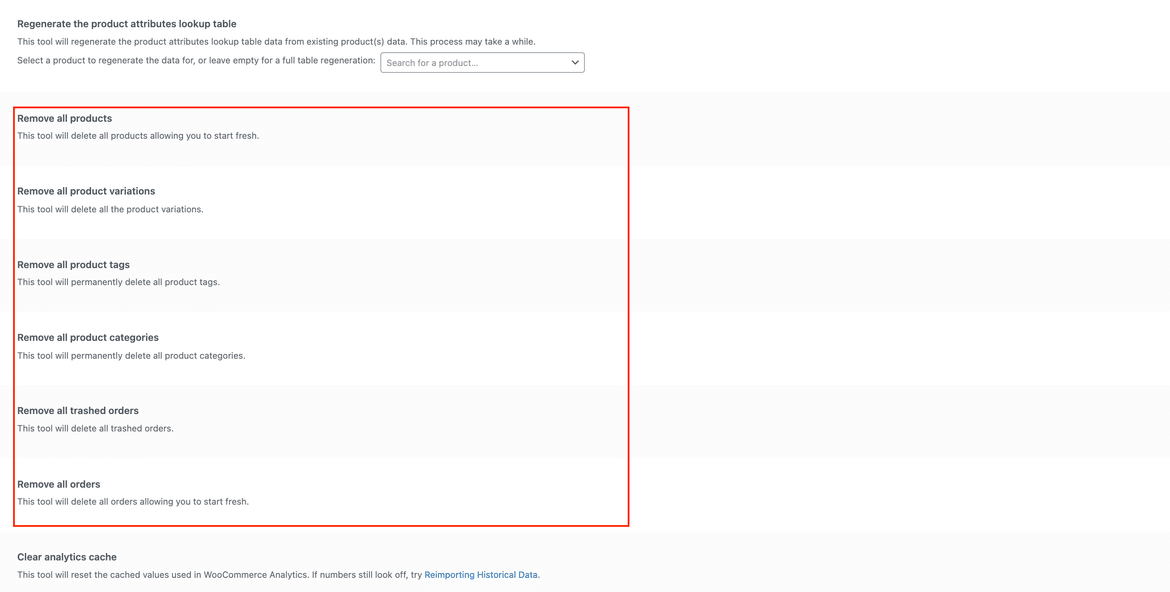
Additional Tools
When the plugin wrapper is installed, additional tools are provided under WooCommerce > Status> Tools. On installing:
- Order add-on: the user will have the option to remove all trashed orders and to remove all orders.

- Product add-on: the user will have the option to remove all products, all product variations, all product tags, and all product categories.

- Both Order and Product add-ons: the user will have all of the above-mentioned options.

Click here to know about each import/export post.