The GDPR Cookie Consent plugin comes with multiple ways with which you can add the cookies to the plugin. Navigate to the GDPR Cookie Consent > Cookie Scanner from the WordPress dashboard.
1. Connect with CookieYes
The plugin lets you automatically scan the cookies and add them to the plugin. From GDPR Cookie Consent > Cookie scanner, Click on the Connect and Scan button.
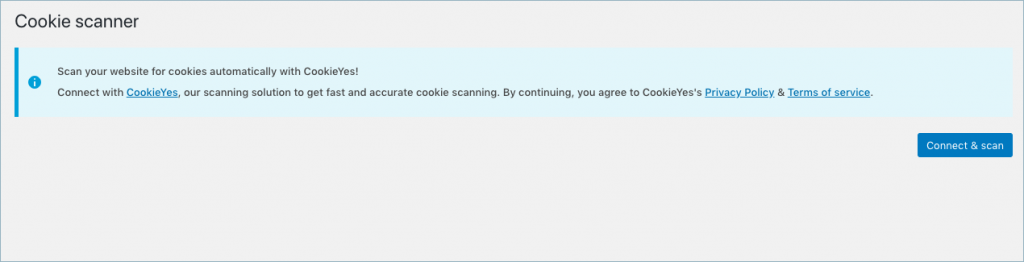
Click on the Connect and scan button to connect with the CookieYes.
Existing users of CookieYes can enter the username and password.
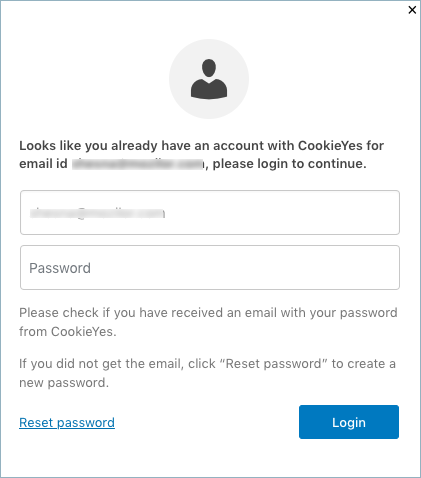
However, new users will get connected automatically with CookieYes. Upon successfully connecting with the CookieYes, you can start the scanning process.
2. Scan website for cookies
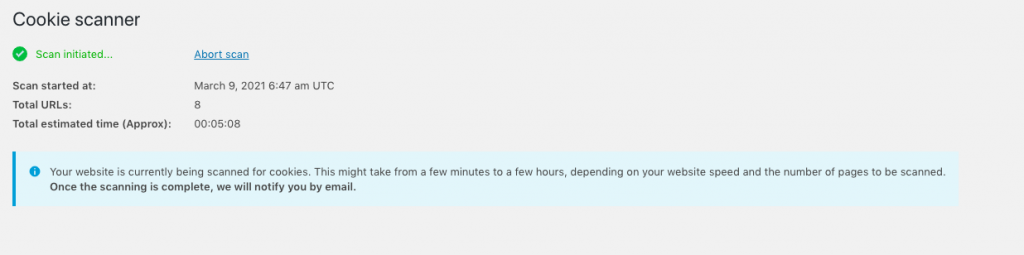
Click on the Scan website for cookies to begin the scanning.

Subsequently, scanning of cookies will be initiated. It might take a few minutes to a few hours to complete the scanning of your website. This depends on the number of pages to scan and the website speed. You can even switch between your screens while the scanning is in progress. Scanning can be aborted by clicking on Abort scan.
3. Scan completion
After the scan is complete, you can view all the cookies that have been scanned and the URLs that have been scanned from the Scan result. The result will look as shown below:
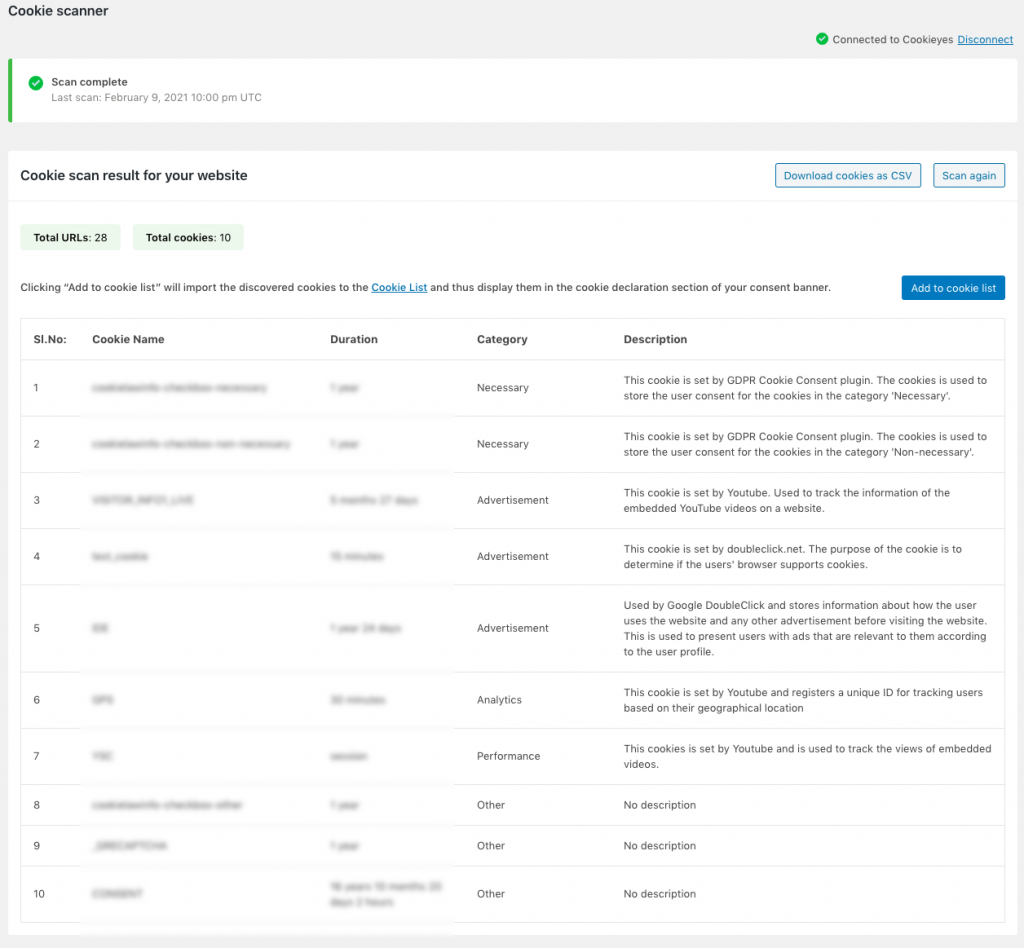
From here, you can add the scanned cookies to the cookie list, download the cookies into a CSV file, and perform the scan again.
Cookie import options
When you choose to add the scanned cookies to the list, you are presented with three options as shown below:
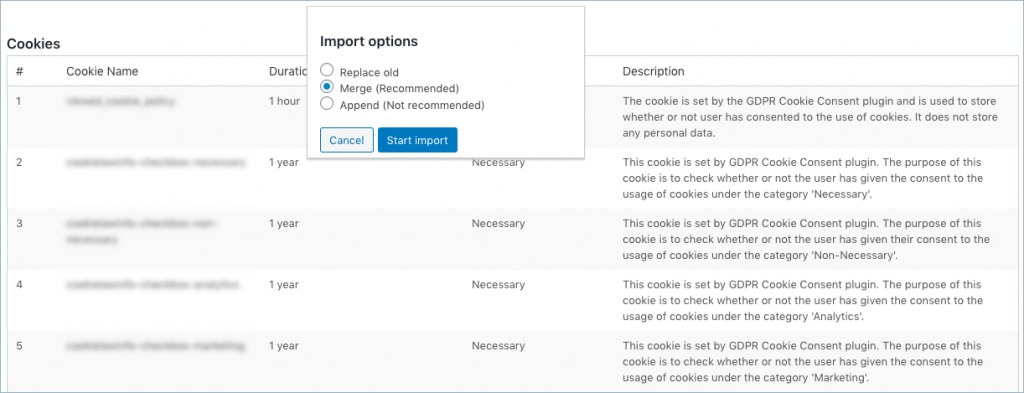
- Replace old: In the first option, you can replace all the existing cookies in the list and add the newly scanned cookies.
- Merge (Recommended): With the second option, the plugin performs a check whether the scanned cookies are already present in the list and skip those cookies that exist. This is the recommended method to add cookies.
- Append (Not recommended): In the third method, you can append the newly scanned cookies with the existing cookies in the list. This is not recommended since it could result in duplicate entries in the cookie list.
After you select an option, click on the Start Import button.
All the scanned cookies and its related data will be added to the cookie list. The data added to the cookie list are the cookie ID, cookie-type, cookie category, and the duration of the cookies.
By default, the values in the cookie type field thus added will be persistent, all the cookies will be assigned to the non-necessary category or necessary category which are the two predefined categories of the plugin, and the value in the cookie-sensitivity field will non-necessary.
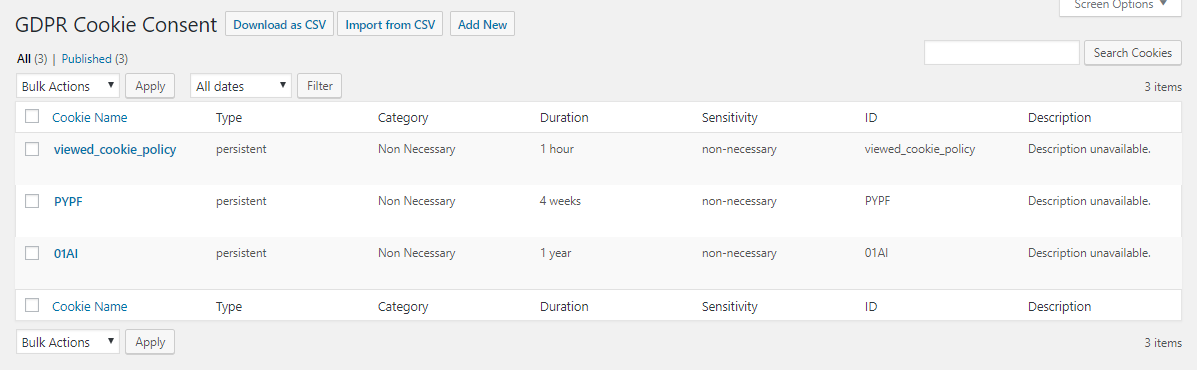
All these, of course, can be edited from the Edit Cookie by clicking on the respective cookie name from the cookie list page.
Import cookies using a CSV
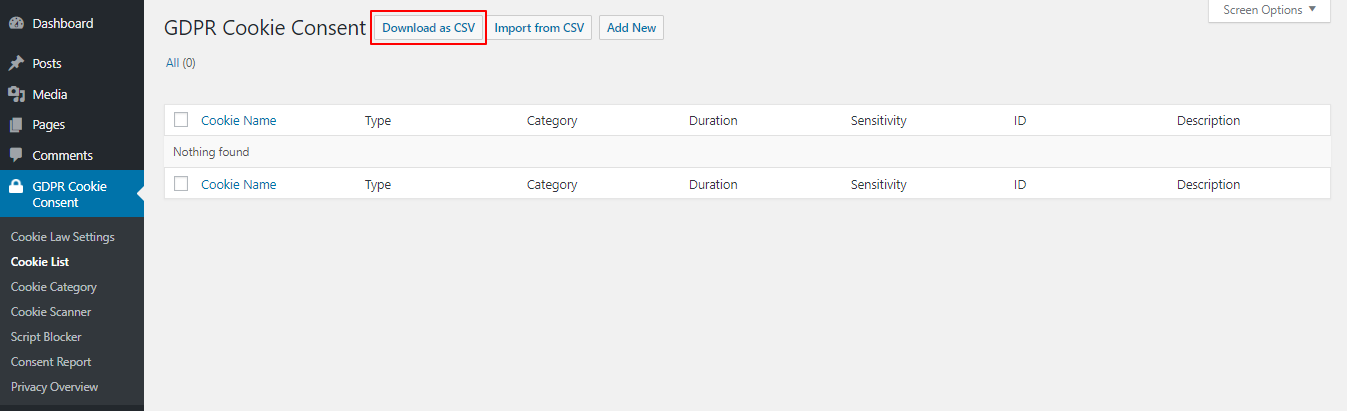
You can import the cookies into the plugin using a CSV file. You find the option to import cookies under GDPR Cookie Consent > Cookie List. Prepare a CSV in the required format, click on the Import from CSV button.
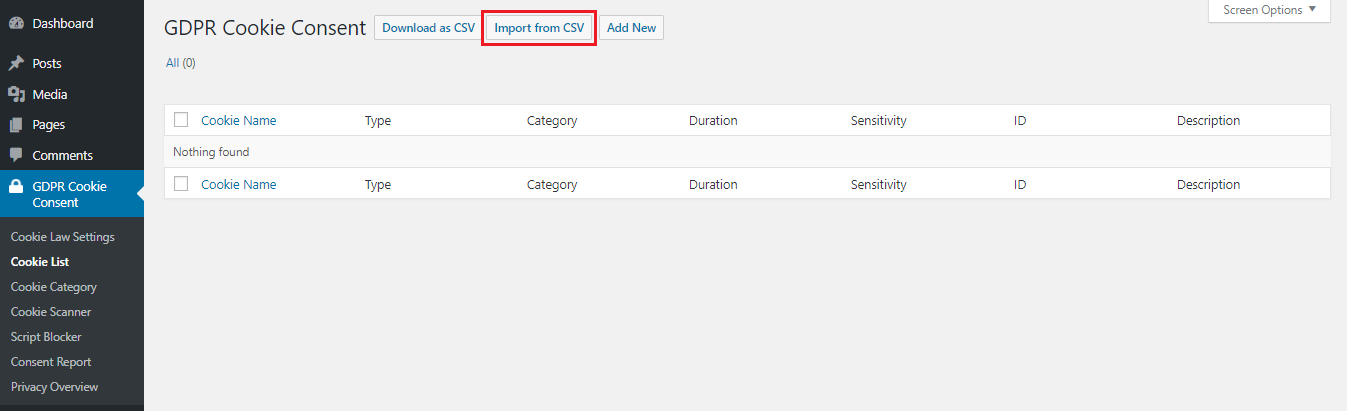
This will take you to the Import from a file page.
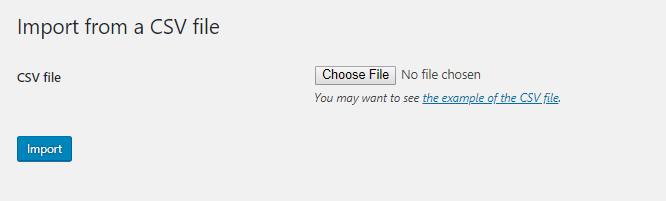
From this page, upload the CSV to the plugin and import. All the cookies and their details can be seen on the Cookie List page after the import.
Click here to download the sample CSV.
The plugin also has an export feature that helps to export the cookies and its related details to a CSV file. To do that, click on the Download as CSV button from the Cookie List page.
This becomes very useful if there are websites using GDPR plugin that uses similar cookies or if you want to migrate the cookies you set up in the plugin from the development site to the production site. All you need to do is export the cookies of one website into a CSV file and then import them to the other.
Add Cookies Manually
To add the cookies manually, click on the Add New button under GDPR Cookie Consent > Cookie List. Add the cookies and the cookie details from the Add New Cookie Type page. The following is a screenshot of the Add New Cookie Type page.
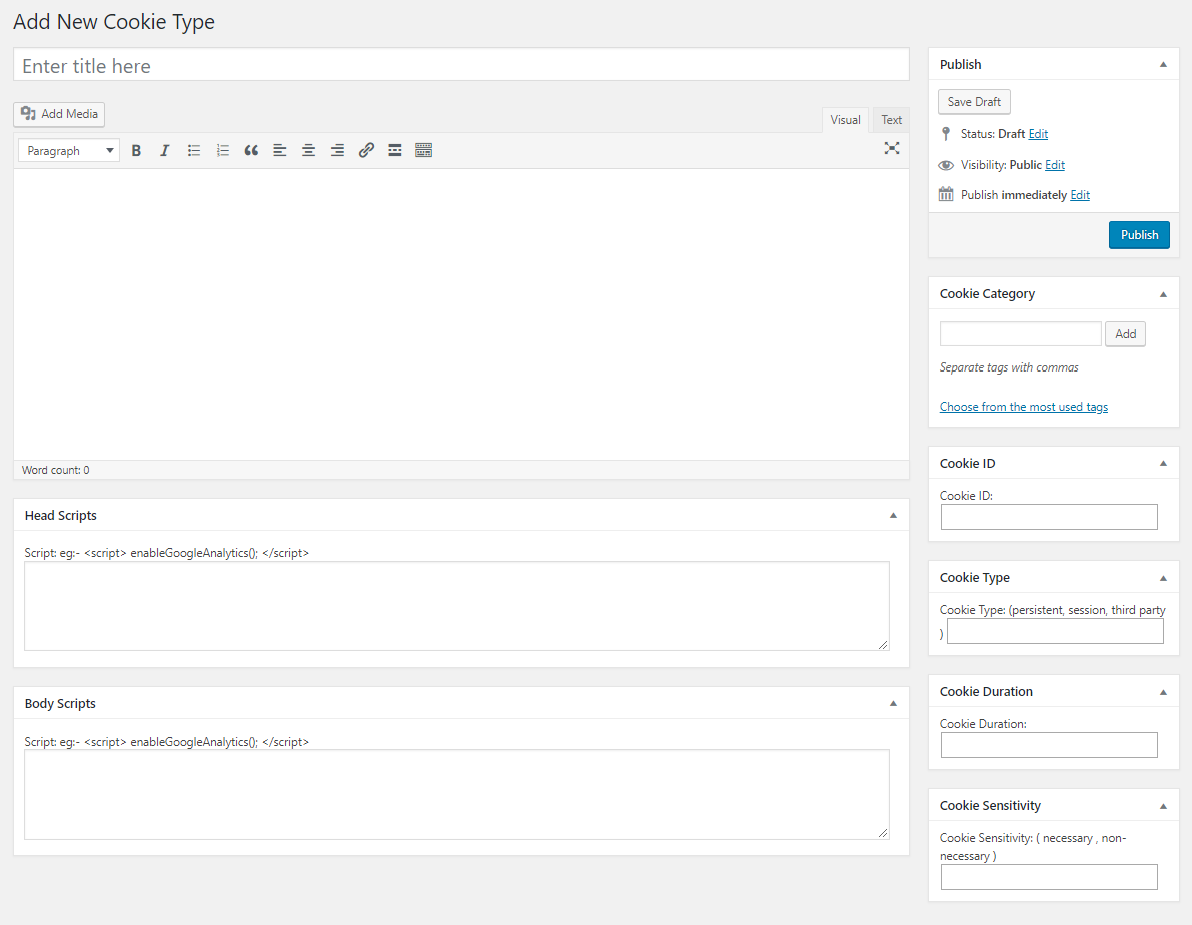
The following are the fields in the Add New Cookie Type page.
- Cookie Title – Add the title of the cookie. This field is for audit purposes, so this field allows you to add the name of the cookie in a user-friendly manner.
- Cookie description – This allows you to add the description of the plugin so that you can explain what the purpose of the cookie is, what it does, what data it collects, etc.
- Cookie Category – Add the category that the cookies belong to.
- Cookie Type – This is to indicate the type of the cookie. The types include persistent, session, or third-party. Persistent cookies are those that generally persists even after the browser is closed. Session cookies are those cookies that will expire when the session is over. Third-party cookies are the cookies that are installed by third-party services being used on the website.
- Cookie Duration – This is the time duration the cookies will be active on the browser. The easiest way to find out the duration of a cookie is from the developer console of the browser.
- Cookie Sensitivity – Cookies are either necessary or non-necessary. The necessary cookies are those cookies that, as the name indicates, are absolutely necessary for the website to function in its intended way. The users do not have the control to disable this category of the cookies. The non-necessary cookies are those cookies whose scripts need to be added in the plugin and that the users can enable/disable.
- Head Scripts/Body Scripts – This is where the scripts related to the cookies are to be added. If the scripts are added in the Head Scripts field, the scripts, on user consent, will be rendered in the head of the website and the scripts will be rendered in the body if added in the Body scripts area.
The screenshot below shows an example of adding Google Analytics cookies to the Cookie list from the Add New Cookie Type page:
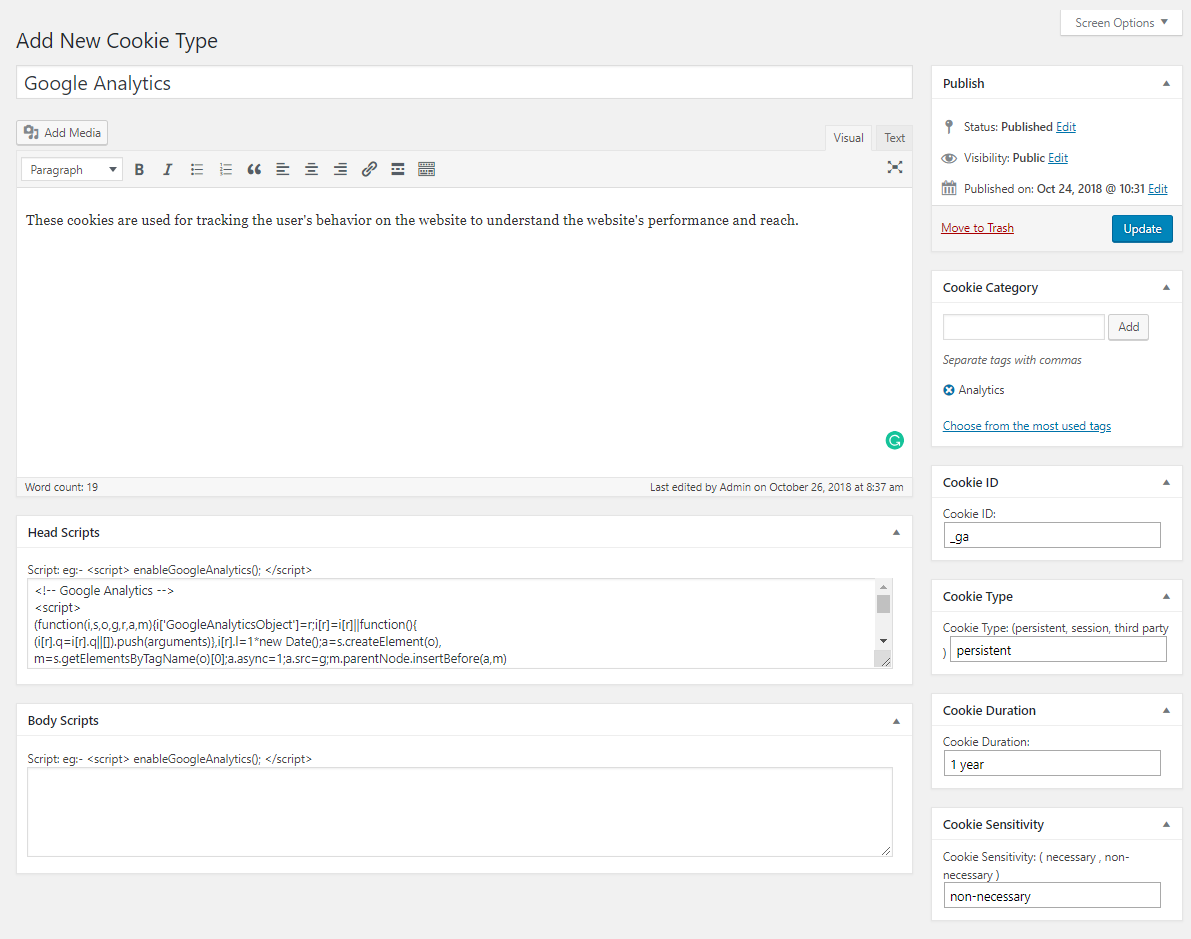
After all the details have been added as above, click on the update button and the cookie will be added to the Cookie List.
Christian Christiansen
November 26, 2021
I was happy when i found this, and i hoped it was as easy as it sounded, but even though i followed all steps, it will not put my cookies in the GDPR consent plugin via the scanner !! It says that there are no cookies on my websites, but i know for a fact that it is NOT true… so what should i do now? I am planning to get my money back for this plugin, it does not work!
Marc S
November 17, 2021
Hello,
What happens if I remove some of the default categories (like functional) because the scanning reveals that my site doesn’t use any of them, but later on a new scan reveals new cookies, will those categories be added again automatically?
Mark
November 18, 2021
Hi Marc,
That is correct. The scanner is capable of handling that.
Néstor Romero
March 12, 2020
Hi, can you use the plugin to control “cookies” or values stored by third-party plugins in local or session storage??
Mark
March 13, 2020
Yes. Once you configure the script blocker functionality, you can control all cookies set by third party plugins.
Doreen Manandhar
February 25, 2020
I am having error scanning cookies. What can I do?
Mark
February 25, 2020
Please submit a ticket in support forum with site details.
Doreen Manandhar
February 25, 2020
Done
Matthew Kirby
February 13, 2020
The cookie scanner times out on me with the URL per scan set to 1 . I have like 15 pages on my site…
Mark
February 14, 2020
Hi Matthew,
Please submit a ticket here with your site details so that we can check the issue.
Matthew Kirby
February 19, 2020
Request (10868)
Jerome DUPONT
November 19, 2019
Hi,
I manually added a cookie with the corresponding javascript in the “Head script” section, but the javascript appears in the rendered code when the consent is OFF, and disappears when the consent in ON.
Did i misunderstand something ?
Thanks in advance,
JD
Mark
November 19, 2019
Hi,
Please reach us via support and share site details.
joanna ransome-wallis
October 20, 2019
I keep getting Unable to connect. Retrying…
Mark
October 21, 2019
Try setting the number of URL per scan to 1 or 2 under Cookie Law Settings > Advanced. If issue persists, please reach us via support link above.
Matthew Reilly
August 15, 2019
I have scanned my site for cookies and I get “Scanning completed. (Total URLs scanned: 5 ,Total Cookies found: 0)” I have Google Analytics install and a Youtube video on a test page so there are cookies on the site… is there something Im doing wrong?
Mark
August 16, 2019
Hi Matthew,
It might be some temporary glitch in the cookie scanner server. Please try again. If the issue persists, please reach out to the support.
Alice
July 25, 2019
Hi, the Cookie Scanner is not available for some reason.
How can I fix the issue?
Mark
July 25, 2019
Hey Alice,
Please try deactivating and activating the plugin once. If issue persists, please reach us via support link above.
web65
May 22, 2019
Hey There – Is there any way to limit the number of URLS that the scanner will index? We have a large site with 8k or so urls and the scanner keeps timing out. Thoughts?
Mark
May 22, 2019
Hi,
Although there is no option to skip URLs, you can control the number of URLs scanned per iteration under the Cookie Law Settings > Advanced tab. Try setting a lower value if scanner times out.