The Product Import Export Plugin For WooCommerce can be used to import and export upsell and cross-sell products into the WooCommerce Store with ease. The upsells and cross-sells are also known as Linked products. To know more, refer to the difference between upselling and cross-selling in eCommerce. In this article, we will have a look at how to:
- Add upsell and cross-sell product data
- Import linked products
- Update linked products
Add upsell and cross-sell product data
To add upsell and cross-sell product data:
- Login to WooCommerce store dashboard.
- Click on Products.
- Edit the product on which you wish to add upsell and cross-sell.
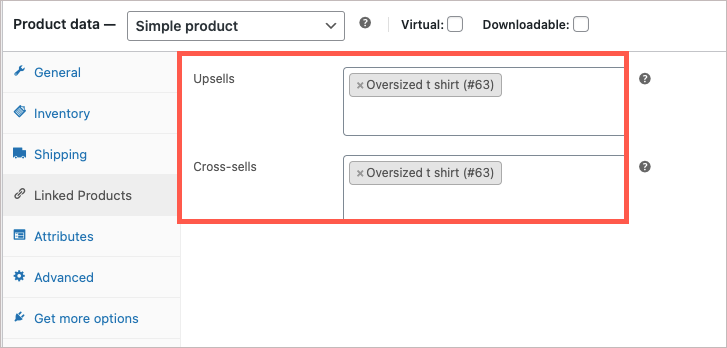
- In the product’s edit page, click on the tab: Linked products.
- Add the upsell and cross sell products as shown.

6. Click on update to save changes.
Import linked products
To import linked products, download, install and activate the plugin. Then, follow the below mentioned steps:
- From the WordPress admin panel, navigate to the menu: WebToffee Import Export (Pro).
- Click on Import and specify the post type as Product.
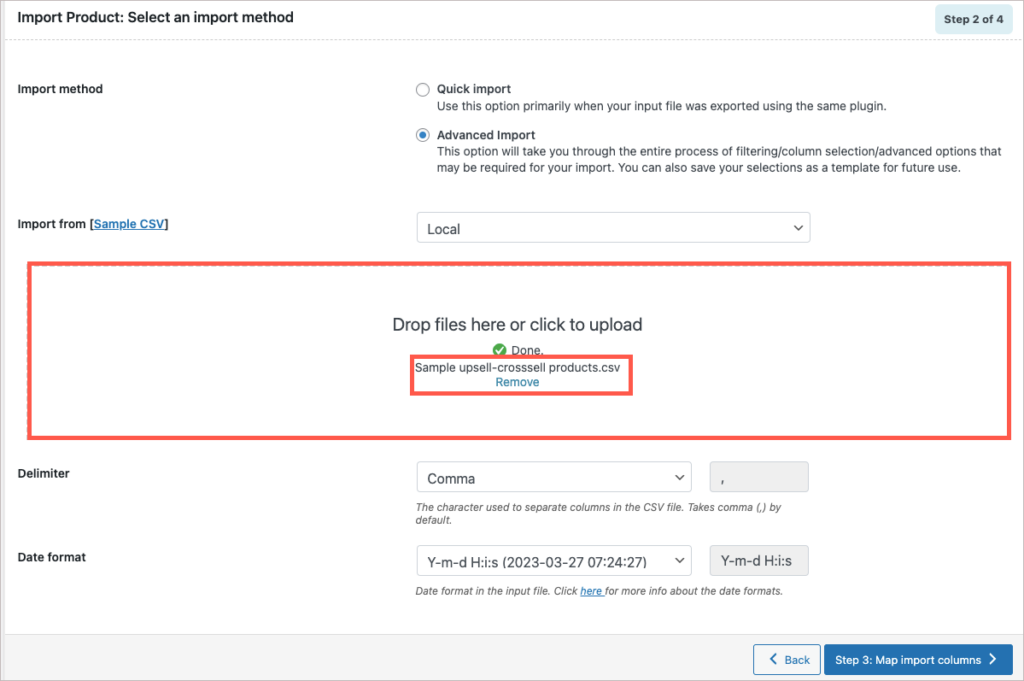
- Select your import method and Import from location.
- Click to upload or simply drag and drop your file.

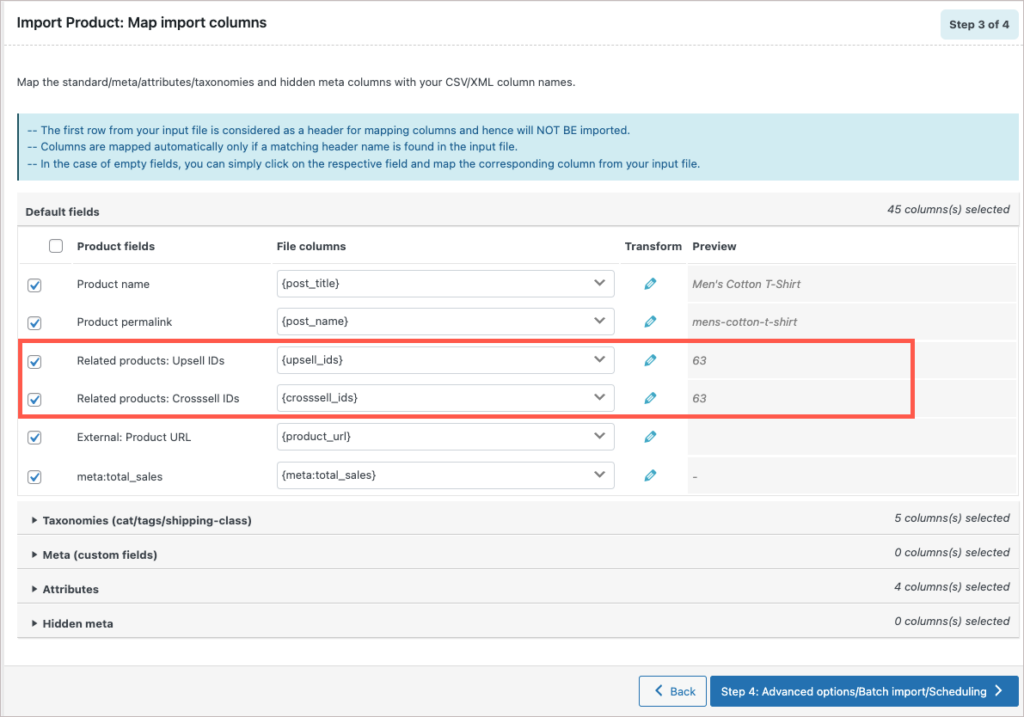
5. In step 3, map the import columns.

6. In the next step, you can use the advanced options to import.

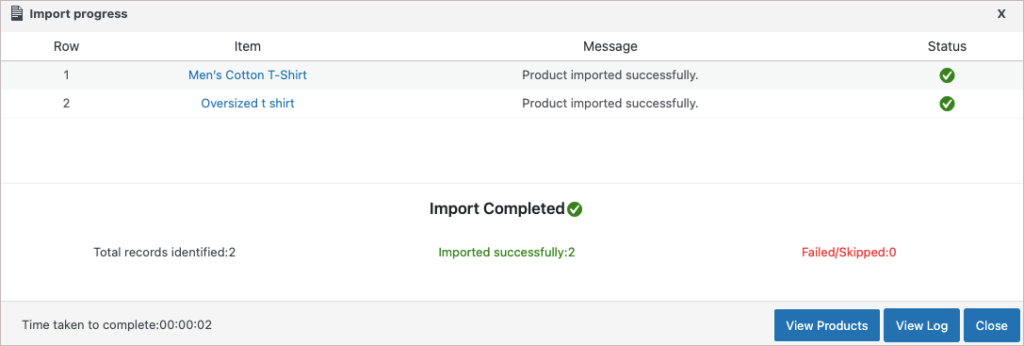
7. Click on import, and your data will get imported successfully as shown below.

Update linked products
To update linked products:
- From the WordPress admin panel, navigate to the menu: WebToffee Import Export (Pro).
- Click on Import and specify the post type as Product.
- Select your import method and Import from location.
- Click to upload or simply drag and drop your file.
- In step 3, map the import columns.
- In step 4, if you want to update the existing upsell and cross-sell product data, simply choose Update for the option: If product exists in the store.

7. As a final step, click on Import to finish.
For detailed importing steps, follow How to import products.