The WebToffee’s WooCommerce PDF Invoices, Packing Slips, Delivery Notes, and Shipping Labels plugin allows store owners to provide their customers an option to print invoices from their ‘My Account’ page and order email. By default, the Print Invoice option is enabled for the ‘My Account’ page and order email. However, the option becomes visible to the customers only upon invoice generation for the corresponding order. Store owners can either manually generate the invoice document or automatically generate the invoice documents by specifying order statuses under the Automatic invoice creation option.
Show print invoice button for customers
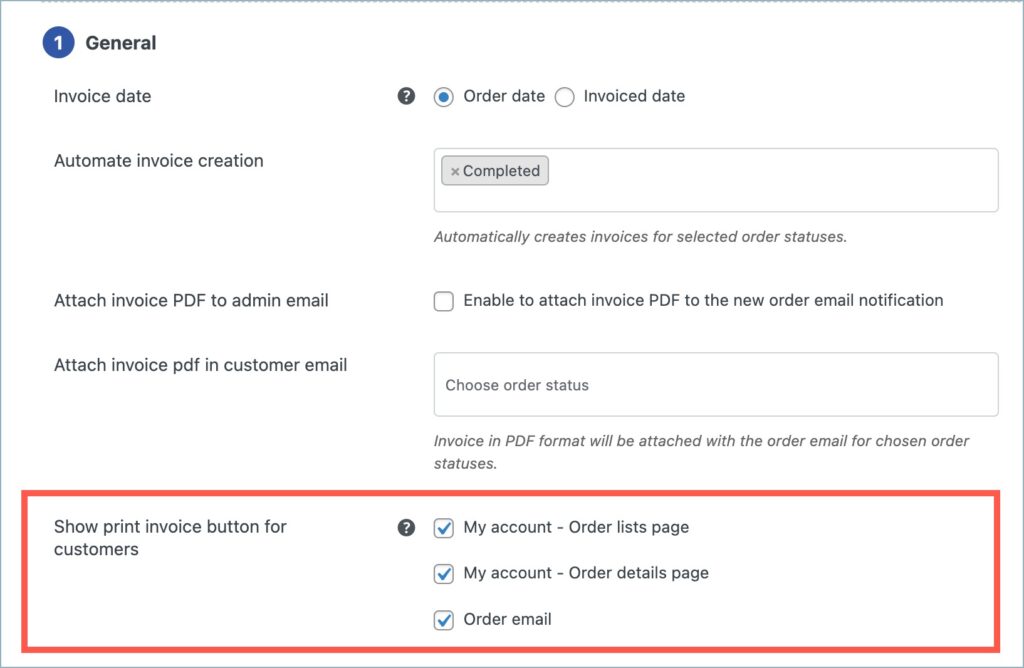
By default, the Print Invoice option is available for the customers. Store owners can access this option by navigating to Invoice/Packing > Invoice > General. If the store owner wishes to show the Print Invoice button in the customer’s My Account order lists page, order details page, and order email then the store owner can leave these settings as it is.
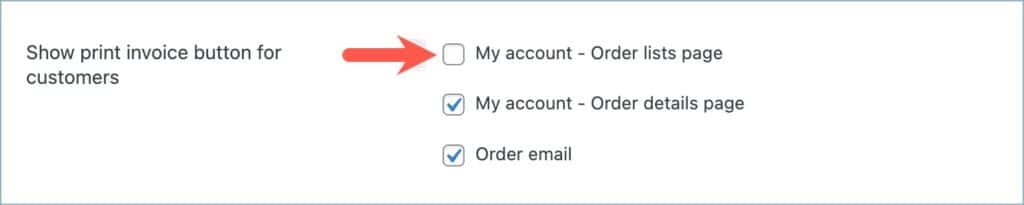
To hide the Print Invoice button from any of the pages, untick the checkbox next to the preferred page and click on Update Settings.
Invoice generation
The Print Invoice button will be visible to a customer only upon generation of the invoice document for that order. Store owners can generate invoice documents in two ways:
- Manual generation
- Automatic generation
Manual generation
Store owners can manually generate the invoice document for a particular order by navigating to its order edit page or the order listing page.
Automatic generation
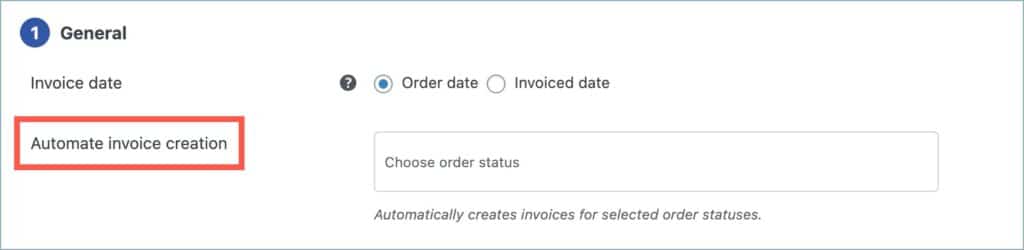
Store owners can automatically generate invoice documents for orders by using the Automate invoice creation option. Follow the below steps to automatically generate invoices:
- Navigate to Invoice/Packing > Invoice > General.
- Under the General section, navigate to Automate invoice creation option.
From the dropdown, choose the order statuses for which the invoice creation (For instance, let’s choose the order statuses as ‘Completed’ and ‘Processing’).
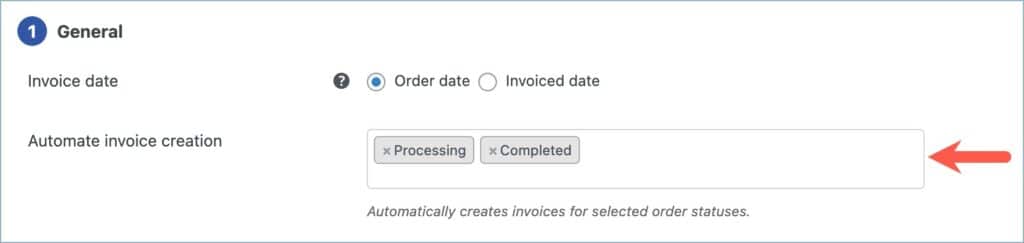
- Click on Update Settings.
Use Case
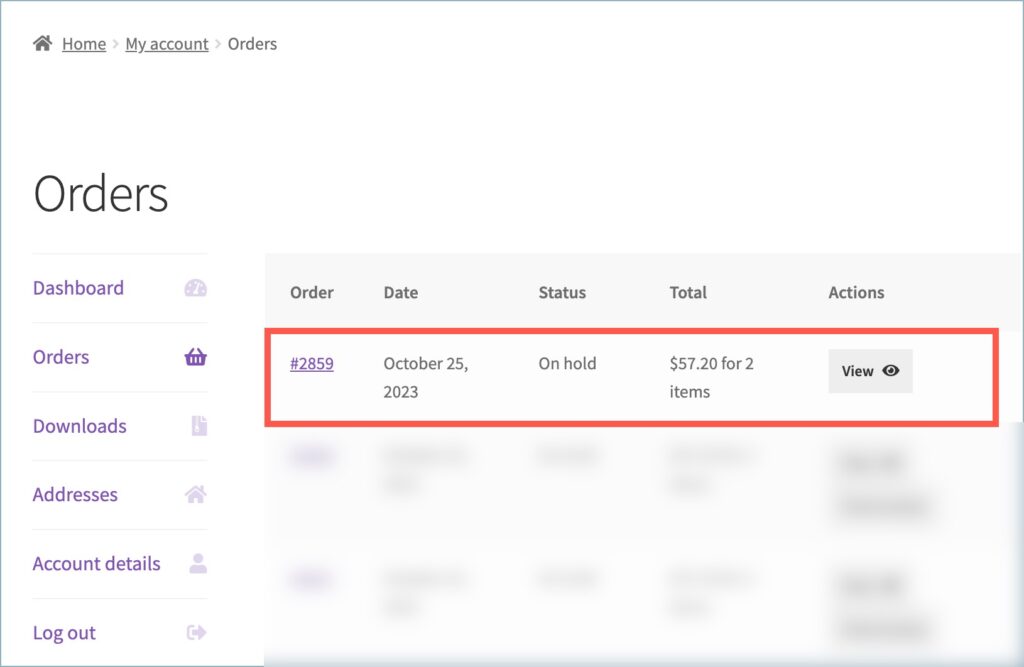
The store owner now chooses an order #2859. The order status is ‘On hold.’ The invoice document is not yet generated for the order. So the Print Invoice option will not be visible to the customer.

The image below depicts the My account orders page, where order #2859 does not have a ‘Print Invoice’ button.
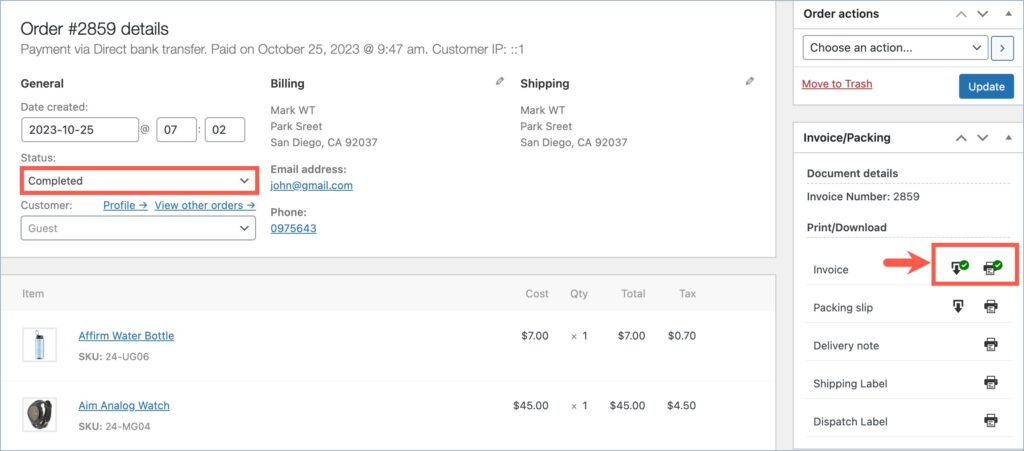
Now when the store owner/admin changes the order status to ‘Completed’, the Invoice is automatically generated and the customer can now view the ‘Print Invoice’ button in their ‘My Account’ page.
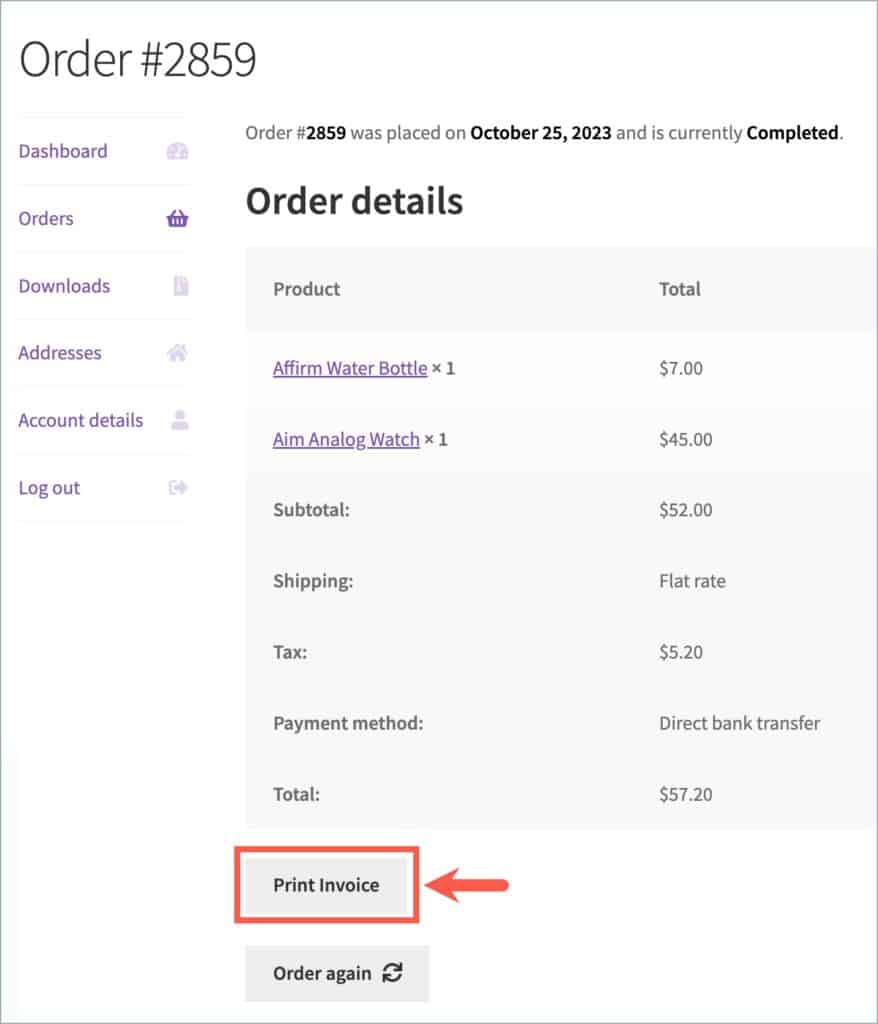
The image below shows the My account orders page for order #2859 with a ‘Print Invoice’ button.

The image below displays the My account order details page for order #2859, featuring a “Print Invoice” button.
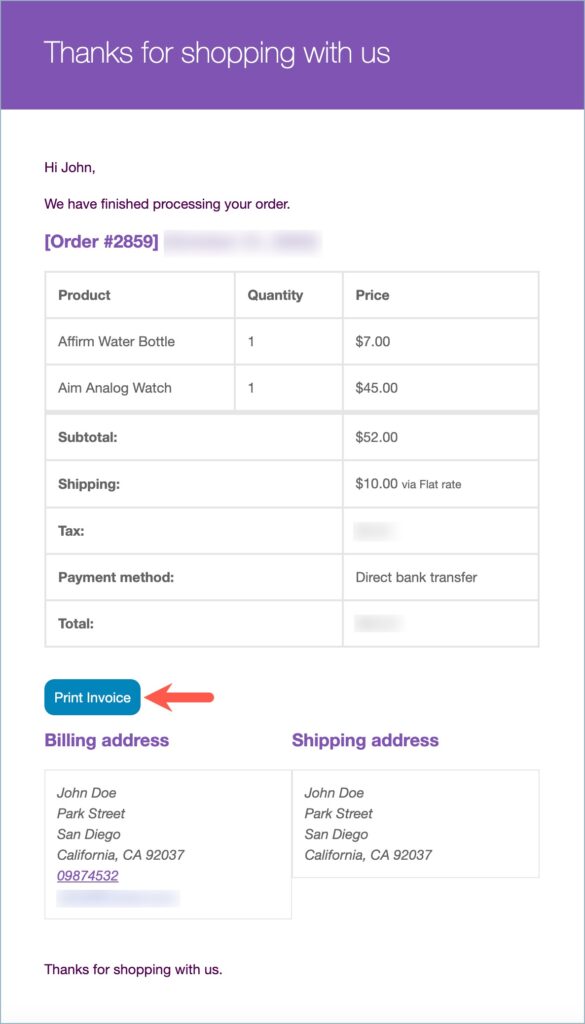
The image below depicts the order email for order #2859, featuring a “Print Invoice” button.
Lauri Huusko
October 26, 2021
How client can print invoice when not logged in. Lets say client make order without registration but when you come to “Thank you” page Print invoice dont work, it redirect to /wp-admin to log in.
Mike
October 31, 2021
Hi Lauri,
Thanks for reaching out. We are afraid that is not possible. To validate the nonce check for security purposes it is mandatory that the user must log in to the site to download the invoice and other documents. However, you can use the invoice PDF attachment option (Invoice/Packing > Invoice > General > Attach invoice PDF in order email) to send the invoices directly to the customer’s email for selected order statuses.
Fanny
February 15, 2021
Hi,
Have the same problem, the button doesn’t appear. Have you find a solution ?
Mark
February 19, 2021
Hi Fanny,
It works based on the order status that you chose under “Generate invoice for order statuses”. So ensure that the order that you check is in the same order status that you have listed there.
OBISIKE GLORY OGECHI
January 24, 2023
Same here ooo, what can be done pls
Hema
March 28, 2023
Hello Obisike,
Thanks for reaching out.
Please submit a ticket here with site details so that we can check and assist you efficiently.
Twest
February 9, 2021
This doesn’t work on my site, is there a possible plugin clash?
Mark
February 12, 2021
Please submit a ticket here with site details so that we can check and assist you efficiently.
John Yelland
June 26, 2020
This isn’t showing on my website.
I’ve activated the feature, but when I go to the order and click ‘View’, no button exists where they can print an invoice.
I’m using your subscription plugin too.
John Yelland
June 26, 2020
Not on the check out page either
John Yelland
June 26, 2020
Actually, it does work. I was looking at the subscriptions page, not the orders page on the My Accounts.
Thanks! Great plugin.