QR Codes are everywhere; they are an essential component of invoices too. Adding a QR code to invoices is also a legal necessity in several countries across the globe.
So, if you are looking for solutions to generate WooCommerce invoices and create QR codes for them, the WebToffee free plugin WooCommerce PDF invoices and the premium add-on QR Code for WooCommerce invoices would be the perfect solution for you.
In this article, we’ll explain how to add QR codes to your WooCommerce Invoices using this plugin add-on. Before we do that, let’s take a closer look at how helpful the addon will be.
Benefits of Using QR Code Add-on
The QR code add-on is simple to use. A QR code is convenient to store all kinds of data.
Following are some of the benefits of using the QR Code add-on to generate QR codes for invoices.
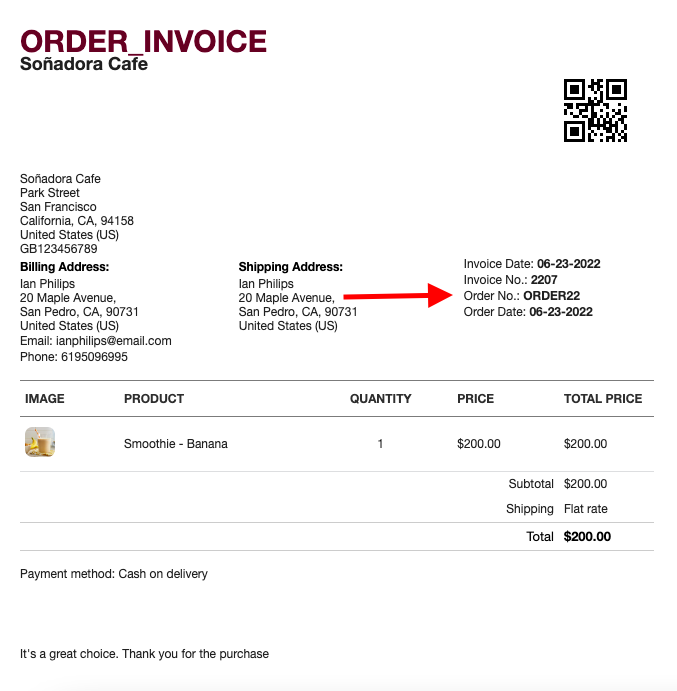
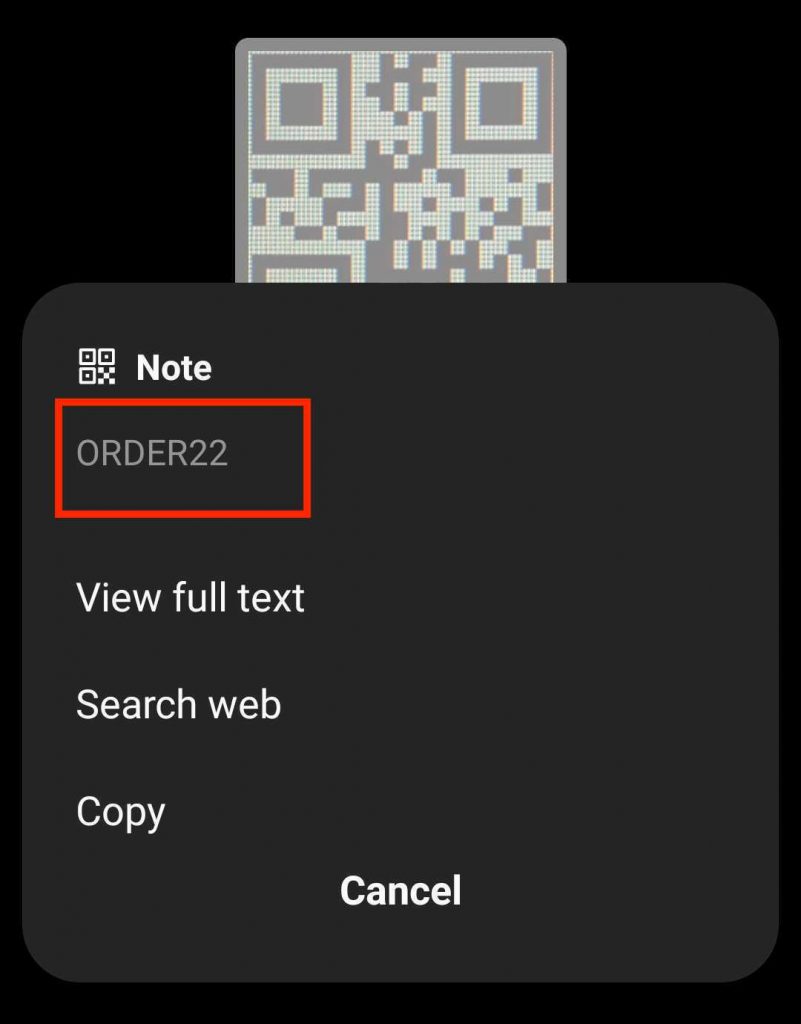
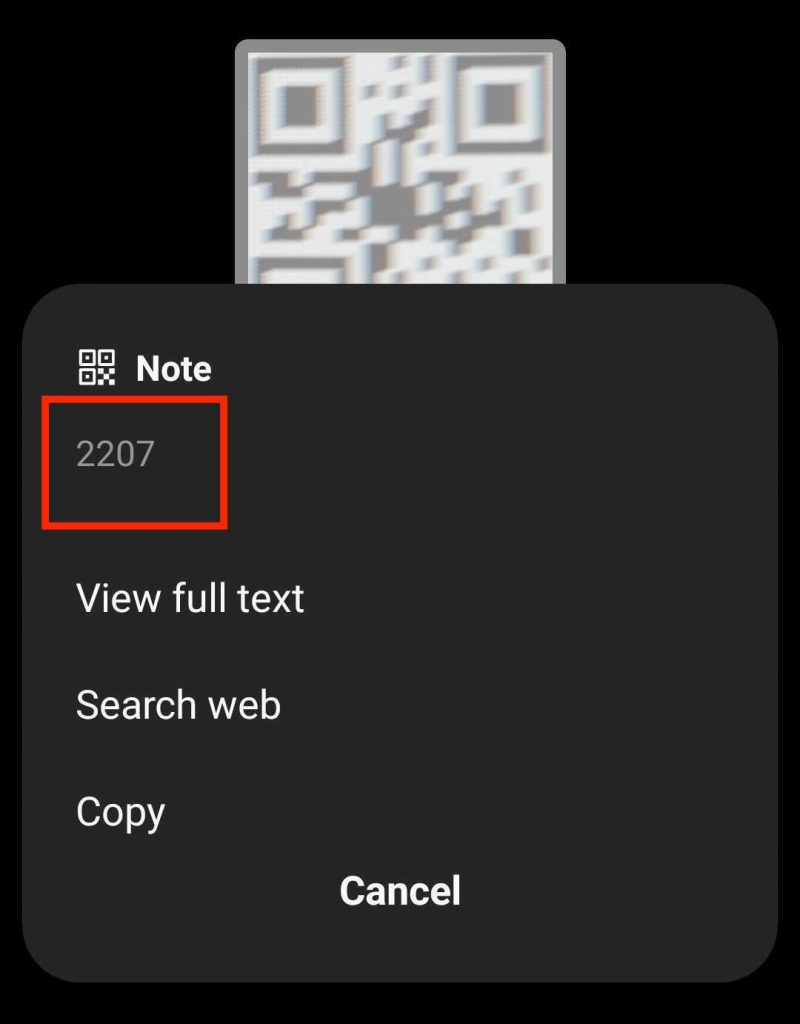
- You can retrieve the order number or invoice number by scanning the QR code on an invoice.
- Printed and emailed attachments are both supported.
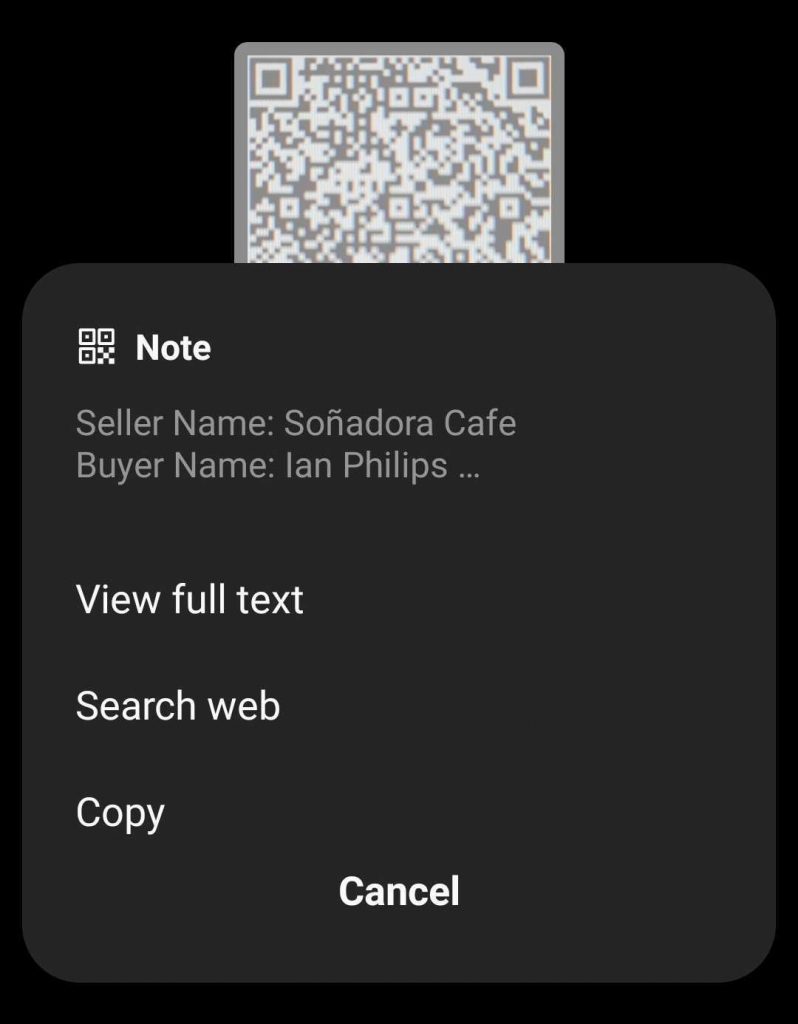
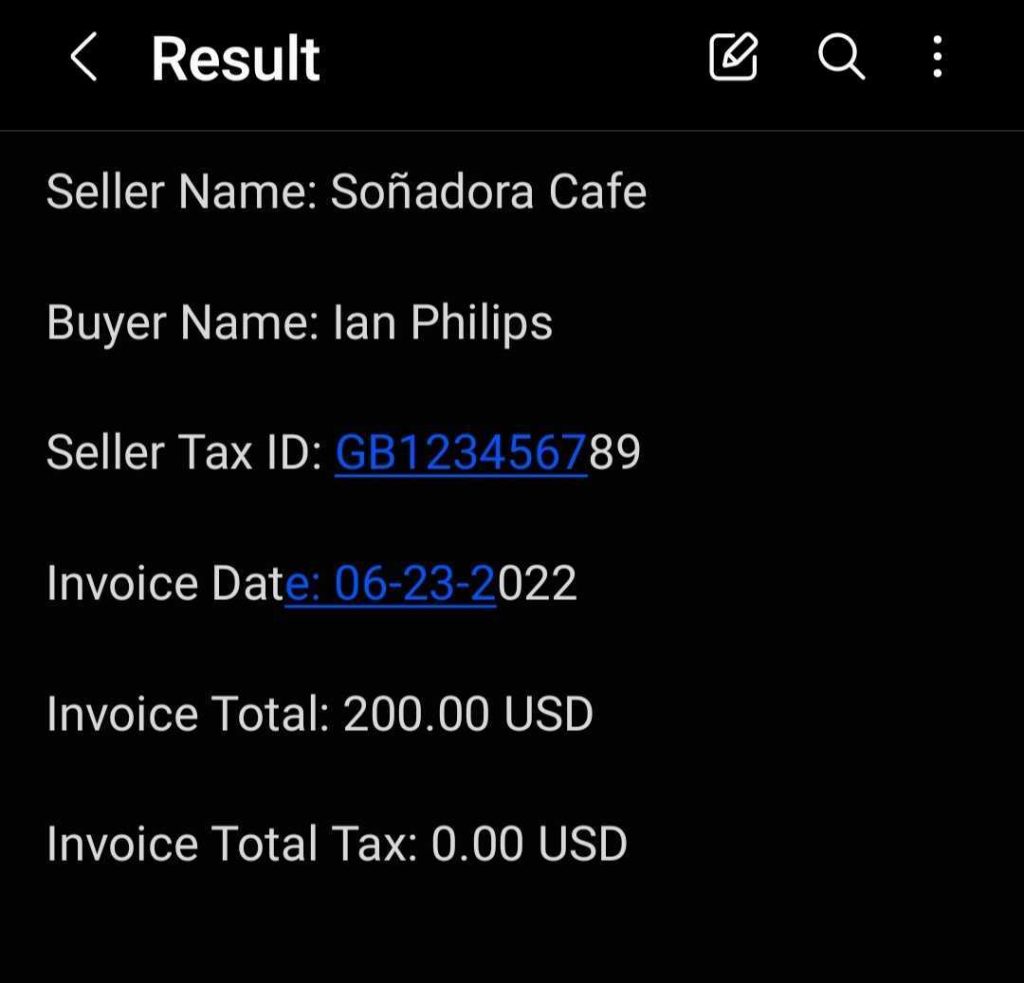
- Additional details like the seller’s name, tax ID, invoice date, etc., can be viewed upon scanning the QR code.
At present, the add-on QR code for WooCommerce invoices will be supported only in the Free (v3.0.0 or later) and Premium (v4.4.0 or later) versions of the WooCommerce PDF Invoices, Packing Slips, Delivery Notes, and Shipping Labels plugin.
How to add QR Code in WooCommerce Invoices – Step-by-Step Method
If you are an existing user of the plugin WooCommerce PDF Invoices, Packing Slips, Delivery Notes, and Shipping Labels (both free or premium versions), you need to purchase, install, and activate the QR Code Add-on for WooCommerce PDF Invoices from Add New plugin section.
You can add a QR code to your WooCommerce invoice generated by following the steps below.
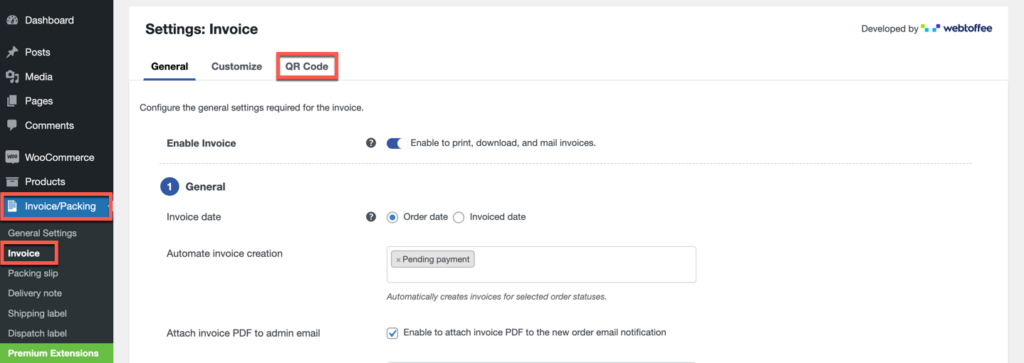
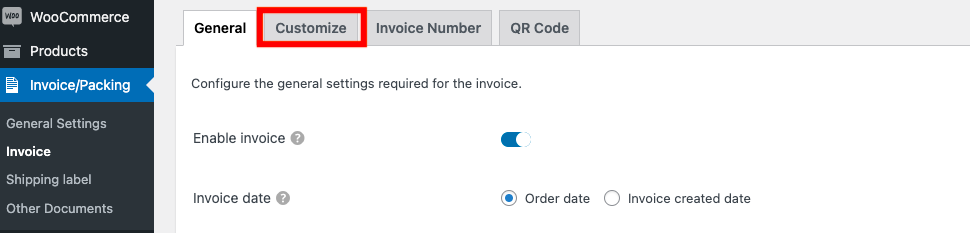
Step 1: From the WordPress dashboard, click Invoice/Packing > Invoice
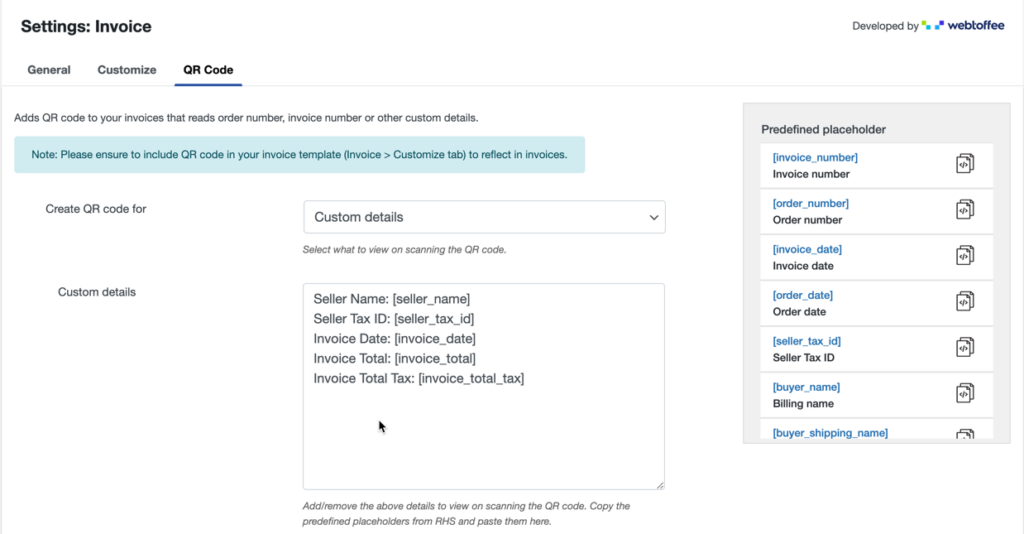
Step 2: Click on the last tab QR Code.
Step 3: In “Create QR code for:” from the drop-down options, select what you want to display while scanning. There are three options:
- Order number
- Invoice number
- Custom Details
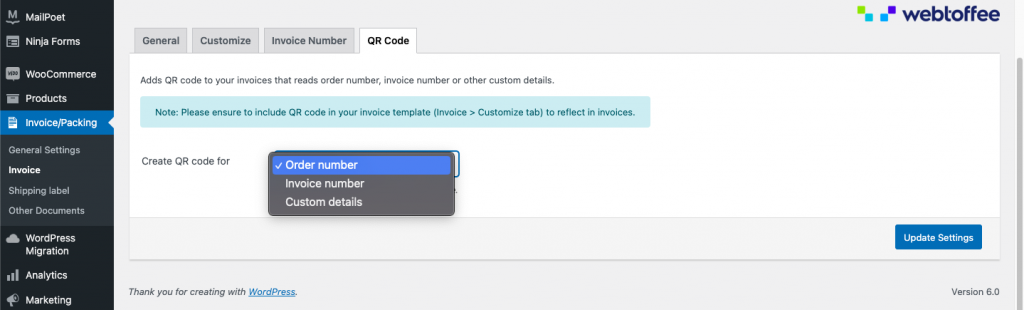
- If you select Order number, it will display the order number of the selected order while scanning the QR Code.
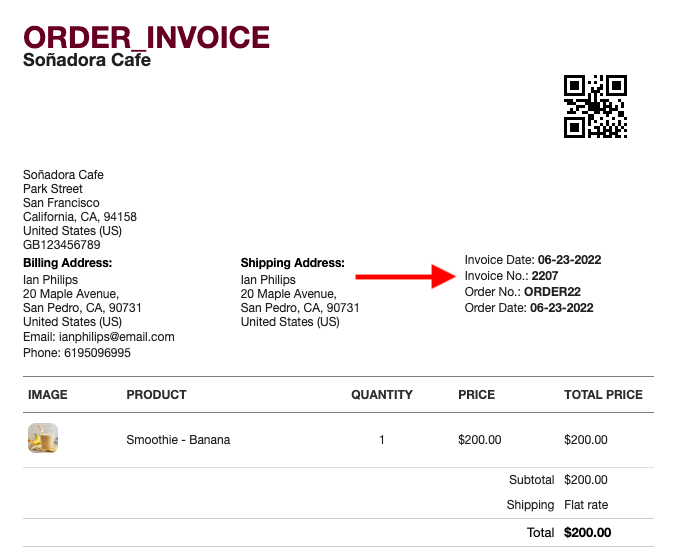
- If you select Invoice number, it will display the invoice number of the selected order while scanning the QR Code.
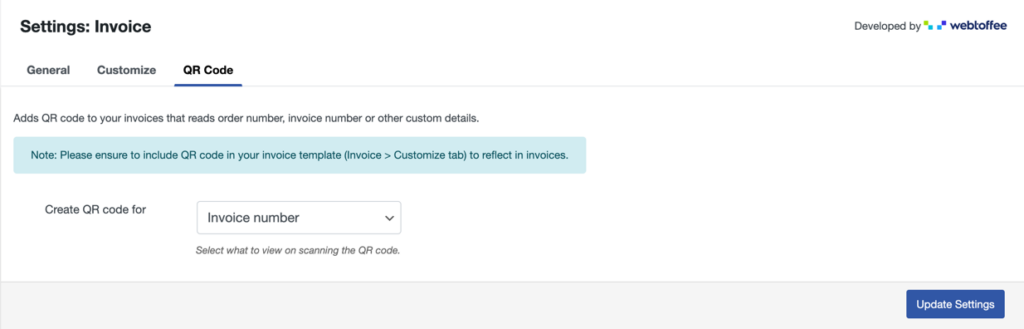
- If you select the “Custom details” option, you will be able to add or remove the details you wish to display during scanning.
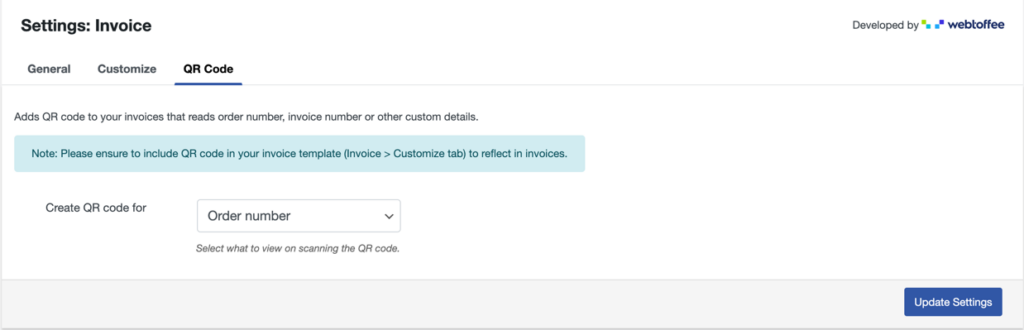
Step 4: Once you’ve made the changes you want, click Update Settings.
Step 5: To add a QR code to your template go to the Customize tab.
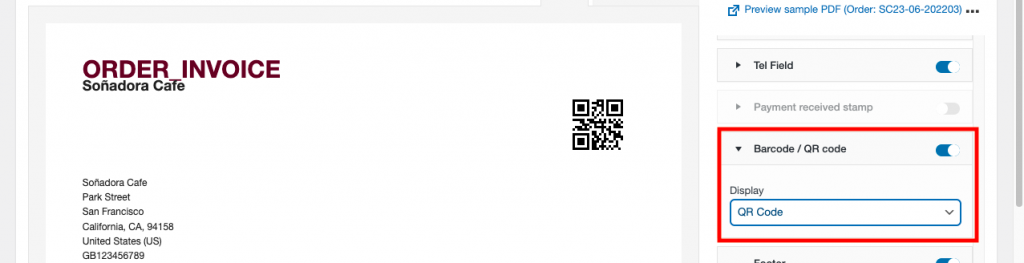
Step 6: On the right-hand side of the Customize tab, you have the option to add a Barcode to the template. Toggle it on, but make sure that the template supports the QR code or barcode before doing this.
Expand the Barcode/QR code option and choose QR Code from the drop-down.
Save the changes to the template before exiting.
Wrapping up
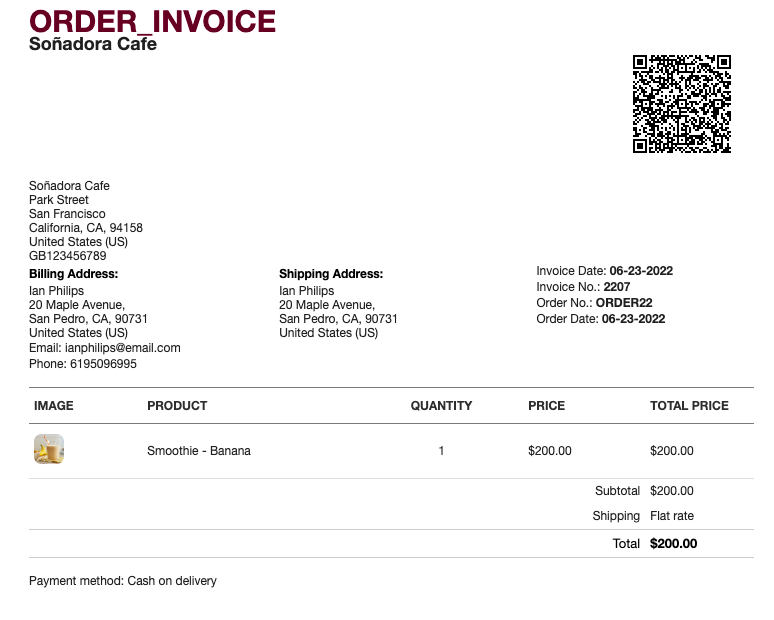
With a QR code add-on, you can easily generate and add a QR code to the WooCommerce invoice.
When a QR code is attached to the WooCommerce invoice, you can make it quick and easy for your customers to fetch the complete details of the selected order.
QR code add-on for WooCommerce enables you to generate QR codes that will instantly offer invoice details to the customers. The plugin is compatible with both free and premium variations of the WooCommerce PDF invoice plugin.


Comments (2)
jalal alnahari
November 28, 2022
Thank you for creating the QR option
But is it possible that ZATCA QR Code output is a TLV Base64 string for Saudi Arabia
Mike
December 4, 2022
Hi Jalal,
The QR Code Add-on for WooCommerce PDF Invoice plugin provides an option to add QR codes to the invoice document. We understand your requirement. However, presently the QR codes generated are generic and will not be compliant with the ZATCA regulations.