Do you want to provide your customers the option to get a quote before making a purchase?
WooCommerce is an excellent eCommerce platform that includes many capabilities right out of the box. However, it lacks integrated functionality that enables customers to get a quote before making a purchase from your online shop.
In this article, we’ll help you to set up a “request a quote” button on your WooCommerce store.
What is a Request a Quote button in WooCommerce?
It’s a term that’s mainly used by businesses that want to know the actual cost of a product before making a purchase. By comparing pricing with other websites, buyers frequently use this method of the buying process to negotiate for a lower price.
Customers can request prices for any product by clicking a WooCommerce Request a Quote button that you’ve added to your online store. You can also let customers set their own pricing for the products.
The benefits of allowing customers to request a quote in WooCommerce
By offering customers the option to request a quote on your WooCommerce store, you can sell more products and items.
Customers who were hesitant to purchase things in the past can now do so by asking for an estimate and seeing if it matches their budget.
By offering this service, you can encourage your customers to make purchases they otherwise might not have considered. You’re able to maximize sales as a result, which increases your income.
Here are the other key benefits of including a “Add to quote” button on your online store:
Improve sales: Giving customers the option to request quotes before they buy can boost sales at your online store. This is so that you may connect with more potential clients who might not have previously purchased from your online store. It enables you to assist customers seeking pricing information and encourage them to proceed with the purchase of the product.
Handle bulk orders: Using the “Add to quote” button on product pages, you can allow customers to place bulk orders or buy more items. This not only enables you to serve a wider spectrum of customers, but it’s also a great approach to provide your online store customers with a more customized shopping experience.
How to add an “Add to Quote” button in WooCommerce
By default, WooCommerce doesn’t provide the option to add an ‘Add to Quote’ button for any products so, we will need a WooCommerce Request a quote plugin for the setup.
Follow the below step-by-step guide to add the ‘Add to Quote’ button to your WooCommerce store.
Step 1: Plugin Installation
After purchasing the plugin, go to the My Account section of the WebToffee website. Then, from the Downloads tab on the My Account page, download the WooCommerce request a quote plugin zip file.
Once downloaded the zip file, go to Plugins > Add new from the WordPress dashboard. Later, install and activate the plugin.
Step 2: Plugin Configuration
In the WordPress dashboard, go to Quotes > General
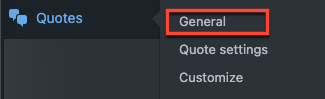
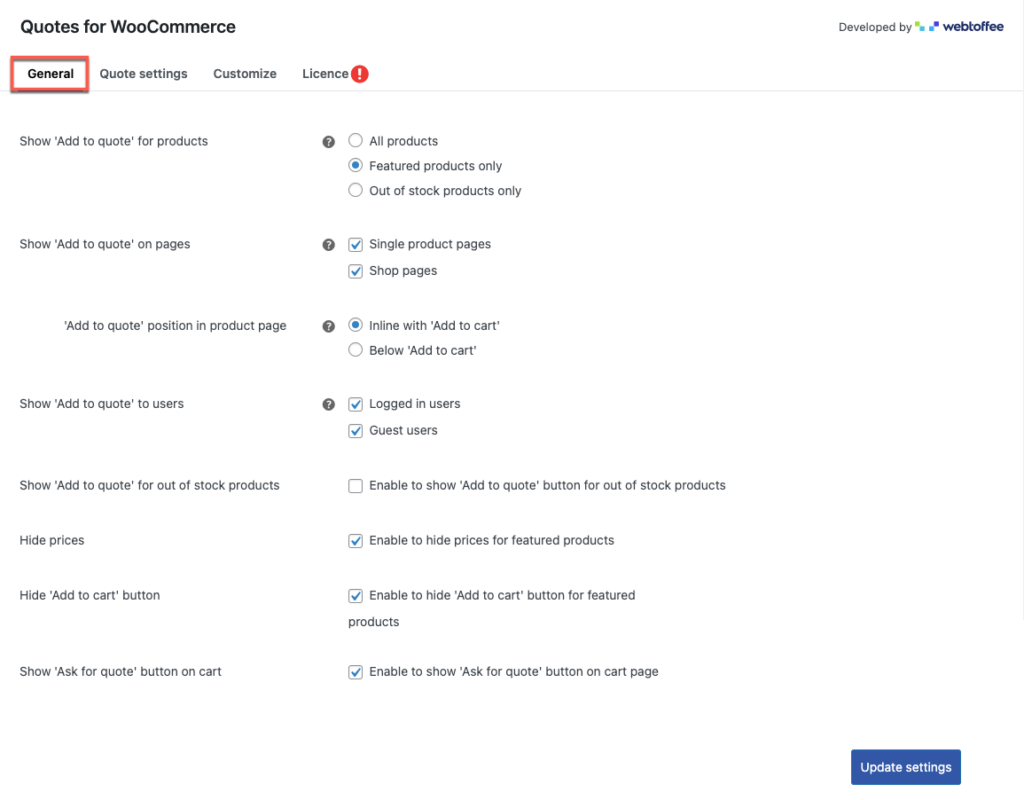
Here you can configure the general settings of the Request quote plugin.
Show “Add to quote” for products: This option enables you to show the ‘Add to quote’ button for all products, featured products only, and out of stock products only. Selecting any of the products will reflect in your online store.
Show “Add to quote” on pages: You can enable show the quote button on either single product pages or shop pages or both. If you are enabling the single product pages option, select the position of the button.
“Add to quote” position in product pages: Once you selected the single product page option, select the position of the quote button either inline with ‘Add to cart’ or below the ‘Add to cart’ button.
Show “Add to quote’ to users: This option allows to show the quote button for either logged-in users or guest users or both.
Show “Add to quote’ for out of stock products: the option suggests showing the quote button for out of stock items. If you have opted out of stock products only in the Show “Add to quote” for products, this option will be hidden.
Hide Prices: if enabled, the product prices will be hidden.
Hide “Add to cart” button: If enabled, the ‘Add to cart’ button will be hidden.
Add “Ask for quote” button on cart: If enabled, this option will be shown on the cart page.
Once made the changes, click on the Update settings button, to save the changes.
Step 3: Navigate to the Quote Settings tab
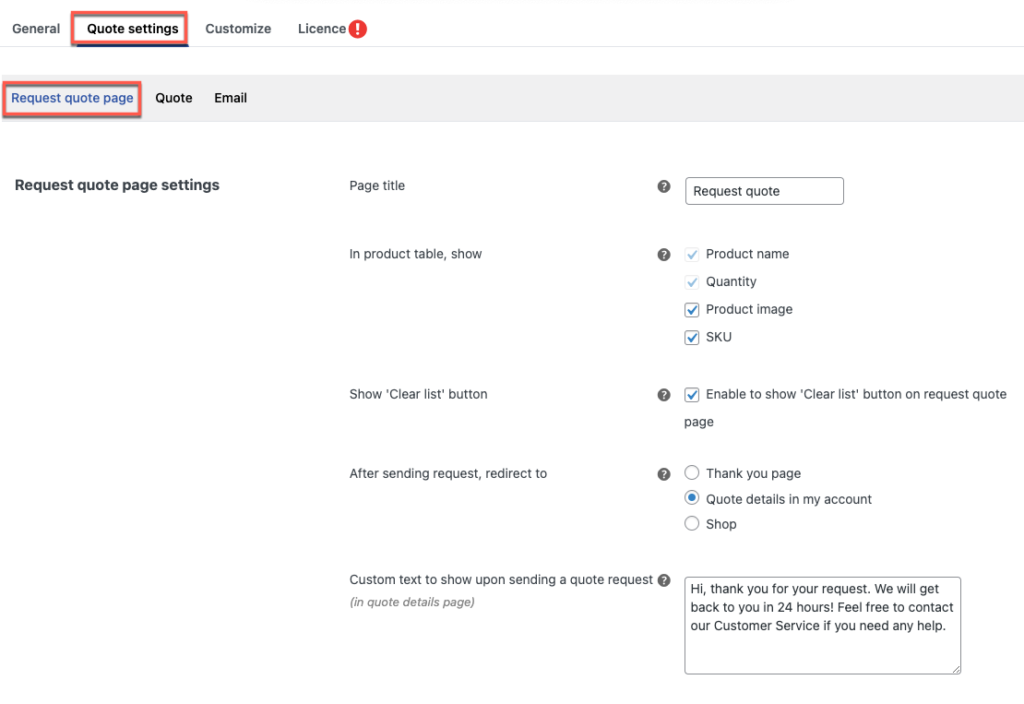
Under the Quote settings tab, you have 3 options: Request quote page, Quote, and Email.
In the first section of the request quote page settings,
Page Title: You can edit the name of the page, where the list of requested quote product table will be displayed.
In the product table, show: Product name and quantity have already been set and cannot be modified. Product pictures and SKUs can also enable, if necessary,
Show “Clear list” button: If enabled, the clear list button will be displayed under the product table.
After sending request, redirect to: After sending a quote request, you can choose which page the customers wanted to redirect to. Three options are available: Thank You page, Quote details in my account page & shop page.
Custom text to show upon sending a quote request: Here you can edit the text message to show if you selected the Quote details page in My Account after sending the quote request.
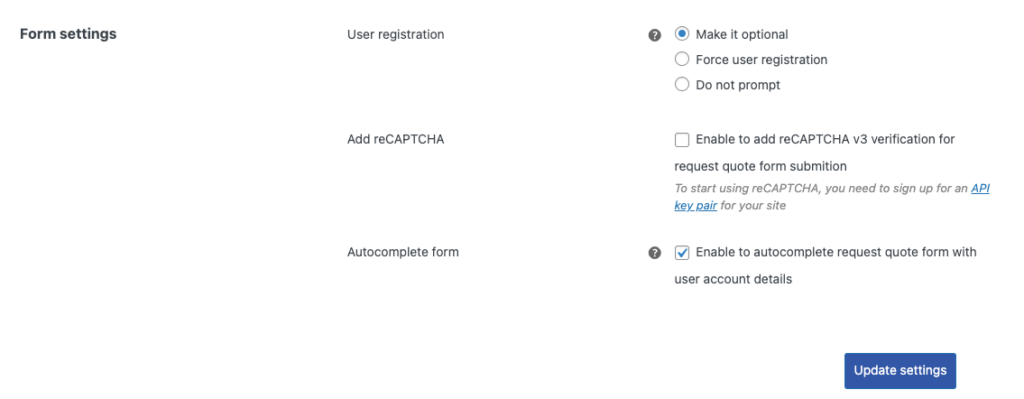
In the second section of the Request quote page, where you configure the form settings.
User Registration: Here you can select the choices to register the user as an optional, force user registration and no registration required.
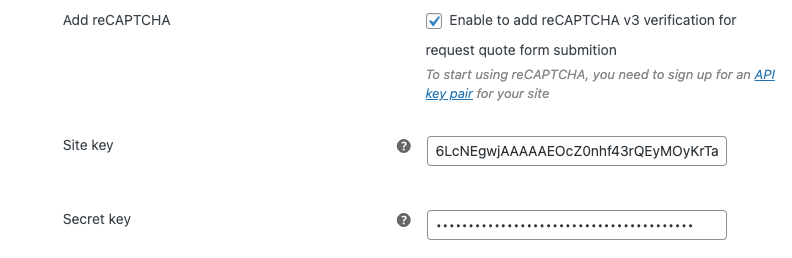
Add reCAPTCHA: Depending on the user registration settings, you can select the reCAPTCHA option. If you are selecting this option, insert the site key and secret key for the reCAPTCHA settings.
For the site key & secret key, you have to sign-up for an API key pair for your site. To grab those keys, click on the link and it will direct you to the page.
Autocomplete Form: if you want your logged-in users to fill out the quote form, you can enable this option to autofill similar fields.
After the necessary changes, click on the Update setting button.
Step 4: Navigate to the Quote tab under Quote settings
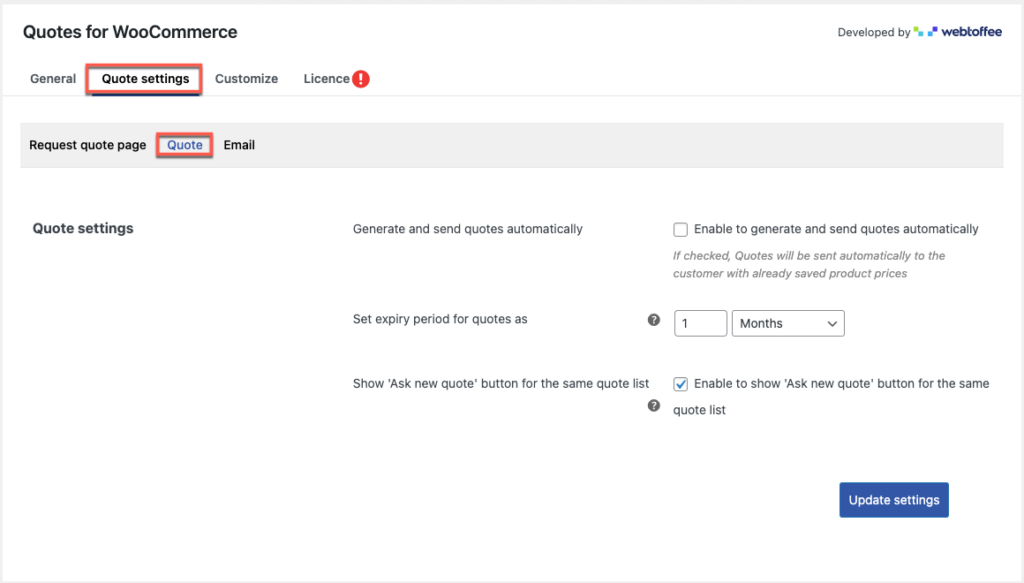
Generate and send quotes automatically: If enabled, request quotes will be sent automatically to the customers with the default product prices i.e, saved product prices in the online store.
Set expiry period for quotes as: you can set the expiry date for the accepted quotes.
Show “Ask new quote” button for the same quote list: If enabled, the customers can ask new quote for the same quote list.
After the necessary changes, click on the Update settings button.
Step 5: Navigate to the Email tab under Quote settings
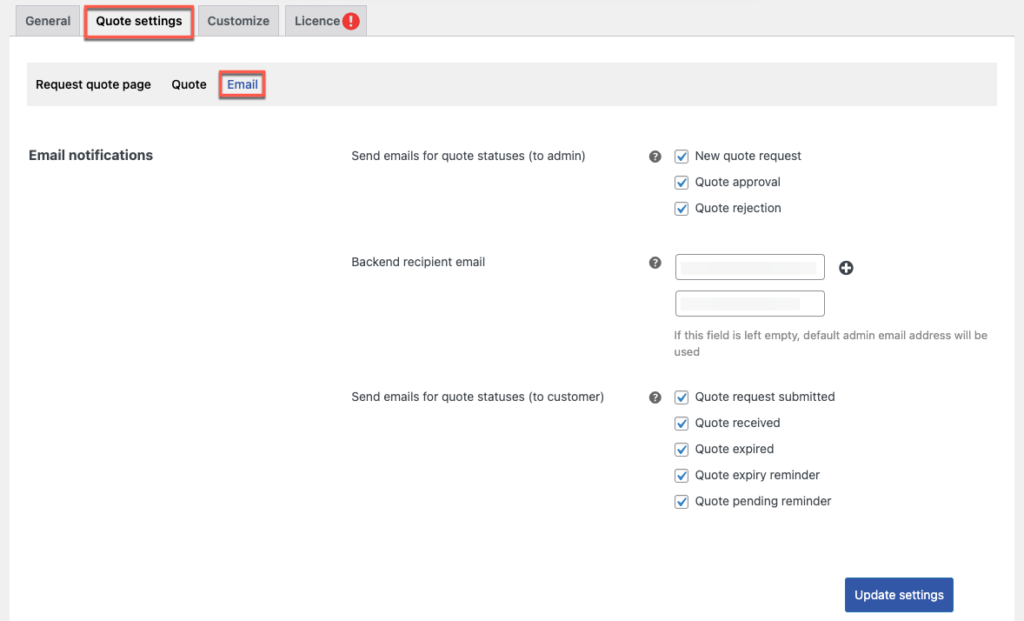
Under the email notification, can configure the email settings
Send email for quote statuses(to admin): When a customer initiates a new quote request, accepts a quote, and rejects a quote, based on the customer’s suggestion, email notifications are sent to the admin side.
Backend recipient email: You can add multiple recipient emails by clicking on the ‘+’ symbol.
If the field is empty, the default admin email address will receive the quote emails.
Send emails for quote statuses(to customer): This option notifies the customer through email when a quote request is submitted, or a quote is received. Also, to remind the user that the quote is expiring, pending, and to remind the quote already expired.
After the necessary changes, click on the Update settings button.
Step 6: Navigate to the Customize tab
In the customize tab, you can customize the button appearance.

‘Add to quote’ button label: in this option, you can change the text of the button
Show “Add to quote” as a – here, you can select a button or a text link option to show the ‘Add to quote’.
Use default button style – If selected, this option allows you to use the installed theme’s standard button design. On the other side, the button color options will be disabled.
Under the Button Colour, you can change the color of the border, background, and text of the button either by pasting the color code or selecting the color box.
You can also change the color of the button when a mouse hovers over the button and the live preview of the button is to be displayed on the website.
Similarly, you can change the button appearance of the Request a quote, ask for a quote, Accept and pay & decline buttons.
After the necessary changes, click on the Save changes button, to reflect the changes on the website.
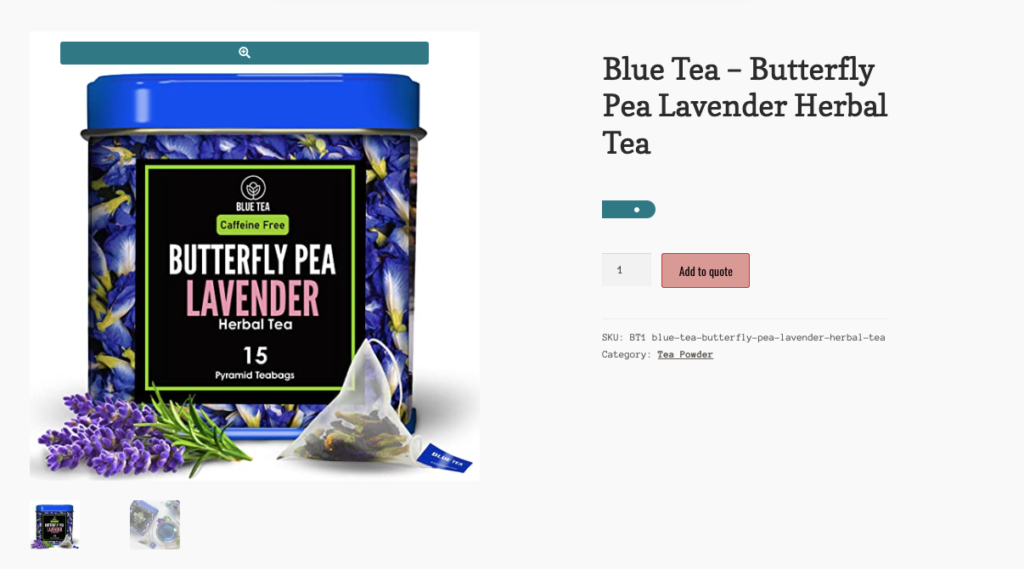
Add to Quote Button in WooCommerce – Customer View
Below shows the image, when a customer opens the product page with ‘Add to quote’ button.
Wrap Up
Due to its ability to make your price structure appear more flexible, a WooCommerce request a quote plugin presents a plethora of options for online stores. You can help your customers contact you by making it simple to ask for a quote for products in WooCommerce. This can be the best decision you can ever make.
Hope this article points you in the right direction. If you have any questions, please leave us a comment below.