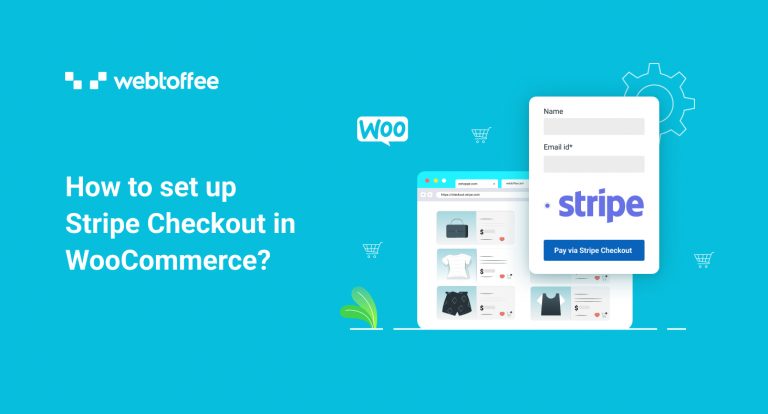
This article explains in detail the step-by-step process to set up Stripe checkout in WooCommerce. We will be using the Stripe payment gateway plugin by WebToffee to set up Stripe checkout.
WooCommerce payments are an integral part of your eCommerce business. It’s the revenue system that keeps your store running over the long term. But are you sure that your WooCommerce store payment system is secured?
How many of you have taken steps to ensure maximum security for your WooCommerce store payments? Think of a situation in which your customers report multiple payment failures or payment security risks on your WooCommerce store.
Fear not. We will show you how to enable stripe checkout in your WooCommerce store.
If you are not familiar with stripe checkout, let us explain it first.
What is Stripe checkout?
Stripe checkout is a Stripe-hosted payment page optimized for conversion with less loading time and real-time card validation. It allows you to easily and securely accept payments for your WooCommerce store.
Your customers can feel a sense of security when they are proceeding to checkout and entering their card details. Stripe also offers a great payment experience for your customers. It comes with a handful of features like
- Address auto-complete
- 1-click payment using Link
- Real-time card validation
- Descriptive error messages
- Third-party autofill
- Card brand identification
- Payment method reuse
How to Set up Stripe Checkout in WooCommerce?
The following steps will help you set up Stripe checkout in your WooCommerce store.
Step 1: Plugin Installation
Open your WooCommerce dashboard.
Go to Plugins > Add New.
Search for ‘Stripe Payment Plugin for WooCommerce’.
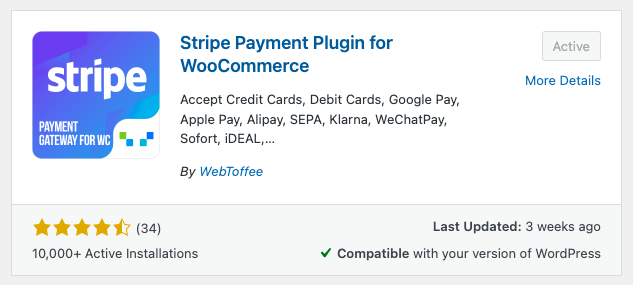
Install and Activate the plugin.
Step 2: Plugin Configuration
First, you have to create a Stripe account. If you already have a stripe account, log in using the credentials and obtain the API keys.
Go to WebToffee Stripe > General Settings.
1. Set the Transaction mode.
Test mode enables you to test the payments and Live mode activates the stripe payment live.
Let’s choose Test mode here. Enter the Test publishable key and secret key for testing the payment. If you are using Live mode, enter the Live publishable key and secret key.
2. Enable the Stripe overview page checkbox to have an overview page for managing all Stripe payments.
3. Then there is the Capture payment immediately checkbox, enable this checkbox to capture Stripe payments immediately.
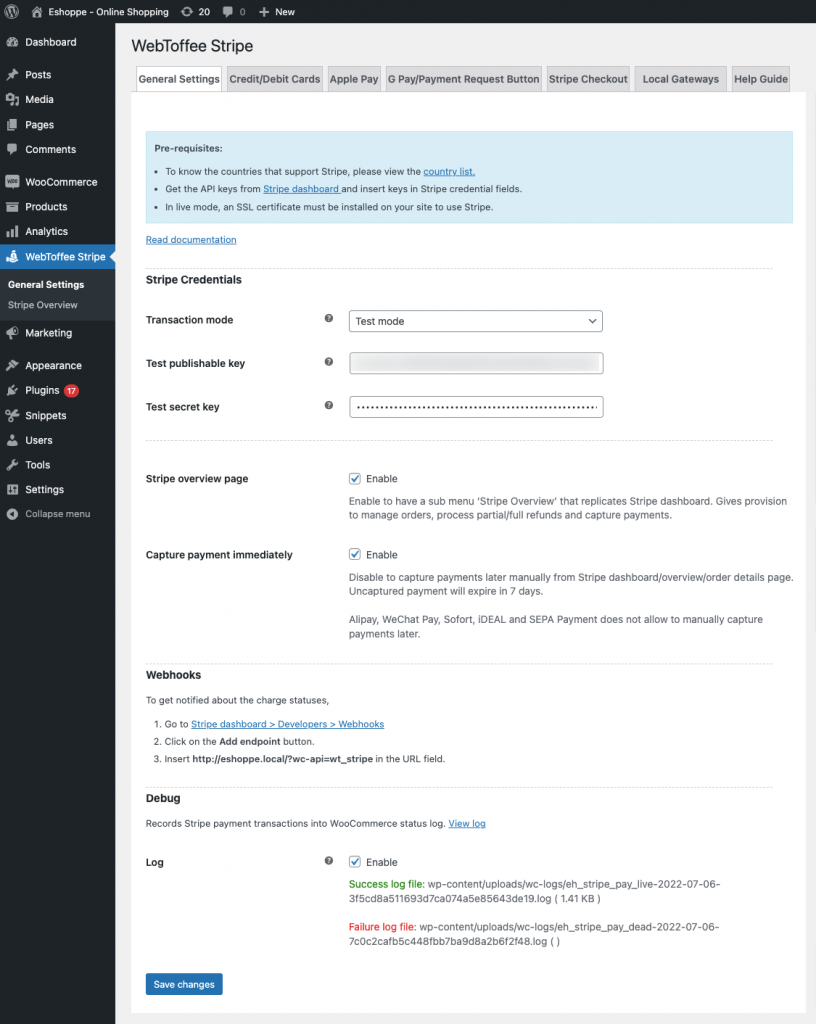
Scroll down and click Save Changes.
If you prefer watching a video tutorial for the setup WooCommerce stripe checkout, watch this tutorial video:
Step 3: Activating Stripe Checkout
- Go to the Stripe checkout tab under the WebTofee Stripe page.
- Enable the Stripe checkout checkbox.
- Add a Title and Description for the payment gateway displayed at the checkout.
- Enter the text for the Order button at the checkout.
- Choose a locale from the dropdown menu.
- Enable Send line items to stripe to view all order line items like tax, shipping fees, etc at the stripe checkout page.
- Check the Billing address and Shipping address checkboxes to ask for address details on the stripe checkout page.
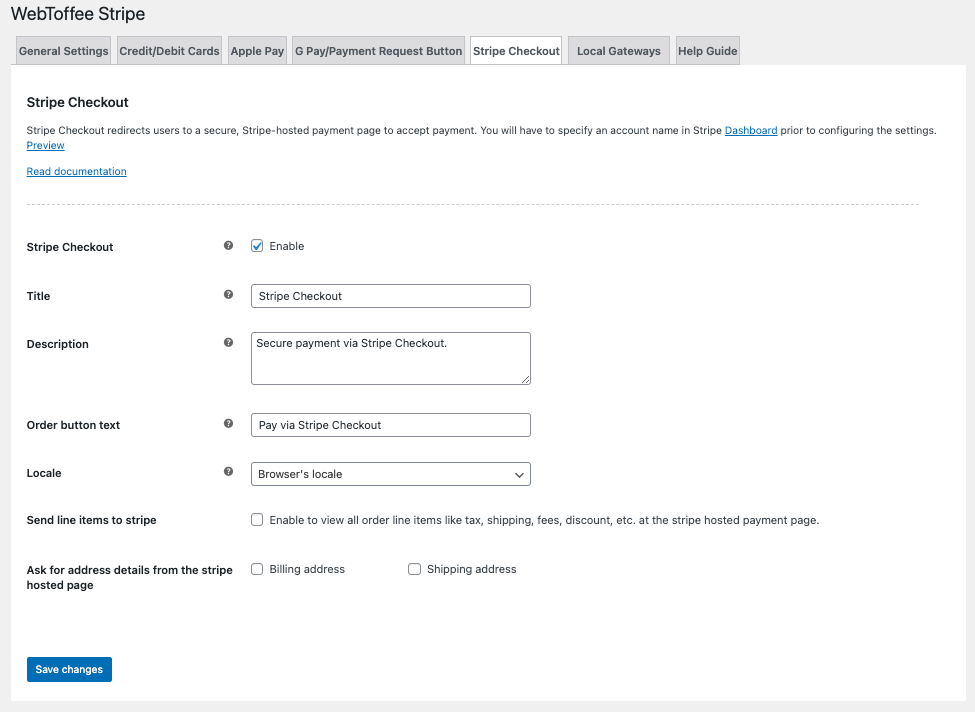
- Click on Save Changes to save the settings.
Step 4: Testing Payments via Stripe Checkout
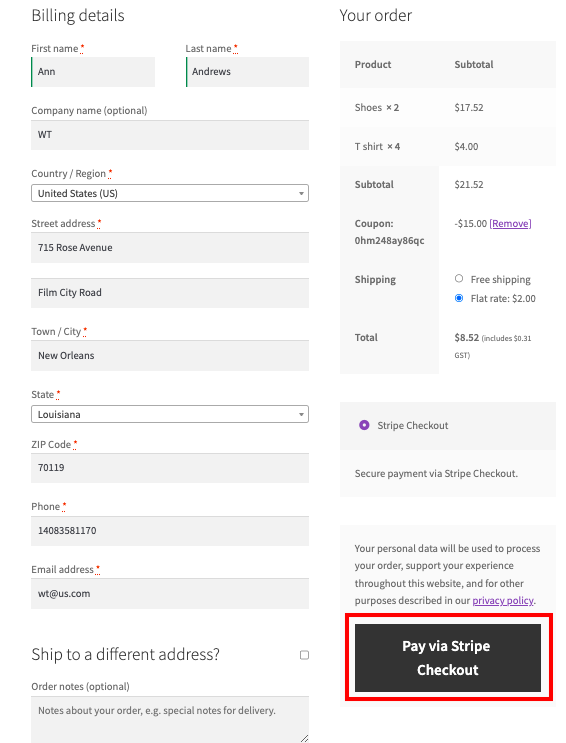
Go to the shop page. Add any product to the cart and proceed to checkout.
There you can see the Stripe checkout option in the payment section.
Click on the Pay via Stripe Checkout button and you will be redirected to a stripe-hosted payment page.
Add your billing address and payment details.
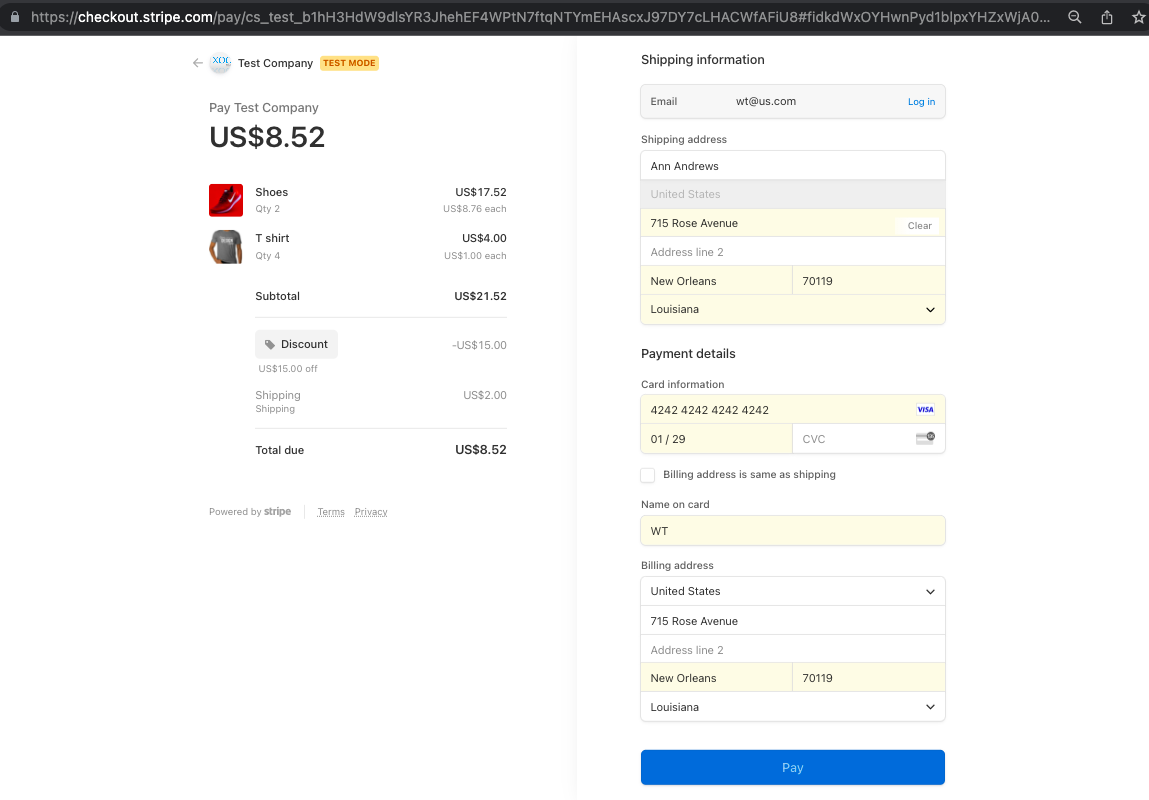
Click on Pay to process the payment.
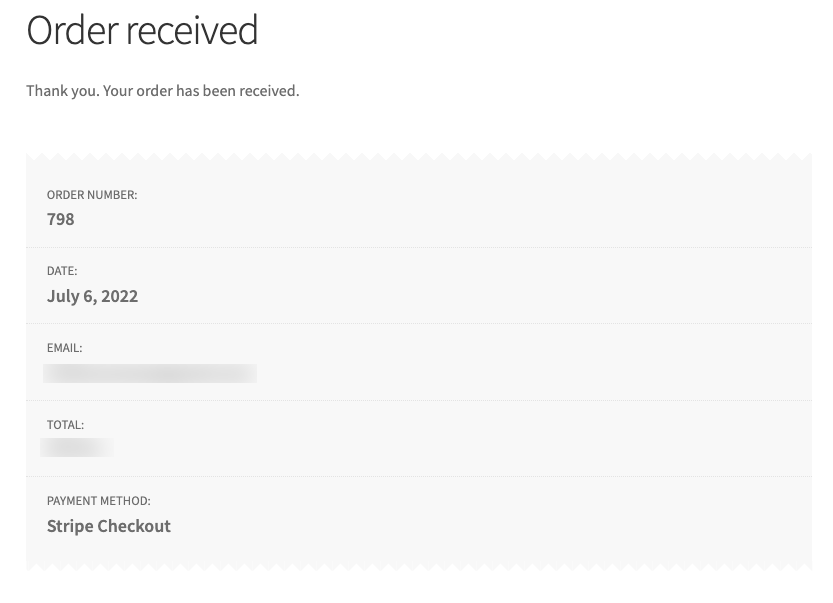
You can see the order received message along with the order details.
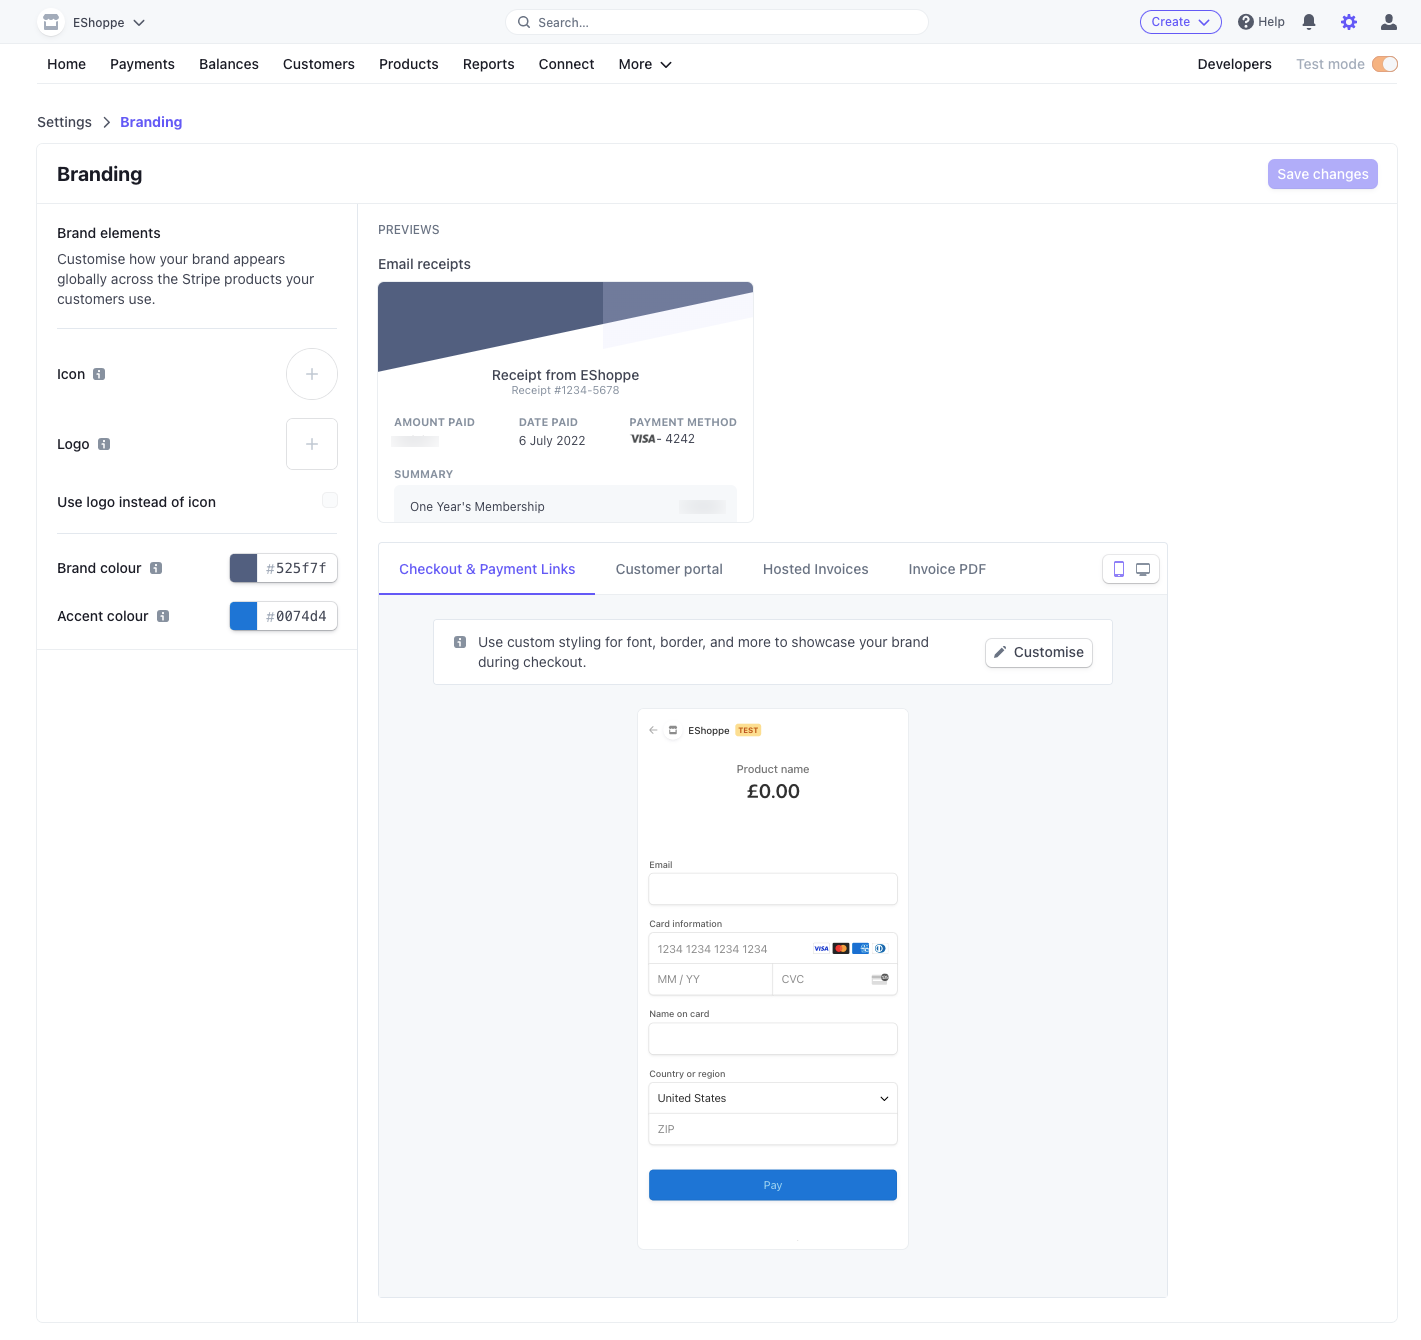
Stripe offers some additional branding options in the stripe dashboard settings. You can customize payment receipts for your customers in the stripe dashboard.
Add your store icons and logos to the payment receipts. It lets you showcase your brand on the checkout page using custom styling for font, border, and more.
Additional benefits of using Stripe checkout in WooCommerce
Let’s see some of the additional benefits of using Stripe checkout in WooCommerce using the WooCommerce Stripe Payment Gateway By WebToffee.
Autofill payment details with Link
Stripe checkout allows your customers to save their payment information using the Link payment option. By doing so, they won’t have to manually enter the payment details each time they purchase in the future.
Your customers can save their payment information with stripe. Next time when your customer places an order Stripe will automatically add their information. Refer to our detailed guide on adding Link payments to WooCommerce.
GDPR Compliance
Stripe checkout is GDPR compliant, as it won’t load Stripe libraries on your WooCommerce store site. This way you don’t have to worry about losing customers from the EU region.
Subscription payment support (Premium plugin)
The premium version of the WooCommerce Stripe plugin supports subscription payments on your store. This enables you to secure your recurring payments on your WooCommerce store with Stripe.
If you wanna learn more about integrating Stripe Payment gateway to WooCommerce, read our detailed step-by-step guide on “How to set up Stripe in WooCommerce?“
Wrapping Up
Stripe checkout ensures maximum security for WooCommerce store payments. It enhances the payment experience in your store. Your customers can feel a sense of security on your checkout page.
To enable additional payment options such as WooCommerce Subscription payments, you may have to purchase our premium WooCommerce Stripe Payment plugin. The plugin follows the Strong Customer Authentication (SCA) rules and employs 3D Secure for card payments on your WooCommerce store.
Are you confused about choosing the best payment gateway for WooCommerce? Read our article on Important factors to consider when selecting a WooCommerce payment gateway
If you have any questions, please feel free to ask them in the comments section.