OXXO allows customers to pay bills and online purchases in-store with cash. To complete a transaction, customers receive a voucher that includes a reference number for the transaction. Customers then bring their vouchers to an OXXO store to make a cash payment. OXXO is mainly used in Mexico.
Settings: OXXO Payment
- Firstly, install and activate the Stripe Payment Gateway for the WooCommerce plugin.
- From the WordPress dashboard, go to WebToffee Stripe > General Settings > Local Gateways.
- Head on to OXXO.
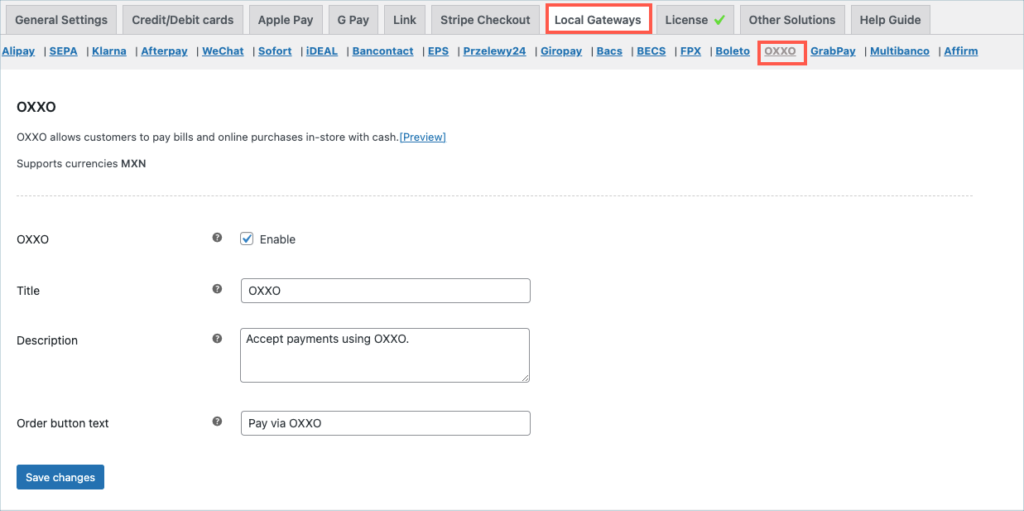
- GrabPay: Enable to accept payments through OXXO payment.
- Title: Enter a custom title for OXXO payment. This title will be visible on the checkout page.
- Description: Enter a custom description for OXXO payment. This description will be visible on the checkout page.
- Order Button Text: Enter a custom text to be displayed on the payment button.
- Finally, click on the Save changes button to update the plugin settings.
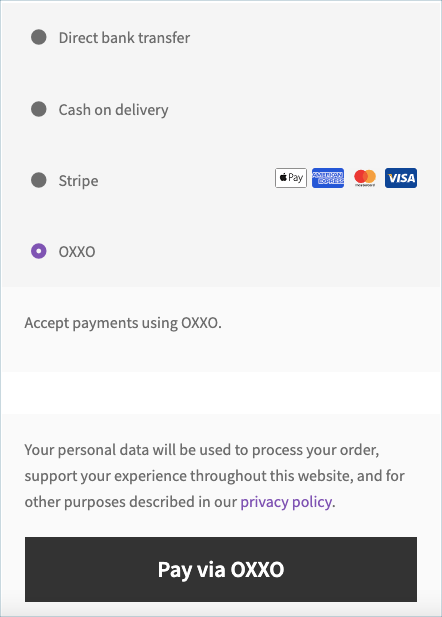
Pay via OXXO
- Customer selects OXXO at checkout.
- The Customer receives voucher with transaction reference.
- Customer can then provide voucher and cash payment at OXXO store.
- The Merchant receives a notification that payment is complete.
Adding webhook endpoint
To receive the order status updates in a timely manner, it is recommended to add your site’s webhook to the stripe dashboard. Follows the steps in – Setting up Webhooks and Supported events article to add a webhook endpoint.