Adding webhook endpoint
To receive the order status updates in a timely manner, it is recommended to add your site’s webhook in the stripe dashboard.
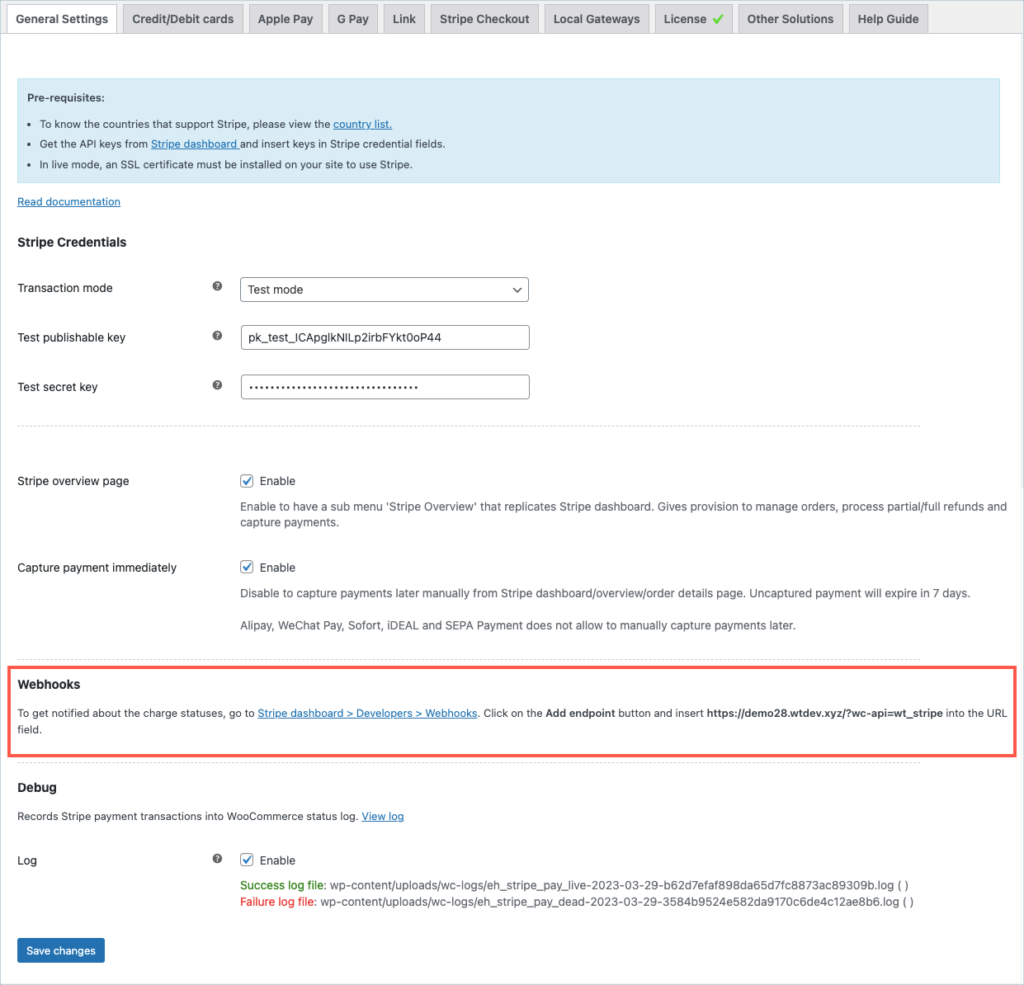
- First of all, copy the webhook URL of your site from WebToffee > General settings > Webhooks.
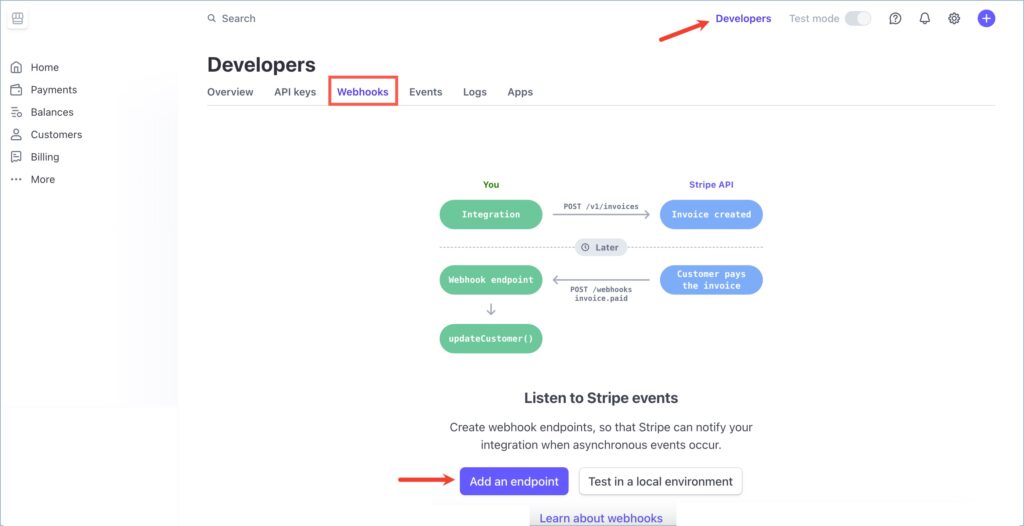
- To insert the webhook, go to the Stripe dashboard, click on the Developers option, and select Webhooks. Then, click on the Add an endpoint button and insert your site URL.
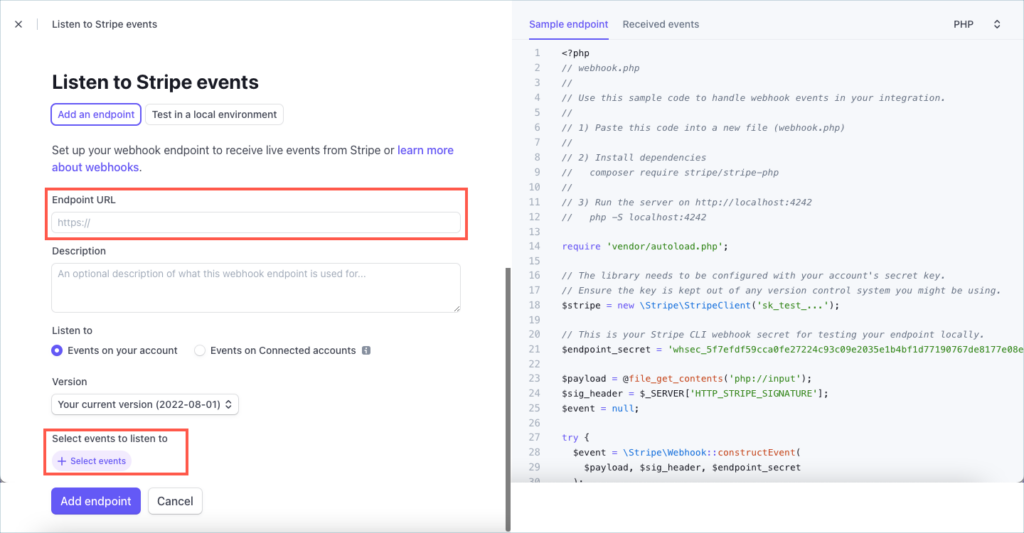
- Enter the webhook URL in the Endpoint URL field. Then select the compatible events from the Select events to listen to the listing.
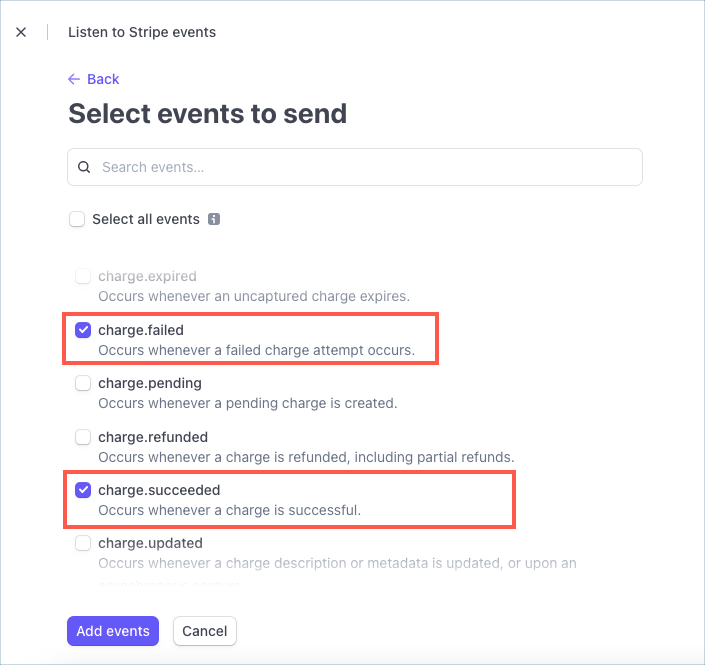
- List of webhook events that are compatible with the plugin are given below:
- charge.dispute.created
- charge.succeeded
- charge.failed
- checkout.session.expired
- source.chargeable
- source.failed
- payment_intent.succeeded
- payment_intent.payment_failed
- The below image shows sample events selected. Then click on Add endpoint button to create an endpoint.
Comments (2)
tai
September 17, 2023
i install the free version plugin to my woocom but when i do test – it appears “Error processing checkout. Please try again.” Is there anyone can help?
Arjun
September 19, 2023
Hi Tai,
Thank you for reaching out to us. It looks like you need some technical assistance. Please reach out to our support team with the following information:
1. Error log from Stripe Dashboard.
2. Screenshot of the checkout page.
3. System status report (WooCommerce > Status > Get System Report).