Allows the user to pay via Google pay or other saved cards. The button will only appear if the customer has set up Google pay/saved cards on their device or in a supporting browser.
Pre-requisite: Ensure that the Stripe API keys are saved in the stripe credential fields.
Settings
- As a first step, install and activate the Stripe payment gateway for WooCommerce plugin.
- Go to plugin settings or from the WordPress dashboard, go to WebToffee Stripe > General Settings.
- Head on to the Payment Request button tab.
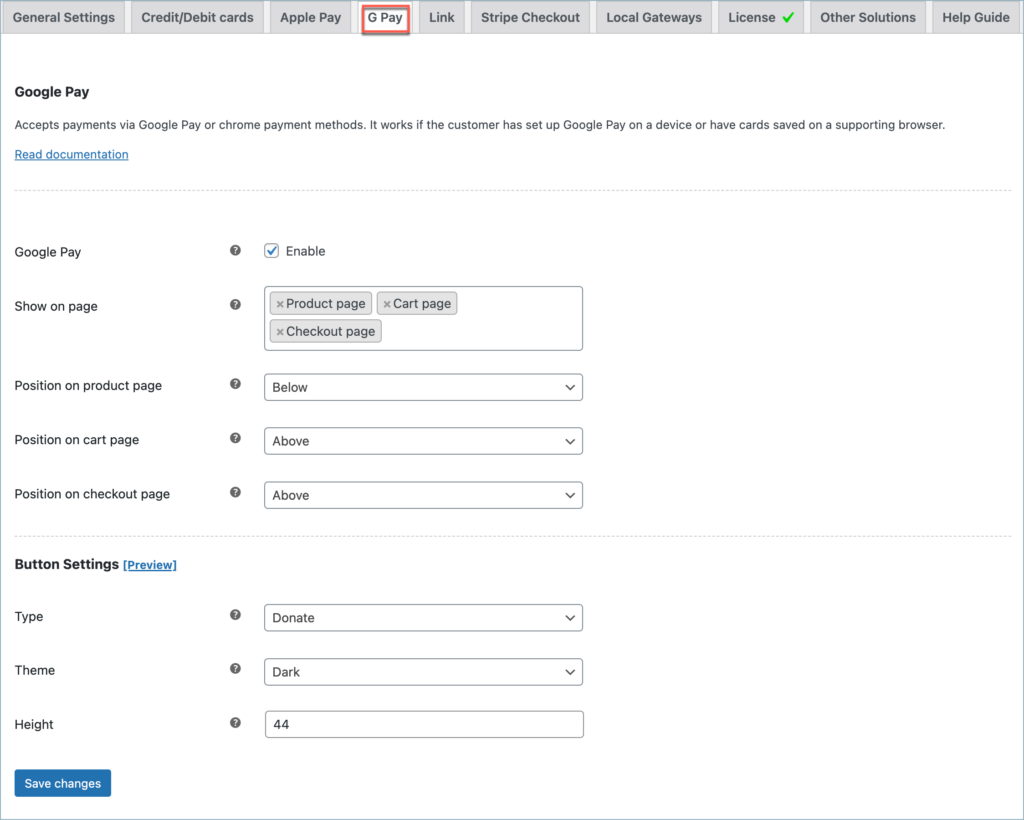
- G Pay: Enable to accept payment via G-Pay button or Buy now (cards/payment details saved in browser) button.
- Show on pages: You can show the payment request button on the cart, checkout, or on the product page.
- Position on product page: Allows setting the G-pay Button Above or Below the product page.
- Position on cart page: Allows setting the G-pay Button Above or Below the cart page.
- Position on checkout page: Allows setting the G-pay Button Above or Below the checkout page.
- Button Settings:
- Type: Select the button type as either Buy, Pay, or Donate.
- Theme: Choose the button theme as either a dark, light, or light outline.
- Height: Enter the required height in pixels.
Finally, click Save changes to save/update the plugin settings.
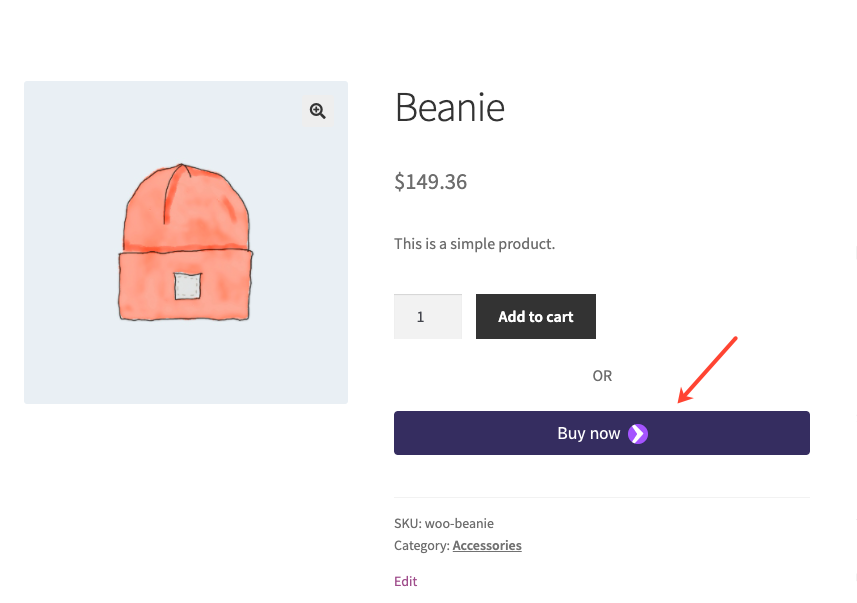
Google Pay checkout using stripe
The Buy now button on the product page will appear in the following manner:
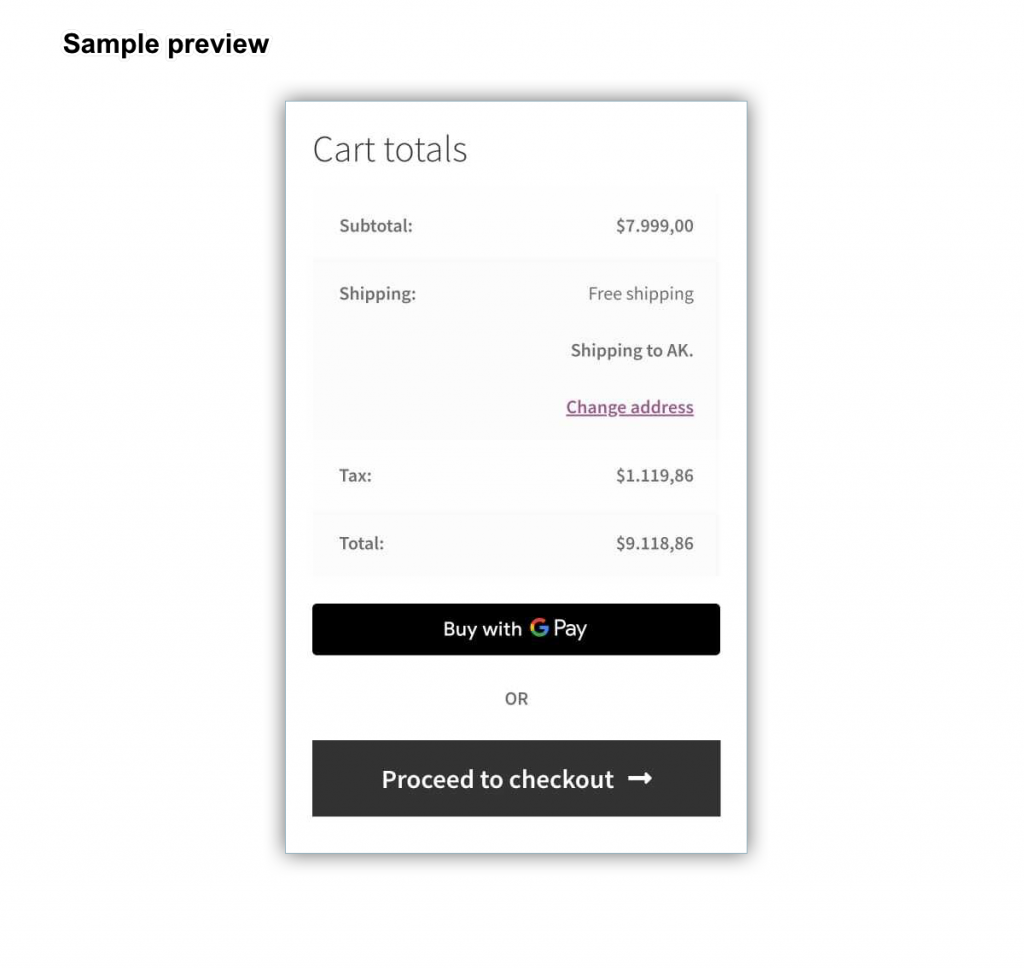
Google Pay button on the cart page will appear in the following manner:
Know more about setup of the plugin.
Akash
October 25, 2021
Is there possible to show google pay button website ?
Now this scenario Google pay show only in mobile so it is possible to also this button show in desktop website.
Please share your opinion for above query.
Thank you
Alan
November 9, 2021
Hi,
The Google pay button will be displayed only on the mobile version of the site.
Evrim
August 21, 2021
Hi there,
Is there any way to change Buy with Google Pay button and Proceed to Checkout button order. I mean on your last ss Google Pay seems the first option.
Thank you in advance,
Evrim.
Mark
August 27, 2021
Hi Evrim,
We currently do not have any option to change the order. Sorry that we are unable to assist.
James Smith
June 15, 2021
After setting up the Request Button for Google Pay, it doesn’t show up on my product pages or checkout. As well there is no place to enable it in the Stripe settings for Woocommerce like the other features in this plugin. Can you help me make this plugin work for Google Pay because that was the reason I purchased the upgrade.
Thanks, Jim
Mark
June 16, 2021
Hi James,
Please go to WebToffee Stripe menu > ‘Payment Request Button’ and enable it to add the google pay button on the site. Also, ensure that the payment details are saved in your browser or device.