WebToffee’s WooCommerce Shipping Labels, Dispatch labels, and Delivery Notes Plugin allow adding, printing, and downloading shipping labels, dispatch labels, and Delivery notes for your e-store. This is a premium add-on plugin.
Features of the plugin
- Allows customizing shipping documents.
- Offers shipping documents templates, which are customizable.
- Code editor to create the documents from scratch.
- Ability to print shipping documents.
- Bulk-print option.
- Create custom sized shipping labels.
- Generate multiple shipping labels in a single page.
- Add custom return address for dispatch labels.
- Option to select language preference for document generation.
- Option to exclude backorder and virtual items from shipping label and delivery note.
Sample documents created by the plugin are shown below:
Prerequisite
This plugin is a premium add-on to the WooCommerce PDF Invoice, Packing Slips, Delivery Notes, and Shipping Label (free) plugin.
- Install the free WooCommerce PDF Invoice, Packing Slips, Delivery Notes, and Shipping Label plugin.
Getting Started
- Firstly, install and activate the plugin.
- From the dashboard, go to Invoice/Packing. The plugin adds three more documents, shipping label, Dispatch label, and Delivery note.
- Click on the corresponding document to get to the settings screen.
OR - Navigate to Invoice/Packing > General Settings > Documents tab. This tab lists the newly added shipping documents.
- Installing the pro version will add an Advanced tab to the plugin’s General Settings.
Advanced tab of General Settings
Navigate to Invoice/Packing > General Settings > Advanced to access the Advanced tab. The Advanced tab will look like this:

The following are the features offered by the Advanced tab:
- Add additional fields on checkout page – This option helps you to add additional fields to the checkout page. By default, the plugin provides two additional fields ‘SSN’ and ‘VAT’. Click on the Add/Edit Custom Field button to add new fields to the checkout page.
- Tracking number meta – The tracking number added by a third-party plugin can be shown on invoices and other documents by adding its tracking number meta here.
- Display state name – Enable to replace the state code with the state name in all address types. When enabled the state name will be shown on the documents instead of the state code.
- Preview before printing – Enabling this option will show a preview of the document before actually printing it.
- Enable RTL support – Enable to provide RTL support for documents. Use WebToffee’s mPDF add-on for better RTL integration.
- Packaging type – Items within an order will be packed based on the packaging selection. Choose Pack items individually to pack all the items within an order in separate packages, Box packing to pack items in specific boxes and Single package per order to pack all the items in a single package.
- Compatibility with Dokan plugin – Enable to use the vendor’s store address specified in the Dokan multi-vendor plugin as the From address in shipping label, dispatch label and delivery note.
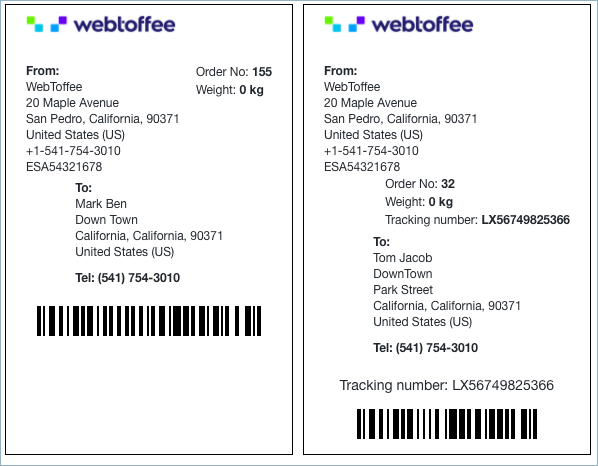
Shipping label
Webtoffee’s WooCommerce Shipping Labels, Dispatch labels, and Delivery Notes Plugin allow setting up shipping labels with custom sizes and including additional fields.
Navigate to Invoice/Packing > Shipping label to access the Shipping label Settings page.
General Settings
The settings included in the general tab are the following:
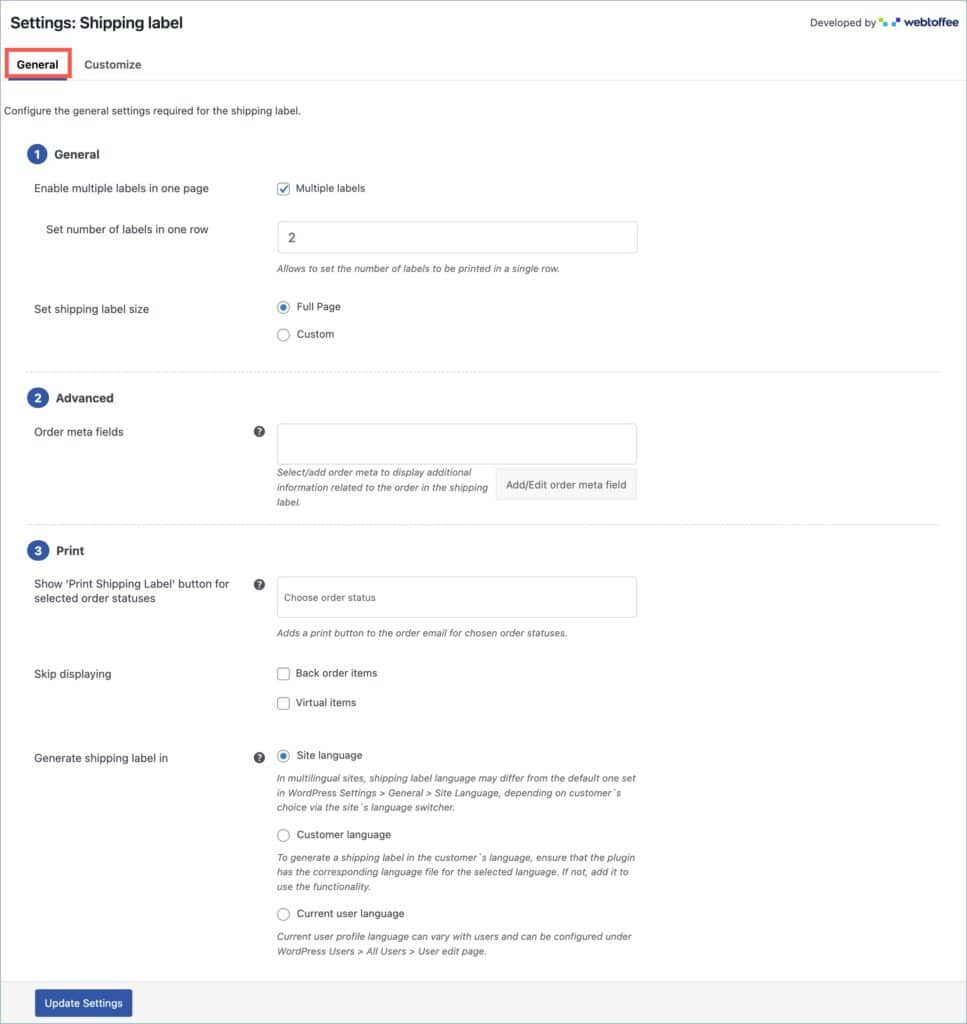
General Section
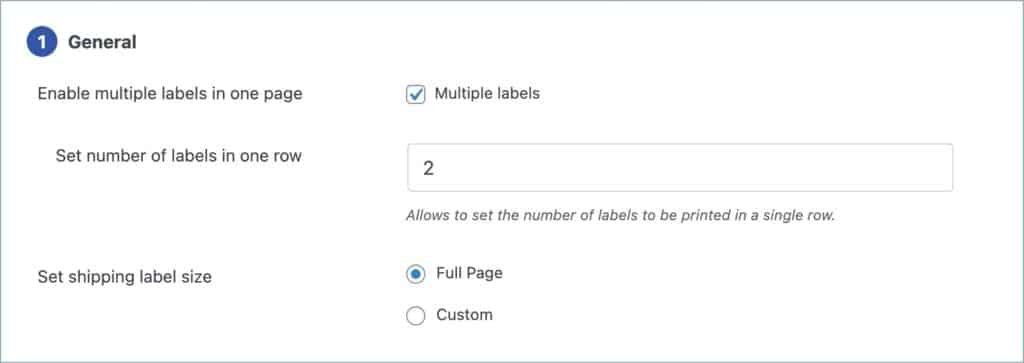
The general section contains the following features:
- Enable multiple labels in one page – Enable to generate multiple labels on one page itself. When enabled, you will get an option to input the number of labels in a row.
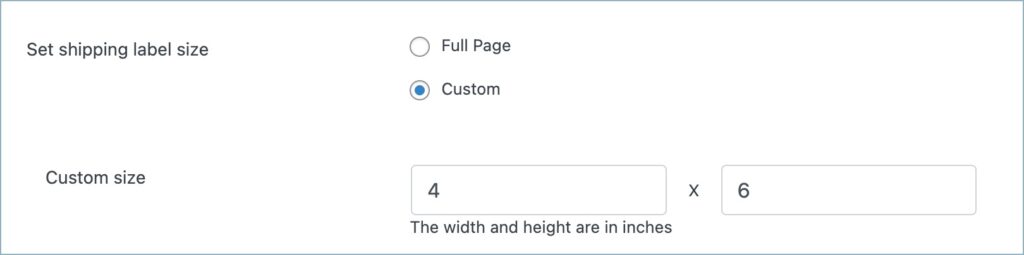
- Set shipping label size – You can choose either full page or set custom size for the shipping label.
- Full Page: This option allows you to print the label, which will be spread over the full page. The printing depends on the browser printing option.
- Custom: This option allows you to print the label in the desired size. You can configure a custom shipping label size of your own by entering size values in terms of width and height (inches).
Advanced Section
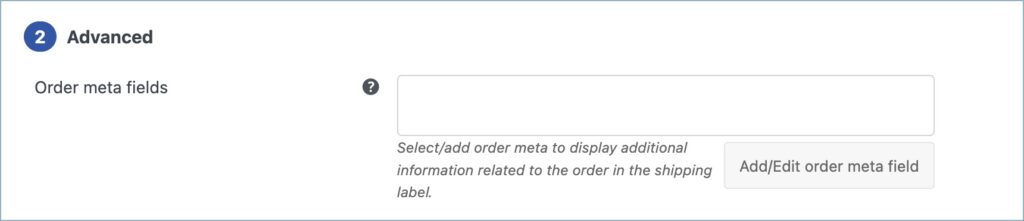
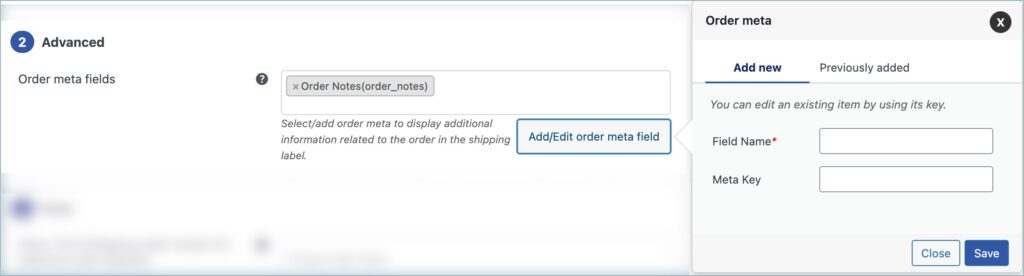
- Order Meta Fields – This allows you to add additional order meta fields in the shipping label.
- Click the Add/Edit Existing Order Meta field button to create custom meta fields by providing a custom Field Name and the respective meta key for the field. You can get the order meta keys from the custom field section of the WooCommerce Order page.
Print section
The print section lists the following features:
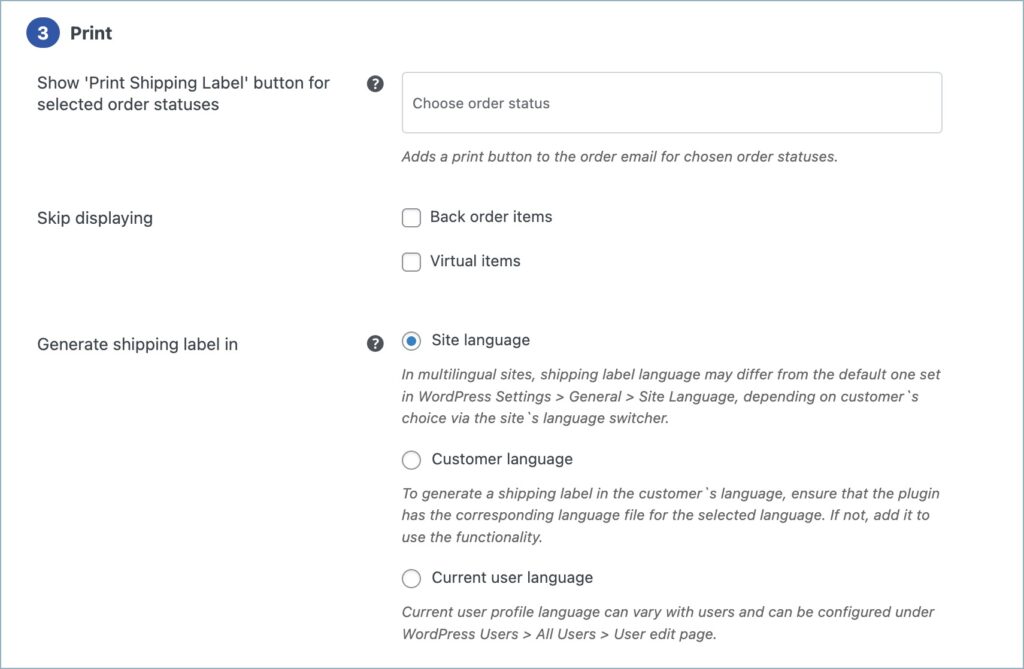
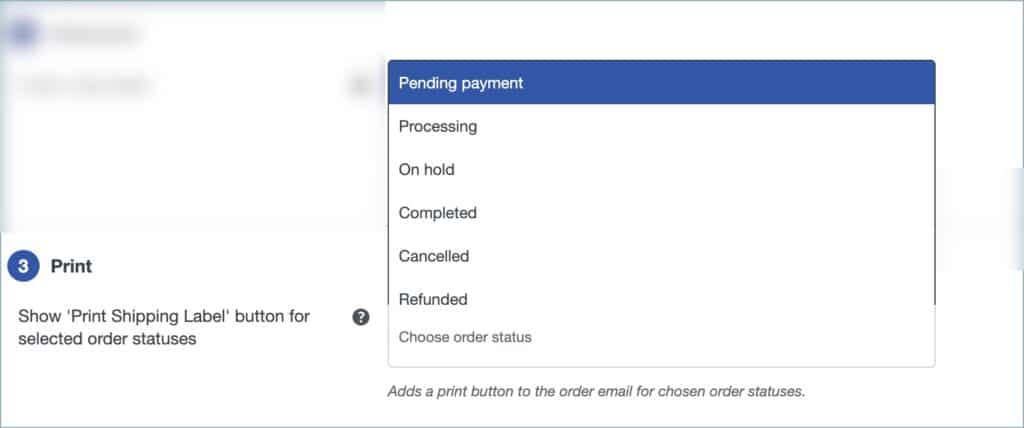
- Show ‘Print Shipping Label’ button for selected order statuses: Adds a print shipping label button to the order email for chosen order statuses. You can choose order statuses from the drop down.
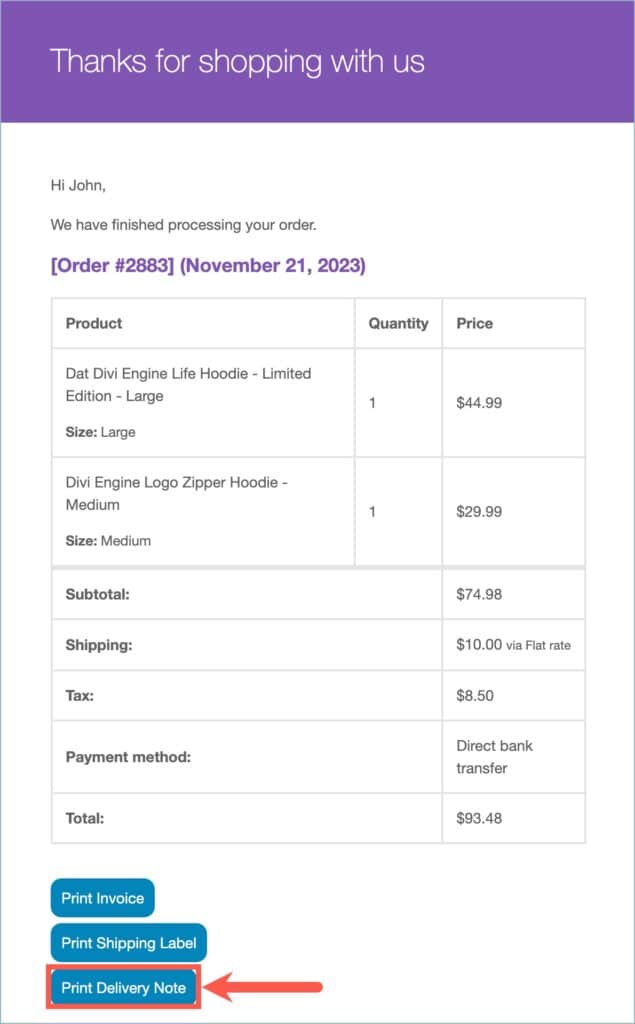
The image below shows a sample order email with a ‘Print Shipping Label‘ button in it.

- Skip displaying: Exclude backorder and/or virtual items from the shipping label by marking the respective checkboxes.
- Generate shipping label in: Choose from the three language preferences for shipping label generation.
Finally, click on the Update Settings button.
Customize tab
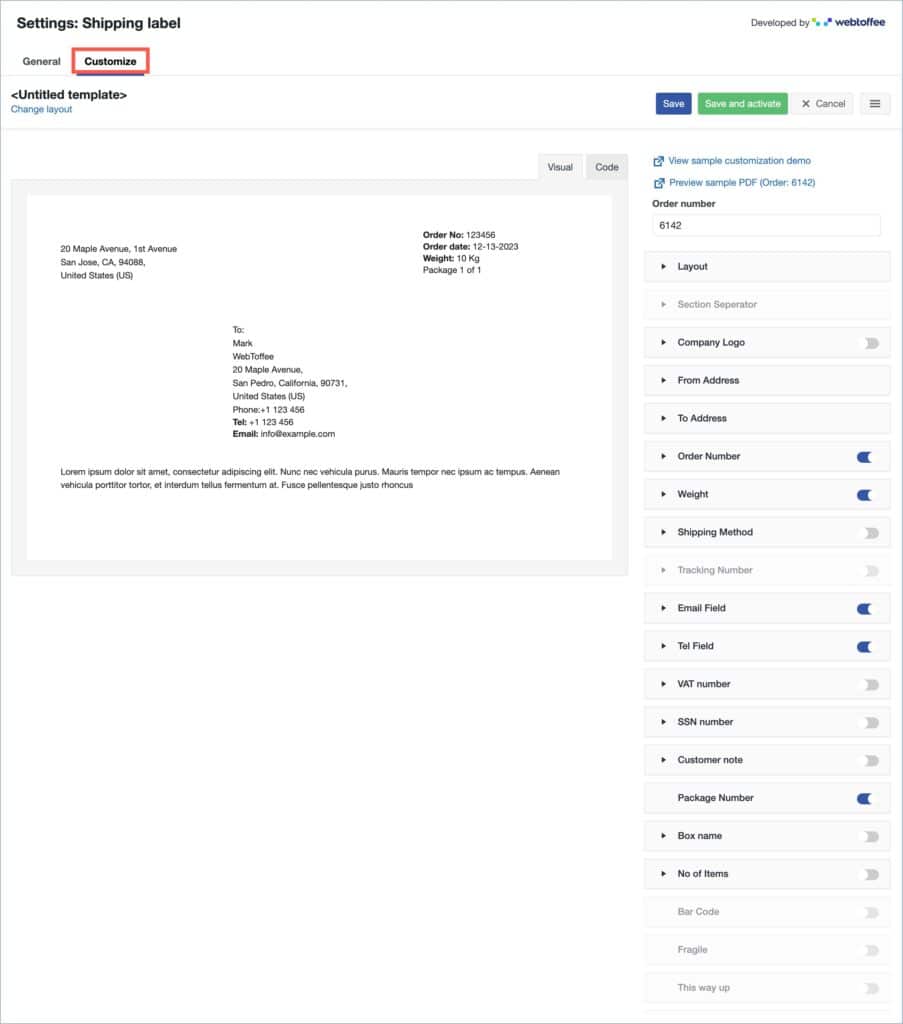
Select a template from pre-defined ones and further customize the shipping label to suite your needs. Head on to the Invoice/Packing > Shipping Label > Customize tab.
To create a new shipping label template:
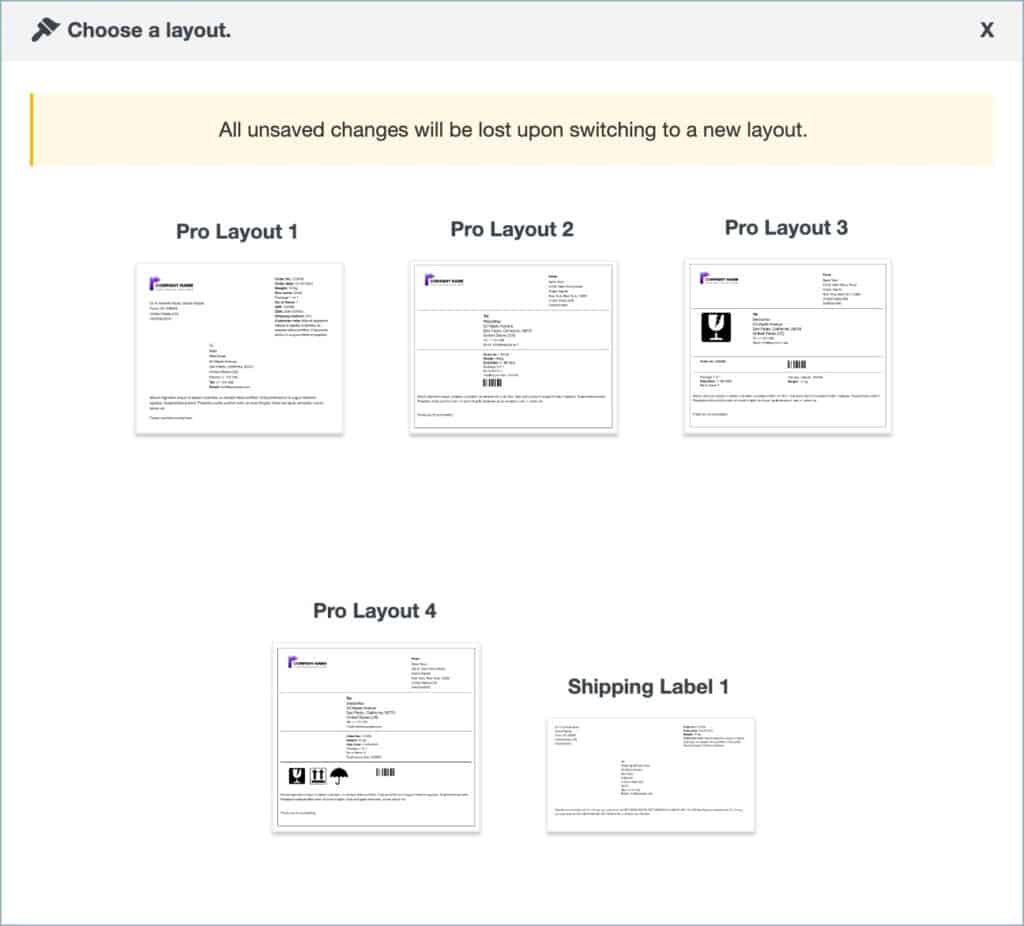
- Select a template from the Change layout option.
- From the inbuilt templates that pop up, choose a layout.
- The template displays sample data for customization. Users can make the necessary changes to the layout using the toggle options on the right.
- You can even switch to the code editor, to make additional customizations other than the one listed in the visual editor.
- While making changes via code editor it would be better to refer to the Help Guide(Invoice/Packing > General Settings > Help Guide) which briefs about some useful ‘filters’ that can be used to extend the plugin’s functionality.
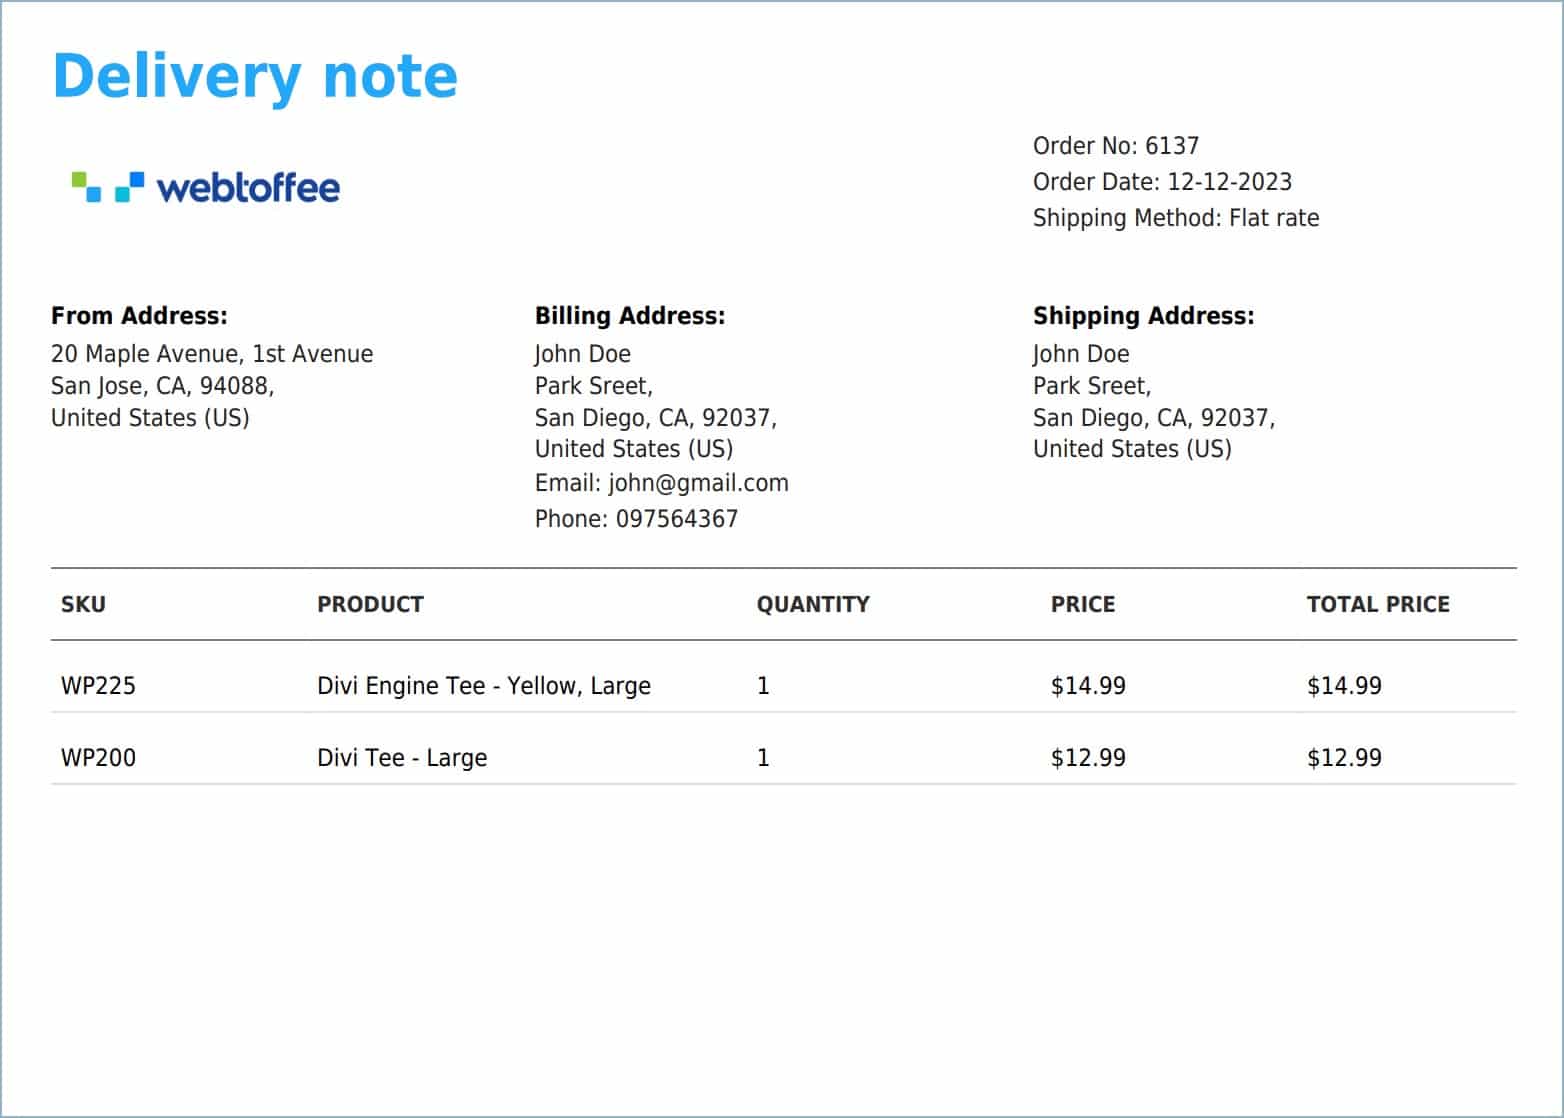
Delivery Note
WooCommerce Shipping Labels, Dispatch labels, and Delivery Notes plugin, allows you to print, download and customize delivery notes for your WooCommerce store very easily.
Navigate to Invoice/Packing > Delivery note to access the Delivery note Settings page.
General Settings
You can configure the general settings required for the delivery note.
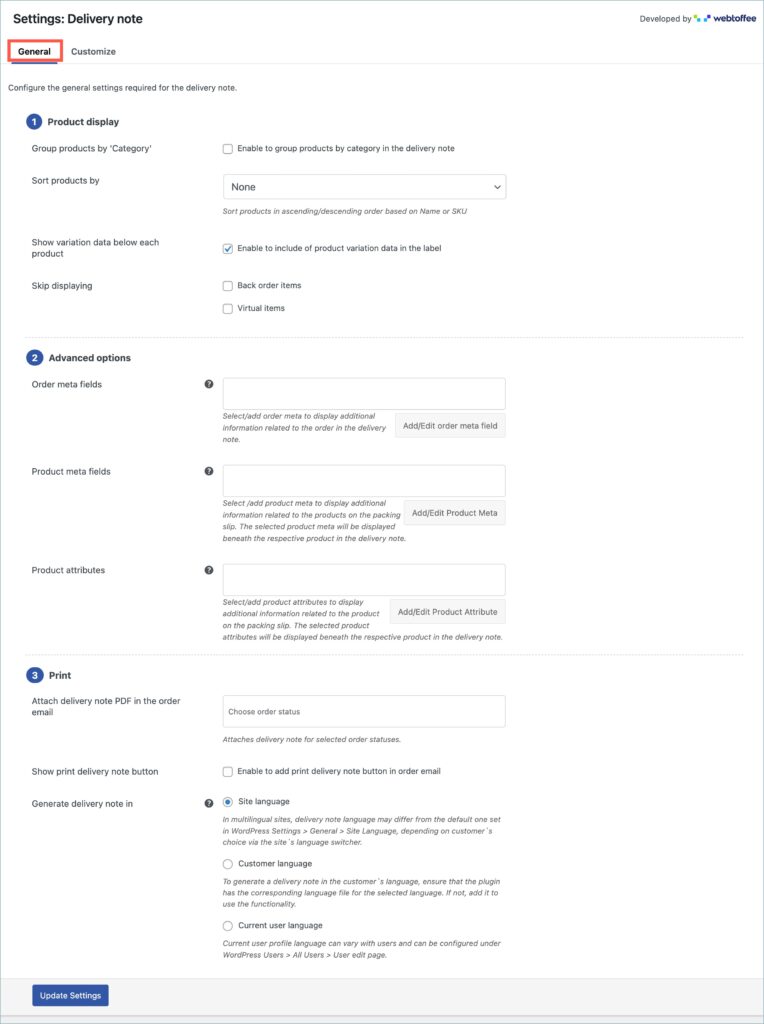
Product display section
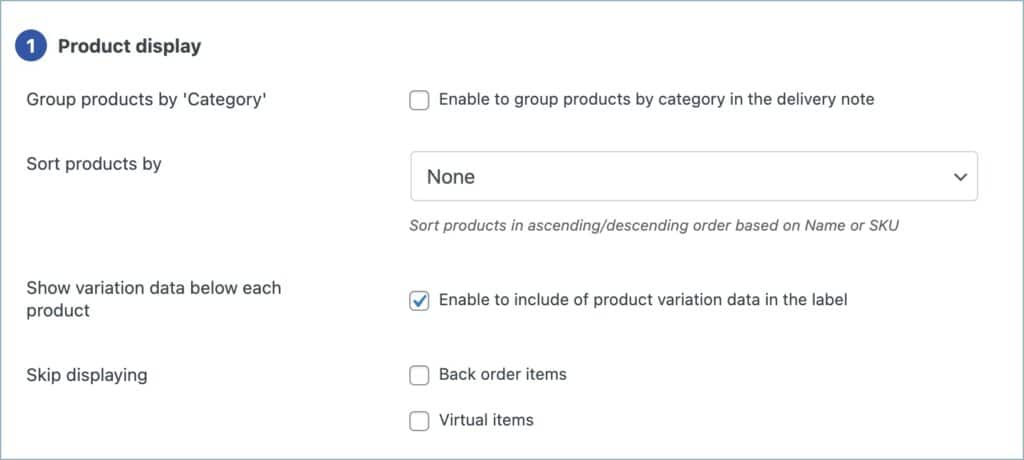
- Group products by Category: Enable to group the products by category.
- Sort products by: Helps you to sort products in ascending or descending order based on the name or SKU.
- Show variation data below each product: To include variation data of the product in the delivery note, enable this option.
- Skip displaying: You can exclude backorder and/or virtual items from the delivery note using this option. Mark the checkbox next to the item to exclude it from the delivery note.
Advanced options section
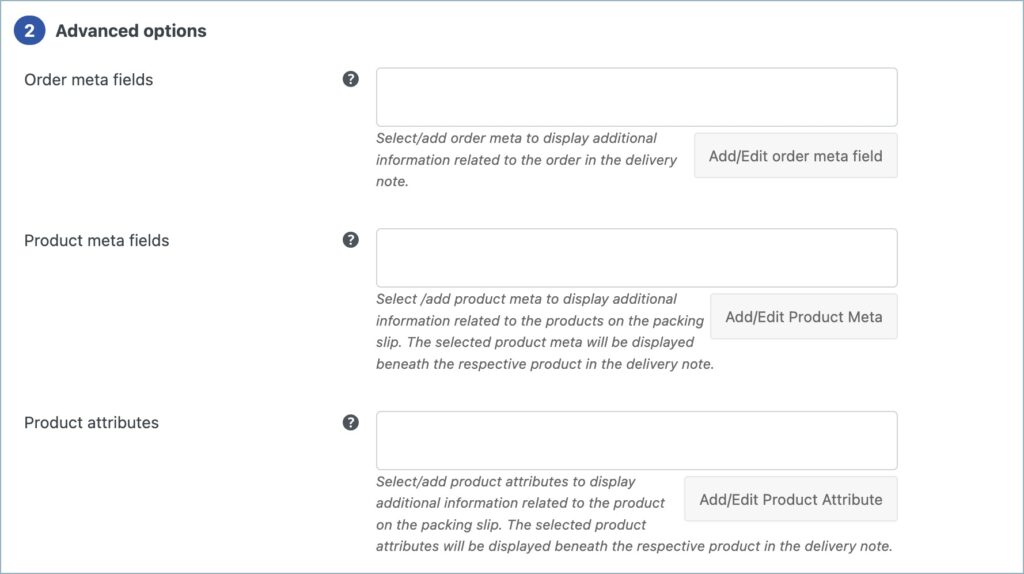
- Order meta fields: This allows you to add additional order meta fields in the delivery note. You can select an item from the list of default fields or
- Click the Add/Edit Existing Order Meta field button to create custom meta fields. Input a custom Field Name and the respective Meta Key for the field. Get the order meta keys from the custom field section of the WooCommerce Order page.
- Likewise, you can view, edit, or delete previously created order meta from the previously added tab.
- Product meta fields:
- This allows you to add meta fields related to the products in the delivery note product table. Click the Add/Edit Product Meta to add a new product meta field by providing a custom Field Name and the respective meta key for the field.
- Likewise, you can view, edit, or delete previously created product meta from the previously added tab.
- Product attributes:
- To have product attributes in the delivery note, simply add them by using the Add/Edit Product attribute button.
- Add new tab will give you options to specify the field name and the corresponding meta of the product attribute.
- Likewise, you can view, edit, or delete previously created attributes from the previously added tab.
Print section
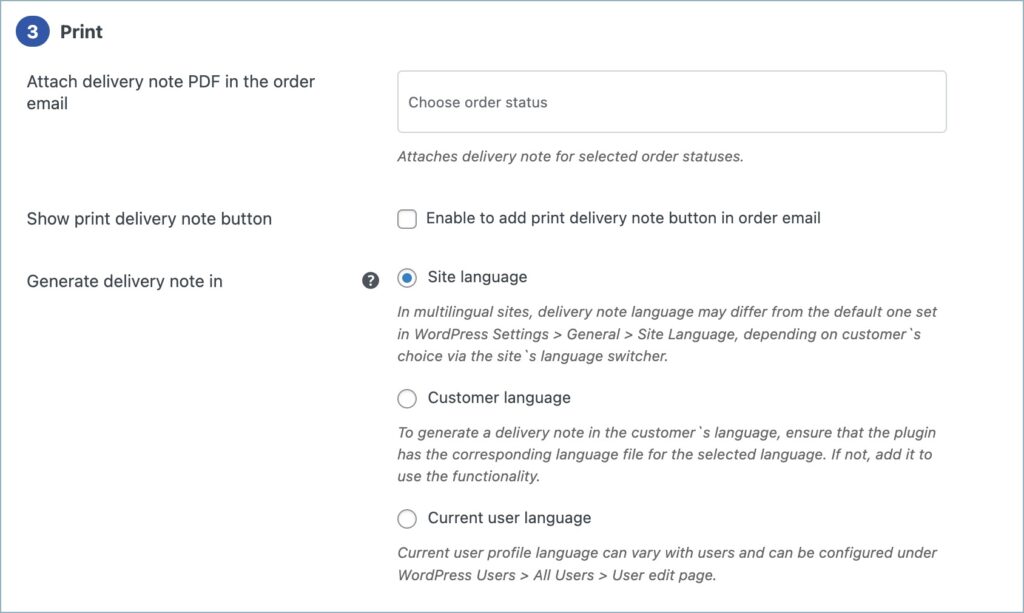
- Attach delivery note PDF in the order email: Attaches delivery note as PDF in the order email for chosen order statuses.
- Show print delivery note button: Adds a ‘Print Delivery note‘ button in order emails.
- Generate delivery note in: Choose from the three language preferences for delivery note generation.
Click on the Update Settings button to save the settings.
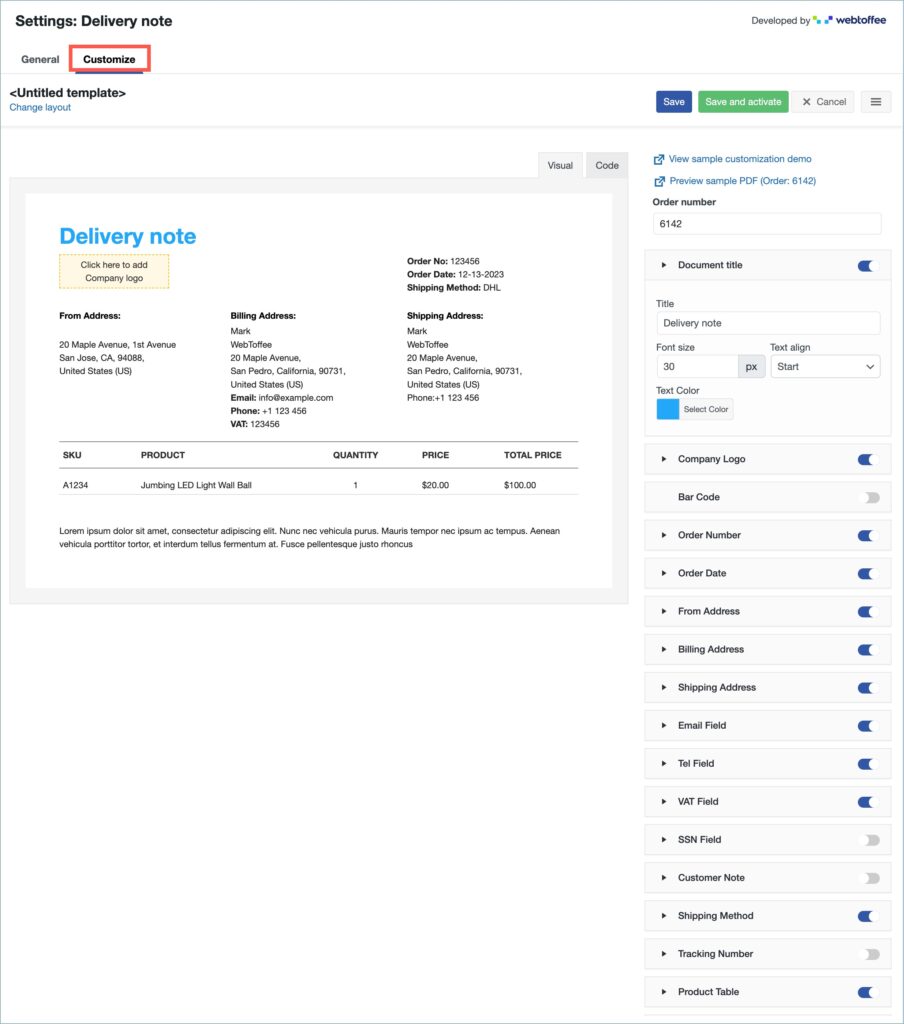
Customize tab
You can customize the delivery note using the inbuilt templates and modify them to suit your needs.
To create a new delivery note template,
Click on Change layout > Choose the template. Make necessary changes and save it.
- Select a template from the Change layout option.
- From the inbuilt templates that pop up, choose a layout.
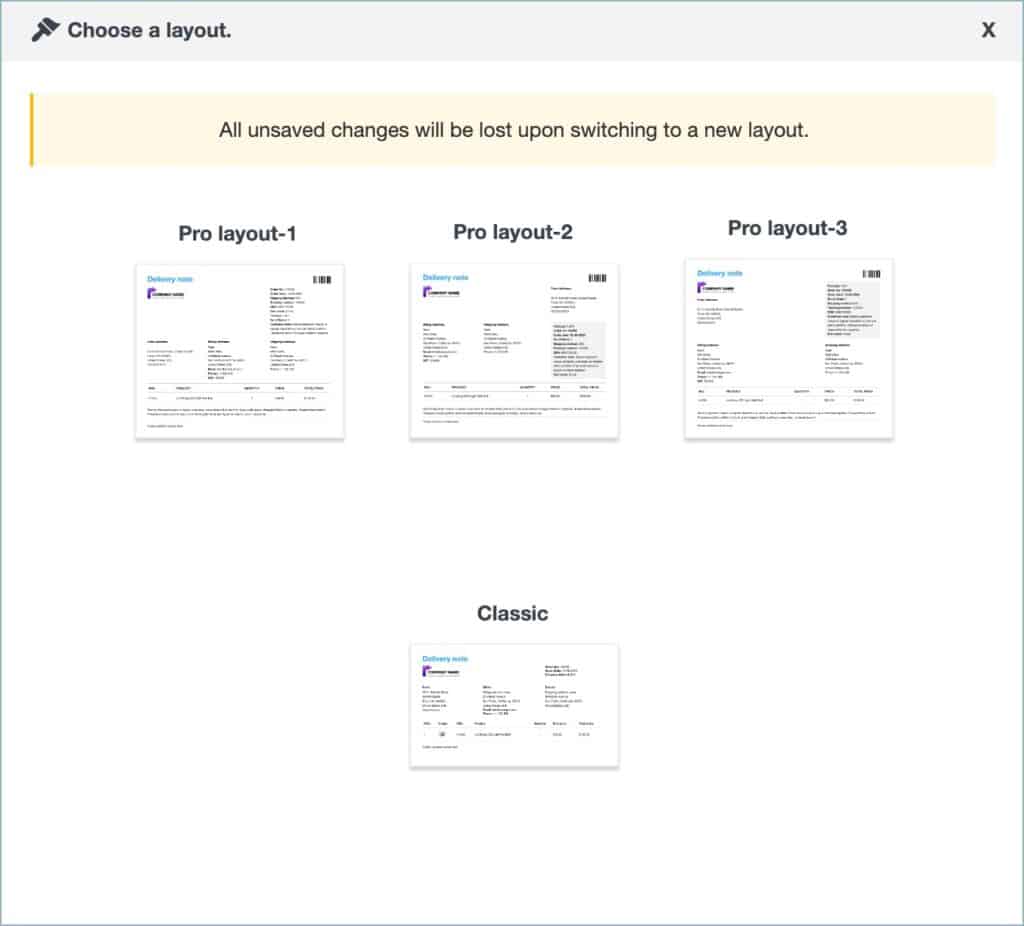
- Make the necessary modifications to the layout and save it.
- After saving, activate the template to use it further for your delivery note.
- You can even switch to the code editor, to make additional customizations other than the one listed in the visual editor.
- While making changes via code editor it would be better for you to refer to the Help Guide(Invoice/Packing > General Settings > Help Guide) which briefs about some useful ‘filters’ that can be used to extend the plugin’s functionality.
- The Template Elements on the right side of the Customize tab lists the various elements of the delivery note. You can enable/disable elements using their respective toggle buttons.
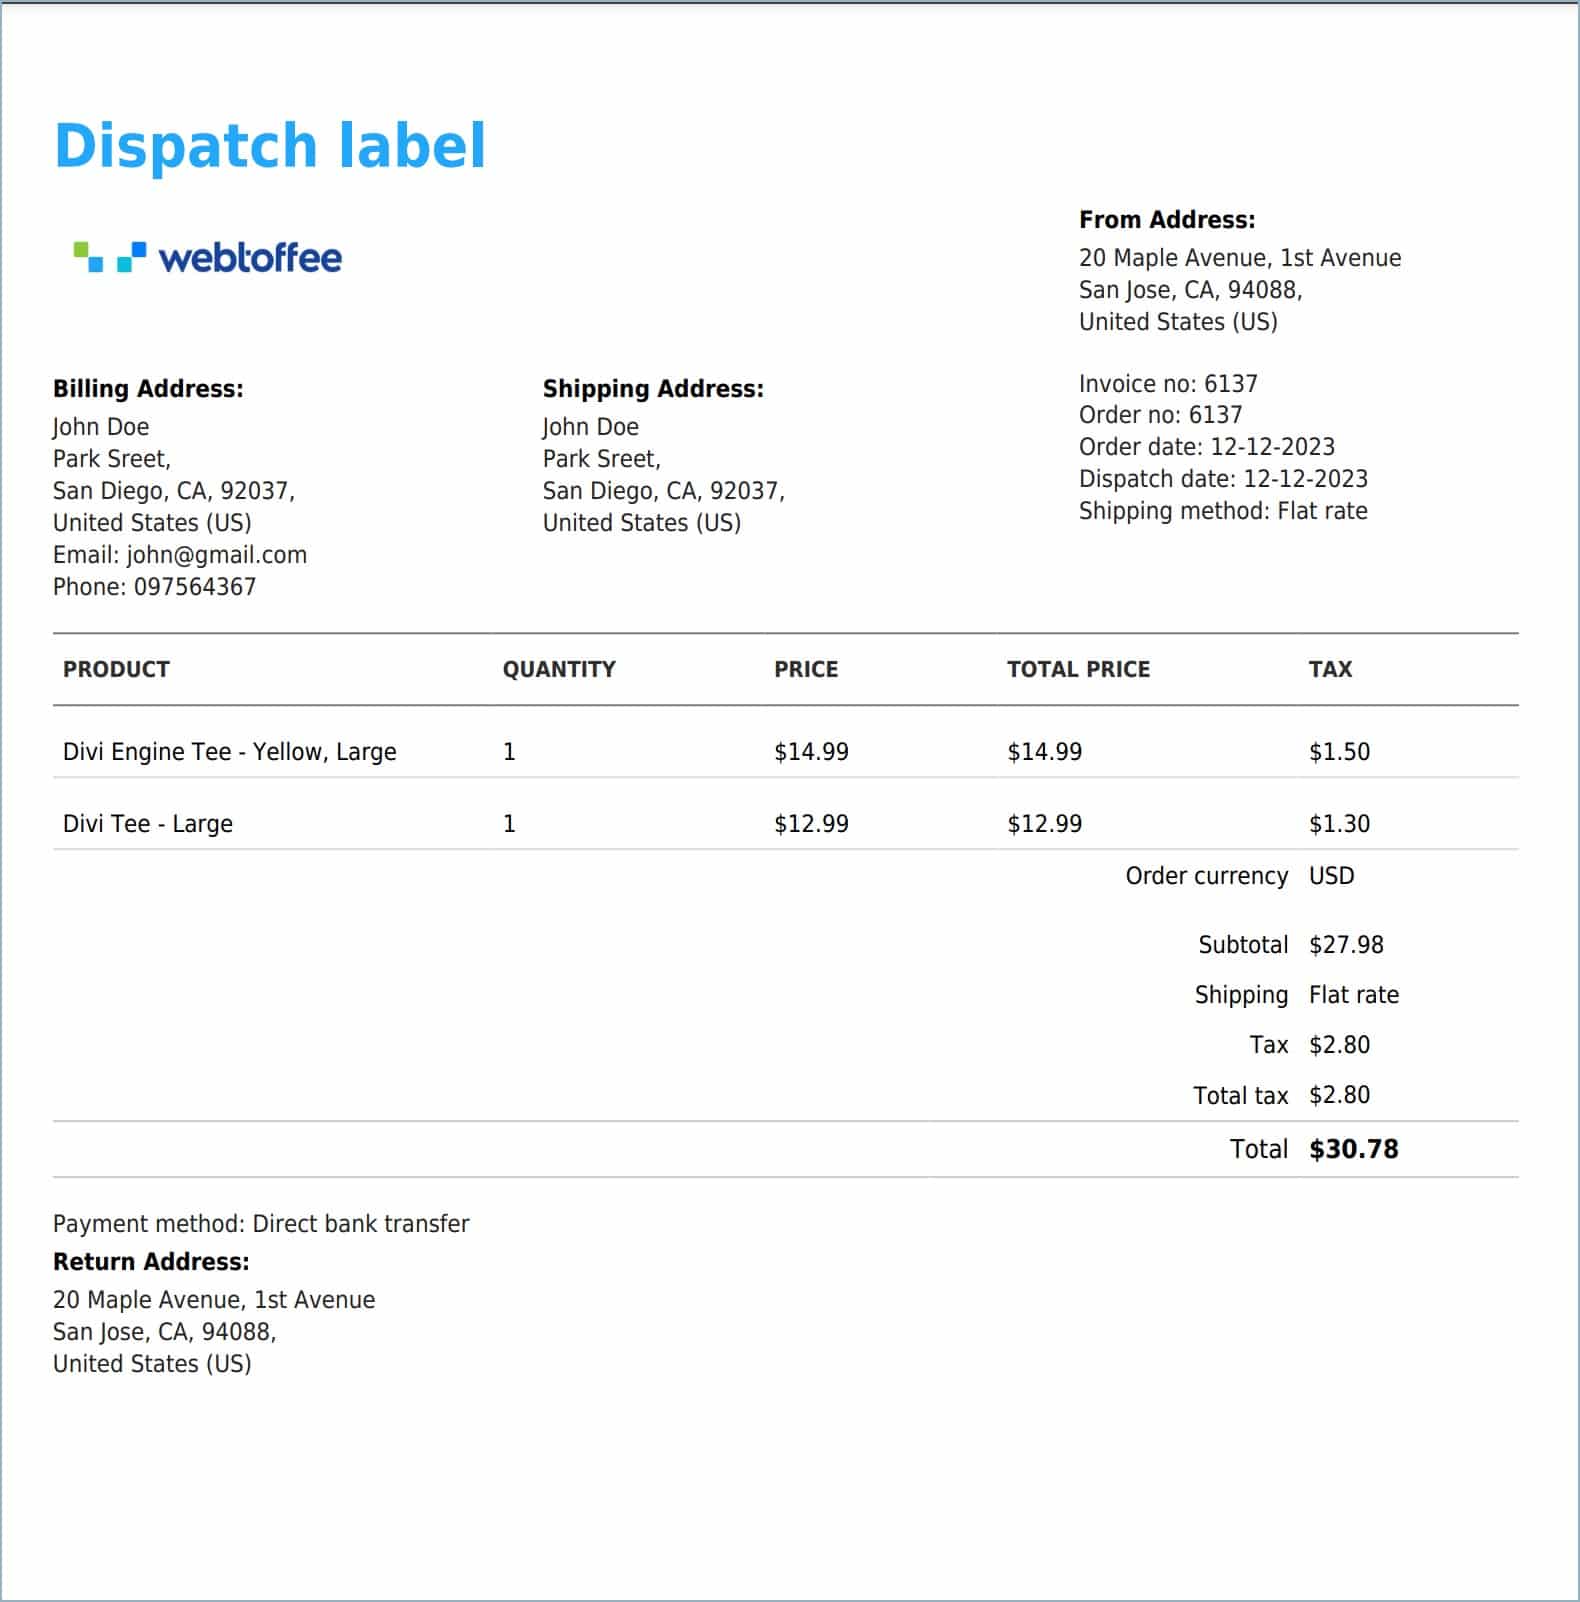
Dispatch label
A dispatch label contains product details, payment method information, total cost amount, billing address, shipping address, and from address. It also contains the return address, in case, customers want to return the product. Therefore, it’s appropriate to call a dispatch label a Return label as well. This add-on allows you to print, download and customize dispatch labels for your store. Navigate to Invoice/Packing > Dispatch label to access the Dispatch label Settings page.
General Settings
You can configure the general settings required for the dispatch label.
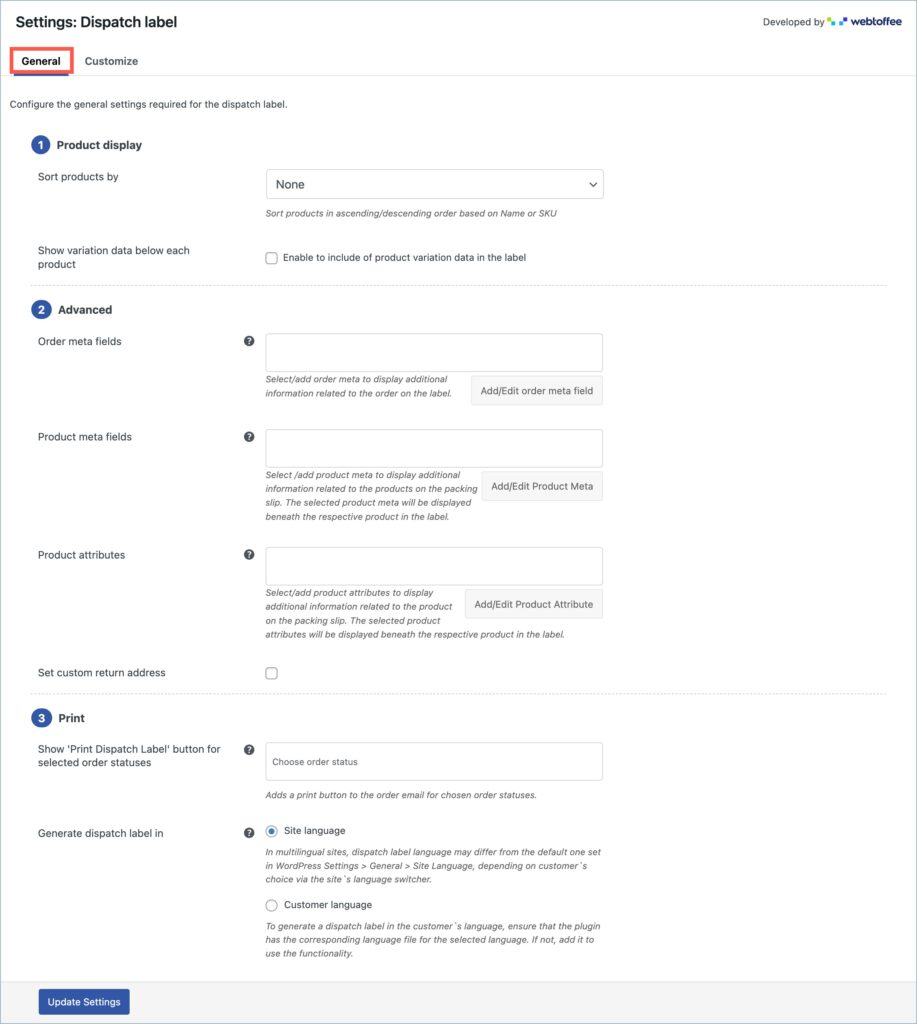
Product display
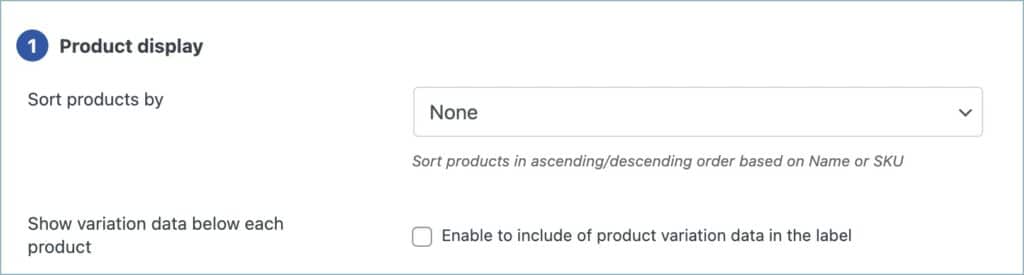
- Sort products by – Sort products on the basis of Name or SKU.
- Show variation data below each product: Displays product variation on the dispatch label.
Advanced section
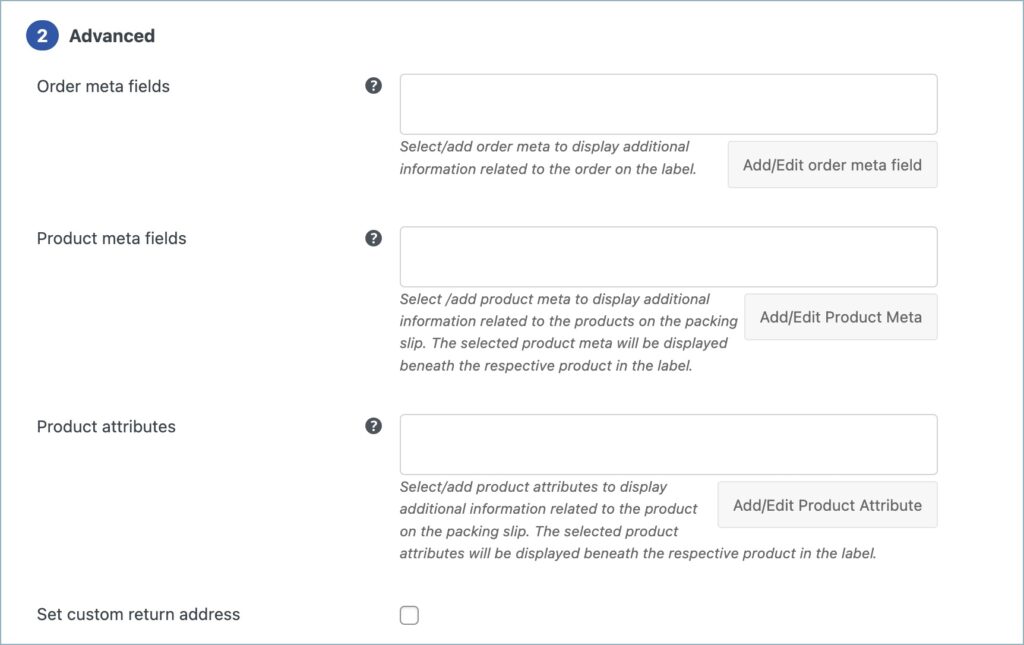
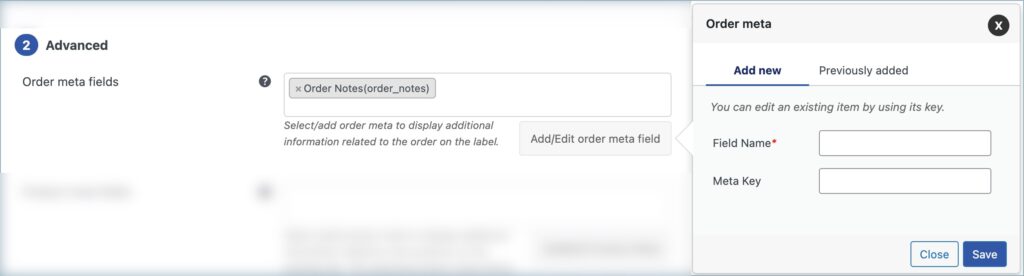
- Order meta fields:
- Select additional order information in the dispatch label from the drop-down.
- Click the Add/Edit Existing Order Meta Field button to create custom meta fields by providing a custom Field Name and the respective Meta Key for the field.
Likewise, you can view, edit, or delete previously created meta from the previously added tab.
Get the order meta keys from the custom field section of the WooCommerce Order page.
- Product meta fields:
- Select/add additional product information in the dispatch label.
- Click the Add/Edit Product Meta to add a new product meta field by providing a custom Field Name and the respective Meta Key for the field.
- Likewise, you can view, edit, or delete previously created meta from the previously added tab.
- Product attributes:
- To have product attributes in the dispatch label, simply add them by using the Add/Edit Product Attribute button.
- Add new tab will give you options to specify the field name and the corresponding meta of the product attribute.
- Likewise, you can view, edit, or delete previously created attributes from the previously added tab.
- Set custom return address – Enable to add a unique return address for dispatch labels.
Print section
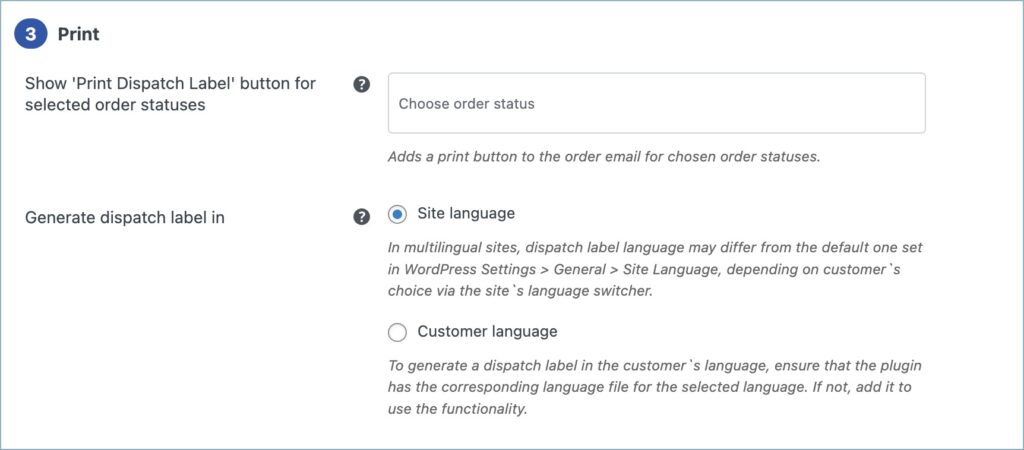
- Enable print dispatch label for order status – Choose order statuses for which a Print Dispatch Label button will be made available in the order email.
- Generate dispatch label in: Choose a language preference for dispatch label generation.
Finally, click on the Update settings button.
Customize tab
You can customize the dispatch label using the inbuilt templates and modify them to suit your needs.
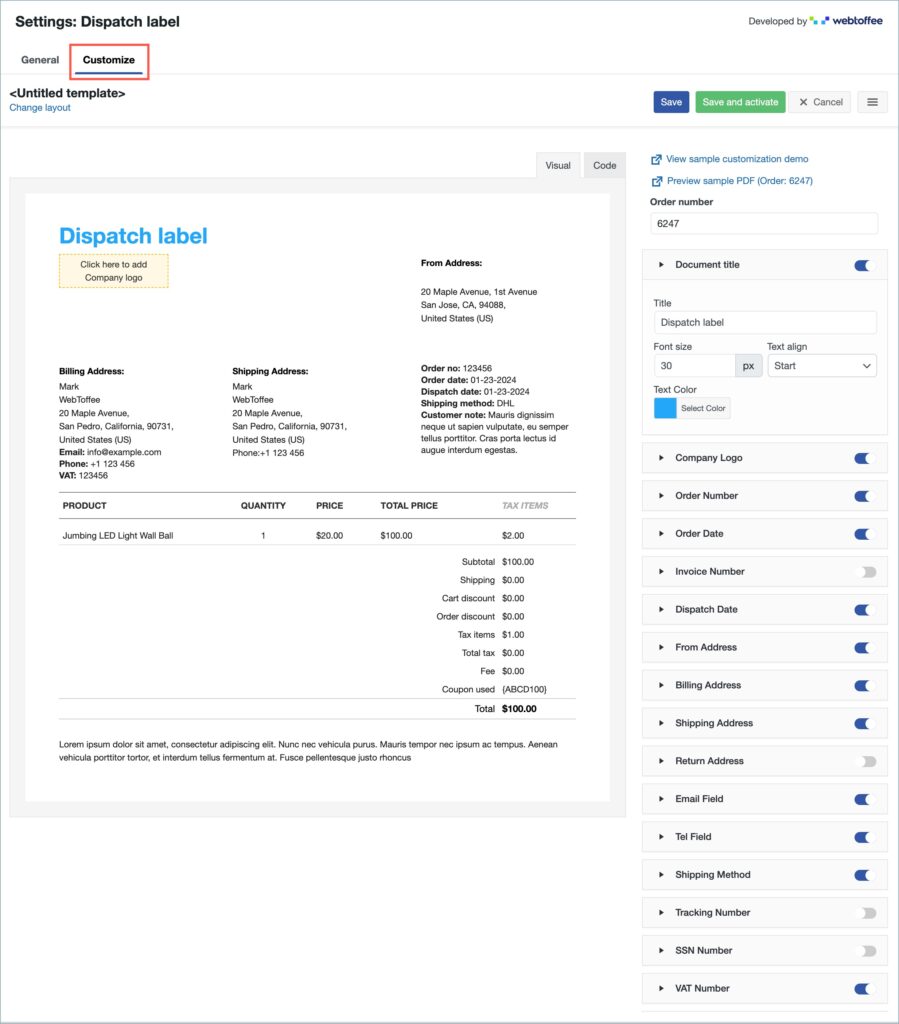
To create a new dispatch label template,
Click on Change layout > Choose the template. Make necessary changes and save to view the option “Create new template”.
- Select a template from the Create new template option.
- From the inbuilt templates that pop up, choose a layout.
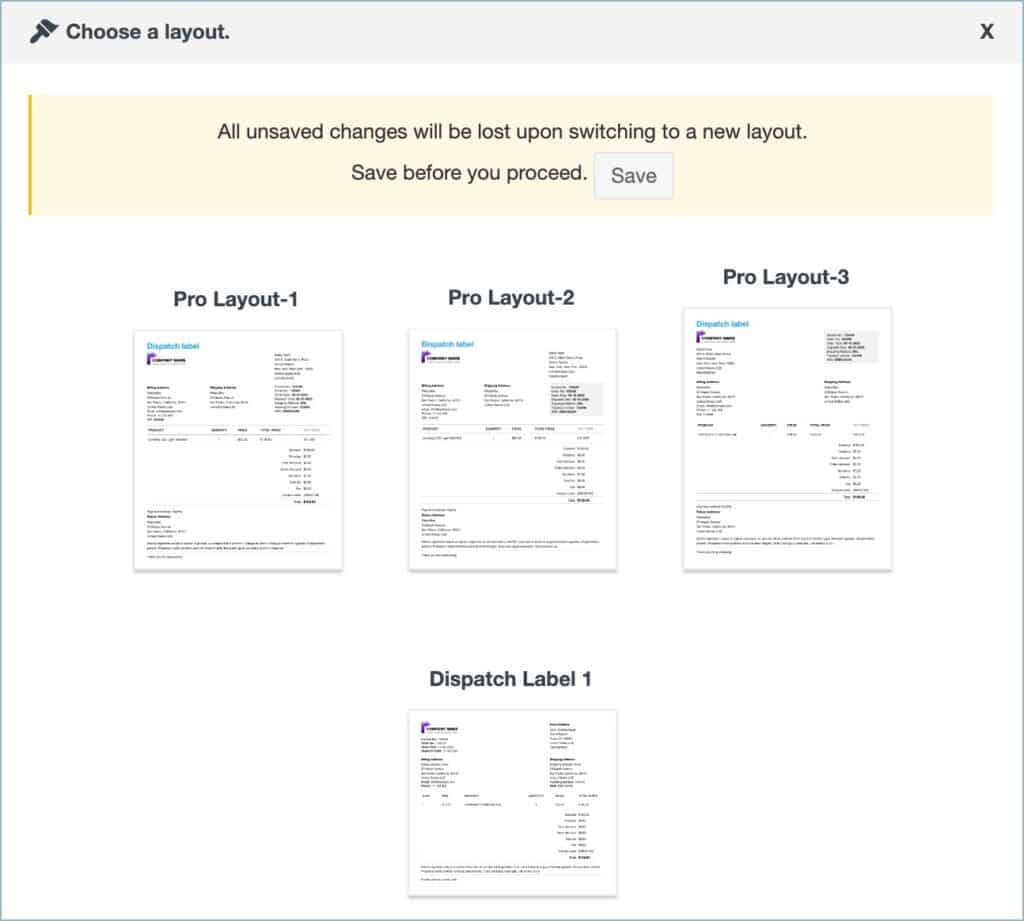
- Make the necessary modifications to the layout and save it.
- After saving, activate the template to use it further for your dispatch label.
- You can even switch to the code editor, to make additional customizations other than the one listed in the visual editor.
- While making changes via code editor it would be better for you to refer to the Help Guide(Invoice/Packing > General Settings > Help Guide) which briefs about some useful ‘filters’ that can be used to extend the plugin’s functionality.
- The Template Elements on the right side of the Customize tab lists the various elements of the dispatch label. You can enable/disable elements using their respective toggle buttons.
Bulk print shipping documents
You can print the shipping documents for a specific order by clicking either the common print button or the dedicated print buttons (enable it from Invoice/Packing > General Settings > General) in the Actions column on the orders listing page. While using the common print button, select the corresponding print option. To print shipping documents for multiple orders, select the orders from the WooCommerce orders listing page and print documents via Bulk Actions.
DAN NICOLESCU
July 4, 2023
You can control the visibility of the seal according to order status via filters. See filter documentation here.
I cannot see the documentation, and therefore I cannot set it up. can you help ? Thanks !
Hema
July 25, 2023
Hello Dan,
Thanks for reaching out.
Kindly follows the steps mentioned in this article to alter the visibility of the seal.
DAN NICOLESCU
July 4, 2023
Hello,
I want to configure the payment received stamp but I cannot see the instructions.
When I click on the
Hema
July 25, 2023
Hello Dan,
Thanks for reaching out.
We couldn’t understand your issue as the question is incomplete. Kindly contact customer support with more information about the issue that you are facing.