This is a complete documentation of the remote print add-on. This article lets you learn how to download and set up the add-on to enable a remote printing option in your WooCommerce store. The add-on currently supports remote printing for the following documents:
- Invoice
- Packing Slip
- Delivery Note
- Shipping Label
- Dispatch Label
- Proforma Invoice
- Credit Note
Overview
Generating and printing invoices, and related shipping documents are important for the smooth functioning of your business. When you need to securely print such documents from one location to another, such as from the main headquarters to its remote branch office (which isn’t on the same network or even in the same country), then remote printing is the only option.
This PrintNode add-on will make it easy to add cloud/remote printing ability to your WooCommerce store.
Pre-requisites
There are two major prerequisites for the add-on to work properly on your WooCommerce site.
- The plugin requires the basic plugin to be installed, WooCommerce PDF Invoice, Packing Slips, Delivery Notes, and Shipping Labels (FREE).
- The plugin requires any one of the pro plugins:
- Visit the PrintNode developer dashboard and sign up for an account to obtain the API key required for authentication of remote print setup.
Get Started
- As a first step, install and activate the PrintNode add-on.
- A new tab ‘Remote Print (Print Node)’ will appear on the Invoice/Packing > General Settings.
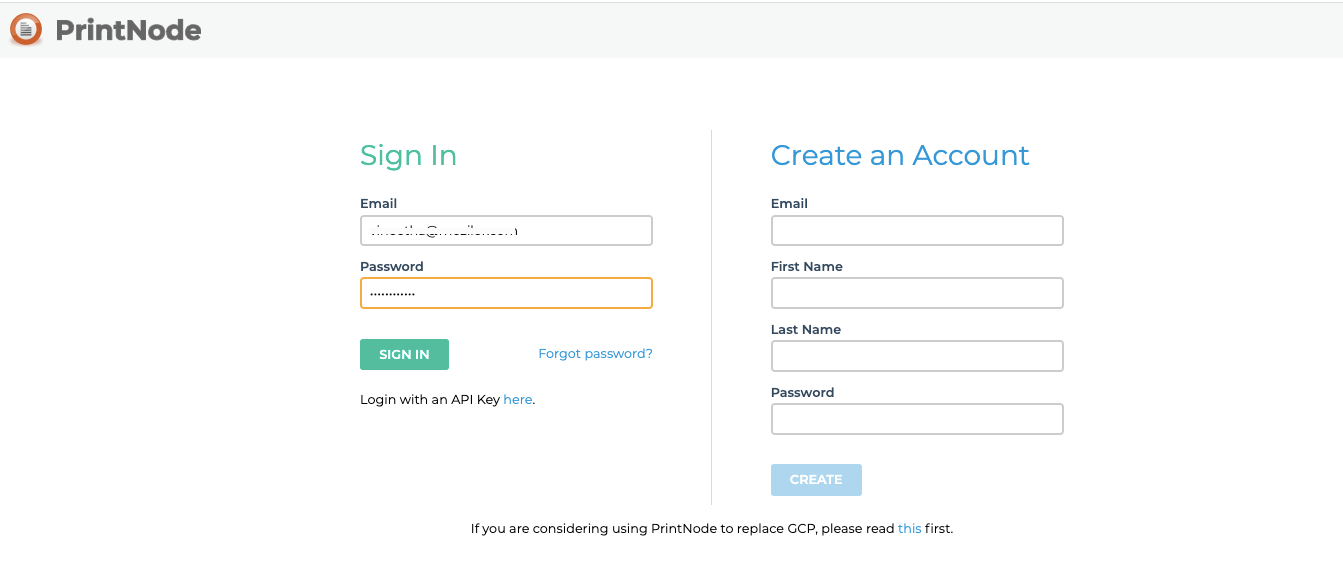
- Click on the dashboard to reach the PrintNode login page.
Print Node Settings – Get API key
- Create an account, if you are a new user and sign in.
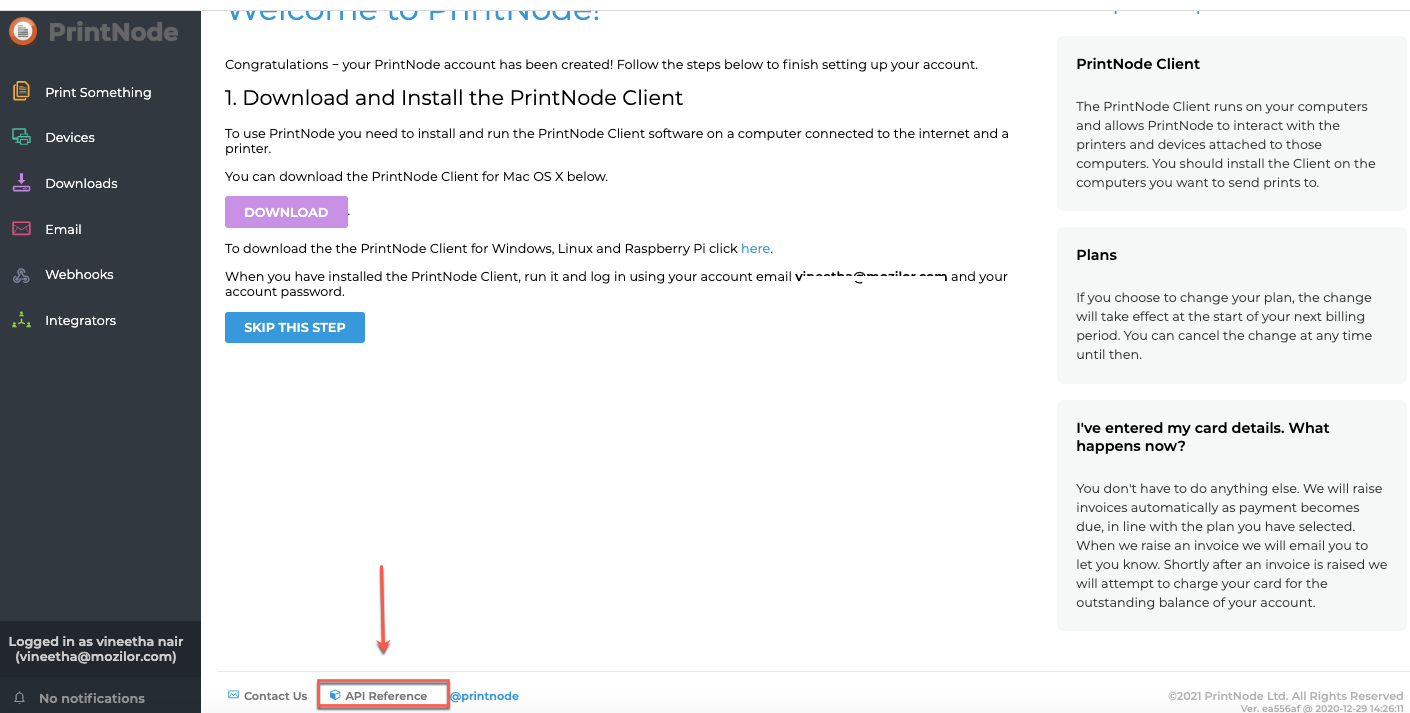
- Click on API Reference appearing on the footer of the Welcome page.
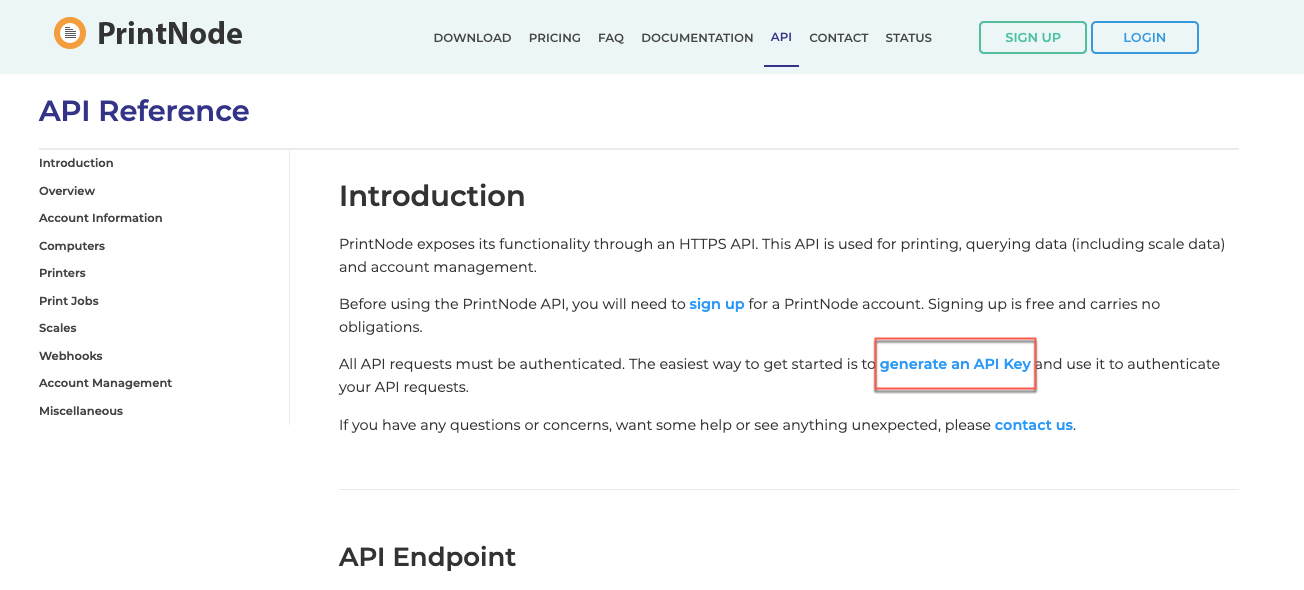
- Click on Generate an API Key
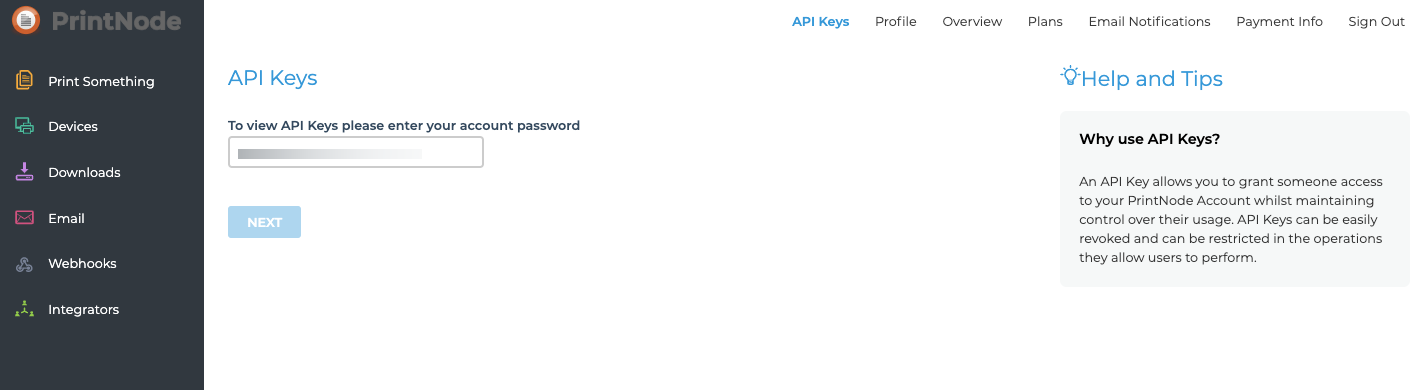
- Now, you need to enter your account password to view API Keys.
- Next, you have to provide the API description and click on Create.
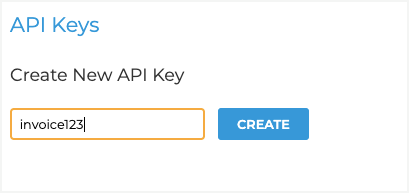
- Your API Key is now generated and can be viewed under Current API Keys.
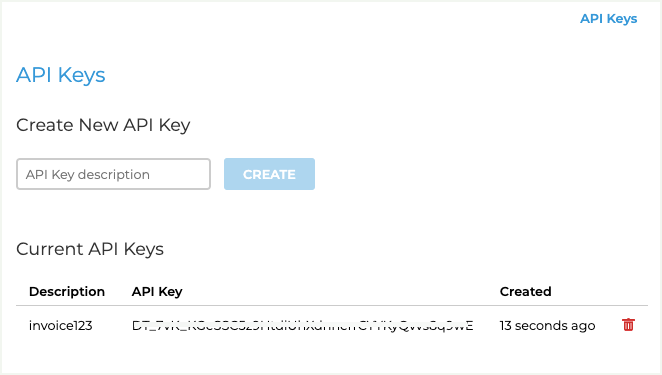
Copy the API Key and go to your admin dashboard.
Plugin setup
The plugin screen looks like the following.

- In Invoice/Packing> General Settings> Remote print (PrintNode), paste the API Key obtained in the API Key field.
- Click on Test connection and the following pop-up appears.
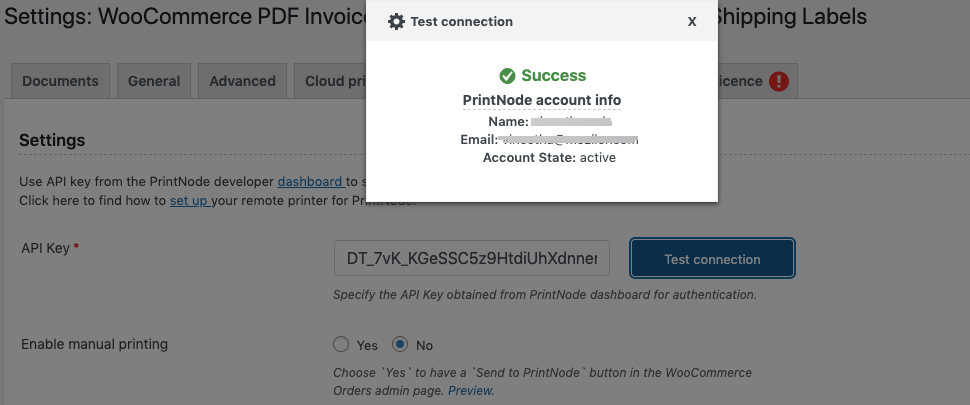
- Enable manual printing: Here you can either enable or disable manual printing. When you choose ‘Yes’ you will add a ‘Send to PrintNode’ button on the WooCommerce Orders admin page. Following is a preview of it. You need to configure a default printer for the purpose (which is explained towards the end of the documentation).
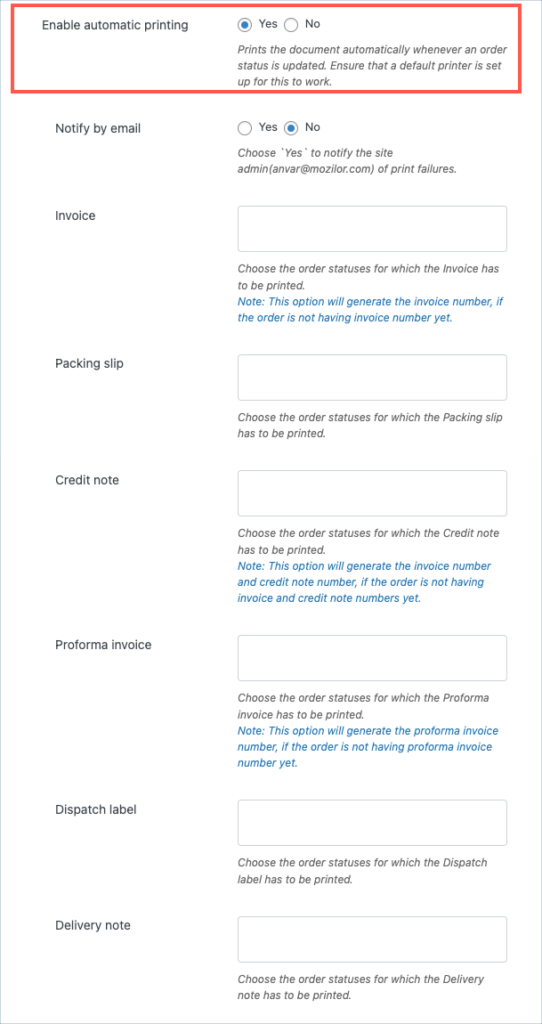
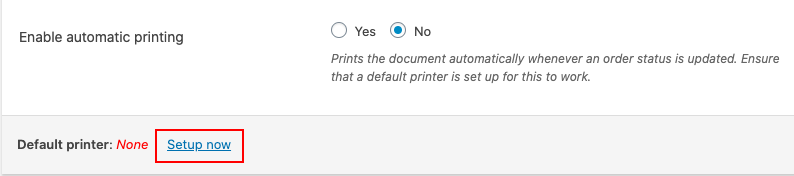
- Enable automatic printing: Here you can configure the plugin to print the document automatically whenever an order status is updated. For this, you need to set up a default printer. The add-on allows to automatically print the following documents on the basis of chosen order statuses.
- Invoice
- Packing Slip
- Delivery Note
- Shipping Label
- Dispatch Label
- Proforma Invoice
- Enable log: Choose Yes to record print node API responses into the WooCommerce status log.
Setting up the default printer
Towards the end of the settings window, you can find a ‘Setup now’ button which you can open to set up a printer as default for automatic and manual printing.
On clicking it, a popup window appears with the list of printers connected to your account along with their Name, Description, ID, and Connection Status. Under the Actions tab, you have the option to Test the printer (to check if the printer works okay) and to choose the printer and set it as default.

Once you finish with all the configurations, click the Update Settings button.
Now, your WooCommerce store is all set to print WooCommerce documents in a remote mode.
Comments (3)
Bob
October 5, 2022
Same question here!!!
Would it be possible to assign different printers for each type of documents?
Mike
October 7, 2022
Hi Bob,
Presently the plugin doesn’t support multiple printer destinations for documents.
Arjan Brederveld
October 22, 2021
Would it be possible to assign different printers for each type of documents?