


The WebToffee’s WooCommerce PDF Invoices, Packing Slips, Delivery Notes, and Shipping Labels plugin allows store owners to add dedicated print buttons for each document type on their orders listing page, along with a common print button. Store owners can achieve this by following the steps below:
- Navigate to Invoice/Packing > General Settings > General.
- Head to the Enable dedicated print buttons for option and select the desired document types.
- Click “Update Settings” to save changes.
Adding dedicated print buttons
By default, dedicated print buttons will be enabled for ‘Invoice’ and ‘Packing slip’ on the orders listing page. Store owners can add dedicated print buttons for additional document types by following the steps below:
- Navigate to Invoice/Packing > General Settings > General from the WordPress dashboard.
- Scroll down to the Advanced options section, find the Enable dedicated print buttons for option, and mark the checkbox next to the document types for which print buttons should appear (In this case, let’s select ‘Delivery note’ and ‘Shipping label’).
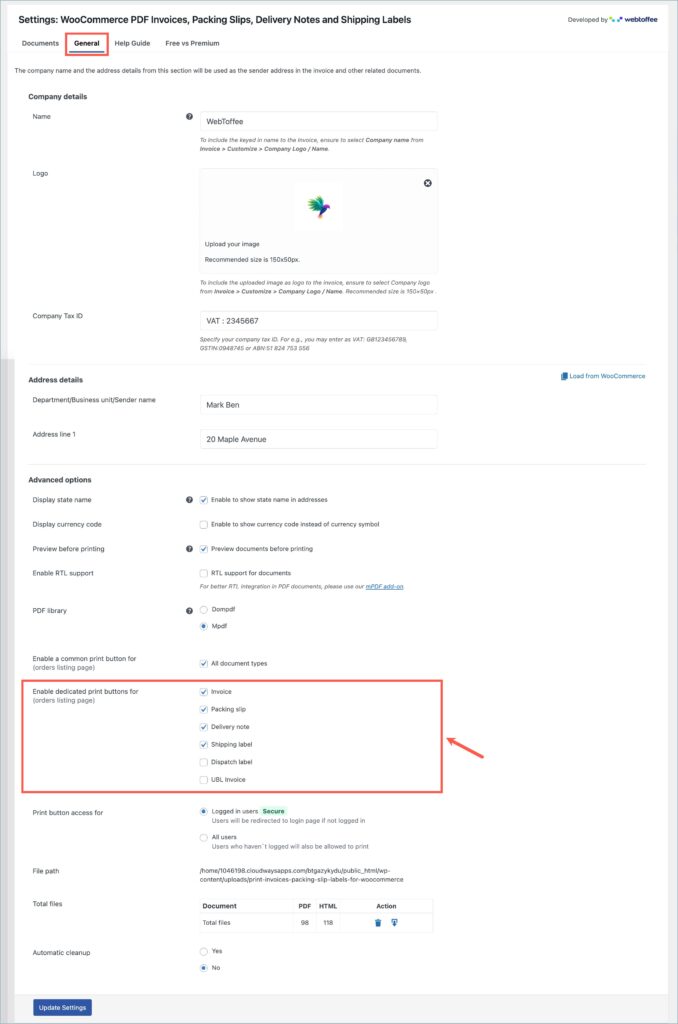
- Click on Update Settings.
Use case
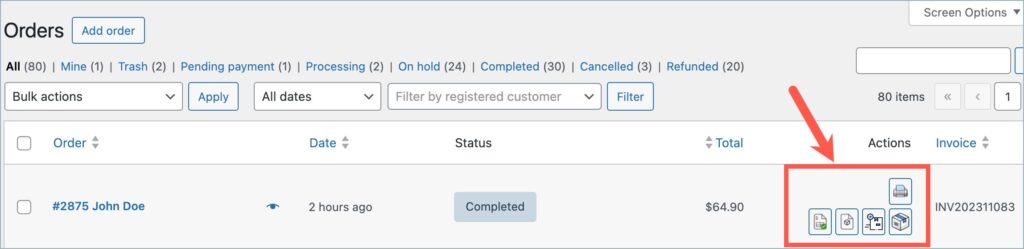
Suppose the store admin regularly prints Delivery Notes and Shipping Labels while managing orders. Instead of opening each order manually, they enable dedicated print buttons for both documents. Now, on the Orders listing page, individual print buttons for Delivery Note and Shipping Label appear in the Actions column. This allows the admin to print the required document in a single click, saving time.
Common print button for all document types
By default, the plugin provides a common print button for all document types on the orders listing page. Store owners can configure it by following the steps below:
- Navigate to Invoice/Packing > General Settings > General.
- Under the Advanced options section, head to the Enable a common print button for option and uncheck it to disable the button.
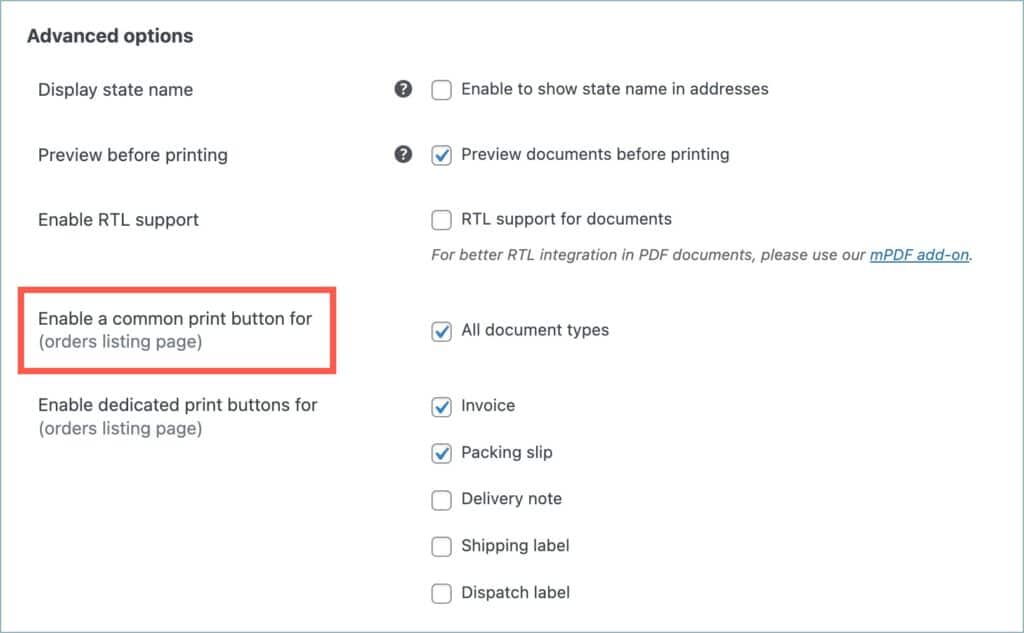

- Click on Update Settings.
Use case
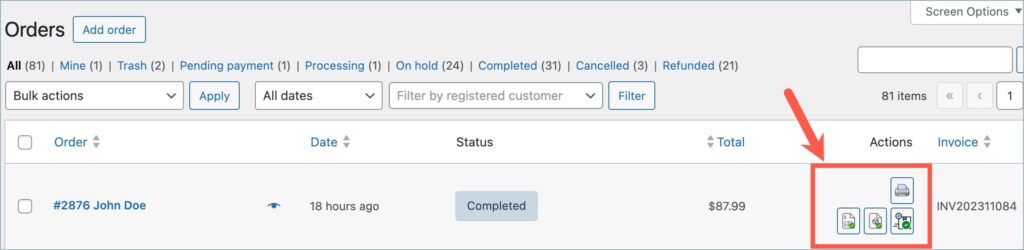
The Admin disables the common print button and enables dedicated print buttons for ‘Invoice’, ‘Packing slip’, and ‘Delivery note’. The admin then navigates to the orders listing page. The orders listing page will contain only dedicated print buttons for ‘Invoice’, ‘Packing slip’, and ‘Delivery note’.
The image below shows the orders listing page before and after disabling the common print button.
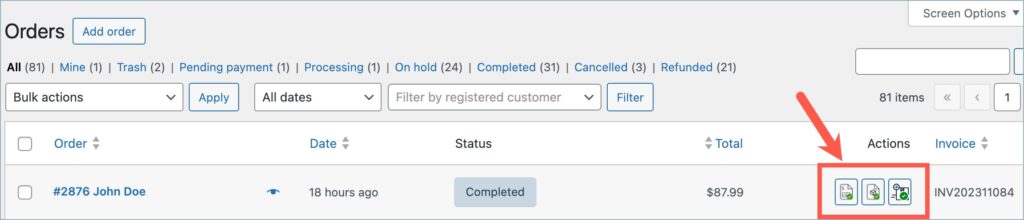
After
Enabling dedicated print buttons in WooCommerce streamlines order management by allowing store owners to quickly print specific documents directly from the orders listing page. With flexible options to customize or disable common print buttons, the WebToffee plugin helps improve efficiency and simplifies daily workflow.
Discover More:
