WooCommerce PDF Invoices, Packing Slips, and Credit Notes Plugin
Last updated on: July 19, 2023
Step 1:
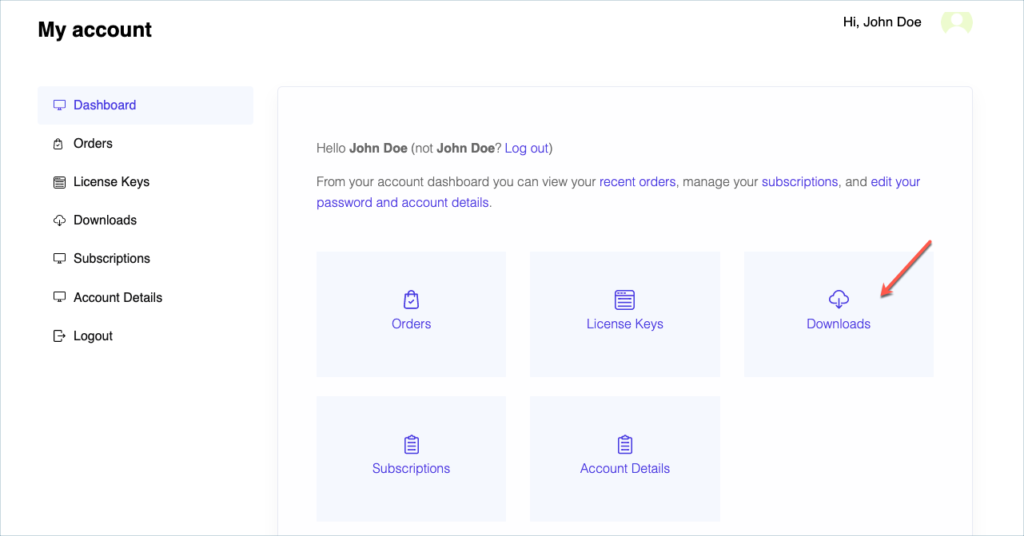
After purchasing the plugin, go to the My Account section in WebToffee. Log in with your credentials. Navigate to Downloads from the dashboard.
Step 2:
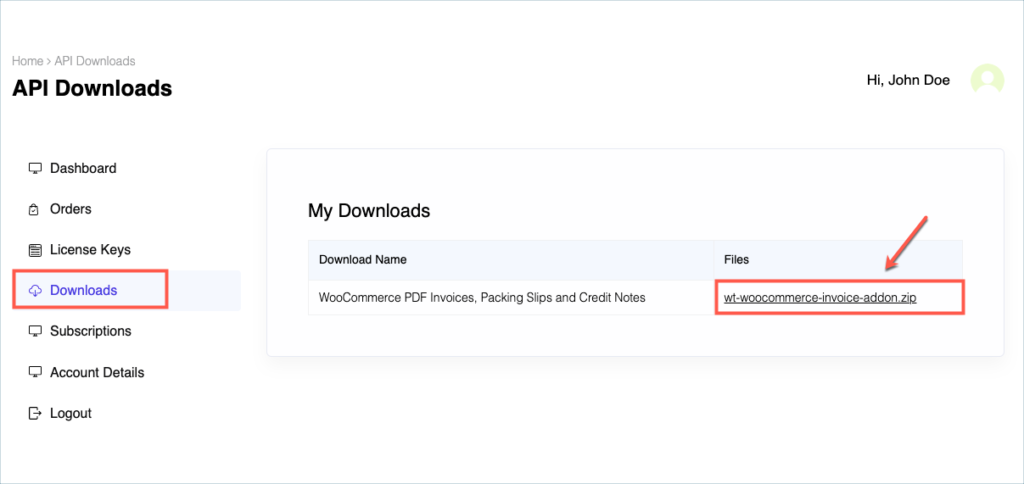
Click Downloads to get redirected to My Downloads. Click on the plugin package ZIP file to get it downloaded into your system.
Check:
Install the free/ basic plugin, WooCommerce PDF Invoice, Packing Slips, Delivery Notes and Shipping Labels before installing the premium add-on.
You can install the plugin directly by going to Plugins > Add New. This will take you to the Add Plugins page. From here, you can type WooCommerce PDF Invoice, Packing Slips, Delivery Notes and Shipping Labels by WebToffee in the search box.
After you have found your plugin, you can click on the Install button. As a next step, you will be shown the Activate button which you can click to activate the plugin.
For detailed instruction on how to install the free version, please refer here.
Step 3:
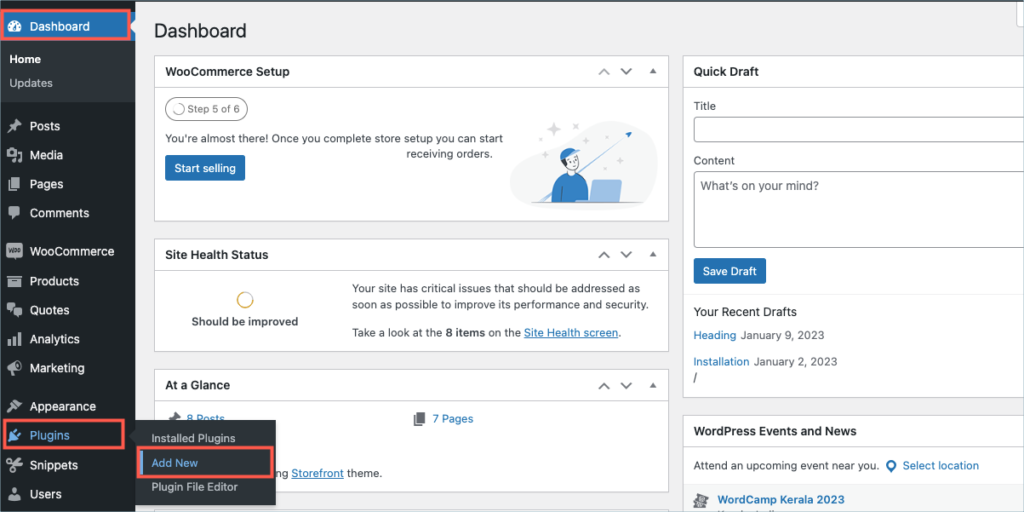
After downloading the ZIP file, navigate to Dashboard > Plugins and click on Add New.
Step 4:
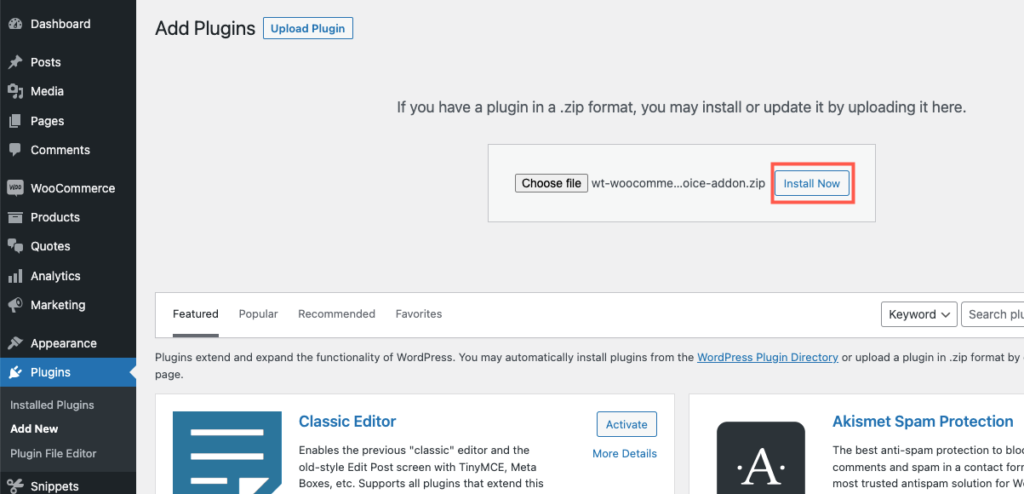
In the window that appears, Click on Choose file to browse the plugin ZIP file.

Step 5:
Choose the ZIP file and click open.

Step 6:
Click Install Now.
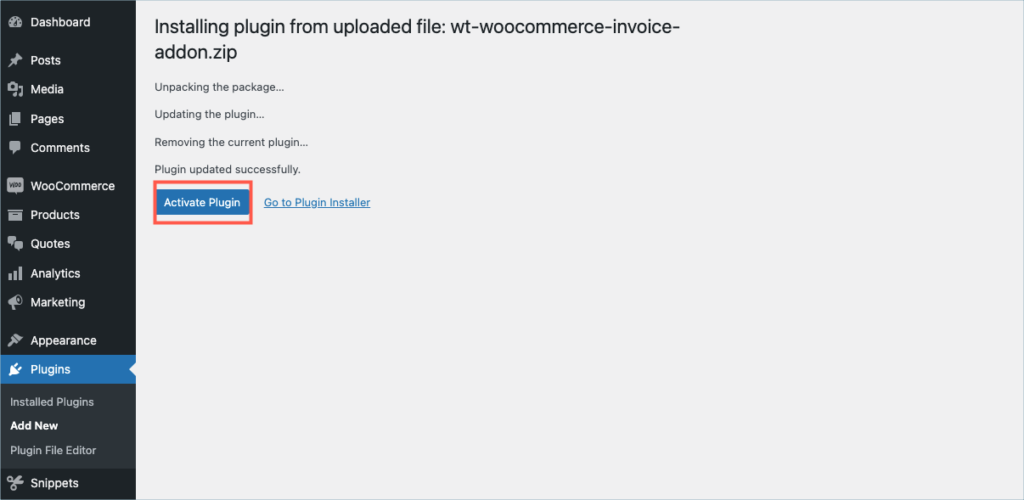
Step 7:
After installing, proceed to activate the plugin.
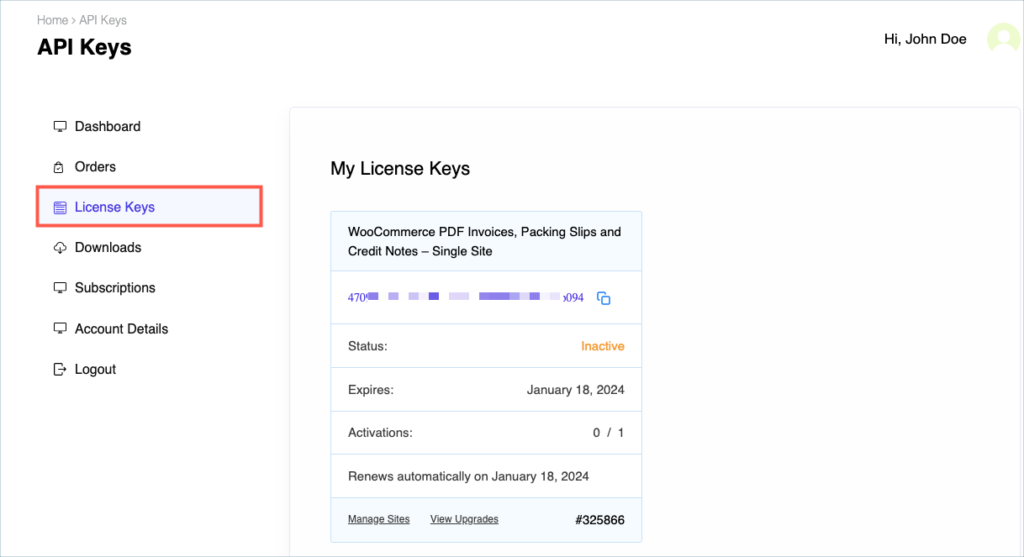
Step 8:
Get your API Key and API Email from the My Account > License Keys tab in WebToffee.
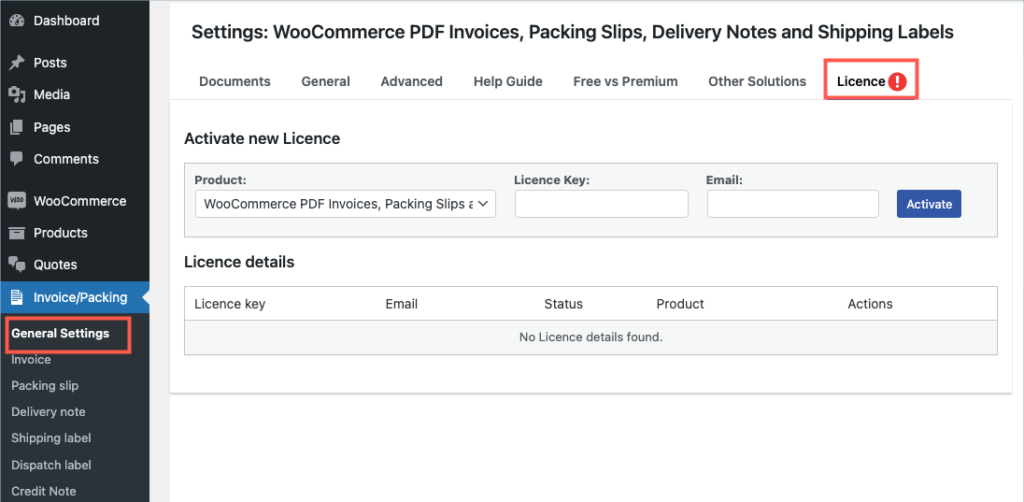
Step 9:
Navigate to the plugin’s general settings window. Click on the License tab.
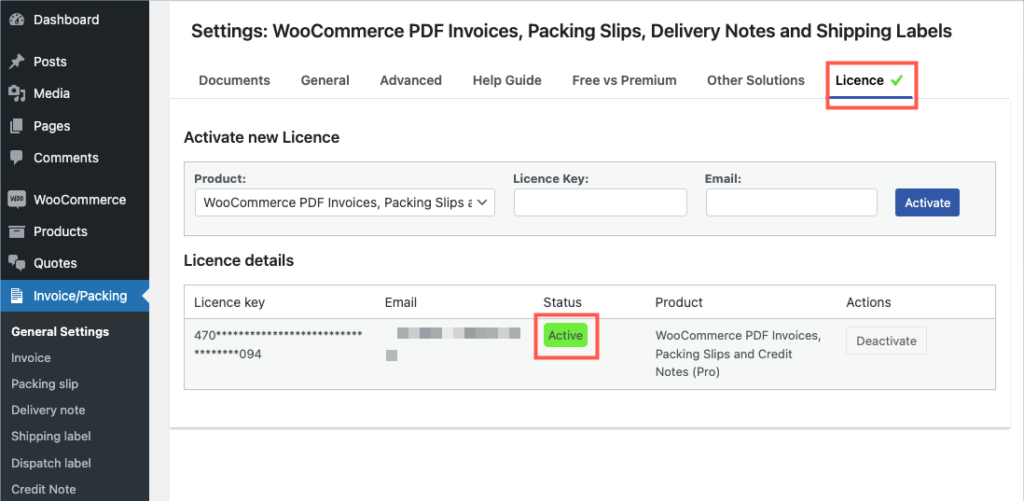
Step 10:
Enter the API License Key and Email. Click on Activate button.
For detailed instructions, troubleshooting guides, and additional resources, please refer to our comprehensive product documentation. Click here to access the documentation and get the most out of the plugin.
Comments (2)
Kelvin Lee
October 12, 2023
I have a staging site, how can I install on my staging site and test the plugins and then install it on my production site if no problem?
Hema
October 17, 2023
Hello Kelvin Lee,
Thanks for reaching out.
Since the license is valid per site, you can only activate it on one site at a time. During testing, you may activate in the staging site and once you decide to go live, you can deactivate from the staging site and activate it in the live site.