Smooth delivery is the heart and soul of online shopping. Properly communicating the delivery address to the delivery partner is quintessential to making this process hassle-free. Let’s take a look at how you can make generating and printing WooCommerce address labels easier with the WebToffee plugin.
The WooCommerce address labels are critical for inbound and outbound logistics as it identifies the sender and the people receiving the mail. A WooCommerce address label can be of different types – shipping, billing, return and from address labels are some of the prominent ones.
When creating a WooCommerce address label for your store, you have the liberty to configure it in any way that you like. The WooCommerce address label plugin from WebToffee is a WordPress plugin that offers you the ability to generate custom address labels for WooCommerce.
We will look into creating, customizing, and printing address labels for WooCommerce with the plugin in this article. So without further ado, let’s get started!
What are address labels?
Address labels are documents that indicate the address of the sender or receiver. Address labels are commonly preferred by eCommerce businesses as manually writing down addresses with pen and ink is a messy and tedious process.
Why are WooCommerce address labels significant?
One of the main issues around hand-written address labels is their legibility. A well-formulated machine-written address, generated using an automated address label maker, would be much easier to read, even by machines. It, therefore, eliminates any potential confusion during shipment and delivery.
Moreover, if you are a store receiving a decent number of orders a day, manually writing down addresses can be a hectic task and you might need an additional hand just to do it.
A WooCommerce store after receiving an order will have to collect the products, pack them, and ship them out. Additionally, there are a number of processes in between each of these tasks. So you will always try to make the process smoother and faster. Automated address label creation for WooCommerce would take a small load off your back.
Generating address labels with an automated system that enables customization would also help you personalize the label in the way that you want.
What should be included in an address label for WooCommerce?
A WooCommerce address label, as the name suggests, should contain the address. The address can vary based on which type of address label you want.
For example, a shipping address label should contain the shipping address and a return address label should indicate the return address of the shipment.
In general, the following are considered the essential components of a WooCommerce address label.
- The name of the sender or receiver
- The address with the street name/number
- Zip code of the address
- The location (city, state, and country)
The WooCommerce Address Label plugin
The address label plugin for WooCommerce is a premium add-on to the basic WooCommerce PDF Invoices, Packing Slips, Delivery Notes, and Shipping Labels plugin.
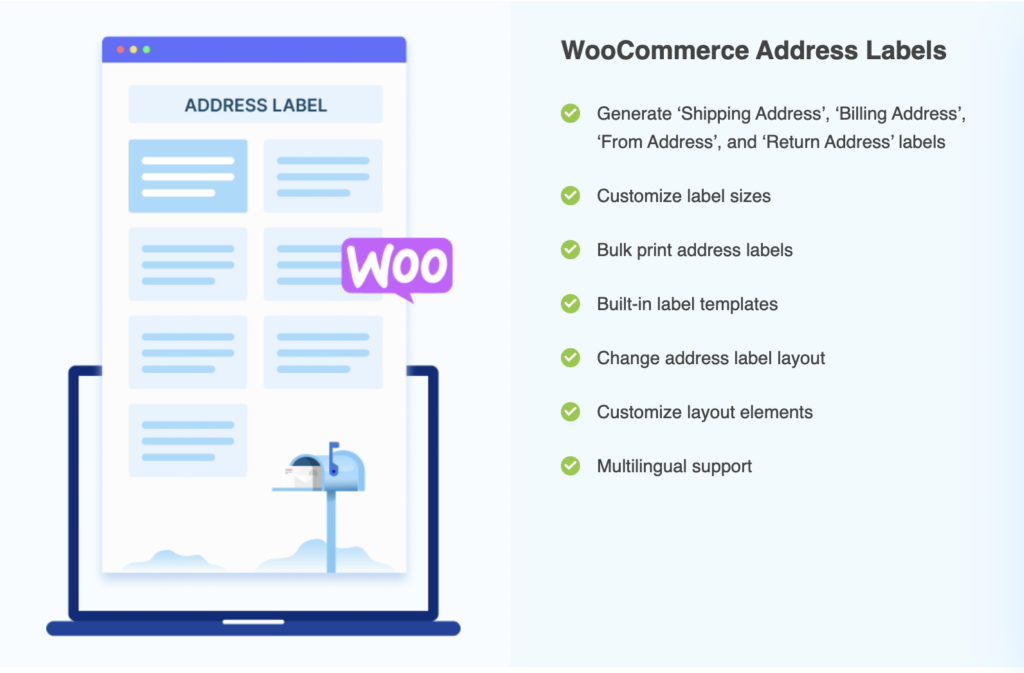
Some of the key features of the address label plugin for WooCommerce include,
- Supports different types of addresses
- Generate labels with custom sizes
- Add multiple labels on a single page
- Bulk print address labels
- Customizable label layout
- Built-in label templates
- Multilingual support
How to create, customize and print WooCommerce address labels?
To create custom address labels with the WebToffee plugin, you should first install and activate the plugin. Let’s first see how to do that before jumping onto creating the label.
Prerequisite
As mentioned earlier the address label plugin acts as the extension of the free WooCommerce invoice and packing slip plugin from WebToffee. So you will first need to install that plugin before you can install the address label plugin. Follow the instructions given below to do all these.
- Log in to your WordPress admin account.
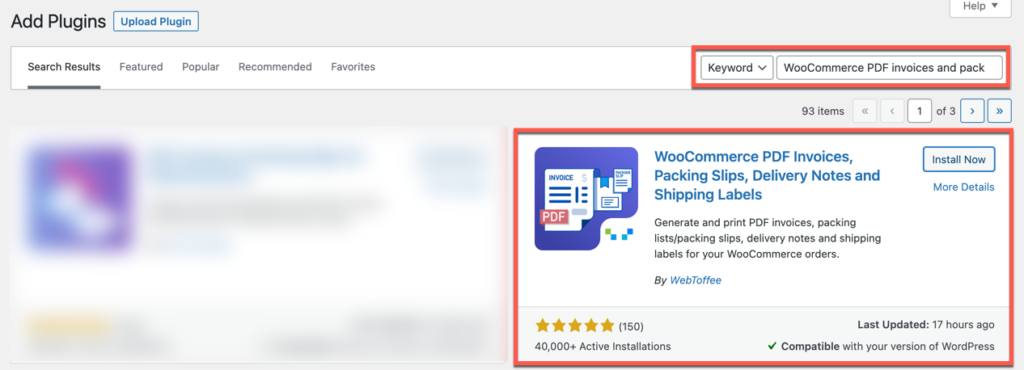
- Go to Plugins > Add New from the side navigation bar.
- Search for the Keyword ‘WooCommerce PDF invoices and packing slips’.
- Identify the WebToffee plugin and click on Install Now corresponding to that plugin.
- Once the installation is complete, click on Activate.
This will add the free plugin to WordPress.
You can now go ahead and install the address label plugin. Make sure to purchase and download (WebToffee > My account > Downloads) the plugin from WebToffee.
- From the same WordPress page, click on Upload Plugin.
- Choose the zip file of the WooCommerce print address label plugin you downloaded from WebToffee.
- Click on Install Now and then on Activate Plugin.
This will add and activate the plugin in WordPress.
Create and customize address labels
Address labels for each order will be automatically generated once the plugin gets activated. If you want to customize the label you can do so by,
- Navigate to Invoice/Packing > Address label, this will take you to the Customize page.
- Click on Create new template and choose the template in which you want to print your WooCommerce address labels.
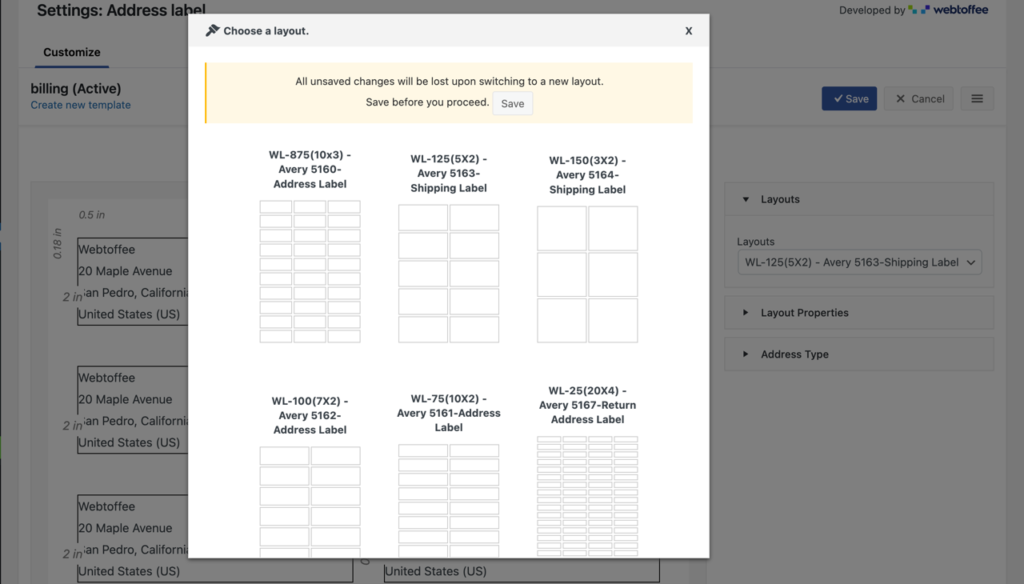
- On the right side of the page, you will be able to see the layout customization options. Click on Layout Properties.
- Adjust the width and height of the cells, the number of rows and columns, the distance from margins, column spacing, etc., as per your requirements.
- Click on Address Type. Select the type of address that you want on your label. The available options include
- Shipping Address
- Billing Address
- From Address
- Return Address
- Once you are done configuring, click on save and provide a template name for this template.

This will save all the configurations that you made till now to a template and activate that template. All address labels generated after this will use this template.
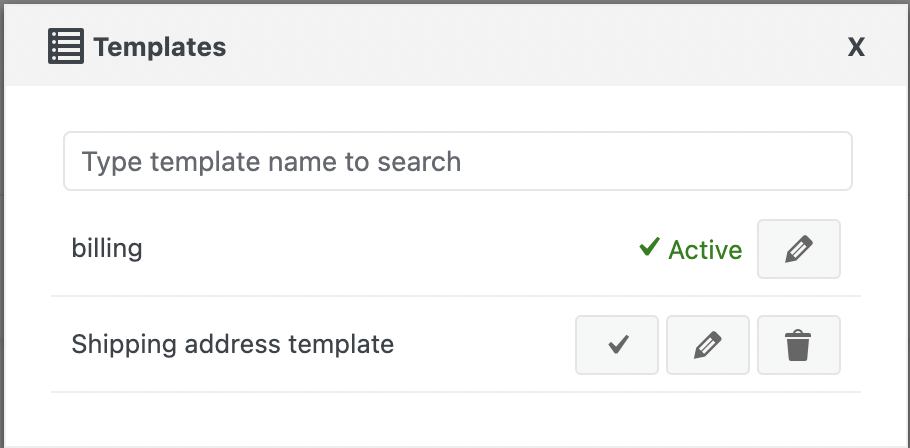
If you want to print multiple types of address labels, it is ideal to create different templates for each address type. For example, to get both shipping address and return address labels, create two templates ‘A’ and ‘B’ for each address type, respectively. You should then activate the template ‘A’ when you want to print shipping address labels and ‘B’ while printing return address labels.
To change the active template, go to Invoice/Packing > Address Label > click on the icon with three horizontal lines > My templates.
Print WooCommerce address labels
Address labels for WooCommerce generated using the WebToffee plugin can be downloaded or printed from the WordPress admin console. Note that you can print the address labels of individual orders or multiple orders in bulk.
To bulk print address labels in the template that you have created, go to WooCommerce > Orders and select the orders for which you want to create address labels.
Click on the Bulk actions drop-down, select Print Address Label and click on Apply.

Here is a sample address label created this way.

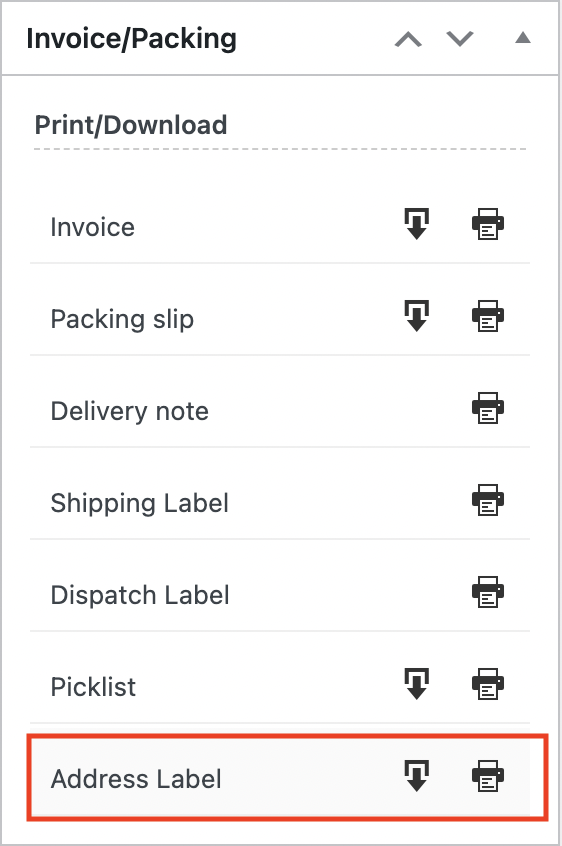
To get the address label of an individual order, open each individual order and click on the download or print icon corresponding to Address Label in the Invoice/Packing widget.
Conclusion
WooCommerce address labels are a time and energy saver for eCommerce businesses struggling to keep up with the orders every day. The WebToffee address label plugin is simple and easy to use and offers all customizations that you might need for generating a professional-looking address label. Also, the support for multiple addresses makes the plugin stand out from the rest.
Hope this article was of help to you. Do let us know if you have any concerns and what you think about the article in the comments below.


Comments (2)
Lili
November 17, 2023
Can you drop the label address information to a CSV instead of a formated label?
Sanjai Valsan
November 21, 2023
Hi Lili,
Thank you for reaching out!
Currently, our plugin doesn’t provide the functionality to export information directly to a CSV format.