Are you looking for a way to bulk update product field values like product prices, quantity, etc? If so, you are at the right place then. In this article, we will show you how to update product field values using the Product import action.
We will be using the free version of the WooCommerce product import export plugin by WebToffee to update product field values.
Follow the below steps to update product field values in bulk using the Product Import Export Plugin by WebToffee.
- Install the plugin
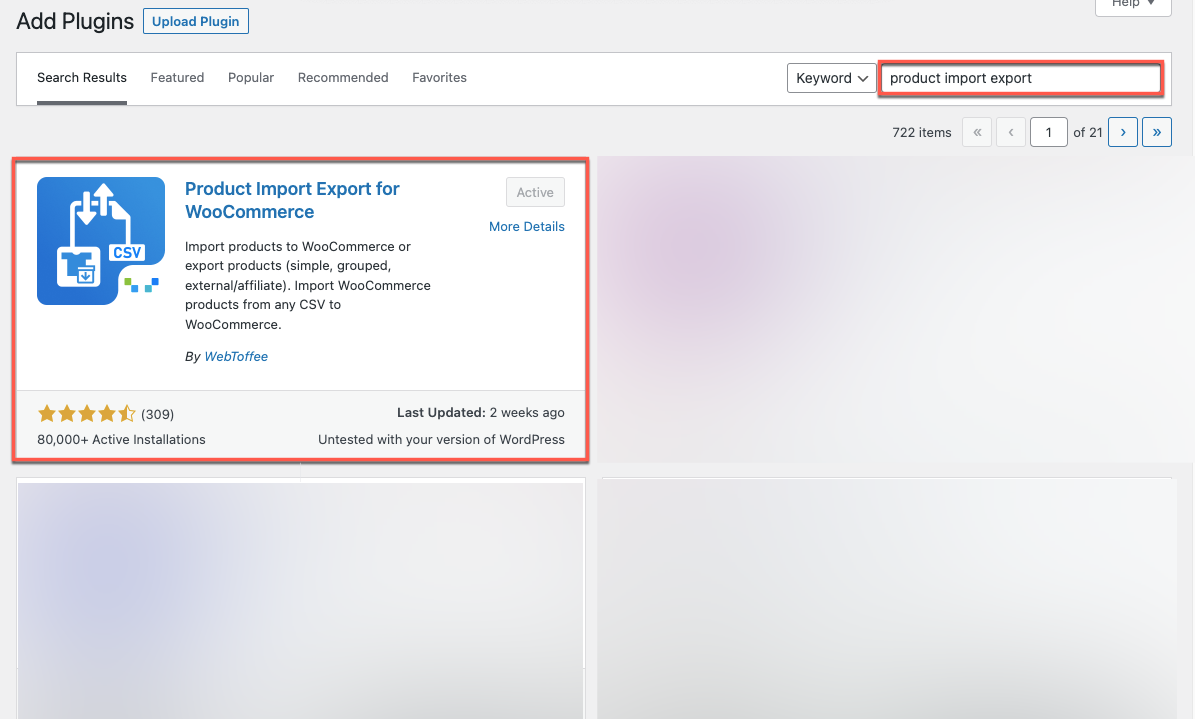
From the WordPress dashboard, go to Plugins > Add New. Search for WebToffee Product Import Export Plugin.

Once you have found the plugin, click on Install Now and then activate the plugin. - Navigate to Import Products
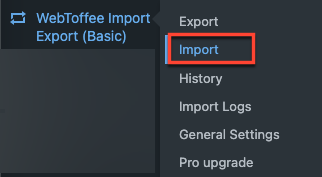
From the dashboard, go to WebToffee Import Export (Basic) > Import.

- Select the post type
Chose the post type to import as Product and then click the button Step 2: Select import method.

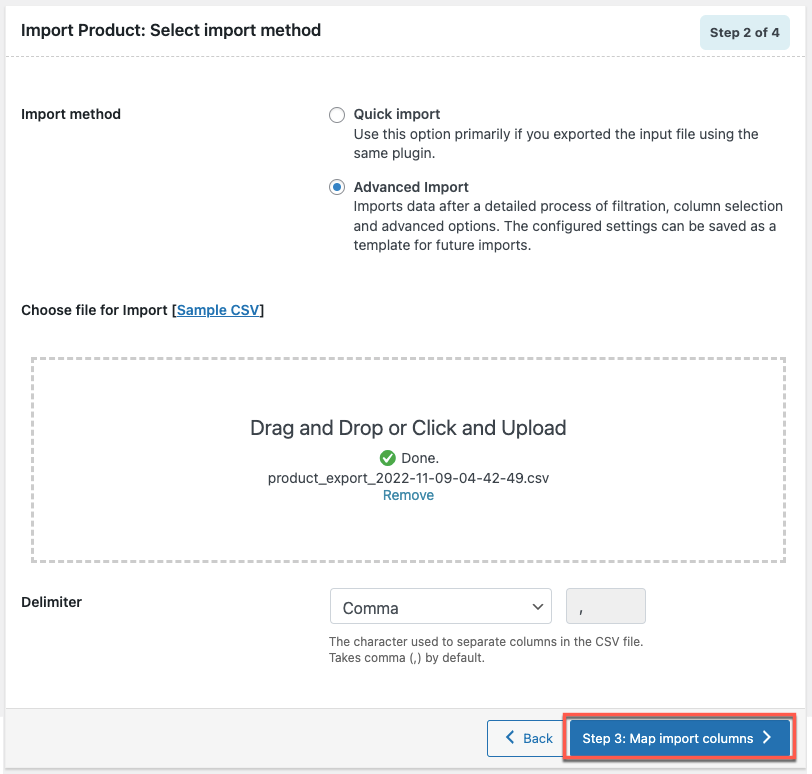
- Select Advanced import method
Select the import method as Advanced import where you can import data after a detailed process of filtration, column selection, and other advanced options. Also, the settings can be saved for future use.

To import a product, upload a CSV file. Tap on Step 3: Map import column button after uploading your file. - Update Product Field Values
The product field names would be mapped to the column names of your CSV file. Columns are automatically mapped only if a matching header name is discovered in the input file.

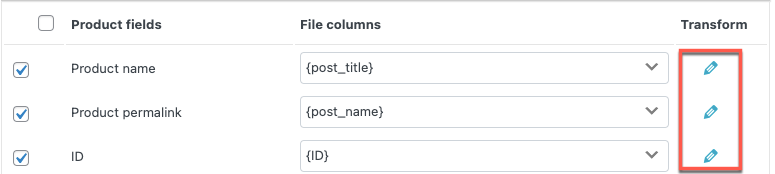
The import mapping column of the WooCommerce Product import export plugin is shown in the video. Select the drop-down icon next to the product field. There are references to each column in the CSV file. From the drop-down menu, select the column you want to correspond with the product field.
When a matching header name is found in the input file, columns are automatically mapped.
While importing the map columns some of them might have noticed a pencil symbol under Transform.
By clicking on the pencil-like icon it will open a pop-up to set the value for the product fields.
Use the transform option to update the value to an existing product field value during import. For eg: [{stock} + 10].
In short, it maps a column in the input file with a product field, carries out the specified computation task, and then updates the current field value with the new one (result after computation).
Expression: The field value can both be changed by using any of the operators +, *, /, -, (), &, @, or string constants.
Eg: [{regular_price}+10]
Input file columns: From the dropdown, select the column that needs to be changed.
Output/ Preview: Based on the first record from the input file, a sample value will be generated.
Eg: Initially the regular price is 30 and when adding 10 to the regular price, the sample value is 40.
Note: When used in an expression, columns with null values in the input file may result in syntactic issues.

1. Assign Any Constant Value You Need
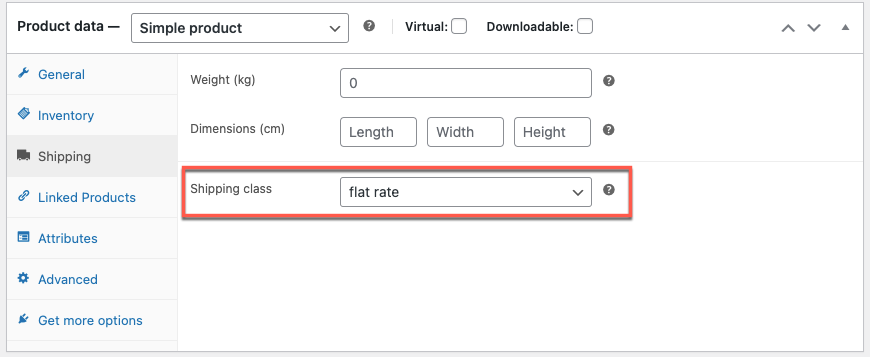
For example: Say you want to assign the value- ‘flat rate’ to the product field ‘tax:product_shipping_class’. Click on the pencil icon corresponding to the product field, and set the field value as ‘flat rate’.
Upon import, the shipping class of all the products imported via the CSV will be changed to ‘Flat rate’ (as shown below).
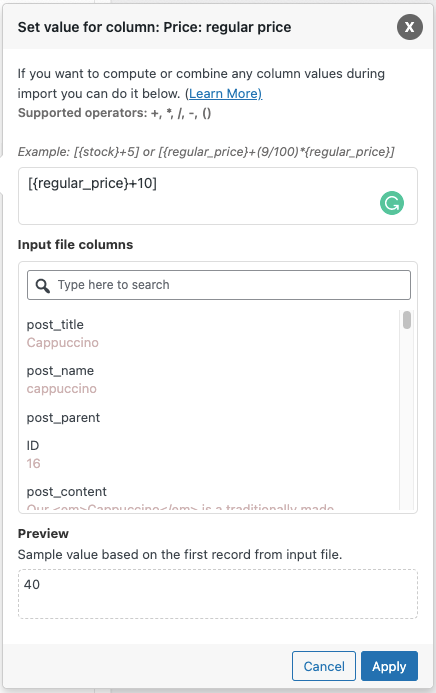
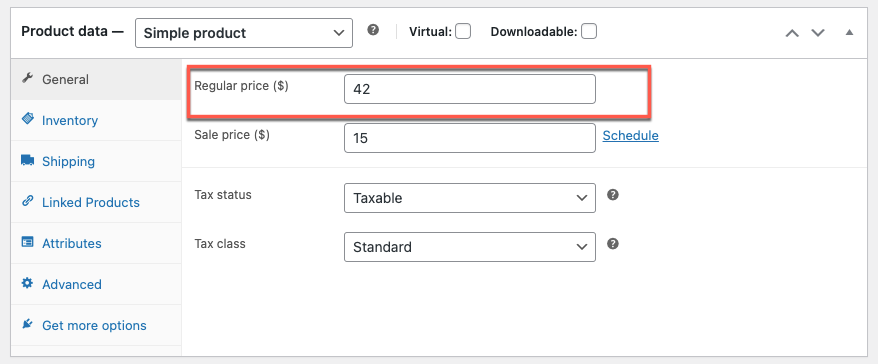
2. Increase the Value of the Price
For example: Increasing the cost by ten dollars.
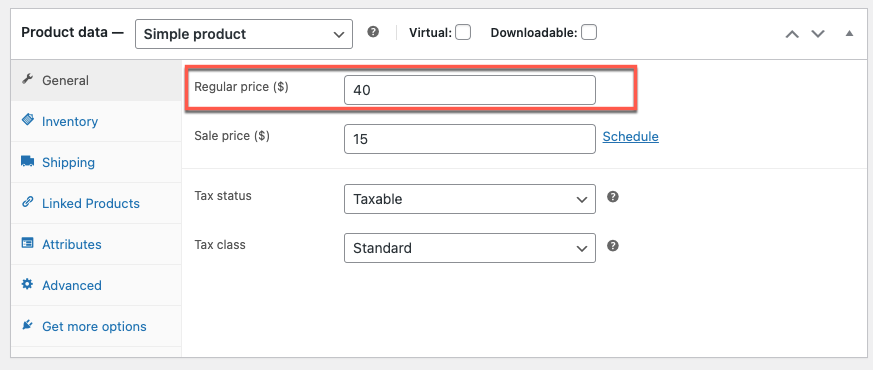
Enter ‘[{regular_price}+10]’ in the Set value for column window corresponding to the ‘Price: Regular Price’ row:
If the initial price was 30, the changed regular price value will now be changed to 40.
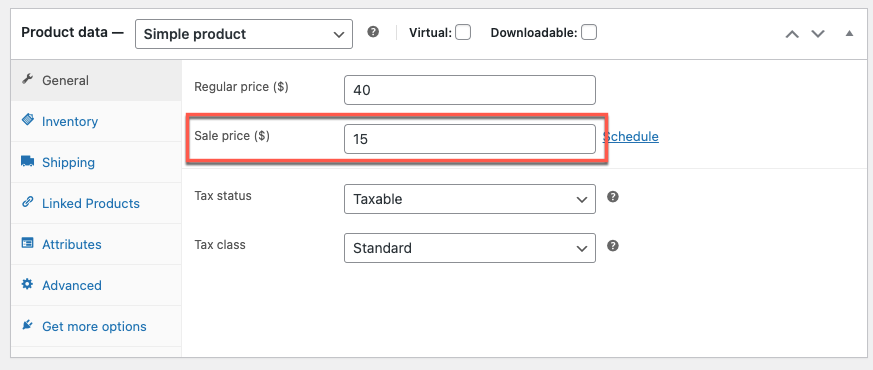
3. Decrease the Value of a Sale Price
For example: Taking 10 off the selling price.
As seen below, enter ‘[{sales_price}-10] in the Set value for column window for the product field ‘Price: Sale Price’:
The revised sale price (if the initial price was 25) will now be as follows, upon import:
4. Appending a Value
For example: Add the term ‘By Sonadora Cafe’ at the end of the product title.
Put ‘{post_title}& By Sonadora Cafe’ in the Product Title row under the transform window:
The updated value will display as follows upon import:

5. Prepend a Value
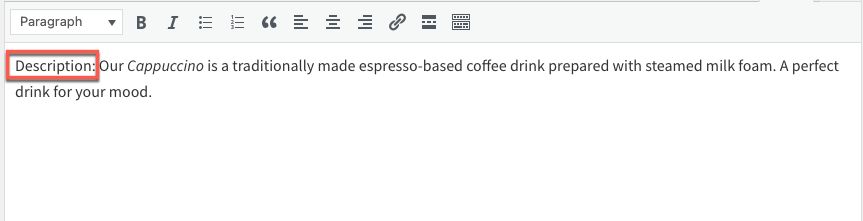
Add the constant text ‘Description:’ before the original Product Description.
Enter ‘Description: {post_content}’ in the Product Description row, in the transform window.
When imported, the value will show up as follows:
6. Combine Two Columns
There can be times when you want to combine two or more columns into one during import. Using the Transform option, you may easily integrate them.
Example: Use the expression, ‘[{sku} {post_title}]’ to combine the two columns “SKU” and “Product name.”
When imported, the values of the merged columns will show up as:

7. Increase the Price by a Percentage
Example: If the original regular price during import is 40 and you want to raise the price by 5%, use the equation ‘[{regular_price}*1.05]’ in the column ‘Price: regular price’.
(The regular price must be multiplied by 0.05 in order to be raised by 5%.)
Make sure to put square brackets around the expressions.
The changed normal price value will be displayed as:
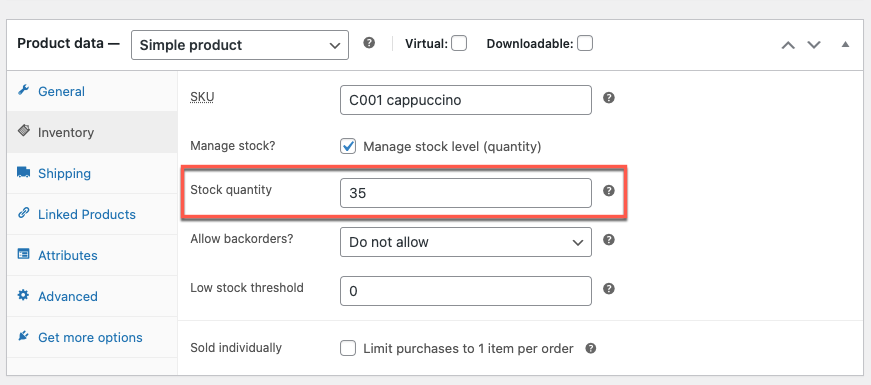
8. Updating the Stock
When mapping, enter ‘[{stock}+5]’ corresponding to the field ‘Inventory: Stock column’ to add 5 units to the stock quantity of all imported goods.
The updated stock value will show up as:
Wrap Up
The transform option helps you to edit/change the file columns during the importing process. This feature is very useful when you need to update or fix any mapping data for bulk products. The Product Import Export Plugin we mentioned in this article also has a premium version with advanced import export options. See below for more information.
Hope this article led you in the right direction. We encourage you to read how to update specific WooCommerce product prices using CSV.
If you have any queries, please mention them below.