This article offers a step-by-step guide on creating PDF invoices and packing slips for orders using the WebToffee PDF invoice and packing slips plugin for WooCommerce. The plugin allows for customization of invoice and packing slip templates and also offers features like automatic emailing of invoices. Check out the blog to learn more.
Creating and delivering professional WooCommerce invoices, packing slips, and other order-related documents to customers is a vital component of your store’s everyday operations.
WooCommerce is a great tool for running an eCommerce site because it offers a set of fundamental features that allows you to manage practically anything in the store.
However, creating WooCommerce invoices and packing slips is one area where you might need help from an external plugin to handle the process more efficiently. WooCommerce PDF invoices and packing slips plugin is the best solution for you.
WooCommerce PDF invoices and packing slips: why do you need the plugin?
There are several reasons for using this plugin for managing your PDF invoices and packing slips.
Some of the main ones include – it helps you,
- Automatically generate WooCommerce PDF invoices, packing slips, and credit notes
- Add your brand logo, name, VAT, and other customizations to invoices
- Print all documents in bulk from the orders page
- Customize the WooCommerce invoice template
- Create unique PDF filenames for PDF invoices that include an order number or prefix
WooCommerce PDF Invoices & Packing Slips Set Up – Step-by-Step Guide
So, Let’s Start!
Step 1: Installing the plugin
Install and Activate the WooCommerce PDF Invoices/Packing Slips Plugin from the WordPress Plugin Directory.
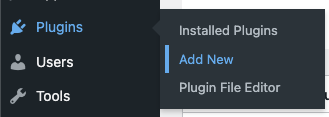
From WordPress Dashboard, Plugins > Add New.
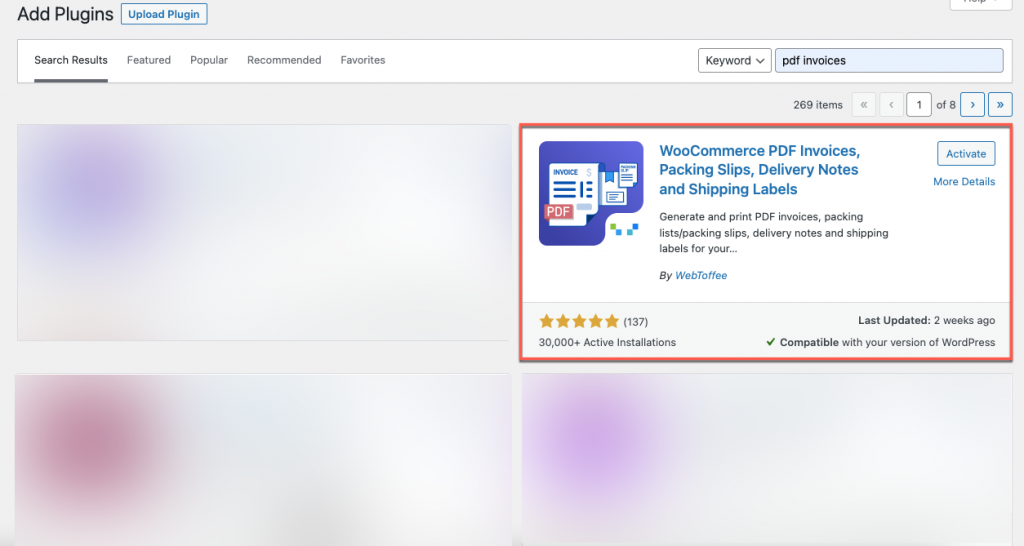
From the Add Plugins page, type the keyword ‘pdf invoices’, install and activate the plugin WooCommerce PDF Invoices, Packing Slips, Delivery and Shipping Labels.
Step 2: Enabling WooCommerce invoices and packing slips
From WordPress Dashboard, select the menu Invoice/Packing
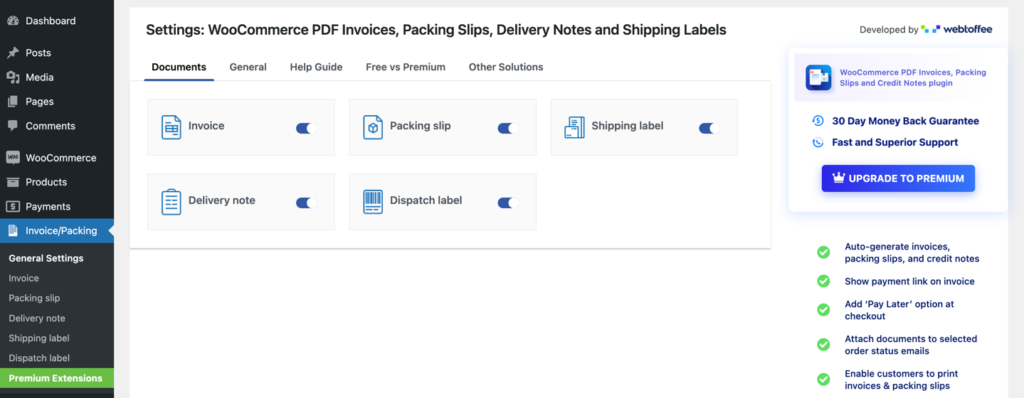
Navigate to Invoice/Packing > Documents, you can enable or disable the documents that you want to include in your eCommerce store. If you do not need to generate all of the documents, you can toggle off that specific document.
Step 3: Add the business details
Go to the General tab and add the basic company information which will appear in all your documents.
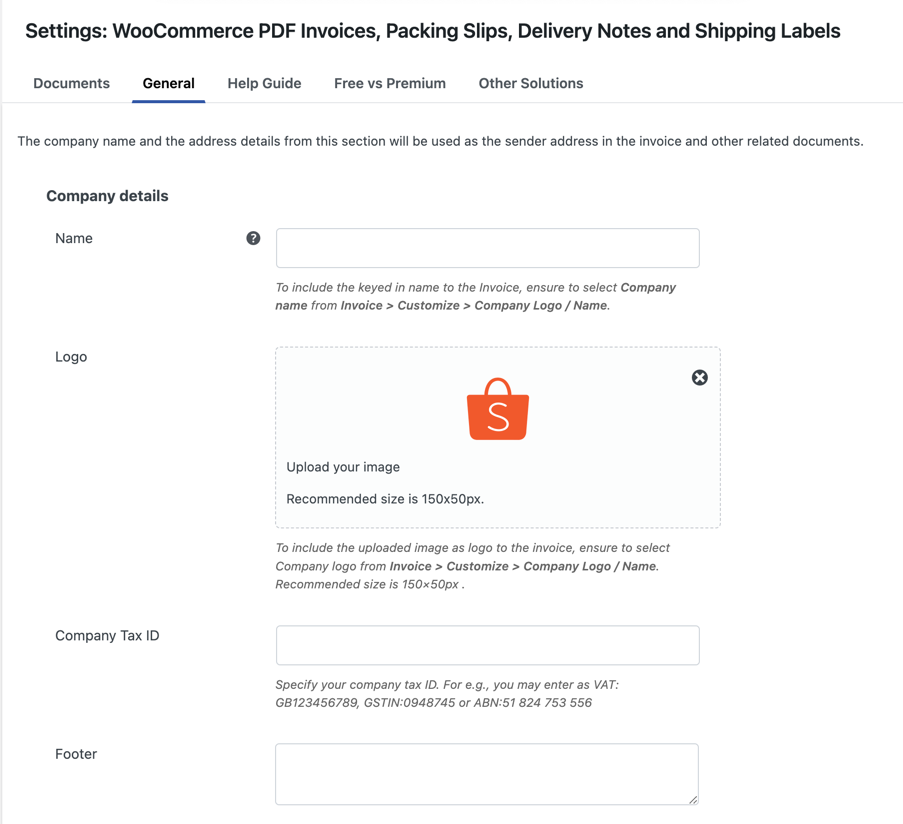
Under the Company info, you can the name of the company, upload the company logo, Company tax ID, and any footer message.
It’s good to add a footer message like “Thanks for shopping” or “Thanks for the purchase” to show gratitude towards the customers.
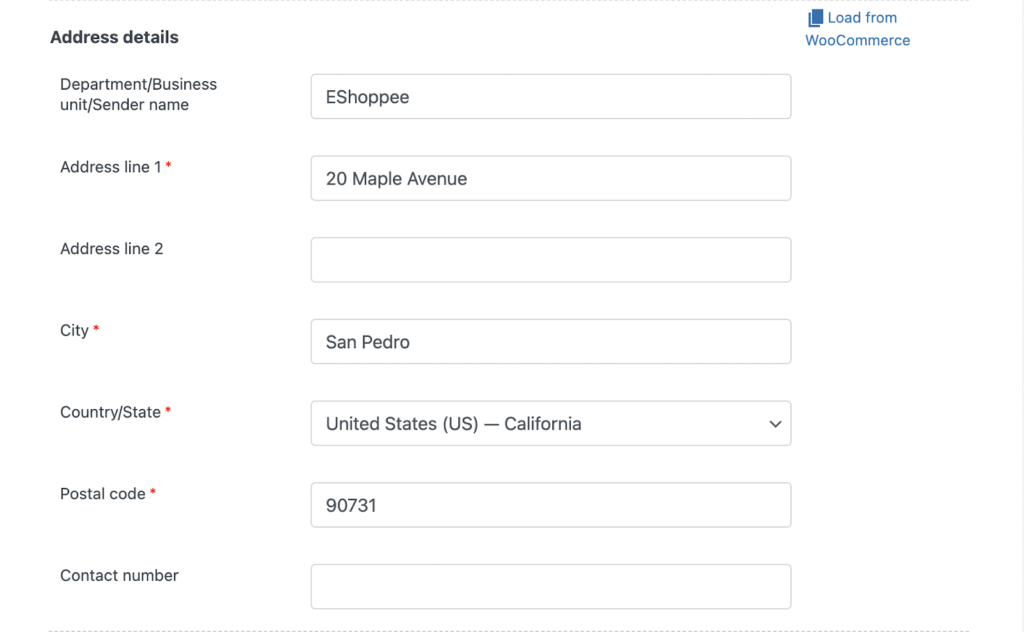
Under Address Details, add the address of your online store, that you want to display in your invoice.
Use the Load from WooCommerce option to populate the fields with the corresponding data provided while setting up your WooCommerce store.
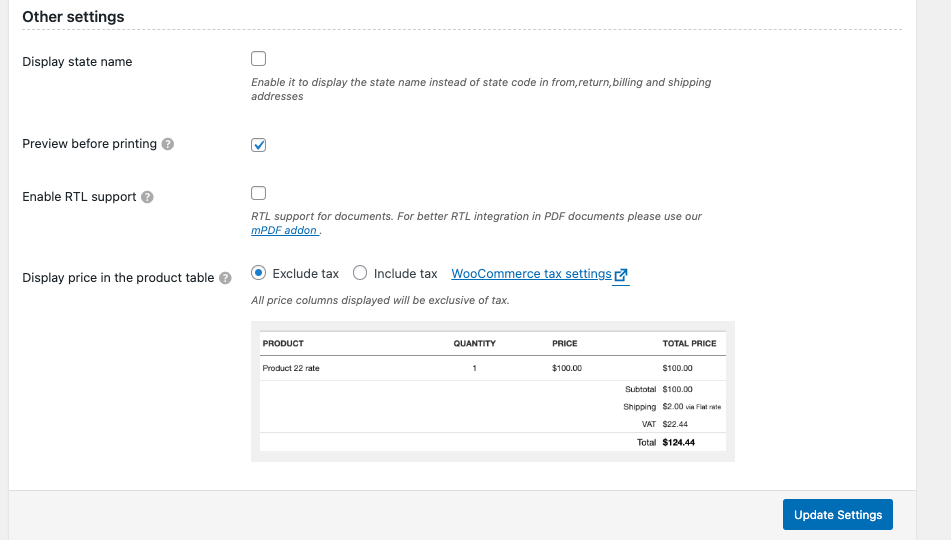
The Advanced options section enables you to display the state name instead of the state code from your addresses (billing, shipping, from, and return).
If you want to see the preview of the pdf invoice before printing, you can tick on the checkbox corresponding to Preview before printing.
Just put a tick on the check box to enable RTL support for the documents.
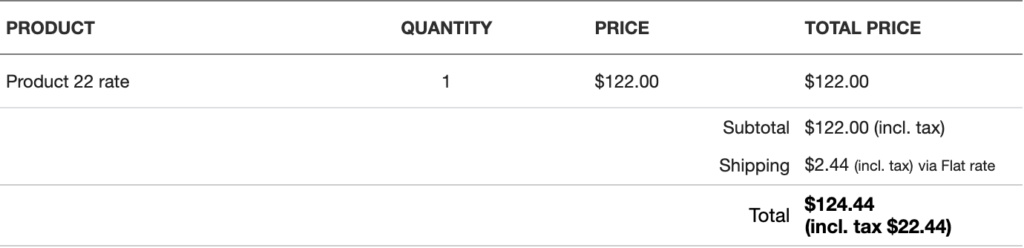
The Display price in the product table option enables you to include or exclude tax to be added to the subtotal in the product table.
Subtotal exclusive of tax
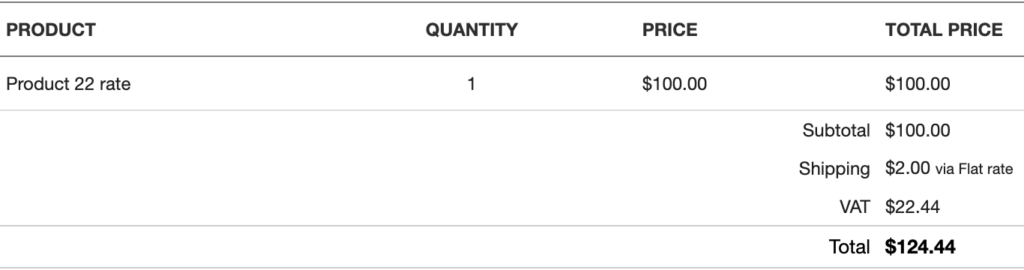
Subtotal inclusive of tax
Click on the Update Settings button to save the entire changes you made.
Well, these are the required general settings of the WooCommerce PDF invoices/packing slip plugin.
How to create WooCommerce PDF invoices?
Go to the Invoice > General under the Invoices/Packing tab.
Step 1: Customize the WooCommerce invoice settings
All the configurations associated WooCommerce invoices are available here.
General WooCommerce invoice settings
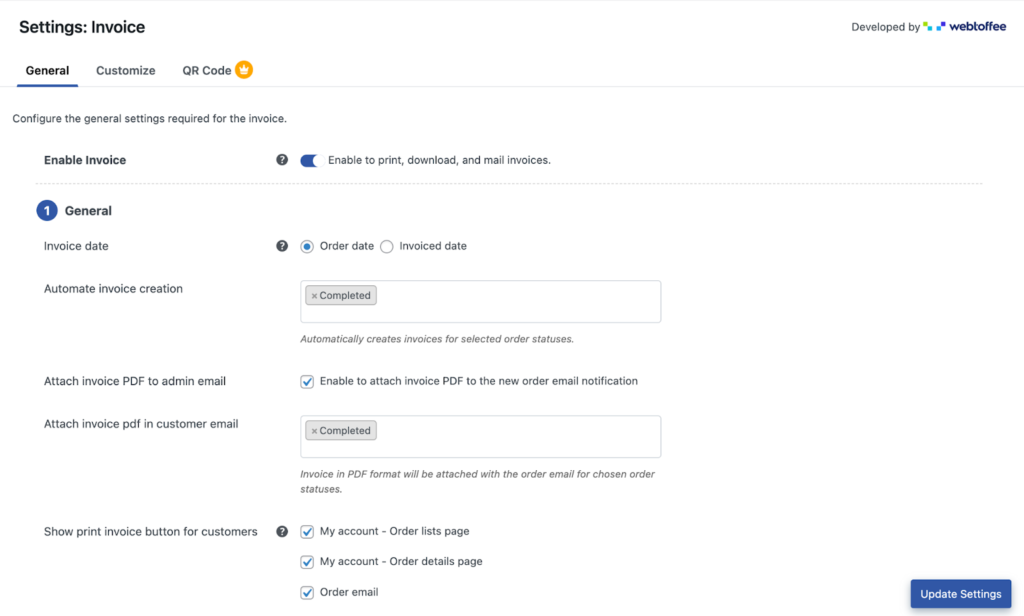
Enable Invoice – Enable to let customers print, and download invoices. It also facilitates the admin to attach them to the order status emails.
Automate invoice generation – The invoices will be automatically generated when the order reaches the status/statuses specified in this field.
Attach invoice PDF to admin email – Enable this option to attach the PDF format of the WooCommerce invoices to the order confirmation emails sent out to store administrators.
Attach Invoice PDF in customer email – Select the order emails to which the invoice PDF has to be attached. The plugin will automatically add the PDF to the email as an attachment before sending it to customers.
Show print Invoice button for customers – This option adds a print invoice button to make printing easier for customers. You can add this option to any or all of the following locations,
– Order listing page in My account
– Order details page in My account
– Order email
WooCommerce invoice number settings
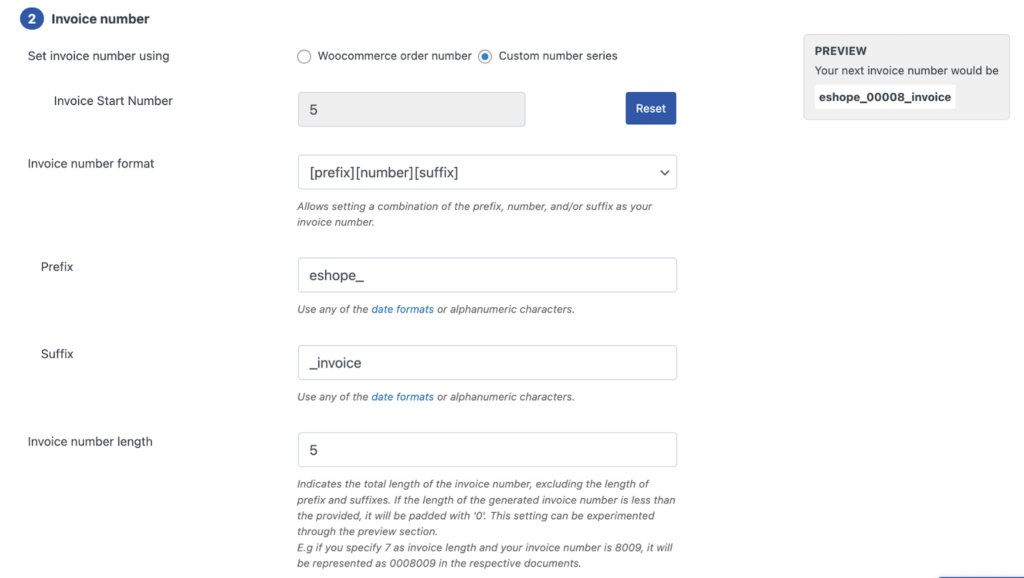
Set invoice number using – Choose whether you want to use a custom number series or use the WooCommerce order number.
Invoice number format – Choose if you want to include a suffix and/or prefix along with the invoice number.
Invoice number length – Specify the invoice number length of your invoices excluding the length of suffixes and prefixes if any.
Customize WooCommerce invoice details
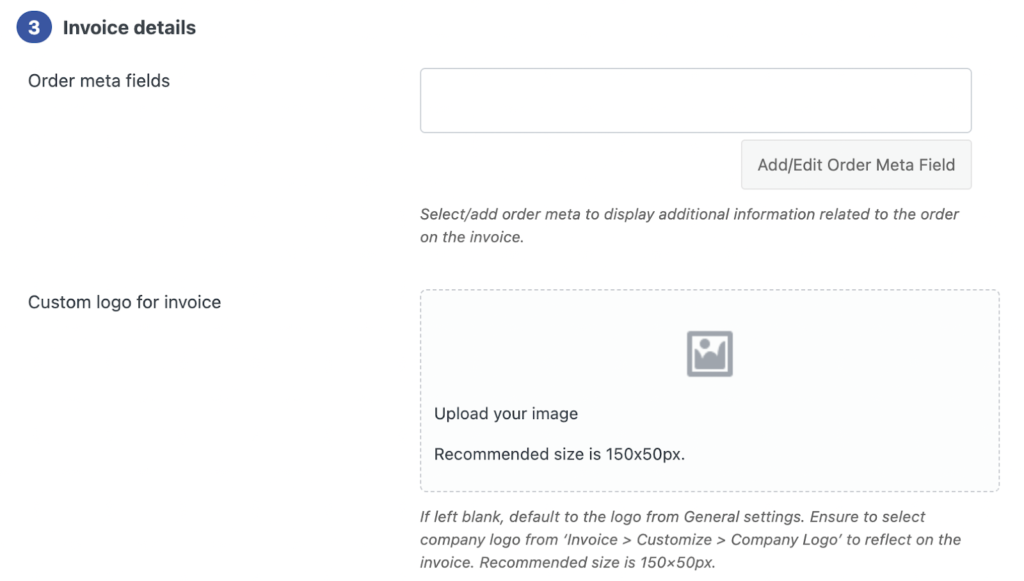
Order meta fields – Add order meta fields to the invoices with this field. If you want to add additional fields that are not available by default, you may add them with the help of this Add/Edit Order Meta Fields. The following fields are available by default,
– Contact number
– Email
– SSN
– VAT
– Customer note
Custom logo for invoice – Upload the logo of your company that you want to display in your WooCommerce invoices. You only have to upload the logo here if you haven’t already added it under Invoice/Packing > General > Company details.
Configure other WooCommerce invoice settings
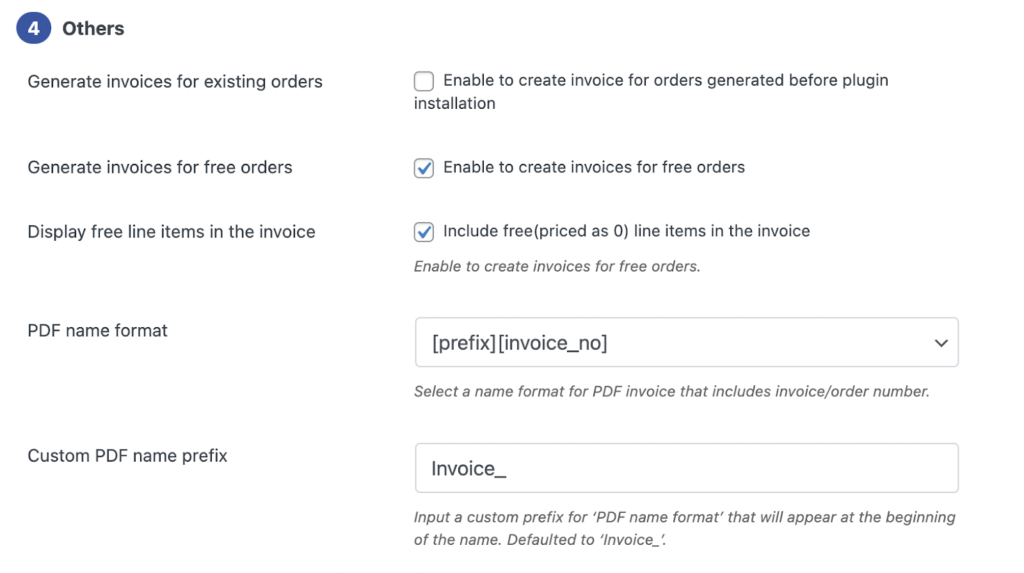
Generate invoices for existing orders – Create invoices for orders that were placed before you install this plugin.
Generate invoices for free orders – Enable this option if you want to generate invoices for orders that are free.
Display free line items in the invoice – Some items in an order can be offered for free. Enable this option if you want to include such free items in the invoices. PDF name format – You can change the format of the WooCommerce invoice PDF that is generated by this plugin with this option. You can add a prefix for the invoice name and use the invoice number or order number as its name.
Step 2: Customize the design of the WooCommerce invoice
Navigate to the Customize tab to change the basic look of the invoice. Click on the link Create new template to choose a suitable template for your invoices.
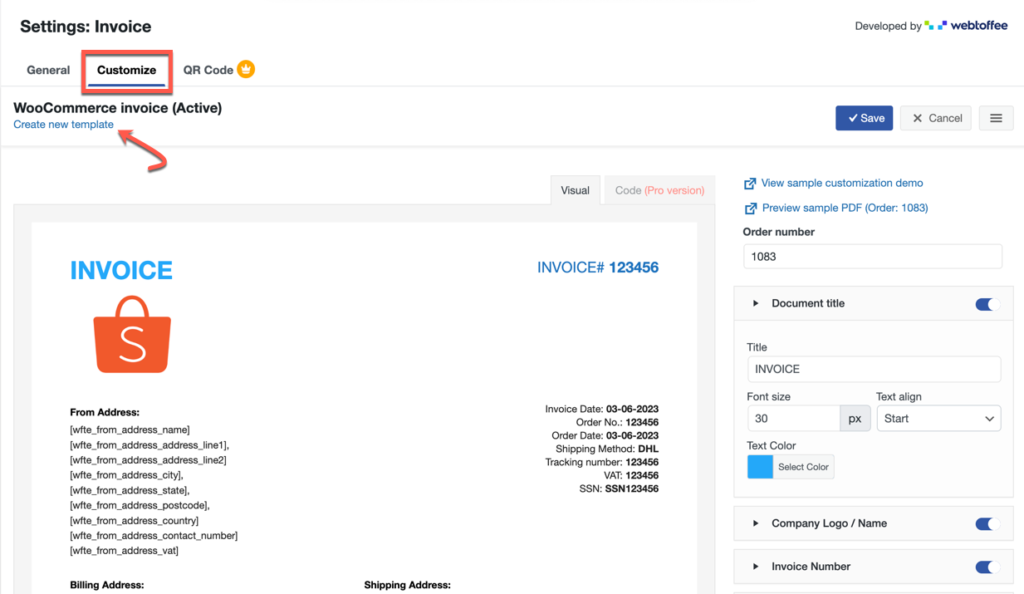
On the right-hand side, you can see various elements that you can add or remove from the invoice by using a toggle button. Some of these features are only available in the premium edition of the plugin.
On the left-hand side, you can live preview the changes that make in the invoice.
Change Document Title
Add Company Logo
Change Invoice Number Display
Change Invoice Date Format
Update Product Table
When you expand any of these elements on the side, you can see the customization options available for that section. Make the required changes as per your needs.
Once you’ve finished all of the modifications, click the Save button to save the invoice template. You will have to provide a dedicated name for the invoice for it to get saved.
WooCommerce PDF Invoices Premium Plugin for Advanced Customizations
Compared to the basic version of the plugin, the premium version of the WooCommerce invoice and packing slips plugin offers more options and features.
Here you have to purchase, install & activate the WooCommerce PDF Invoices, Packing Slips, and Credit Notes plugin.
With the premium version of the plugin, you will get the following additional features,
- Option to add a payment link to the invoice
- Option to add a Pay Later option at checkout
- Customizable tax items, and tax fields (SSN, VATIN, etc.)
- Display options for bundled products
- Show product variation data for variable products
- Sort order items in the product table
- Group products in invoices by category
- Extra advanced invoice templates
- Unlocks all elements in the invoice document for customization
- Code editor for customizing the WooCommerce PDF invoice document
- Add additional product meta fields and attributes to invoices
- Attach a custom footer to invoices
How to configure WooCommerce packing slips?
Configuring WooCommerce packing slips is an easy and seamless process similar to that of invoices. However, the features of the basic WooCommerce packing slip plugin are limited.
To set up WooCommerce packing slips,
Step 1: Enable WooCommerce packing slips
From the WordPress dashboard, navigate to Invoice/Packing > General Settings.
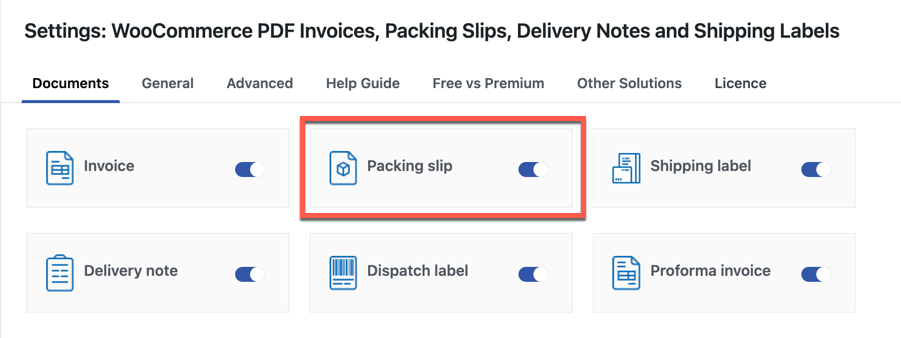
Make sure the option Packing slip is toggled on.
Step 2: Set up the WooCommerce packing slip document
Navigate to the Packing slip sub-tab to access the available configurations.
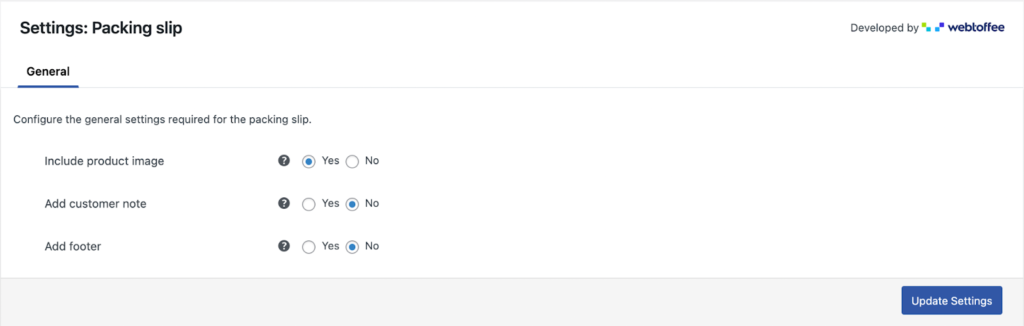
Include product image – Select this option to include a product image in the product table of the packing list.
Add a customer note – Add a customer note on the packing slip.
Add footer – Insert a footer into the packing slip document.
Advanced WooCommerce Packing Slip Configurations With WebToffee Premium Plugin
The premium version of the WooCommerce packing slips and credit notes plugin offers several advanced customizations. It includes
- Emailing the packing slip to selected recipients
- Enabling users to print packing slips directly from the email with a click of the button
- Grouping products in the packing slip based on category
- Sorting products in the required format
- Adding the data regarding product variation below each product
- Multiple display options for bundled products
- Pre-set templates (basic and advanced) for WooCommerce packing slips
- Full control over the look and data to be displayed in the WooCommerce packing slip document
- Adding additional order and product meta fields to the document
- Including additional product attributes
- Adjusting the footer content of the document, and more.
Wrapping Up
Anyone can build a WooCommerce website using WordPress, but it takes patience and time to maintain it and build a loyal customer base.
When you buy something from a local retailer, you expect an invoice. The same concept applies to online purchases. A company that adheres to standards ensures its authenticity.
The WooCommerce PDF Invoices/Packing slips plugin makes it easy to generate professional-looking invoices. Users who want to generate invoices without incurring any costs can use the free version. With the premium extension, users have access to advanced features and options.