This is a complete documentation of the free version of the WordPress Migrator and Duplicator plugin that helps to migrate and keep a backup of your entire WordPress website.
Overview
The plugin comes with simple, flexible and quick export-import functionalities. Helps you to migrate or backup your WordPress website containing the wp-content and database with ease.
Plugin features
- Move, migrate or clone a WordPress site between domains or hosts with zero downtime.
- Keep backup logs
- Pull down a live site to localhost for development
- Transfer a WordPress site from one host to another
Installation & Activation
The plugin can be installed:
- from the WordPress plugin directory
- as a zip downloaded from the WordPress.org website.
You can learn more about the installation procedure by reading the article How to Install a Free Plugin from WordPress.
For a detailed insight on how to migrate, do watch the below mentioned video.
Getting Started
On activating the plugin, a new menu, WordPress Migration, appears on your WP admin panel. It consists of three sub-menus:
- Migration & Backup
- Settings
- Logs

You can navigate to the plugin in two ways:
- WordPress Migration menu from WordPress dashboard.
- Plugins > Installed Plugins > WordPress Backup & Migration >Settings (the user will be taken to the Settings window.)
Migration & Backup
Backup and restore all that you want. All the export and import related activities are carried out here. This module consists of 3 tabs:
- Create Backup
- Import/Restore
- Help
Create Backup
In this section, you can export and backup your WordPress contents. You can either create a quick backup or schedule the backup.
Export/Backup
To perform a quick backup, we choose: Export/Backup.
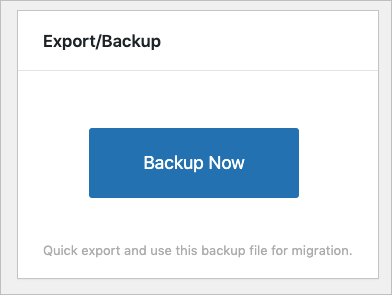
On clicking Backup Now, the export process will begin with the default configurations. To customise your selections on what to backup and where to backup, head on to Configuration options. Here, we have three sections. Let us have a look at each of them in detail.
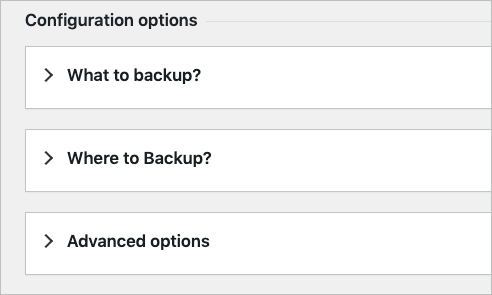
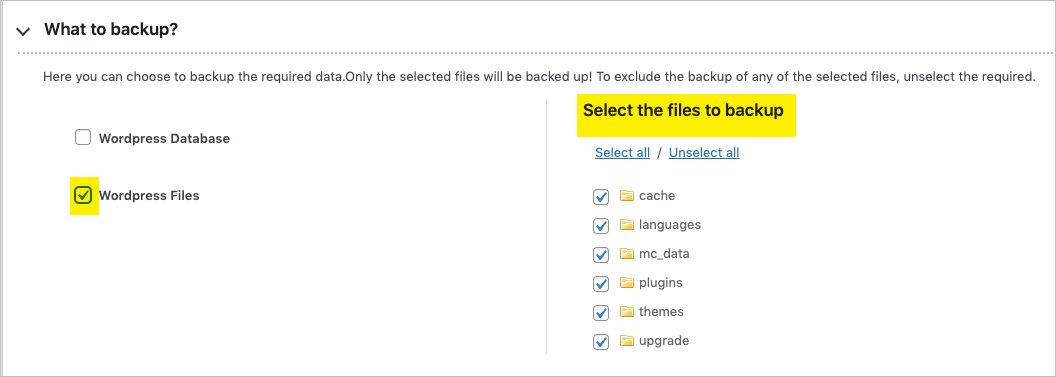
What to backup?
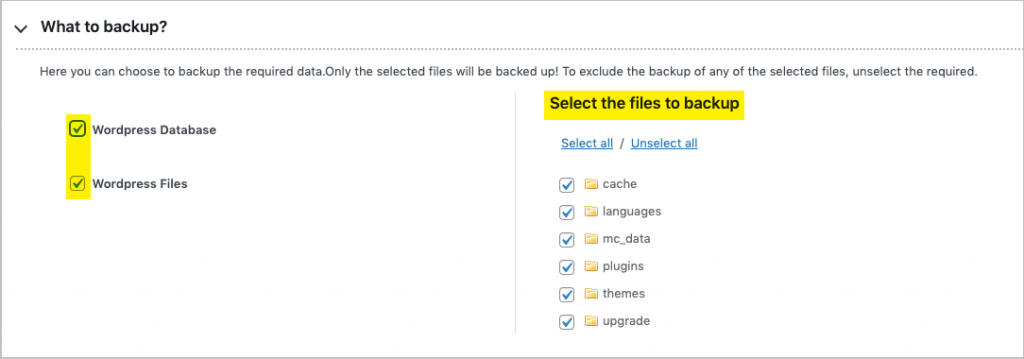
Here you can select all that you want to backup.
- WordPress Database : Select this option if you want to take the backup of only the database. This selection will not include any kind of WordPress files in the backup.
- WordPress Files : This option will export the theme, media library and plugins. No database will be included in the backup.
Among these WordPress files, you can exclude backing up certain folders and files if required. Simply unselect the folders to exclude.
On selecting both options, you can export the theme, media library, plugins and the database. That is, the whole WordPress site.
However, you can specifically exclude certain folders and files if you do not wish to include them in the backup. Unselect the required to exclude from backup.
Where to backup ?
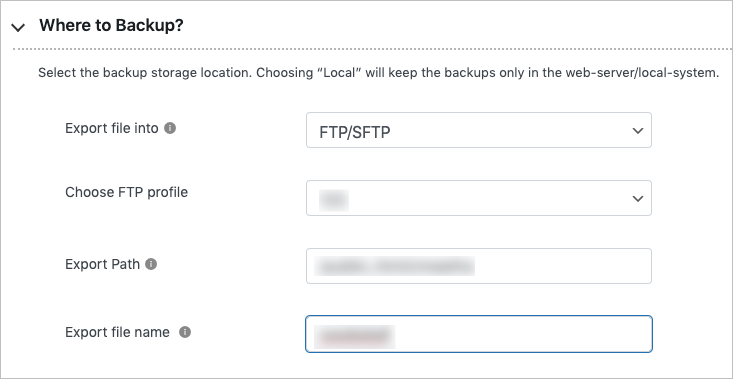
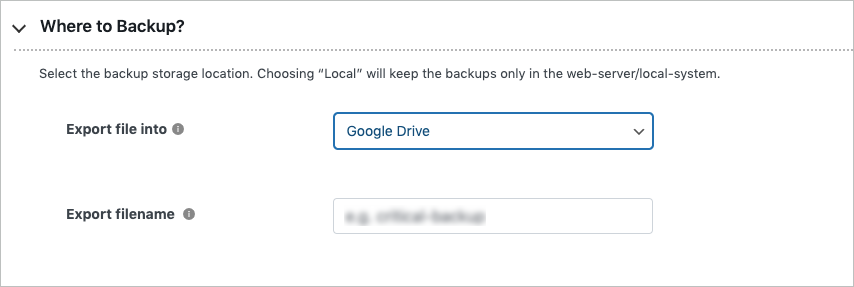
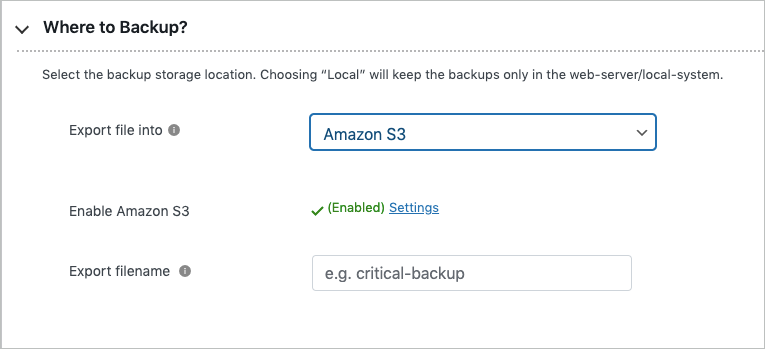
In this section, we can choose among different storage options. From local to cloud storage locations, you can select the preferred backup location under the option: “Export file into”. If you want to export the file into the storage option:
- Local: The backups will get downloaded locally. However, this storage option is not recommended as failure of the local-system in any manner will make you lose the backup.We suggest you to go for the other available cloud storage options unless you plan to manually copy the data to your computer.
- FTP/SFTP: Choose the required FTP profile, specify the export path and file name.
- Google Drive: Ensure that you have established the Google drive connection and specify the Google drive file name.
- Amazon S3: Ensure that you have established the Amazon S3 connection and specify the Amazon S3 File Name.
Advanced options
Here, we can process our backup in a more advanced way with these options.
- Data size limit per request: Here, we can specify the data size limit in mb per request.
- Number of database records per request: This option will process the number of database records you want to backup per request.
- Number of files to process per request: In this option, we can specify the number of files you want to backup per request.

- Click on save to update the configurations.
- Now, we have to click on the Backup Now button at top of the screen.
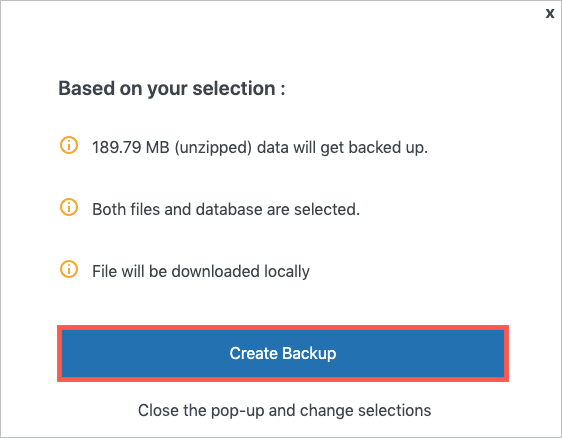
- Verify the configurations. If you need to make any changes, click on Close the pop-up and change selections.
- Once the configurations are verified, click on Create Backup.
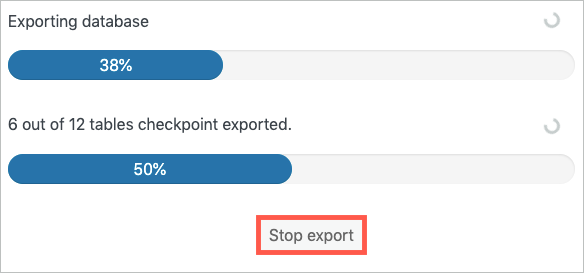
- Click on Stop export to end the process.
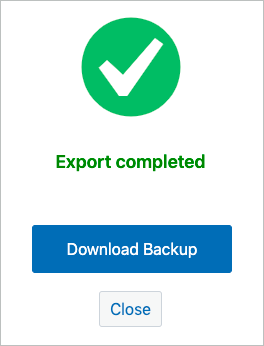
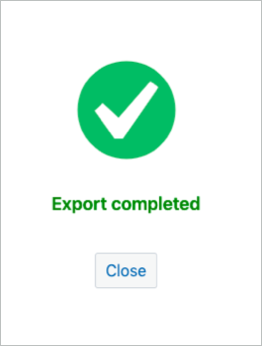
- On successful export, the following screen will appear.
Scheduling backup
To schedule the backup, click on the Schedule backup button.
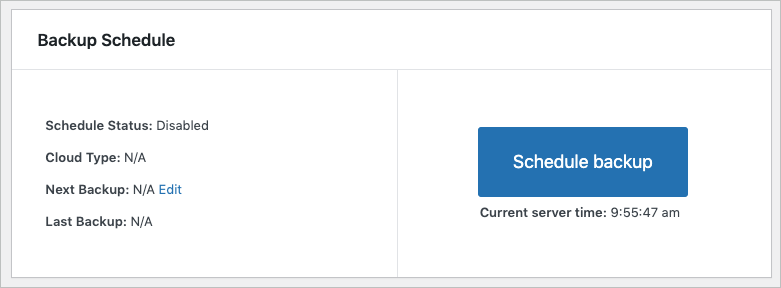
This will take you to the section: Schedule Configuration. In the section, Schedule automatic backup settings, choose the export storage location under the option: Export file into.
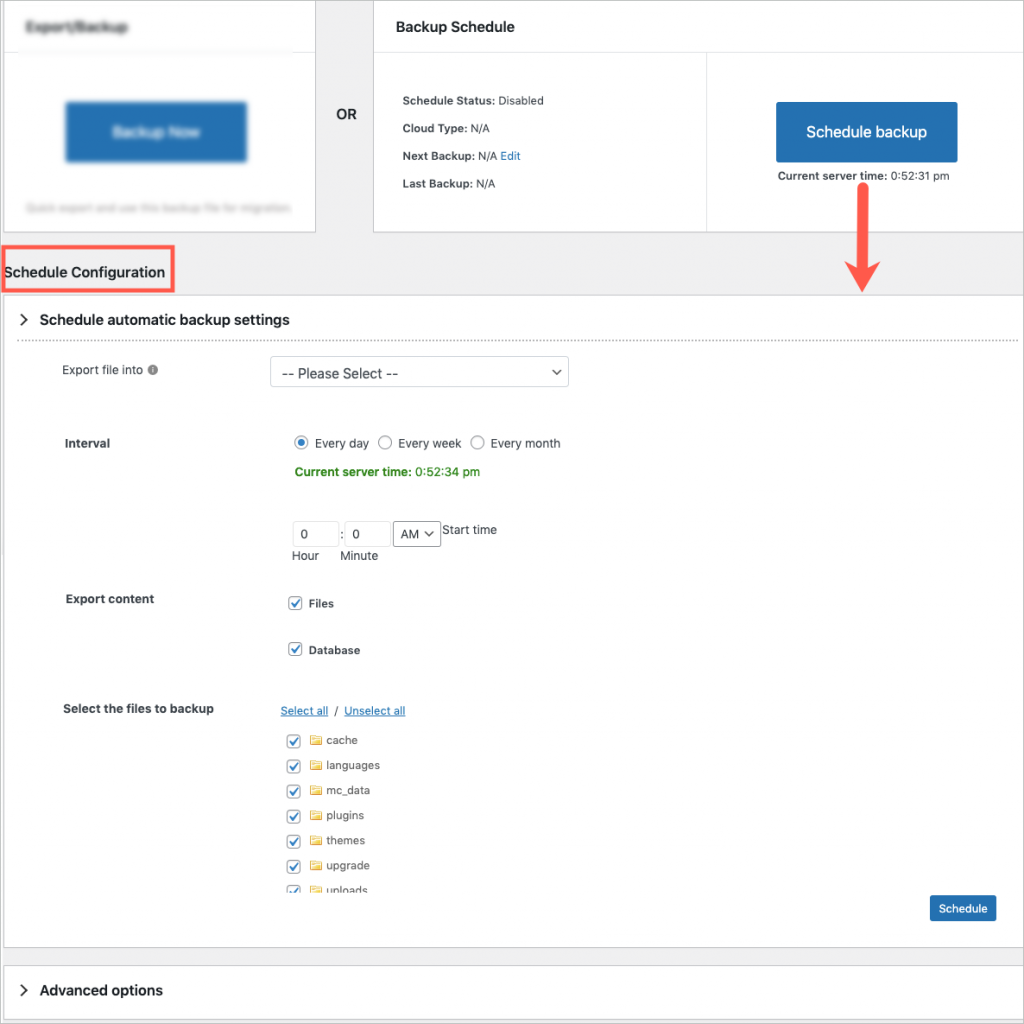
The Schedule option will appear only for these listed export storage options: FTP, Google Drive, Amazon S3.
WordPress cron is not supported for the Local export storage option.
Scheduling via FTP/SFTP
Choose the required FTP profile, specify the export path and file name. Select the interval at which you want the backup to occur and select the content you want to export. The available options in Export content are:
- Files
- Database
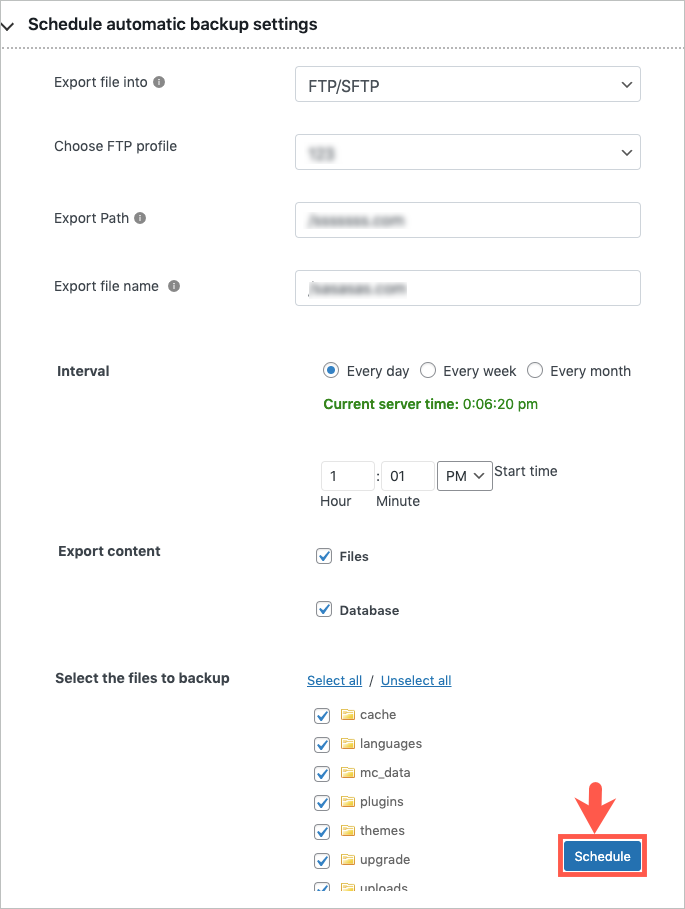
You can select both the options if you want to schedule the backup of the whole WordPress site.
Click on Schedule to finish.
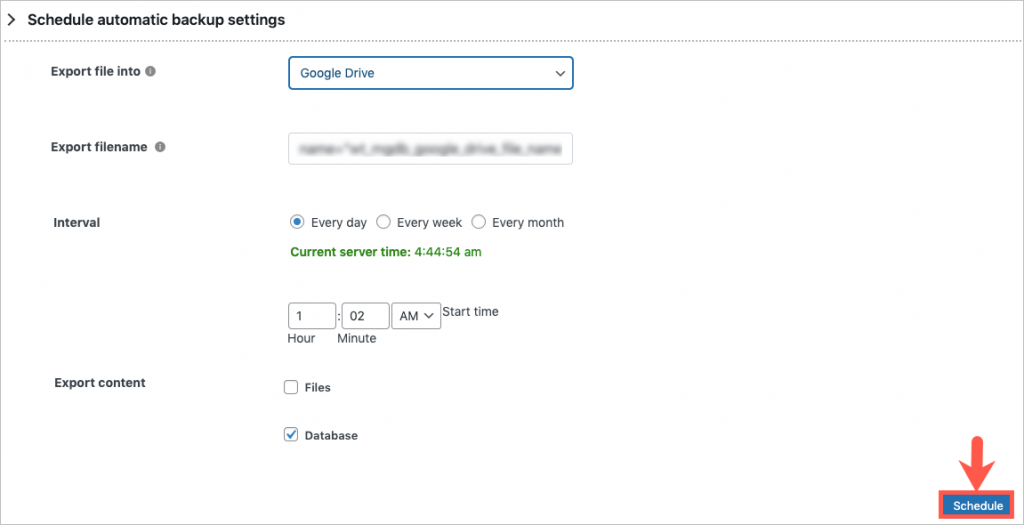
Scheduling via Google Drive
- Ensure that you have established the Google drive connection. Refer to the configuration instructions.
- Select the interval at which you want the backup to occur.
- Select the content you want to export.
- Click on Schedule.
Scheduling via Amazon S3
- Ensure that you have established the Amazon S3 connection .
- Select the interval at which you want the backup to occur.
- Select the content you want to export.
- Click on Schedule.
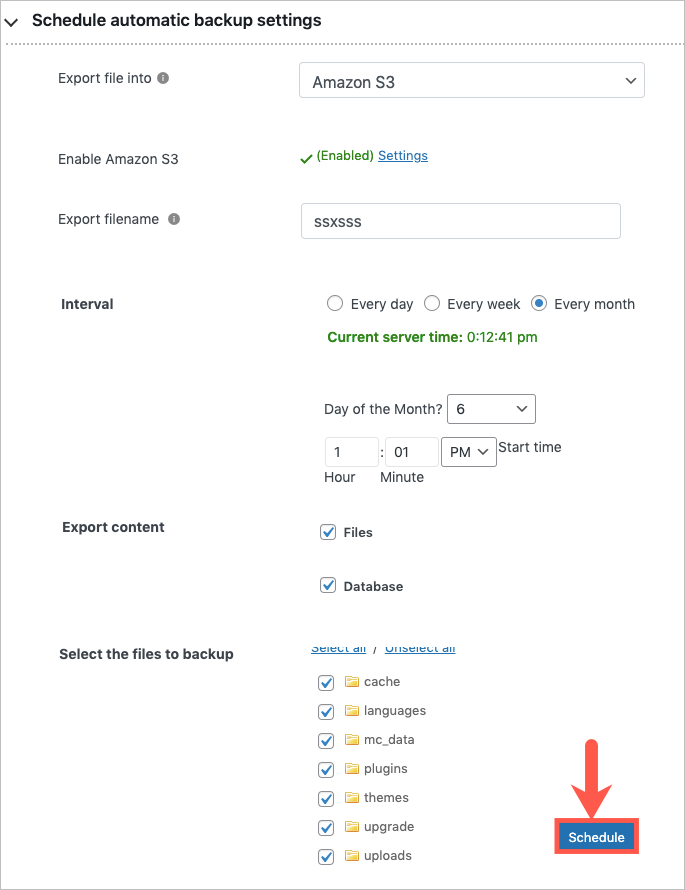
You can also use the advanced options for scheduling the backup. Refer to the section: Advanced options for more information.
Import/Restore
This section is specifically for importing the data via Quick migration and for restoring the recent backups if needed.
Quick import
To import the exported content to the target website, you need to set up this plugin on it as well. Then expand the import tab, and import the data from the zip file, which includes all your website files and the database that needs to be migrated.
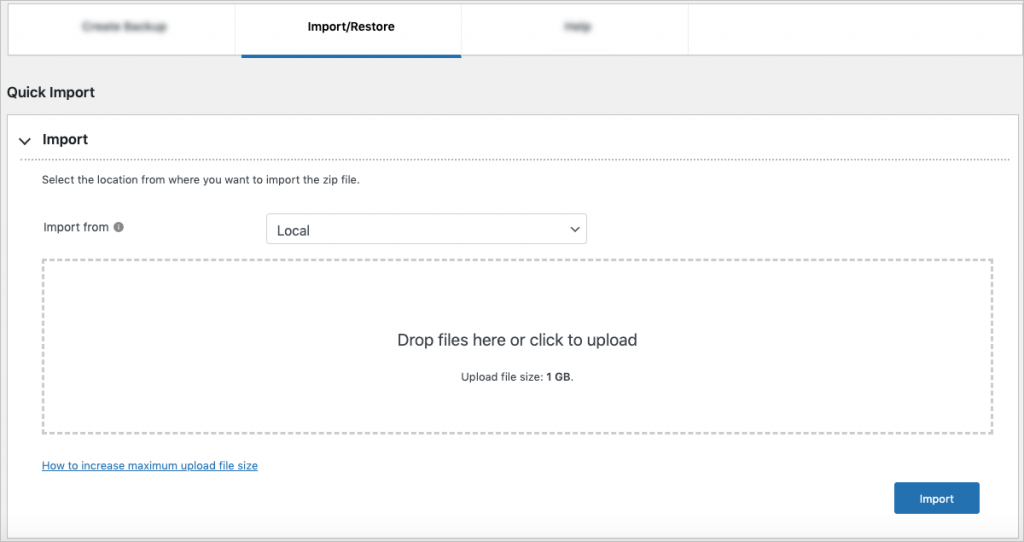
In Import from, choose the location of your zip file from:
- Local
- FTP/SFTP
- Google Drive
- Amazon S3
Import from location: Local
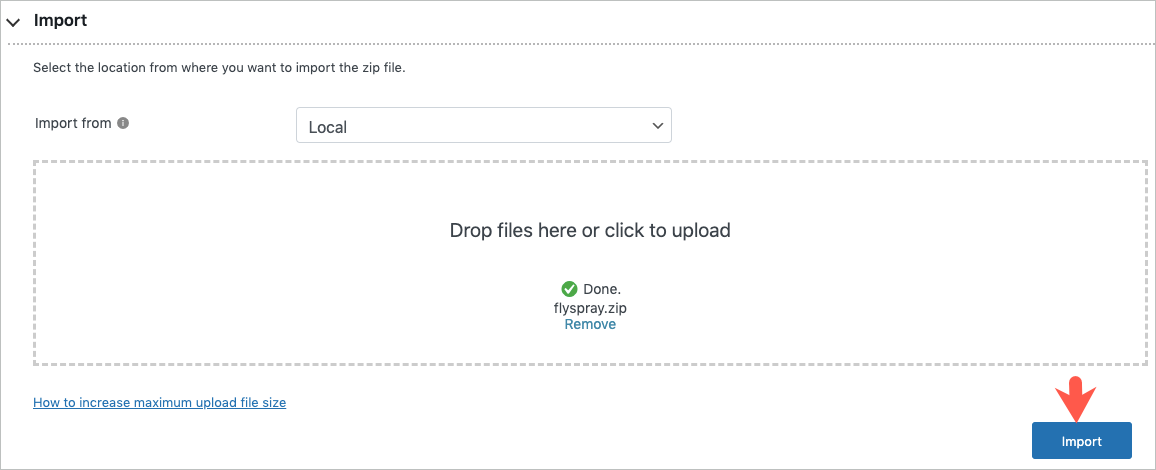
- Click on Upload backup file.
- In the Upload files tab, drop or upload the file.
- Click the Import to finish.
Import from location: FTP
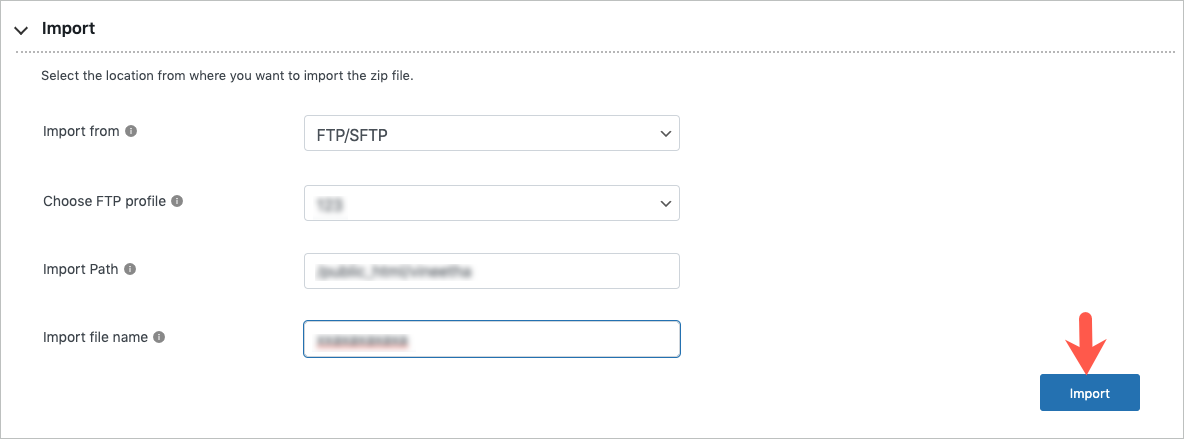
- Choose the required FTP profile.
- Specify the Import Path and Import file name.
- Click the Import to finish.
Import from location: Google Drive
- Ensure that you have established the Google drive connection.
- Specify the Google Drive File Name.
- Click on Import to finish.
Import from location: Amazon S3
- Ensure that you have established the Amazon S3 connection.
- Specify the Amazon S3 File Name.
- Click on Import to finish.
Restore
All your recent backups will be listed here. You can either restore or delete the backup.

Restoring the backups will overwrite all files in the system, including existing backups.
This action will take you to the system state.
Do not restore unless you are sure about what you are doing.
Advanced options
Here, we can restore in a more advanced way with these options.
- Data size limit per request: Here, we can specify the data size limit in mb per request.
- Number of database records per request: This option will process the number of database records you want to restore per request.

Click on Save to finish.

Help
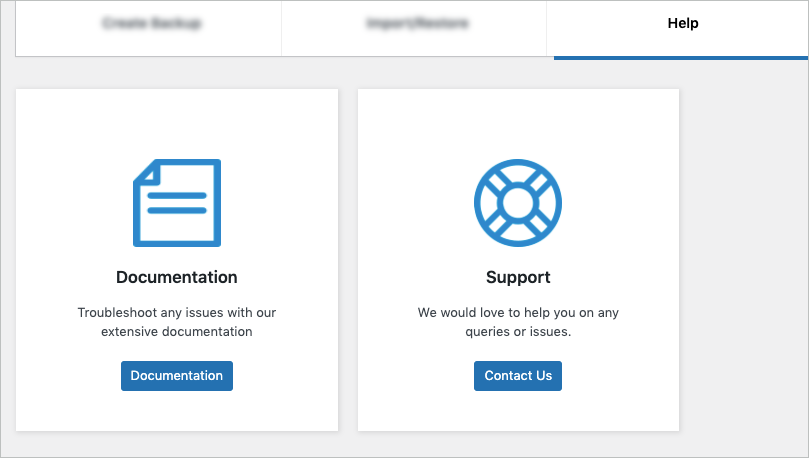
The Help tab contains links to plugin documentation and support.
Settings
Here you can establish all the cloud storage connections which caters to easy migration. The sub module: Settings has three tabs:
- FTP Settings
- Google Drive
- Amazon S3
FTP Settings
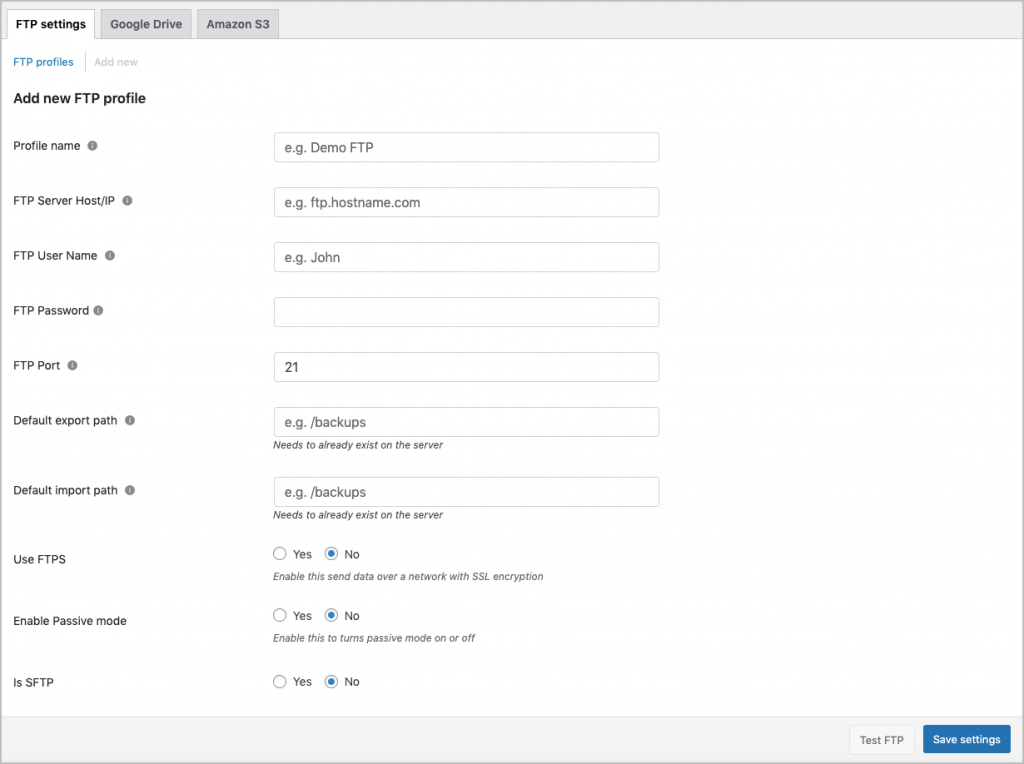
We can create and maintain multiple FTP profiles that can be used for the import/export of site backups. The section has 2 tabs:
- FTP Profiles
- Add new
Viewing FTP Profiles
Click on FTP Profiles to view the added FTP profiles and edit them.

Creating a FTP Profile
Click on Add new to create a new FTP profile and Save settings.
Google Drive
To get connected :
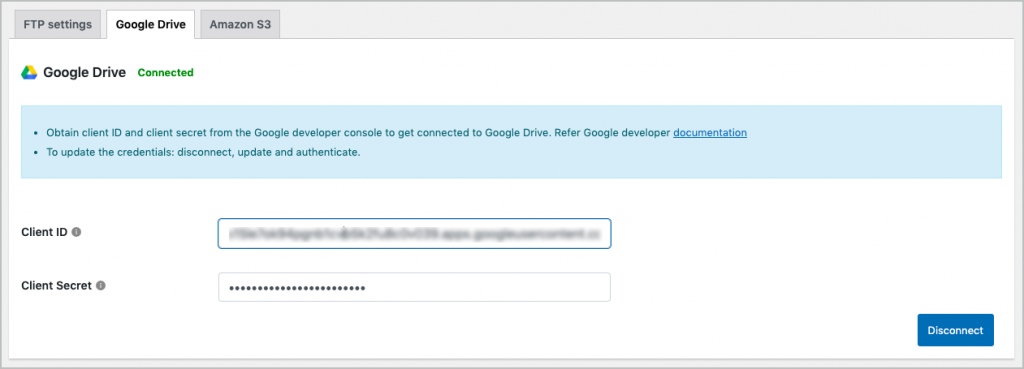
- Enter the Client ID and Client secret.These data can be collected from the Google developer console. Refer Google developer documentation, for more details.
- Click on Authenticate to finish.
Amazon S3
To get connected :
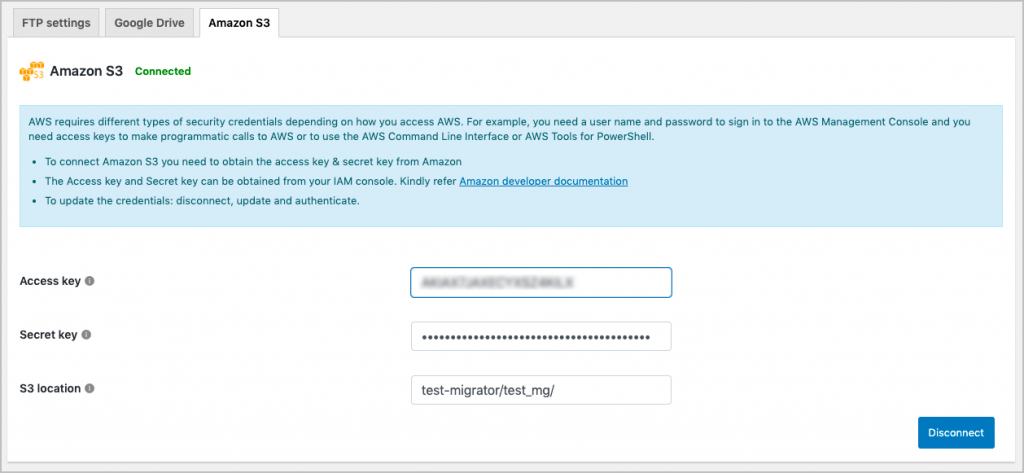
- Collect the Access key, Secret key and S3 location from your IAM console.Refer to Amazon developer documentation, for more details.
- Click on Authenticate to finish.
Logs
To reach the Logs section: Click on the menu: WordPress Migration > LogsThe Logs section lists developer logs mostly required for debugging purposes with the following options:
- View: to view detailed logs
- Delete: to remove the log
- Download: to share the log report with the support team in case of issues

Check where to find the PHP error logs.
Know more in more about the plugin.




Comments (6)
Shawn
January 20, 2024
Hello,
Trying to use the migration tool and I got this error:
01-19-2024 @ 23:58:24 – Uncaught TypeError: mysqli_query(): Argument #1 ($mysql) must be of type mysqli, bool given in /var/www/wordpress/wp-content/plugins/wp-migration-duplicator/admin/modules/import/import.php:241
Stack trace:
#0 /var/www/wordpress/wp-content/plugins/wp-migration-duplicator/admin/modules/import/import.php(241): mysqli_query(false, 'SET FOREIGN_KEY…')
#1 /var/www/wordpress/wp-content/plugins/wp-migration-duplicator/admin/modules/import/import.php(177): Wp_Migration_Duplicator_Import->import_db(Array)
#2 /var/www/wordpress/wp-includes/class-wp-hook.php(324): Wp_Migration_Duplicator_Import->ajax_main('')
#3 /var/www/wordpress/wp-includes/class-wp-hook.php(348): WP_Hook->apply_filters('', Array)
#4 /var/www/wordpress/wp-includes/plugin.php(517): WP_Hook->do_action(Array)
#5 /var/www/wordpress/wp-admin/admin-ajax.php(188): do_action('wp_ajax_wt_mgdp…')
#6 {main}
thrown in /var/www/wordpress/wp-content/plugins/wp-migration-duplicator/admin/modules/import/import.php on line 241
Vineetha
January 22, 2024
Hi Shawn,
Can you please reach us via support?
Matías Ignacio
December 26, 2022
Hello! I have a problem with the plugin (free version), I just created a backup of another site with this same plugin and I want to import it on my new site, I followed the tutorial step by step and when I do the import a red box appears What does ‘undefined’ say, why is this and how can I fix it?
P.S. The backup zip file that was generated size → 68.1mb (just in case)
Mike
January 3, 2023
Hi Matias,
Thanks for reaching out.
Can you please share the corresponding log of that particular import action from the plugin settings (WordPress Migration > Logs) via this link for a better understanding?
David Bessel
September 8, 2021
I like the new interface but there appears to be a missing feature. In previous versions, I could find and replace. For example, I host an internal WP site and have a backup server. As an example, I was doing find 192.168.5.200 and replace it with 192.168.5.199 as a secondary site. It appears this feature no longer exists?
Mark
September 10, 2021
Hi David,
Our latest version plugin takes care of replacing the domain name by default without using the find and replaces option, there by simplifying the export-import procedure. You may export from one site and import to another one directly.