Displaying top-selling products is an effective strategy for attracting customers and generating revenue. Webtoffee’s WooCommerce Bestseller stands out as an exceptional solution for this purpose. Besides its ability to showcase bestsellers, the plugin offers an array of additional features. One of the most useful features is that the plugin can show a bestselling badge/seal on the product page. To display a badge on the product page, follow the given steps:
- Access the Bestseller plugin Settings.
- Upload the badge/seal image under Seal settings.
- Save settings.
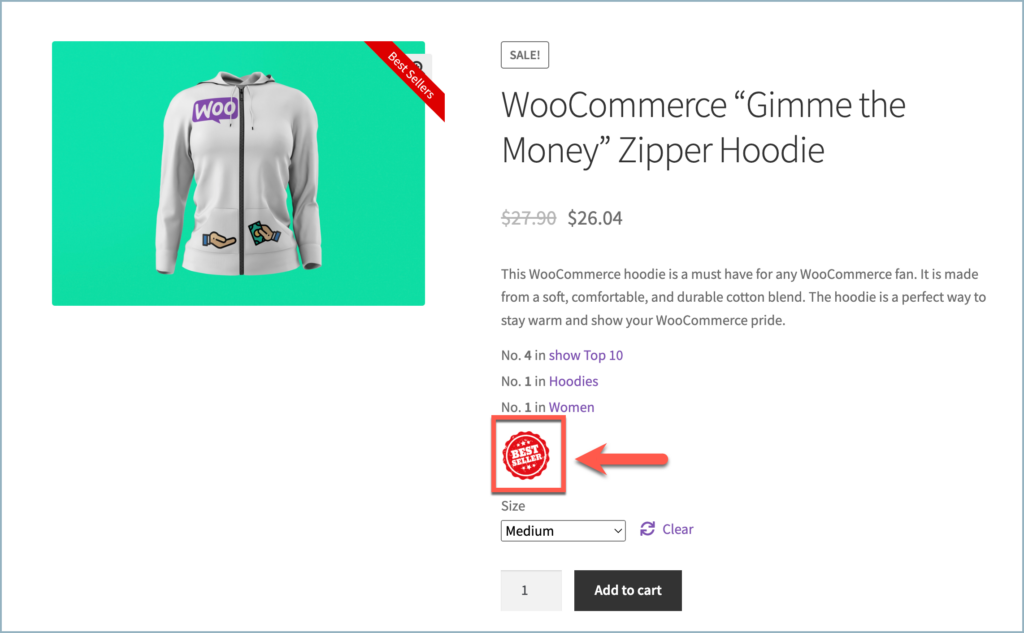
The plugin by default has a badge/seal image as shown below.
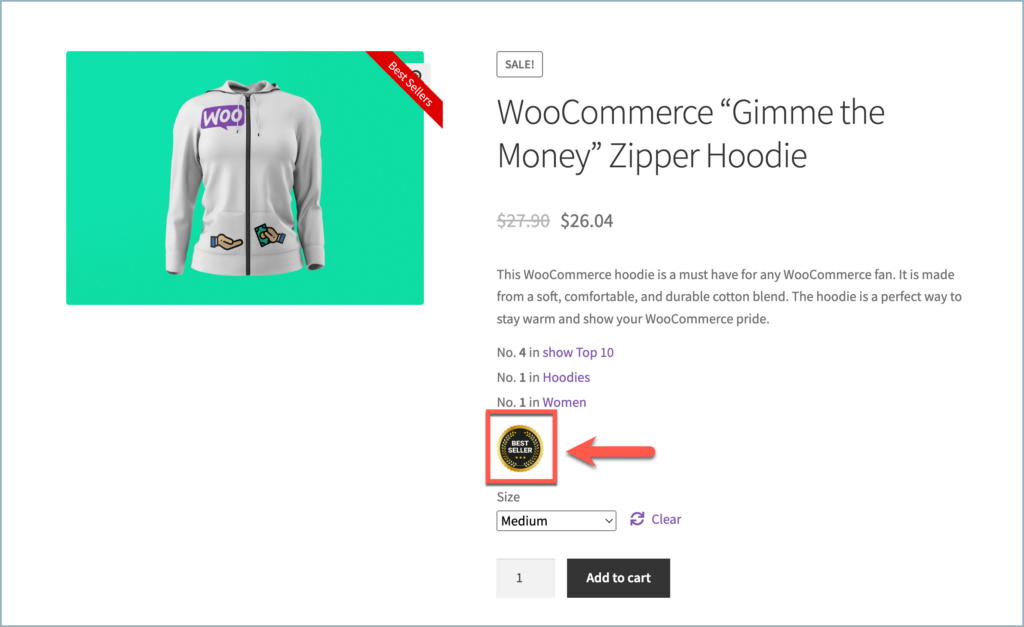
Upload an image for a badge/seal
- From the WordPress dashboard, navigate to WooCommerce > Best Sellers > Settings.
- Scroll down to Seal settings.
- Click on Upload under Seal image and upload the image from desktop.

- Alternatively, paste the image URL in the field to add an image.

- Select a position for the seal/badge from the Position section. The available options are:
- Before “Add to Cart” Button.
- Before Summary.
- Below Description.
- Before Description.
- Finally, click on Save Changes to apply the new seal/badge image.