In the Create Backup section of the WordPress Backup & Migration pro plugin, you can export and back up your WordPress content. You can either create a quick backup or schedule the backup.
Export/Backup
To perform a quick backup, we choose Export/Backup.
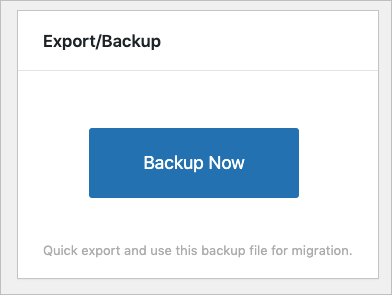
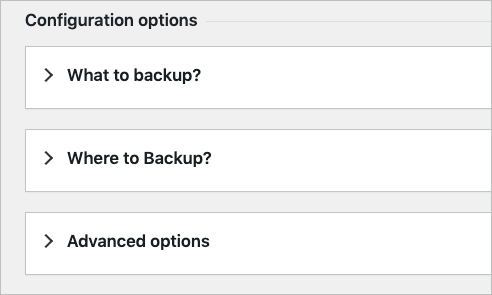
On clicking Backup Now, the export process will begin with the default configurations. To customize your selections on what to backup and where to backup, head on to Configuration options. Here, we have three sections. Let us have a look at each of them in detail.
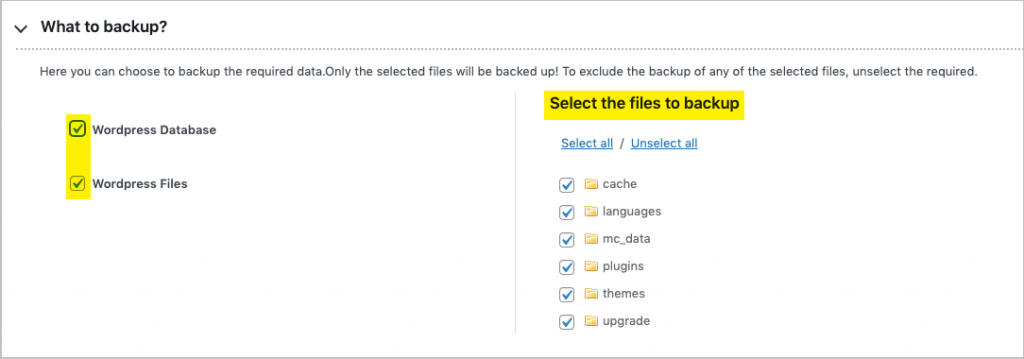
What to backup?
Here you can select all that you want to backup.
- WordPress Database: Select this option if you want to take the backup of only the database. This selection will not include any kind of WordPress files in the backup.

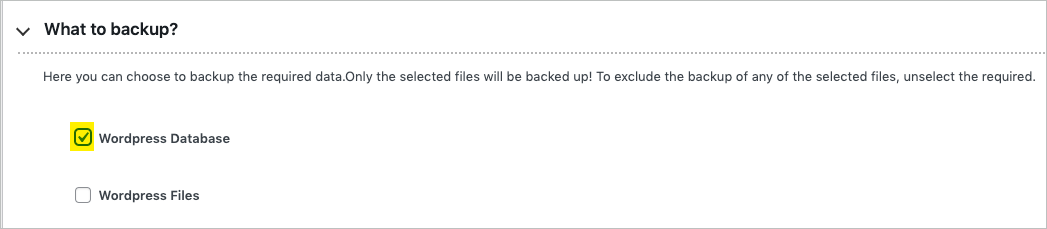
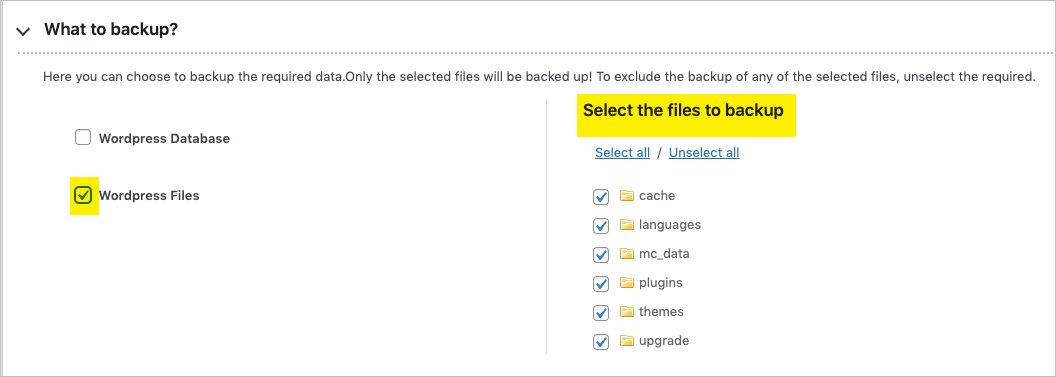
- WordPress Files: This option will export the theme, media library, and plugins. No database will be included in the backup.
Among these WordPress files, you can exclude backing up certain folders and files if required. Simply unselect the folders to exclude.
On selecting both options, you can export the theme, media library, plugins, and database. That is the whole WordPress site.
However, you can specifically exclude certain folders and files if you do not wish to include them in the backup. Unselect the required to exclude from the backup.
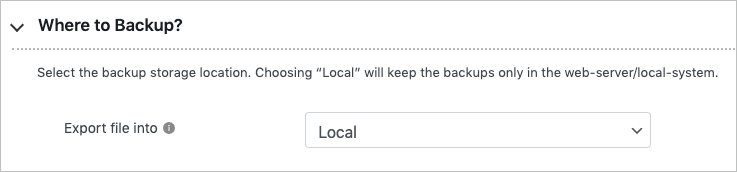
Where to backup?
In this section, we can choose among different storage options. From local to cloud storage locations, you can select the preferred backup location under the option: “Export file into”. If you want to export the file into the storage option:
- Local: The backups will get downloaded locally. However, this storage option is not recommended as a failure of the local system in any manner will make you lose the backup.
 We suggest you go for the other available cloud storage options unless you plan to manually copy the data to your computer.
 - FTP/SFTP: Choose the required FTP profile, and specify the export path and file name.

- Google Drive: Ensure that you have established the Google Drive connection and specify the Google Drive file name.

- Amazon S3: Ensure that you have established the Amazon S3 connection and specify the Amazon S3 File Name.

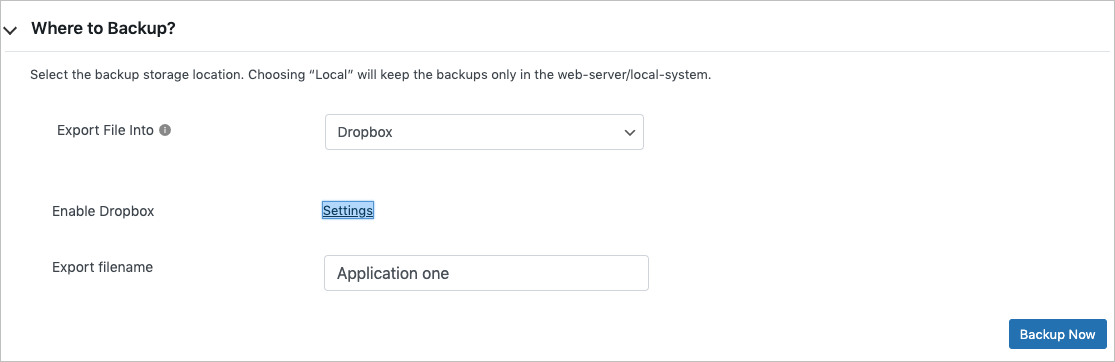
- Dropbox: Ensure that you have established the Dropbox connection. Specify the access token and Dropbox location. Verify the connection and save the settings.

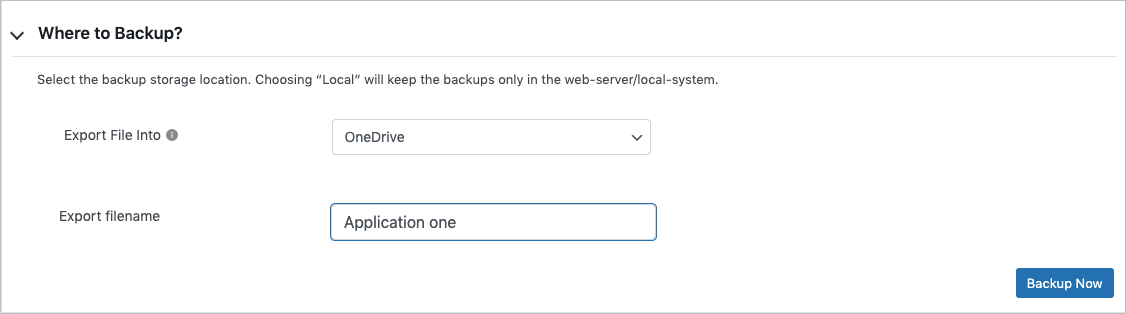
- OneDrive: Ensure that you have established the OneDrive connection successfully. Specify the export filename and click on Backup Now.


Advanced options
Here, we can process our backup in a more advanced way with these options.
- Compression Method: Here, you can choose the method of compression among Zip, Tar, and GZip.
- Cleanup by Age: Specify the number of days you want to keep the backup.
- The data size limit per request: Here, we can specify the data size limit in mb per request.
- Number of database records per request: This option will process the number of database records you want to back up per request.
- The number of files to process per request: In this option, we can specify the number of files you want to back up per request.
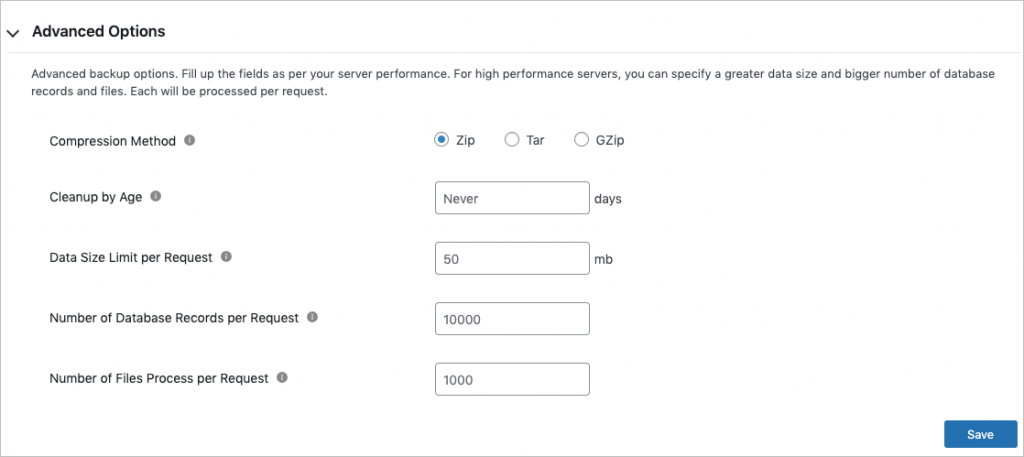
- Click on save to update the configurations.
- Now, we have to click on the Backup Now button at top of the screen.

- Verify the configurations. If you need to make any changes, click on Close the pop-up and change selections.
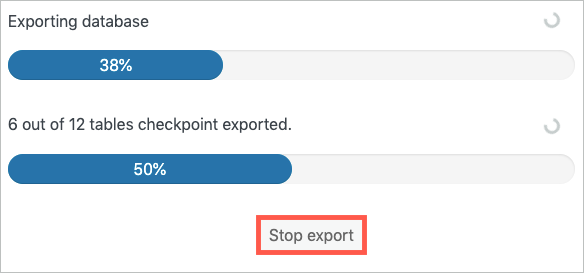
- Once the configurations are verified, click on Create Backup.
- Click on Stop Export to end the process.

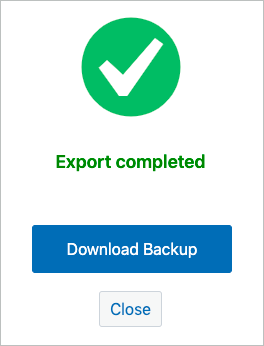
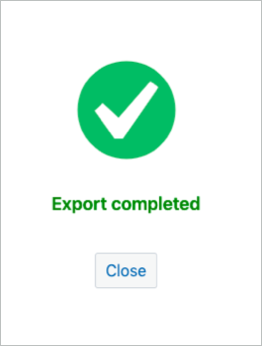
- On successful export, the following screen will appear.

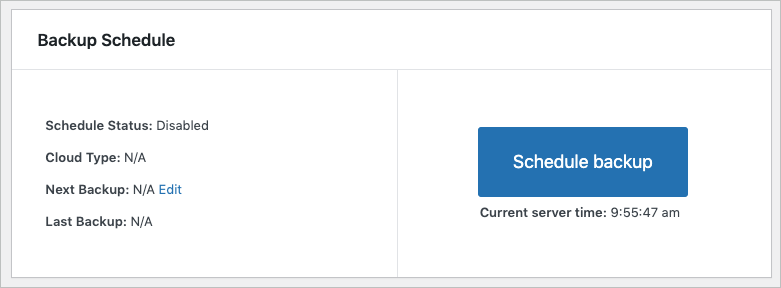
Scheduling backup
To schedule the backup, click on the Schedule Backup button.
This will take you to the section: Schedule Configuration. In the section, Schedule automatic backup settings, choose the export storage location under the option: Export file into.
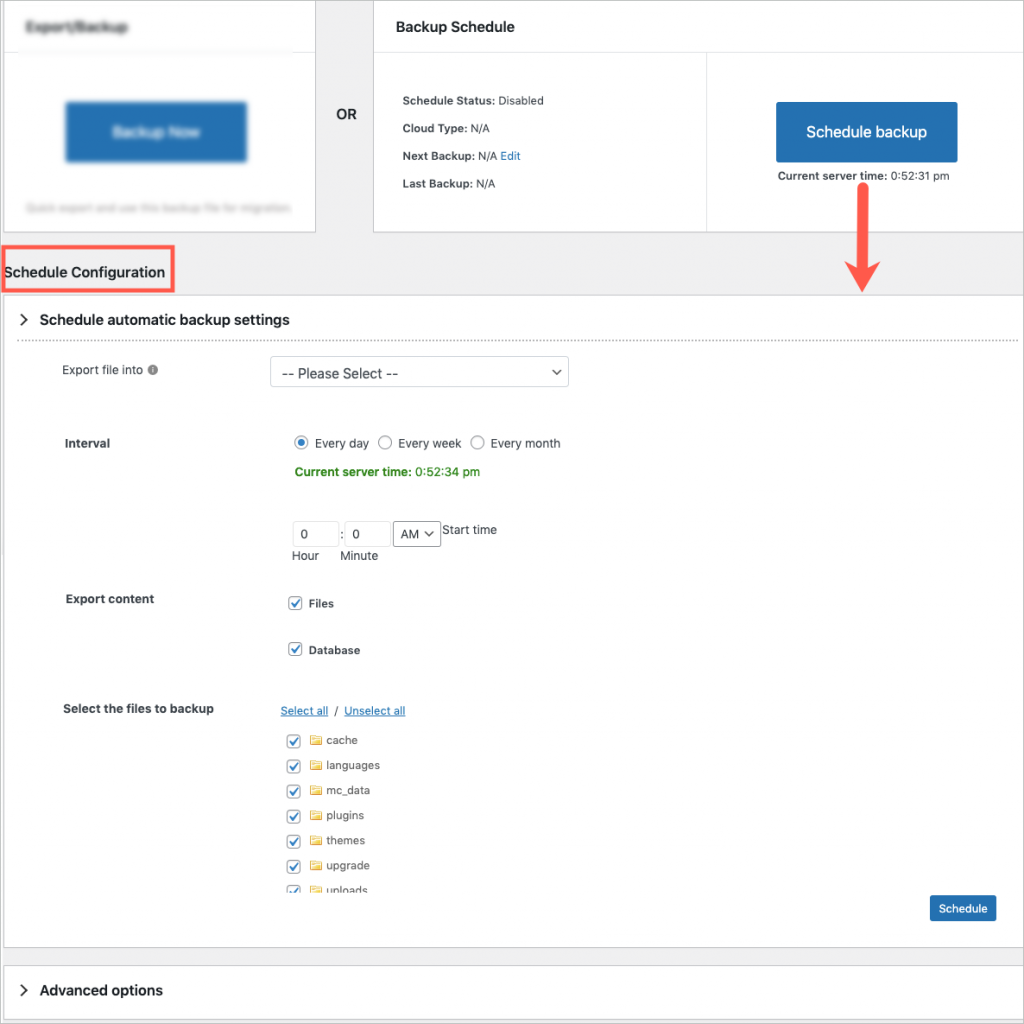
The Schedule option will appear only for these listed export storage options: FTP, Google Drive, Amazon S3, Dropbox, and OneDrive.
WordPress cron is not supported for the Local export storage option.
Scheduling via FTP/SFTP
Choose the required FTP profile, and specify the export path and file name. Select the interval at which you want the backup to occur and select the content you want to export. The available options in Export content are:
- Files
- Database
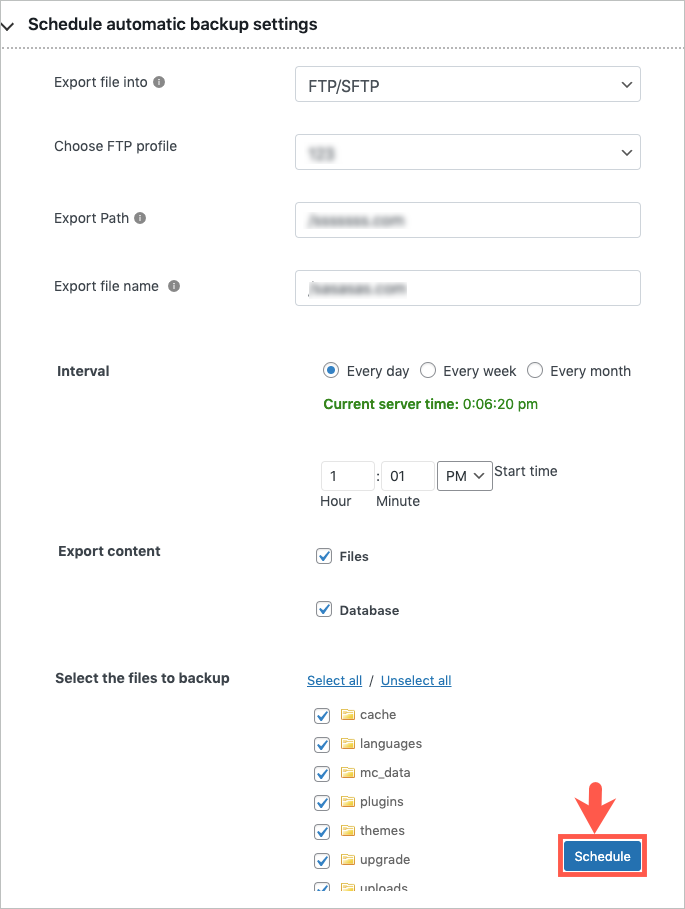
You can select both options if you want to schedule the backup of the whole WordPress site.
Click on Schedule to finish.
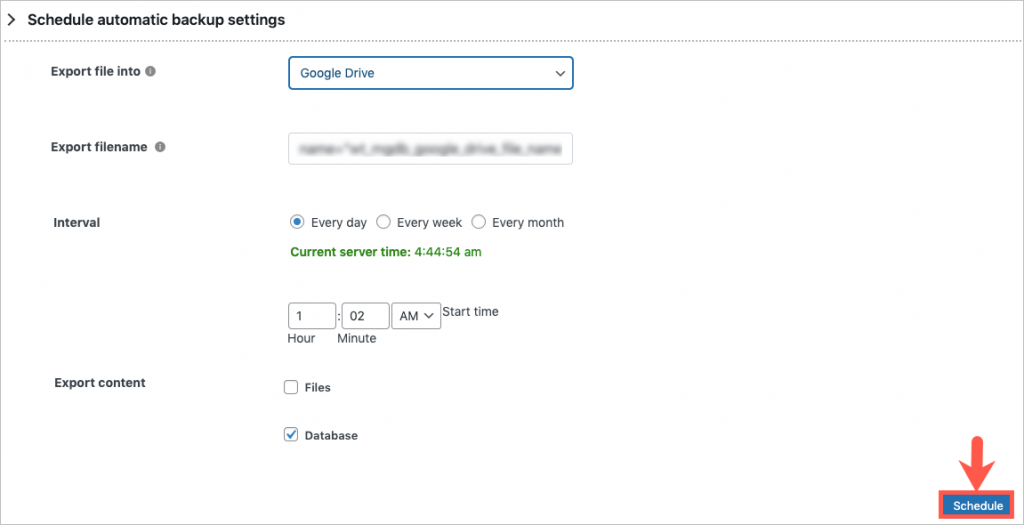
Scheduling via Google Drive
- Ensure that you have established the Google Drive connection. Refer to the configuration instructions.
- Select the interval at which you want the backup to occur.
- Select the content you want to export.
- Click on Schedule.
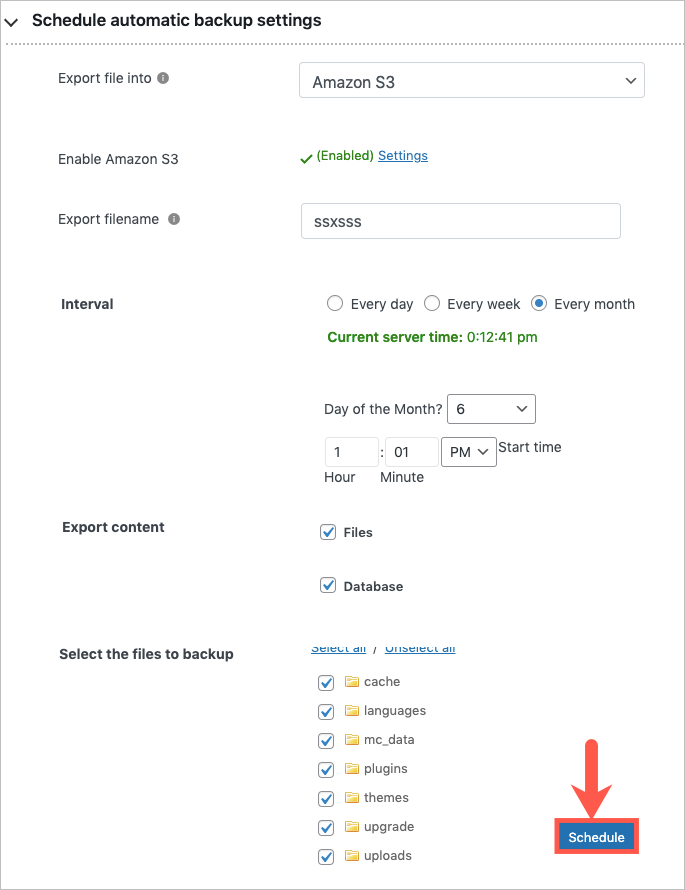
Scheduling via Amazon S3
- Ensure that you have established the Amazon S3 connection.
- Select the interval at which you want the backup to occur.
- Select the content you want to export.
- Click on Schedule.
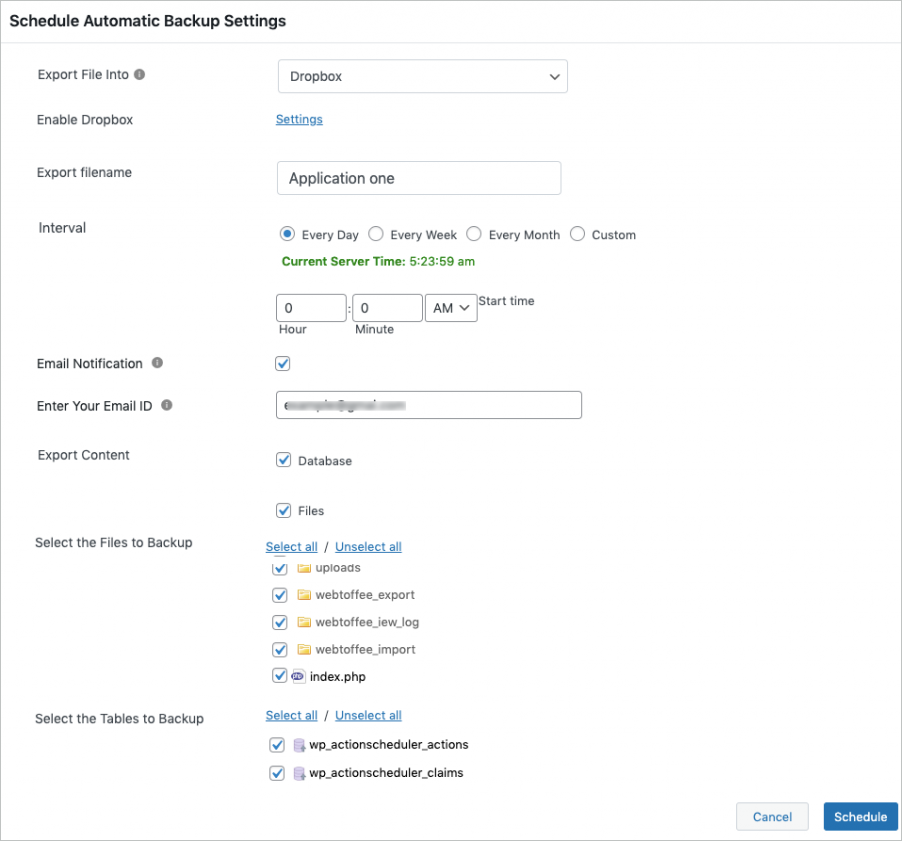
Scheduling via Dropbox
- Ensure that you have established the Dropbox connection.
- Specify the Export filename and select the interval at which you want the backup to occur.
- Enable the email notification and specify the email to which you want to get the notifications.
- Select the content you want to export.
- Click on Schedule to finish.
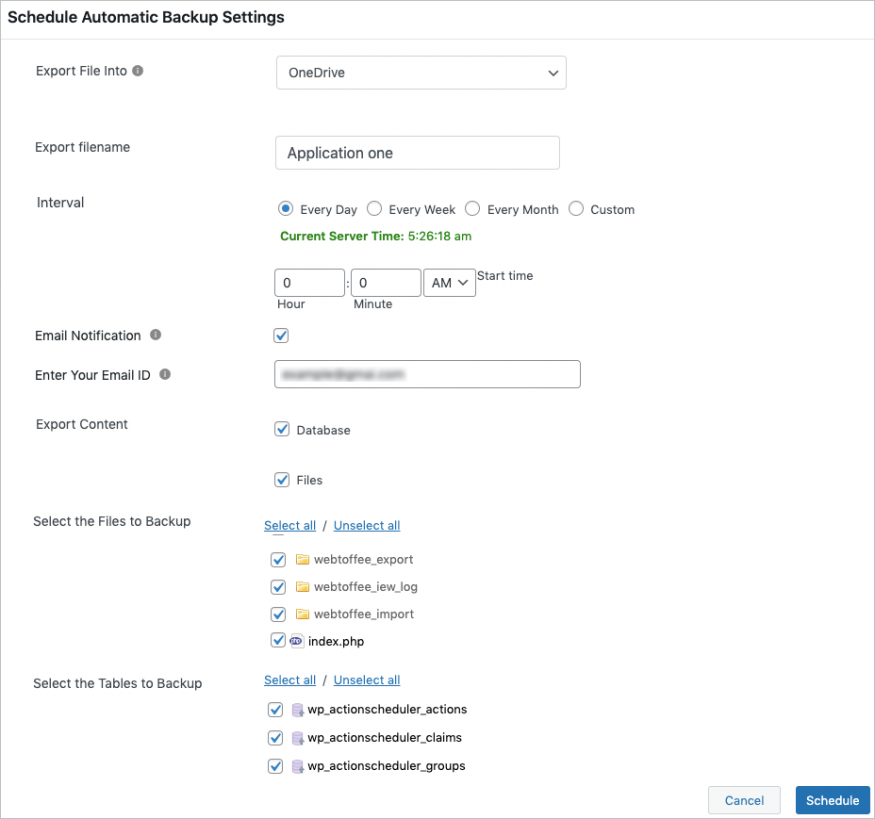
Scheduling via OneDrive
- Ensure that you have established the OneDrive connection.
- Specify the Export filename and select the interval at which you want the backup to occur.
- Enable the email notification and specify the email to which you want to get the notifications.
- Select the content you want to export.
- Click on Schedule to finish.
You can also use the advanced options for scheduling the backup.
- Compression Method: Here, you can choose the method of compression among Zip, Tar, and GZip.
- Cleanup by Age: Specify the number of days you want to keep the backup.
- The data size limit per request: Here, we can specify the data size limit in mb per request.
- Number of database records per request: This option will process the number of database records you want to back up per request.
- The number of files to process per request: In this option, we can specify the number of files you want to back up per request.
- Click on save to update the configurations.