The Import/Restore section of the WordPress Backup & Migration pro plugin is specifically for importing the data via Quick Migration and for restoring the recent backups if needed.
Restore
All your recent backups will be listed here. You can either restore or delete the backup.
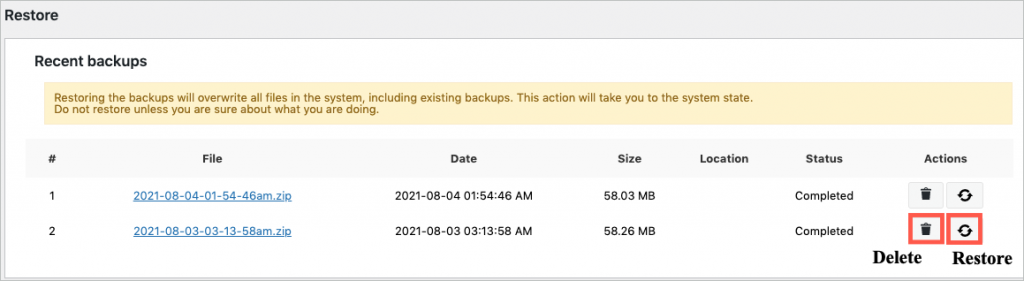
Restoring the backups will overwrite all files in the system, including existing backups.
This action will take you to the system state.
Do not restore unless you are sure about what you are doing.
Quick Import
To import the exported content to the target website, you need to set up this plugin on it as well. Then expand the import tab, and import the data from the zip file, which includes all your website files and the database that needs to be migrated.
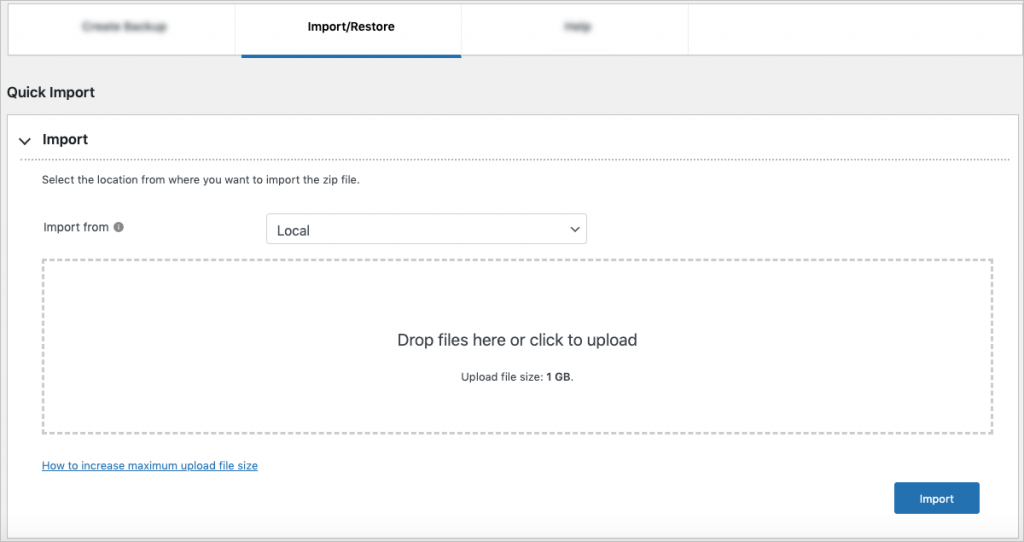
In Import from, choose the location of your zip file from:
- Local
- FTP/SFTP
- Google Drive
- Amazon S3
- Dropbox
- OneDrive
- URL
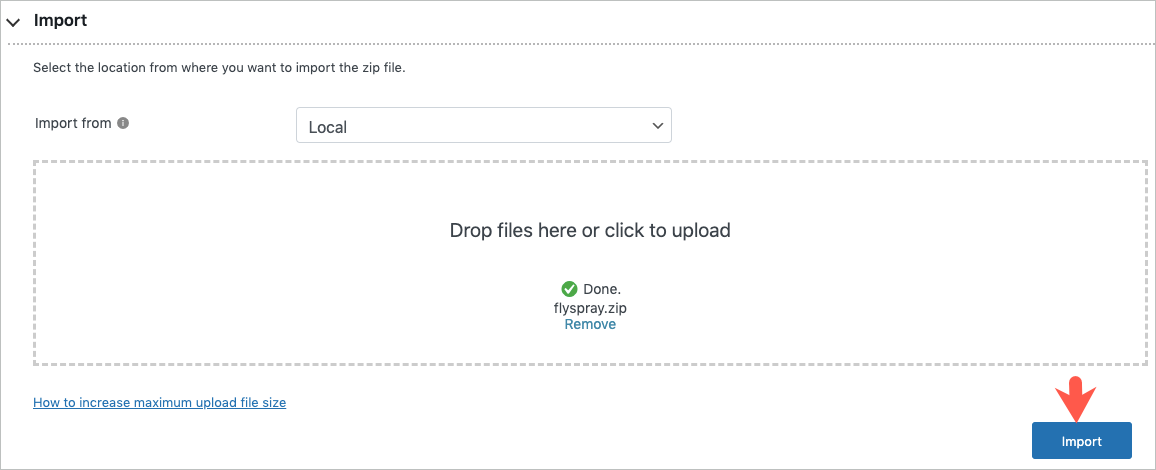
Import from location: Local
- Click on Upload backup file.
- In the Upload files tab, drop or upload the file.

- Click the Import to finish.
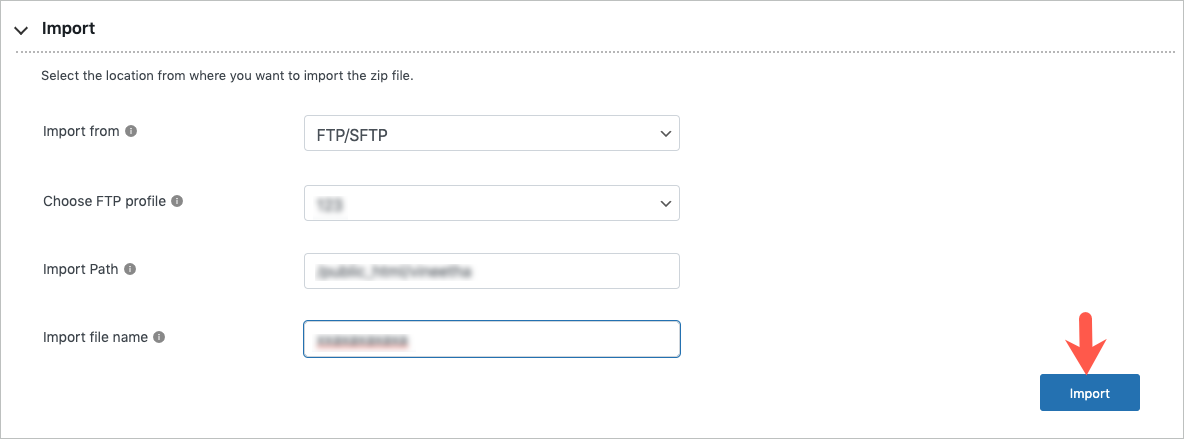
Import from location: FTP
- Choose the required FTP profile.
- Specify the Import Path and Import file name.
- Click the Import to finish.

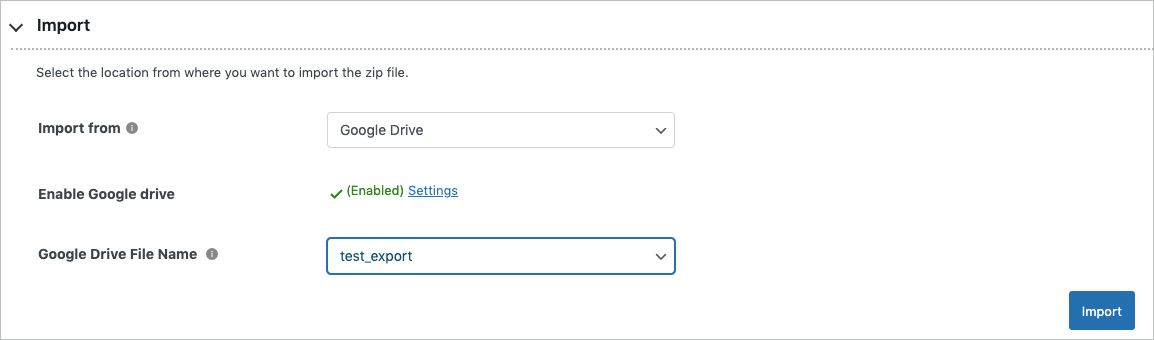
Import from location: Google Drive
- Ensure that you have established the Google Drive connection.
- Specify the Google Drive File Name.
- Click on Import to finish.

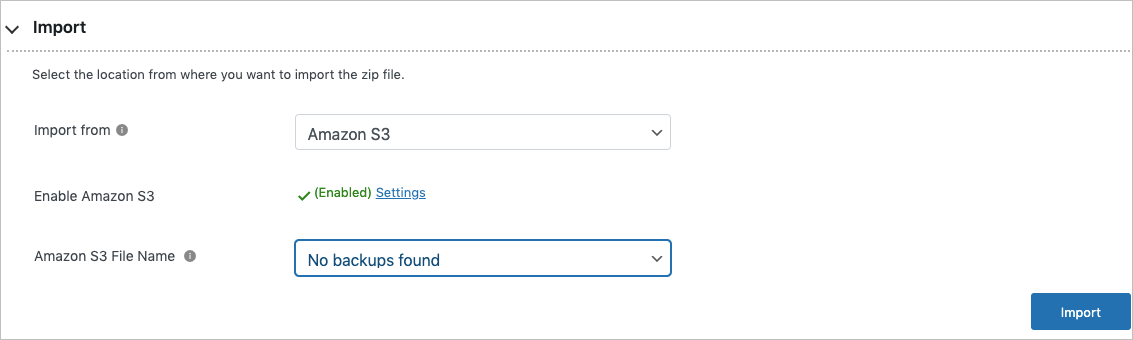
Import from location: Amazon S3
- Ensure that you have established the Amazon S3 connection.
- Specify the Amazon S3 File Name.
- Click on Import to finish.

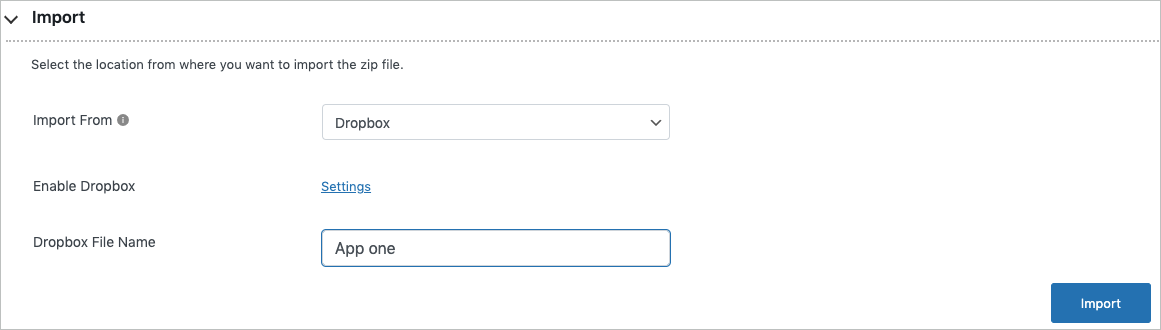
Import from location: Dropbox
- Ensure that you have established the Dropbox connection.
- Specify the Dropbox File Name.
- Click on Import to finish.

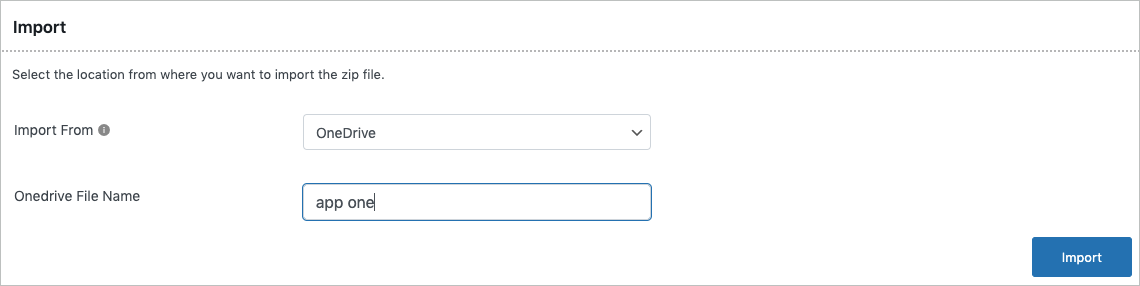
Import from location: OneDrive
- Ensure that you have established the OneDrive connection.
- Specify the OneDrive File Name.
- Click on Import to finish.

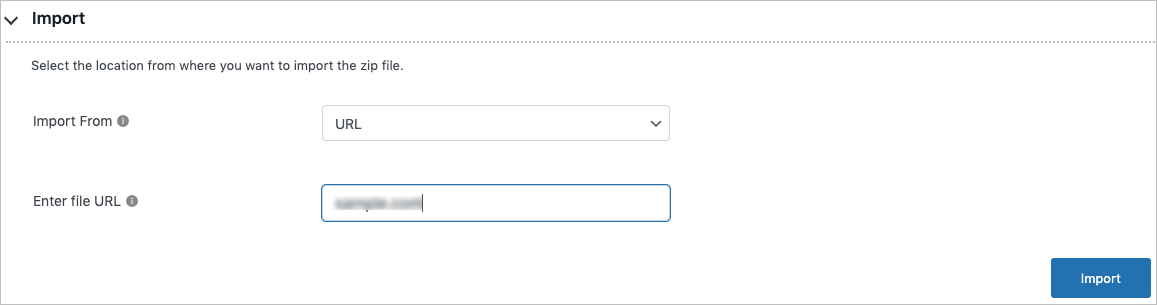
Import from location: URL
- Choose the Import from location as URL and specify the URL.
- Click on Import to finish.

Advanced options
Here, we can restore in a more advanced way with these options.
- Maximum Upload File Size: The maximum upload file size can be specified here.
- Data size limit(mb): Here, we can specify the data size limit in mb per request.
- The number of database files: This option will process the number of database records you want to restore per request.

Click on Save to finish.
Comments (2)
diana
December 28, 2023
Trying to restore a zipped file that the current host sent us. It seems to upload to the site fine using your plugin but when I click import as instructed the plugin says there was an error but does not specify what the error is. I have increased file upload size and still have the same issue. Can you help?
Vineetha
January 3, 2024
Hi diana,
Can you please reach us via support?