Users can be imported from one website to another, just like products and orders. You don’t want to lose your customers while migrating your store! Without customers, a business can’t exist.
By default, you can import users with WooCommerce default settings, but to fully leverage the import opportunities you need the help of a third-party plugin. If you intend to import users, Import export for WooCommerce users and WordPress customers is the plugin for you.
We will be using the free version of the WordPress User & WooCommerce Customers Import Export plugin to update user field values while importing WooCommerce users or customers.
Before importing your users to another website, you need a CSV file exported with all the necessary fields (with user details), to ease the importing process. Refer to this article to learn how to export WordPress users to a CSV file.
- Install the free plugin
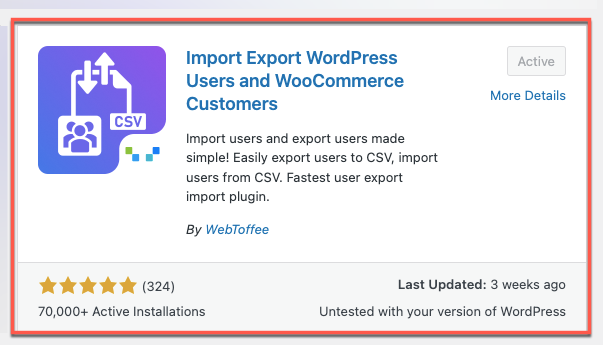
To use the transform option during the user import process, you need to install the import-export plugin by WebToffee. If you have already installed the plugin to export CSV files, skip to Step 2.
To download the plugin, from the WordPress dashboard, go to Plugins > Add New. Search for Import Export WordPress Users and WooCommerce Customers plugin. Then install and activate the plugin.
- Navigate to the import settings
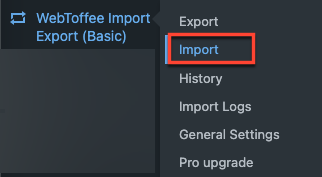
Again, from the WordPress dashboard, go to WebToffee Import Export (Basic) > Import.

- Select the post type to import
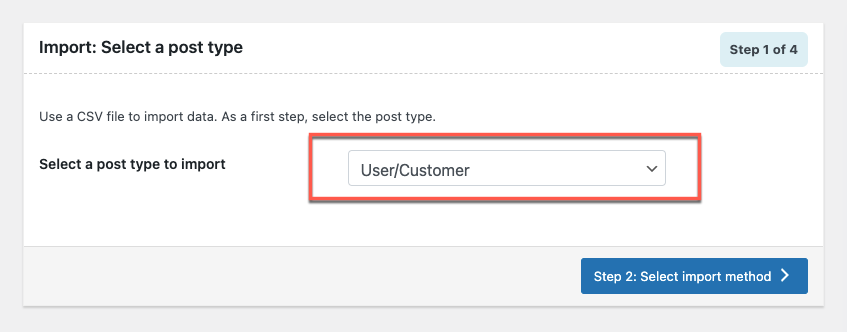
As a first step to import order data, select the post type you want to import as User/customer from the drop-down list.

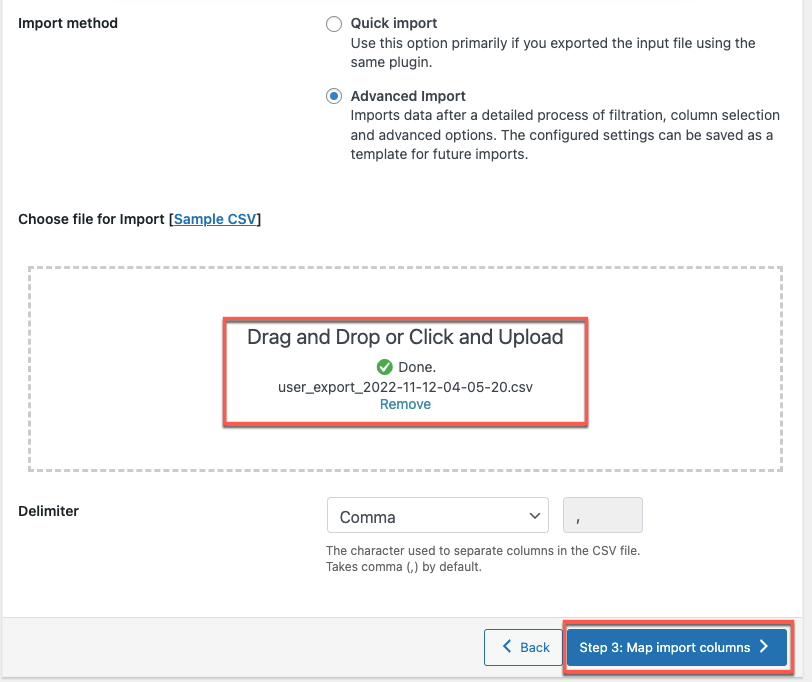
- Select Advanced Import
Select the import method as Advanced Import for the detailed filtration of the mapping columns, mapping selections, and other advanced options. Upload the CSV file of the user list.

- Update the user fields
In this step, we’ll map the columns to import and use the transform option to change/edit any columns.
When a header name matching the default fields in your store is discovered in the input file, columns are automatically mapped.
A pop-up will appear when you click the pencil-shaped icon, next to the file column, allowing you to bulk edit (linearly change) the field values of every entry in that particular column.

Expression: The field value can both be changed by using any of the operators +, *, /, -, (), &, @, or string constants.
Eg: changing the billing name to a constant value
Input file columns: From the dropdown, select the column that needs to be mapped with the default product field values
Output/ Preview: Based on the first record in the input file, a sample value will be generated.
Eg: the output of billing name as John
Advantages of Using the Transform Option During User Import
Below are some options for changing the field values using the Transform option, along with examples:
You can assign a constant value to a field
You can change the shipping company of the user while importing as shown below

Combine two columns
There may be situations during import where you want to combine two or more columns into one. The transform option makes it simple to integrate them.
Example: To merge 2 columns, first name, and last name, you can use the following expression: {billing_first_name} {billing_last_name}.
Wrap Up
Although the variety of user data involved in user import may make it appear a bit complicated, once you start using a user import plugin, it won’t be a major concern. The WordPress User Import Export Plugin we mentioned in this article also has a premium version with advanced options. See below for more information.
We hope this article helped you easily import your WordPress users and WooCommerce customers with the help of the transform option. You may also want to see our guide on how to import products using the transform option and how to update order field values in bulk using the transform option.
If any queries pop up in your mind, please mention them below.