Overview
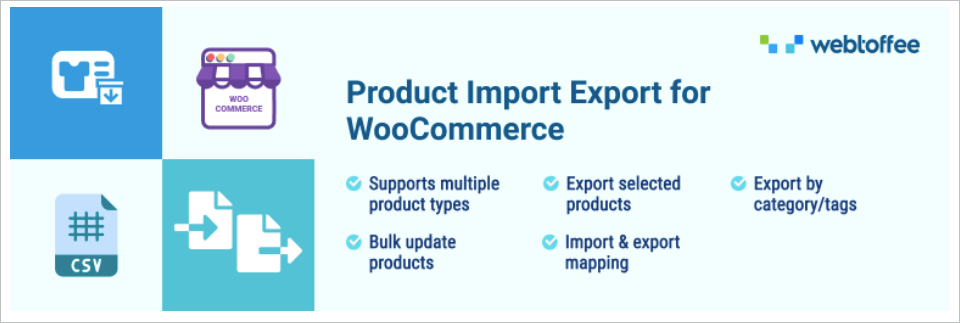
Product Import Export for WooCommerce is an ideal plugin for exporting and importing data either from the WooCommerce store or e-commerce platforms. The free version of the plugin lets you to import and export:
- Products
- Product Reviews
- Product Tags
- Product Categories
What do we provide?
- Migrate all your WooCommerce products, reviews, categories and tags with utmost efficiency.
- The main migration methods are:
- Quick import/export
- Based on a Pre-saved template
- Advanced import/export
- Import/export data processing in batches, ensures successful import/export irrespective of its size/count.
- Detailed history and debug logs are other main peculiarities.
The free plugin version supports only simple, external/affiliate and grouped products. Check the premium version, to handle any other product types.
Pre-requisites
- Make sure mbstring is enabled on the server.
- Supports only CSV file formats.
- Download :
The Sample CSV file doesn’t include all the WooCommerce column header/tag. Refer to this article to know in detail about all the WooCommerce column header/tag that can be added to the CSV.
- CSVs should be in UTF-8 format.
To begin with the plugin, install and activate.
For a detailed insight, do watch the below mentioned video.
Getting Started
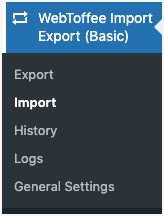
Hooray!!.. You have successfully activated the plugin. Now, a new menu “WebToffee Import/Export(Basic)” will appear in the WP admin panel’s sidebar.
We can navigate to the plugin settings in two ways:
- WebToffee Import/Export(Basic) from WordPress dashboard.
- Plugins > Installed Plugins > Product Import Export Plugin for WooCommerce(BASIC)> Settings (takes the user to the General Settings window.)
The plugin consists of five different sub-modules :
- Export
- Import
- History
- Logs
- General settings
Let us have a look at each of these sub-menus in detail.
Export
Products and its reviews can be exported in just 5 steps:
- Select the post type as: Product/ Product review.
- Select an export method: Quick export, Pre-saved template and Advanced export are the provided export methods.
- Filter data: One can filter data with respect to the chosen post type.
- Map and reorder export columns: To map, edit and reorder export columns.
- Advanced Options/Batch Export: Provides advanced options for export.
Import
Products and its reviews can be imported in just 4 steps:
- Select the post type as: Product/ Product review.
- Select an import method: Quick import, Pre-saved template and Advanced import are the provided import methods.
- Map and reorder import columns: To map, edit and reorder import columns.
- Advanced Options/Batch Import: Provides advanced options for import.
Refer the below listed articles for a detailed, stepwise import export process.
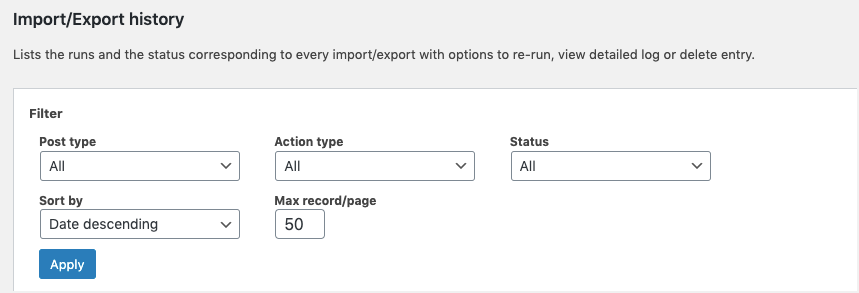
History
The History tab lists the runs and the status corresponding to every import/export with options to :
- Re-run: re-runs the action by taking the user to the respective screen.
- View log: view a detailed log
- Delete: deletes the entry
- Download: This option appears only for export action type. Here, you can download the generated export file.

To look into the History section:
- Click on WebToffee Import/Export(Basic) > History.
One can sort the list with these available Filter options:
• Post type: ALL, Products
• Action type: All, Export, Import
• Status: All, Finished
• Sort by: Date descending, Date ascending
• Max record/page: The maximum records to be included in a page.
Logs
The Logs tab lists developer logs mostly required for debugging purposes with options to perform the following actions:
- View: to view detailed logs along with the reasons for failed parsing if any.
- Delete: to remove the log
- Download: to share the log report with the support team in case of issues

Reach the Logs section by clicking on WebToffee Import/Export(Basic) > Logs.
Save Import Logs
- Navigate through WebToffee Import/Export(Basic) > General Settings
- On the General tab, choose “Yes” for the Save Import log to save the import log as a text file and make it available in the log section for debugging purposes.
- Click on Update Settings to finish.

General Settings
The General Settings tab helps to configure all the basic settings of the plugin. Click on WebToffee Import/Export(Basic) > General Settings , to reach this module.
The General Settings sub-menu consists of two sections:
- General
- Help Guide
- Pro Upgrade
General
Here, you can configure the basic settings.
- Default Export batch count : Here you can give the default count for the records to be exported in a batch.
- Default import batch count : Specify the default number of records to be imported in a batch.
Advanced options
- Maximum execution time: Increasing the time will avoid uninterrupted data transfer. To remove the time limit, set value to zero. Default value is 600 seconds.
- Generate Import log : Here you can choose ‘Yes’ to generate the import log as a text file and to make it available in the log section.
- Default Import method : Choose an import method from three options Quick import, Pre-saved template, and advanced import.
- Default Export method : Choose an export method from three options Quick export, Pre-saved template, and advanced export.
- Auto-delete history: You can auto-delete the history by choosing ‘Yes’.
- Maximum entries : Here, you can specify the maximum records to retain in history. It will limit the number of records with the status ‘Finished’. E.g: if you input a count of 50 the system will retain only the most recent 50 number of records with the status ‘Finished’. All other records of any other status will not be impacted by this count.
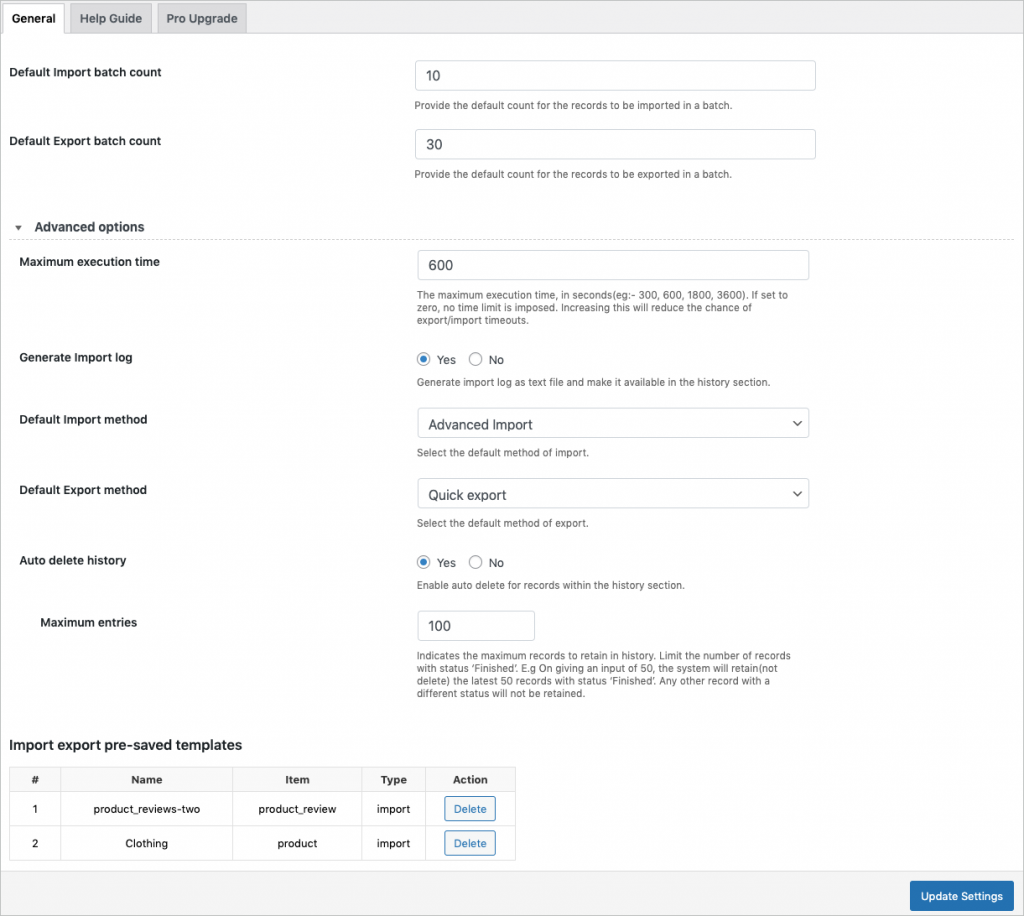
Import export pre-saved templates
This section lists all the pre-saved templates that were saved during an import-export process. You can also delete the template file.
Click on Update Settings to save changes.
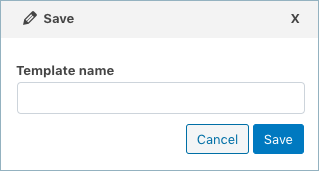
To save the template :
- In Step2, choose the Advanced method for your import export operation.
- On reaching the last step, you will get an option to save the template as shown below.

- Click on Save to finish.
Help Guide
The section consists of two tabs:
- Help Links: Provides direct links to resources like documentation and support.
- Sample CSV: To download sample CSV of products.
Pro Upgrade
Upgrade to the premium version of the plugin from this tab. One can also compare the features of free and premium plugin versions to opt for the required.
Conclusion
Products are the key components of any eCommerce business. Adding the Product Import Export plugin to your store will make your business smooth by enabling easy management of hundreds and thousands of products in your store. Check out the WooCommerce Import Export Products plugin to know more about it.


Comments (12)
Claudio
September 6, 2023
Hello, suppose I have 1000 articles published in the store, in the CSV file I have 700 articles to import, how do I get the 300 articles that are not in the CSV to be deleted from the store?
Thanks
Vineetha
September 11, 2023
Hi Claudio,
Thanks for reaching out! To update the website as per the latest CSV file, reach the advanced options during import and enable the option Delete non-matching products from store. Click on Import. This action will remove the data from your store which are not present in the input file.
Dan
July 29, 2023
Good day
I somehow got all attributes from other categories when importing new products with webtoffee free woo import.
I tried to delete it with leaving blank value for attribute and data. But attribute_data is showing again after import os CSV file. Is there some way how to delete certain attributes in bulk with your importer?
ps: Very great plugin appreciate it very much.
Kind Regards
Dan
Vineetha
August 1, 2023
Hi Dan,
Thanks for reaching out! Were the attributes imported for products with no data? During mapping, keep the attribute columns empty and in the advanced options of product import, choose Update for the option If product exists in the store. On this action, another option Update even if empty values appears. Choose Yes and Import as shown in this image. This will update the products with empty values, ie., no attributes. If its still not working, we request you to reach us via support.
Martin K.
July 12, 2022
Hi there,
I wanted to import some products from .csv file. Everything works perfect, but when I have external source of image and it cannot be desplayed directly, I wanted to put him into the description as a html hypertext ( Hypertext name )
In the import preview, everything seems fine,
But in the desctiption of an actual product, it gets converted just to plain text.
Any help please?
My thanks guys.
Regards,
Martin
Alan
July 20, 2022
Hi,
Please reach us via support and share the file you are trying to import so that we can check it.
G Dev
April 29, 2022
Hi,
I have 723 products published but no matter how much I tweak the plugin (max exec time and all) the export always does max 235 products…and those 235 are “randomly” picked. I tried to check the differences between exported and ignored products but I don’t know why they are skipped.
Thanks in advance!
Alan
May 14, 2022
Hi,
The basic version of the plugin supports only simple and external products. For exporting variable products, we recommend to use the premium version of the plugin. If you are facing this issue in the premium version, please reach us via support.
Ellen
December 8, 2021
I imported a csv with products and categories column in it. when I viewed it the name of my product had a category list.
What can I do to fix it?
Mark
December 10, 2021
Hi,
Please make sure that the data are in the correct columns and are mapped to the corresponding fields. If the issue still persists please share your import CSV via support.
John
April 10, 2021
Hi there,
I was trying to use your plugin to import a list of products for my shop, but I noticed the evaluation field doesn’t work at all.
Is that a feature available with the premium version only?
I wouldn’t want to buy the version and see the errors. I use woocommerce and every time I add “+5” or “-5” or “*1.05” or “1,05” to add or multiple the price, the plugin import the original price.
Do you have any suggestion?
Regards
John Aler
Mark
April 13, 2021
Hi,
Yes, using the pro version plugin you can add, subtract, and multiply the price of the products using the evaluation field while importing. If you are having any issues with it then please reach us via support.