


With the WebToffee WooCommerce Gift Cards plugin, you can send store credit to anyone as a gift card, straight from your WordPress dashboard. Go to Gift Cards > Send gift card, select a template, enter the amount, add one or more recipient email addresses, choose the email language, and set any usage restrictions you need.
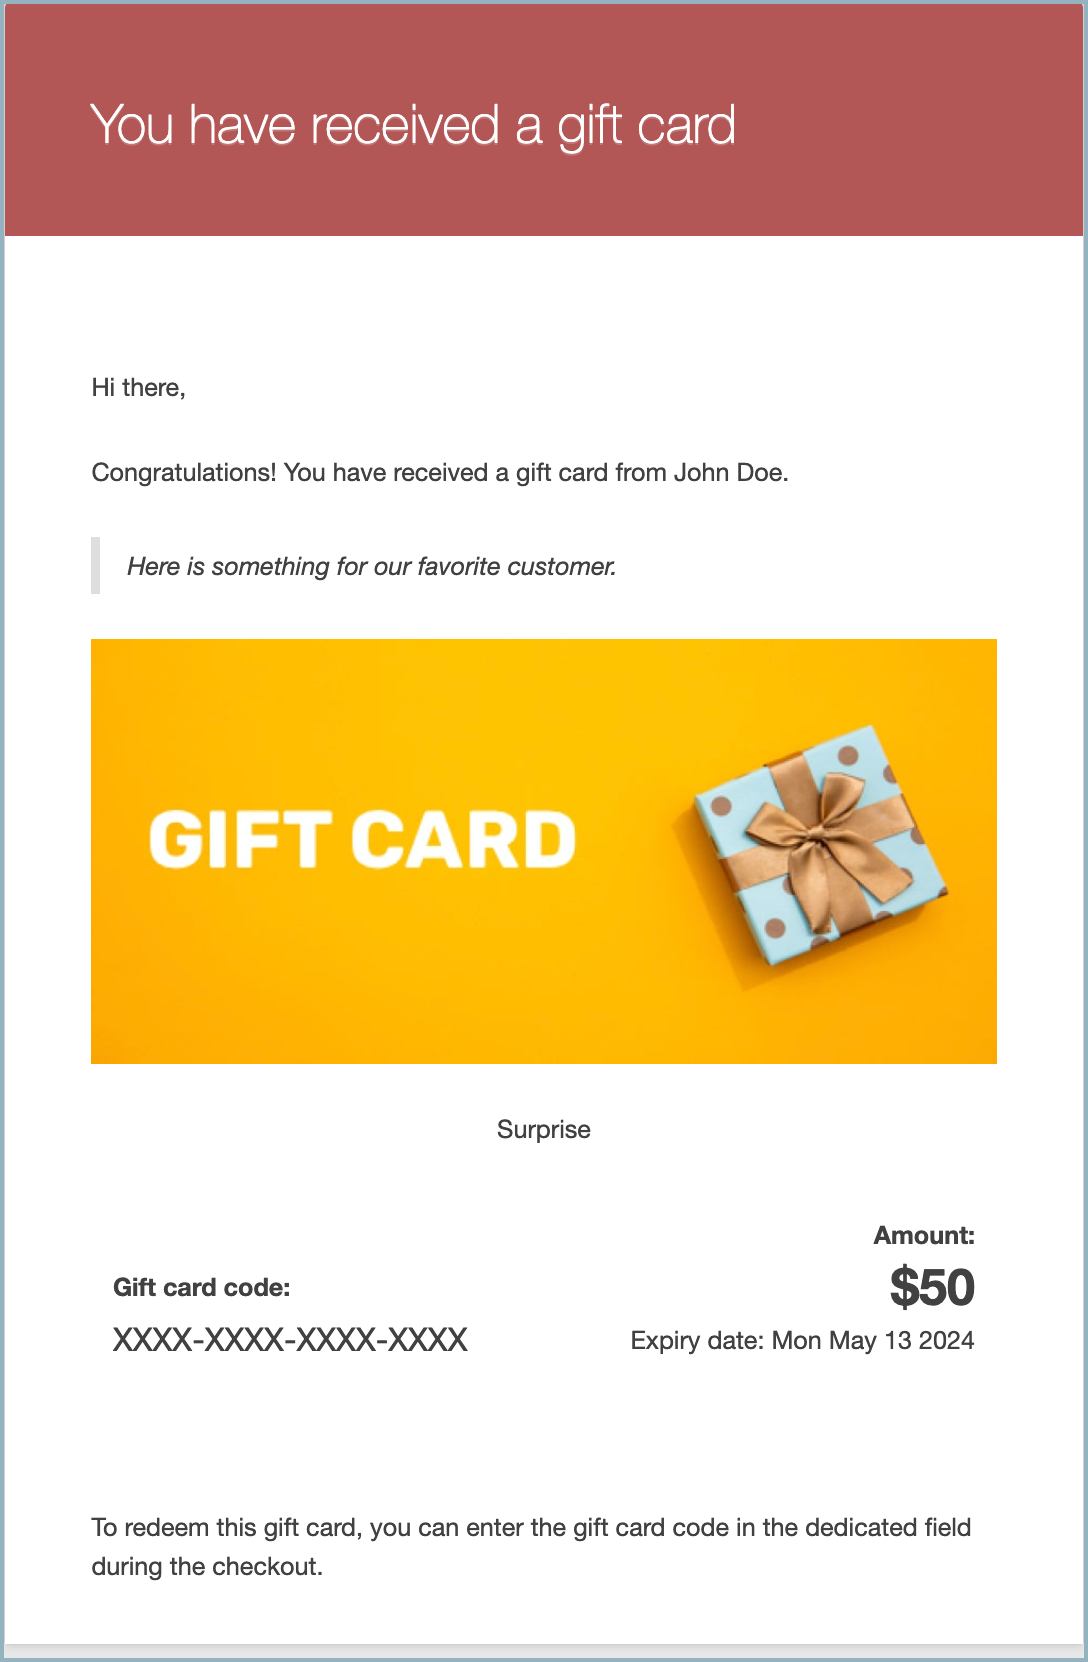
Here’s how the gift card looks in the recipient’s inbox:
From the WordPress dashboard, go to Gift Cards > Send gift card. If you use the plugin with Smart Coupons for WooCommerce, go to Smart Coupons > Gift cards > Send gift card.

Step 2: Configure the Gift Card and Choose the Recipients
- Under Choose template, select the gift card template for the email. To add your own template, go to Gift Cards > General settings > Template settings.
- In Credit amount, enter the gift card value.
- In Recipient email(s), enter the recipients’ email addresses. Separate multiple addresses with commas.
- In Sender name, enter the name you want the email to show, such as your store name.
- In Gift card message, enter a personal message for the gift card. Line breaks you add stay in place in the preview, the email, and the PDF.
- In Caption, enter a caption for the gift card.
- In Email language, select the language for the gift card email. Leave it as Site default to use your site’s language.
- Optionally, enable Use custom gift card code and enter your own code in Gift card code. Use
*for each random character, for exampleSUMMER-****. If you send to several recipients, keep at least three, so each code is unique. - Optionally, in Add product recommendations, select products to recommend in the email. See Adding Product Suggestions in Gift Cards.
- To customize the email itself, click Configure gift card email. Learn more about email customization.
Note: The prefix and suffix you set in Gift Cards > General settings > General > Gift card code settings apply only to gift cards customers buy. Gift cards you send from this page use the default code format, or the custom code you enter here.

Step 3: Set Up Usage Restrictions
Scroll down and expand Usage restrictions to limit how the recipient can use the gift card.
- Allowed products – Select the products customers can buy with the gift card. Leave it empty to allow all products.
- Excluded products – Select the products customers can’t buy with the gift card.
- Allowed categories – Select the categories customers can buy from with the gift card. Leave it empty to allow all categories.
- Excluded categories – Select the categories customers can’t buy from with the gift card.
- Maximum spend (subtotal) – Enter the maximum amount customers can use from the gift card on a single order.
- Set expiry for generated gift cards – Enter the number of days the gift card stays valid.
Note: This form doesn’t have a usage limit. To limit how many times a gift card can be used, set Usage limit per gift card on a gift card product instead. Store-wide blocked dates, set in Gift Cards > General settings > General > Exclude gift card usage on selected dates, apply to gift cards you send from here too.

For example, with the settings shown:
- Customers can’t use the gift card to buy the Wooden Table.
- Customers can’t use the gift card on products in the Chairs category.
- Customers can use up to $1,000 of the gift card on a single order.
- The gift card expires 325 days after you send it.
Click Preview email to check how the email looks, then click Send email.
The recipients receive the gift card by email:
Note: Sending a gift card doesn’t add its value to the recipient’s store credit balance automatically. To add it, the recipient redeems the gift card from My Account > Store credit. The balance then appears in their account and on your Manage store credit page.
Recipients don’t have to redeem the gift card to their balance. They can also apply it at checkout like a regular coupon. Gift cards with usage restrictions can only be applied at checkout.
To add store credit straight to a customer’s balance without sending a gift card, use Gift Cards > Manage store credit.
