


Merchants migrating to Shopify, managing multiple stores, or operating across many physical or virtual Locations may need to create or update each Location individually in Shopify admin. Importing Locations in bulk reduces this manual work and makes it easier to set up new Locations, update existing details, or deactivate unused Locations.
With the StoreRobo – Shopify Import Export App, you can manage Shopify Locations in bulk by navigating to Apps > StoreRobo > Home and selecting Locations for import or export. You can export Location data to CSV or Excel, import new Locations, update existing ones, deactivate unused Locations, and manage Location metafields.
Export Shopify Locations
Once you have installed StoreRobo on your Shopify store:
- From the Shopify admin dashboard, go to Apps > StoreRobo > Home.
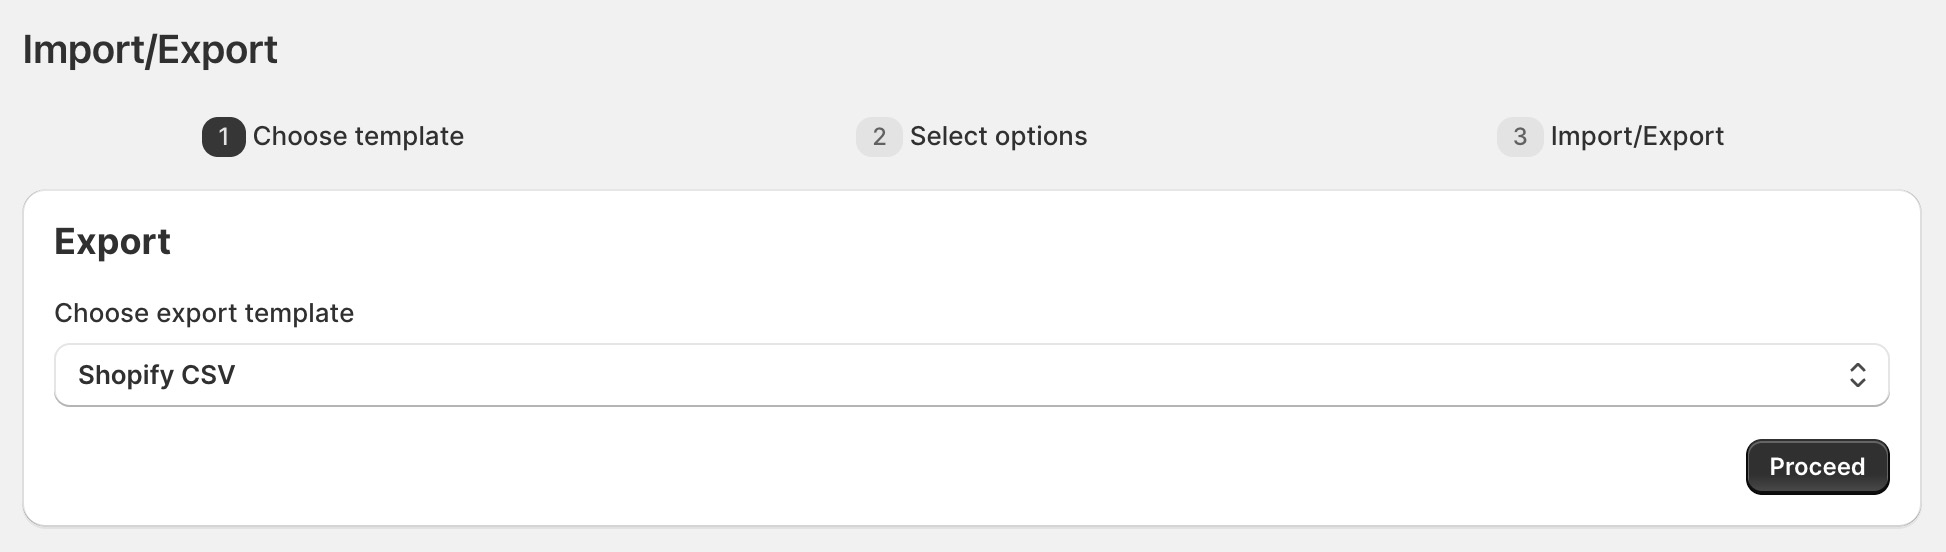
Step 1: Choose the export template
Locations can be exported in CSV or Excel format.
Choose the required export template and click Proceed.
Step 2: Select data to export
- Under Select data, choose Locations as the data type.
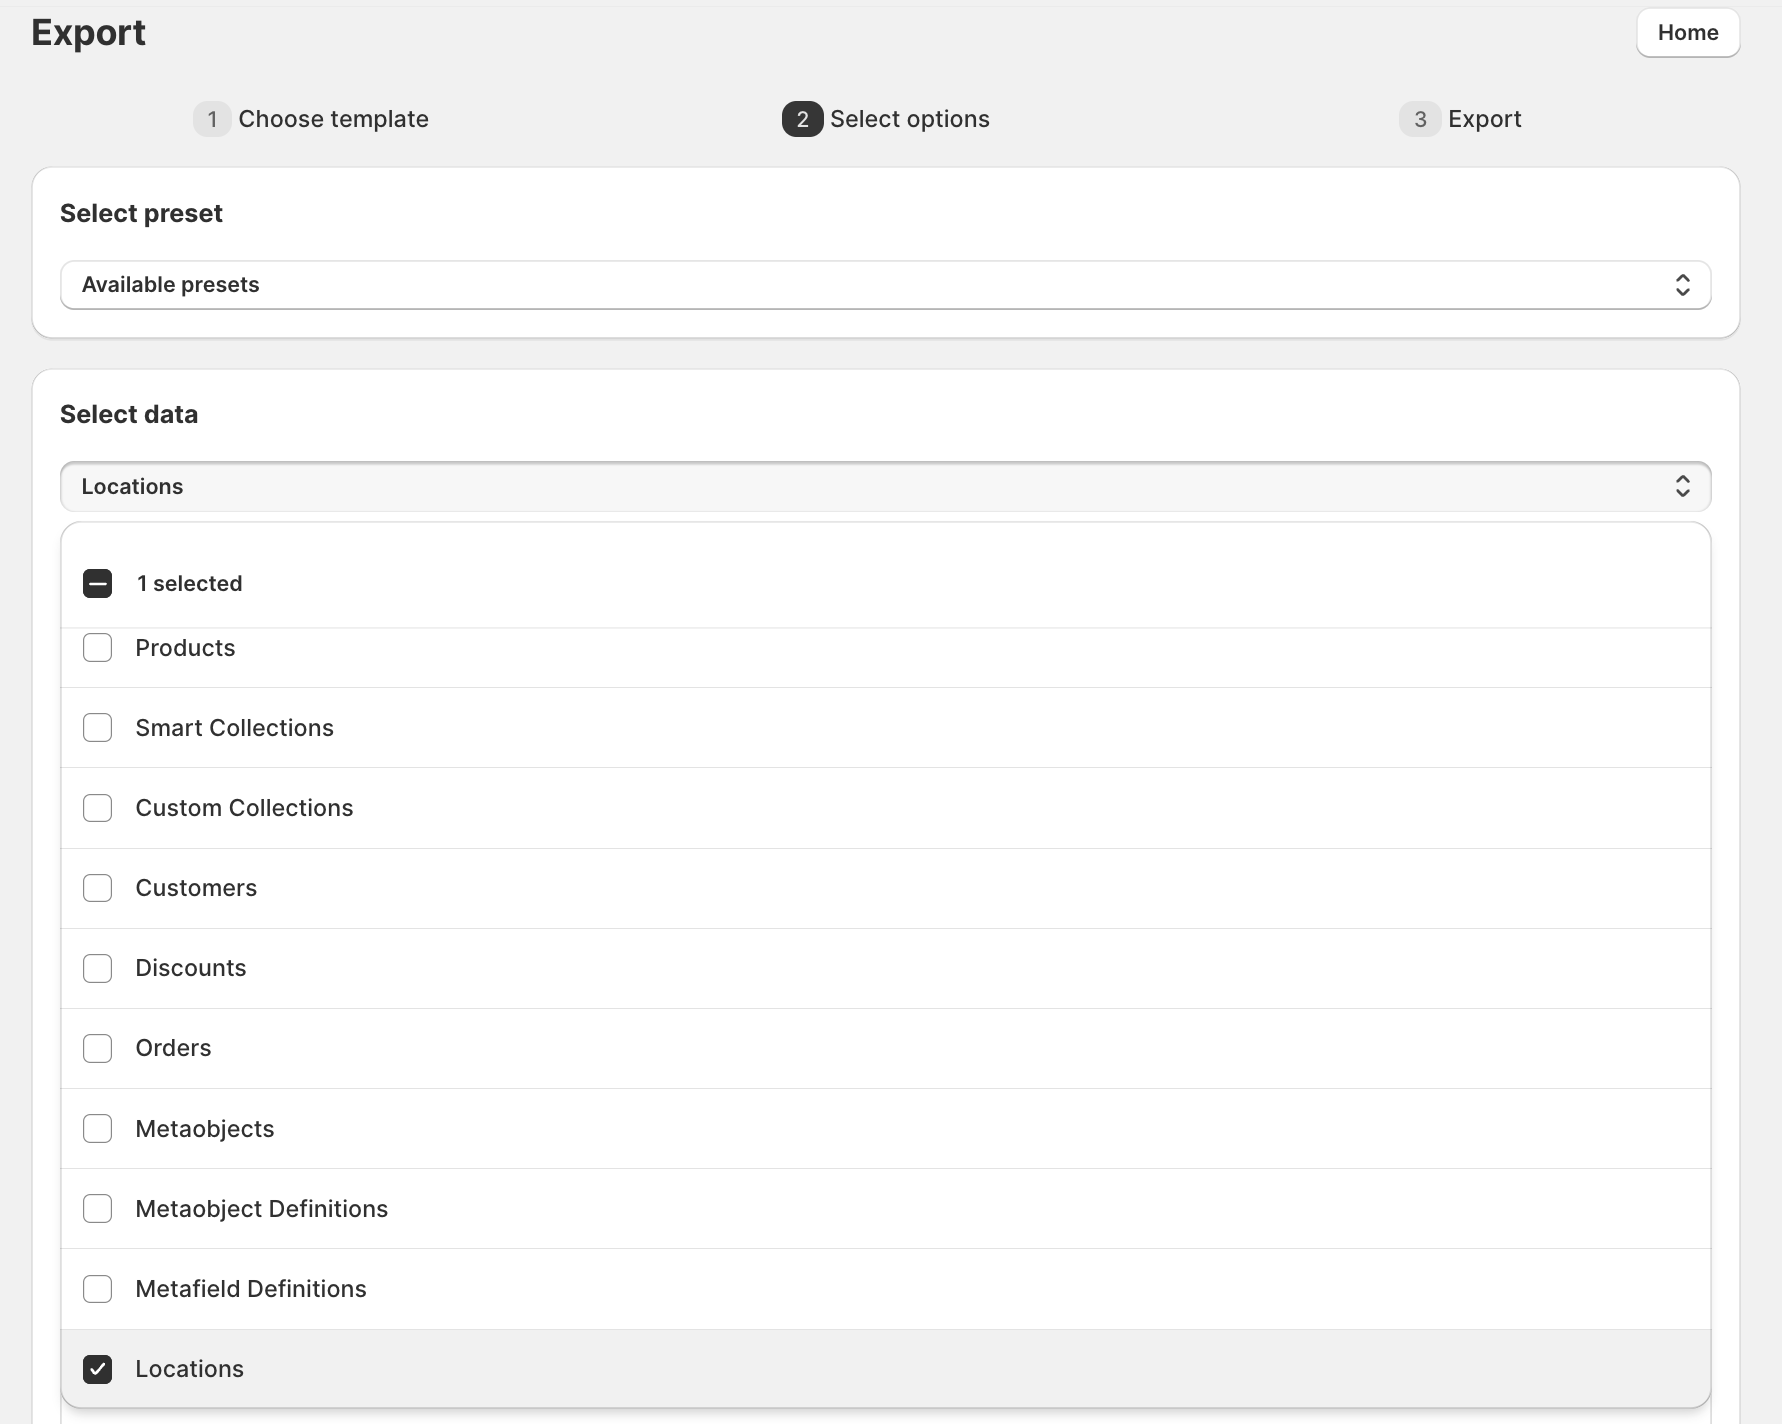
- Expand the selected data type.
- Under Columns, select the Location fields you want to include in the exported file.
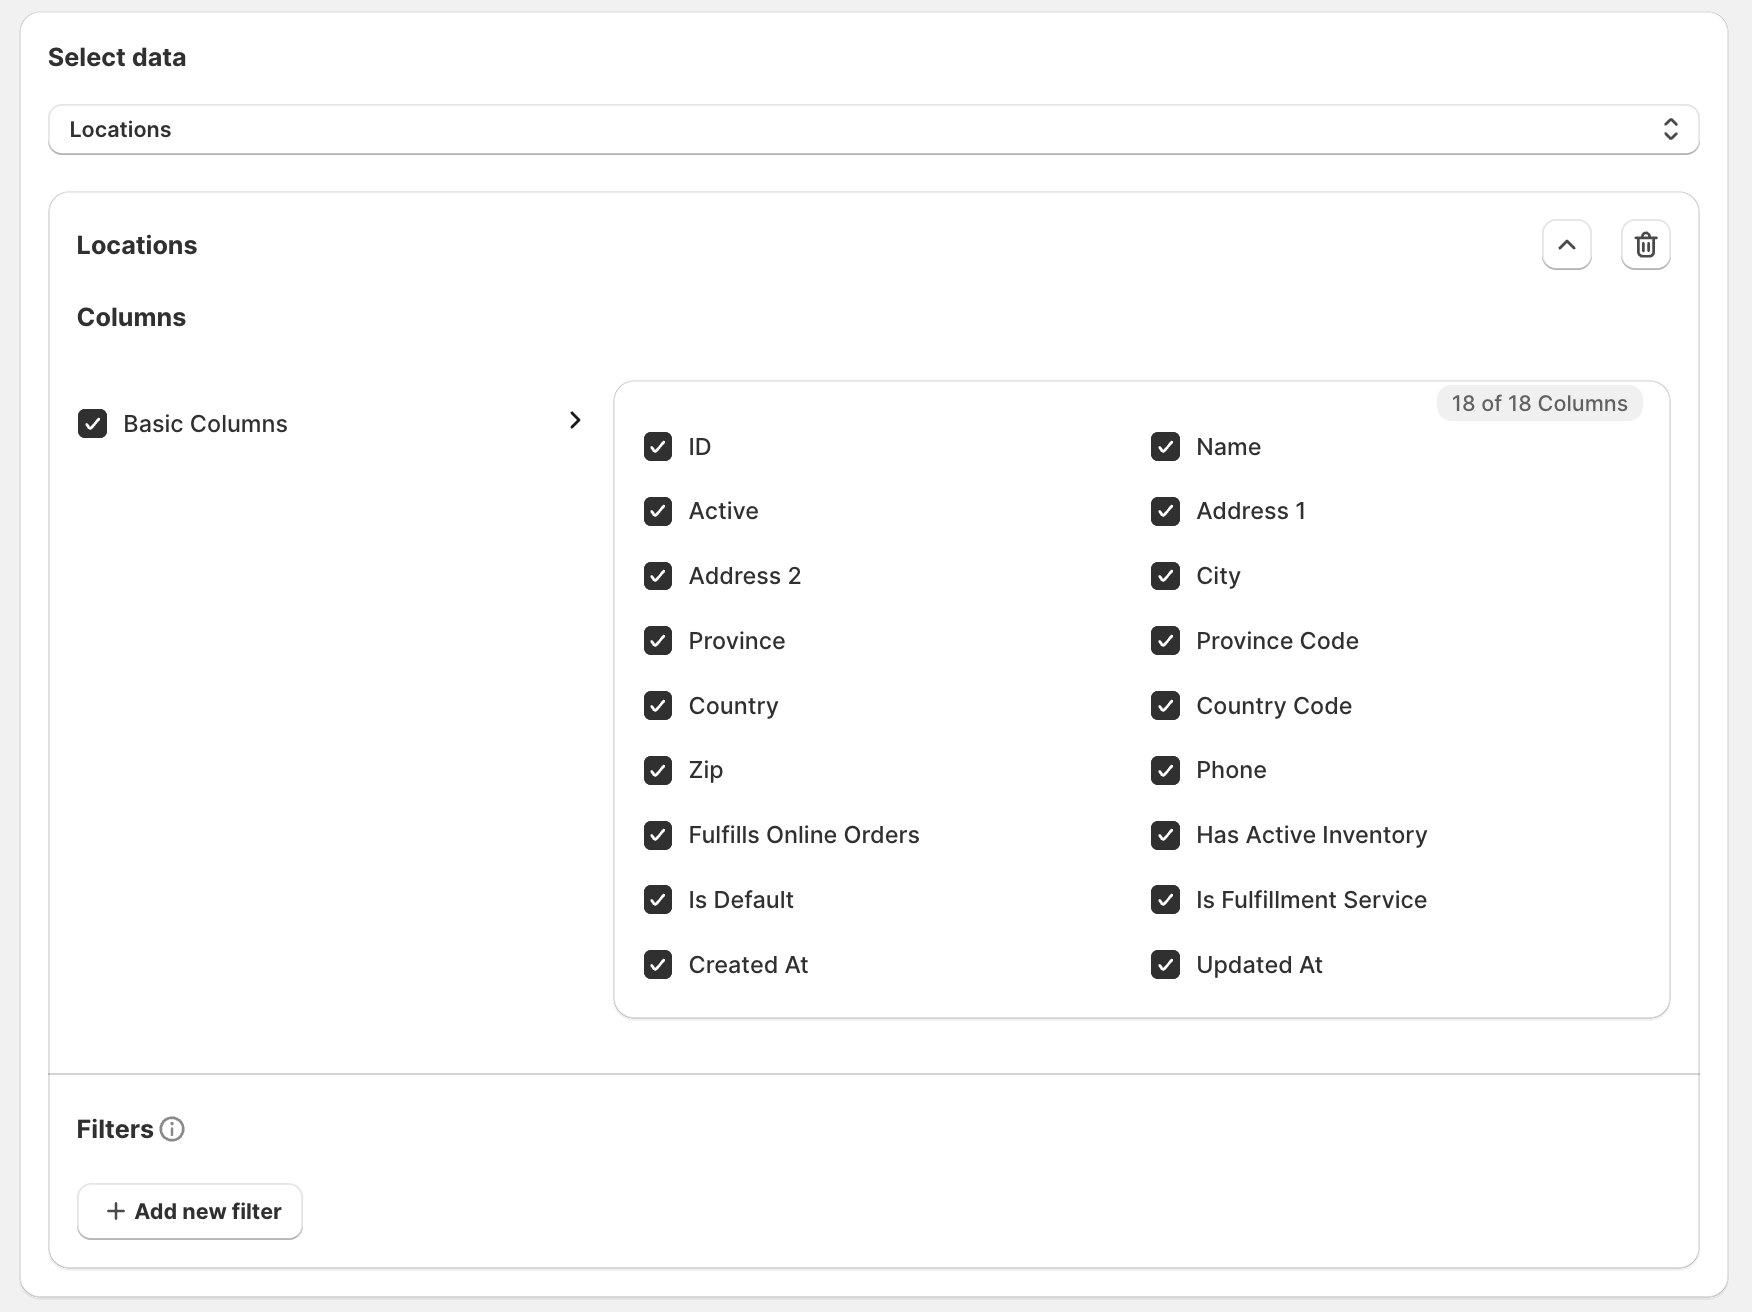
The export includes both active and inactive Locations.
Filter Locations for export
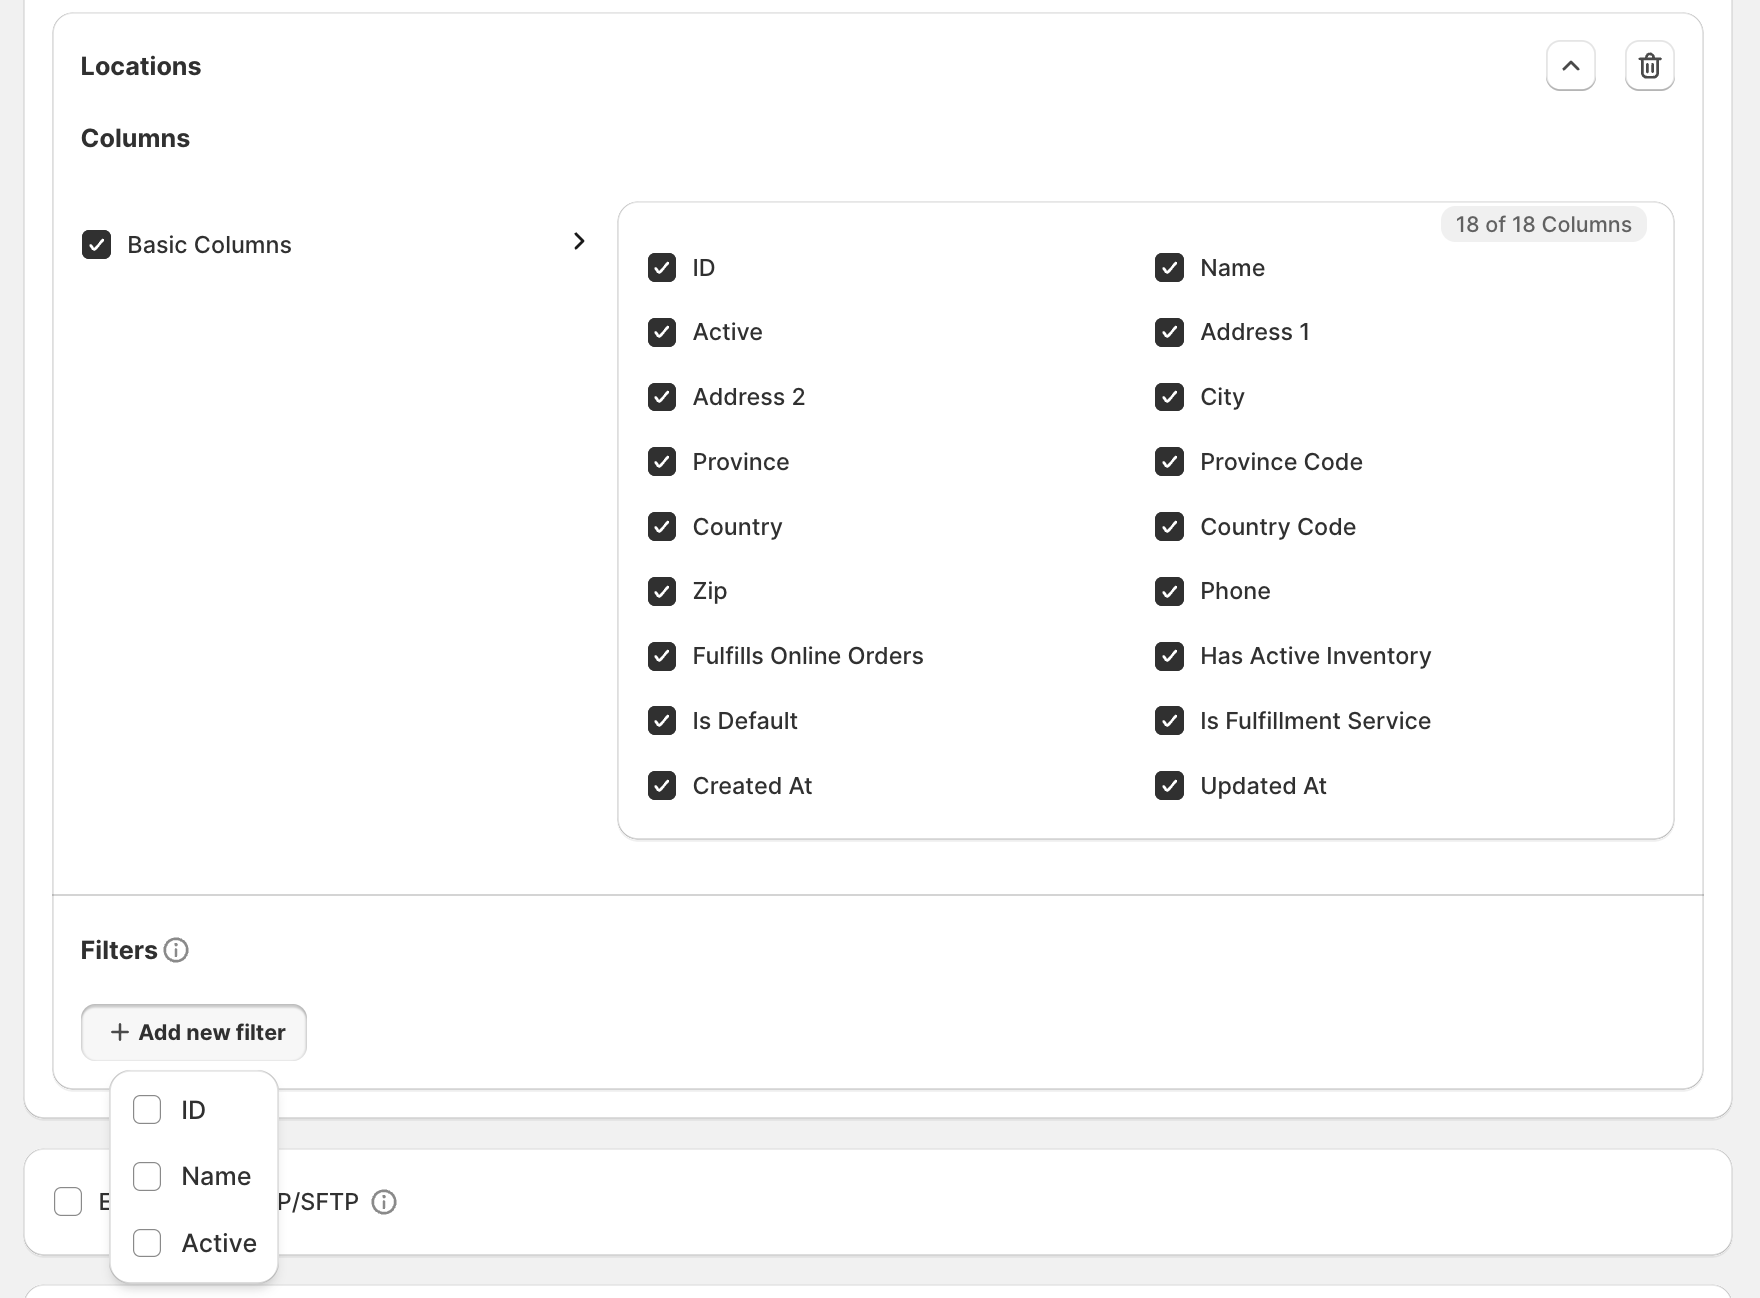
To export only specific Locations, click Add new filter under Filters.
Configure the required filters before continuing.
Export Locations to FTP/SFTP
To send the exported file to an FTP or SFTP server, enable the Export file to FTP/SFTP option.
You can either:
- Select an existing FTP/SFTP profile.
- Create and configure a new FTP/SFTP profile.

For more information, refer to the article Setting Up an FTP/SFTP Profile in StoreRobo.
Choose the separator and generate a download link
For CSV exports, configure how the values should be separated in the exported file:
- Go to Choose separator.
- Select the separator used between values in the CSV file. The available options are:
- Comma
- Semicolon
- Tab
- Space
- Other – Specify a custom separator.
- To create a shareable link for the exported file, enable Generate a public download link.
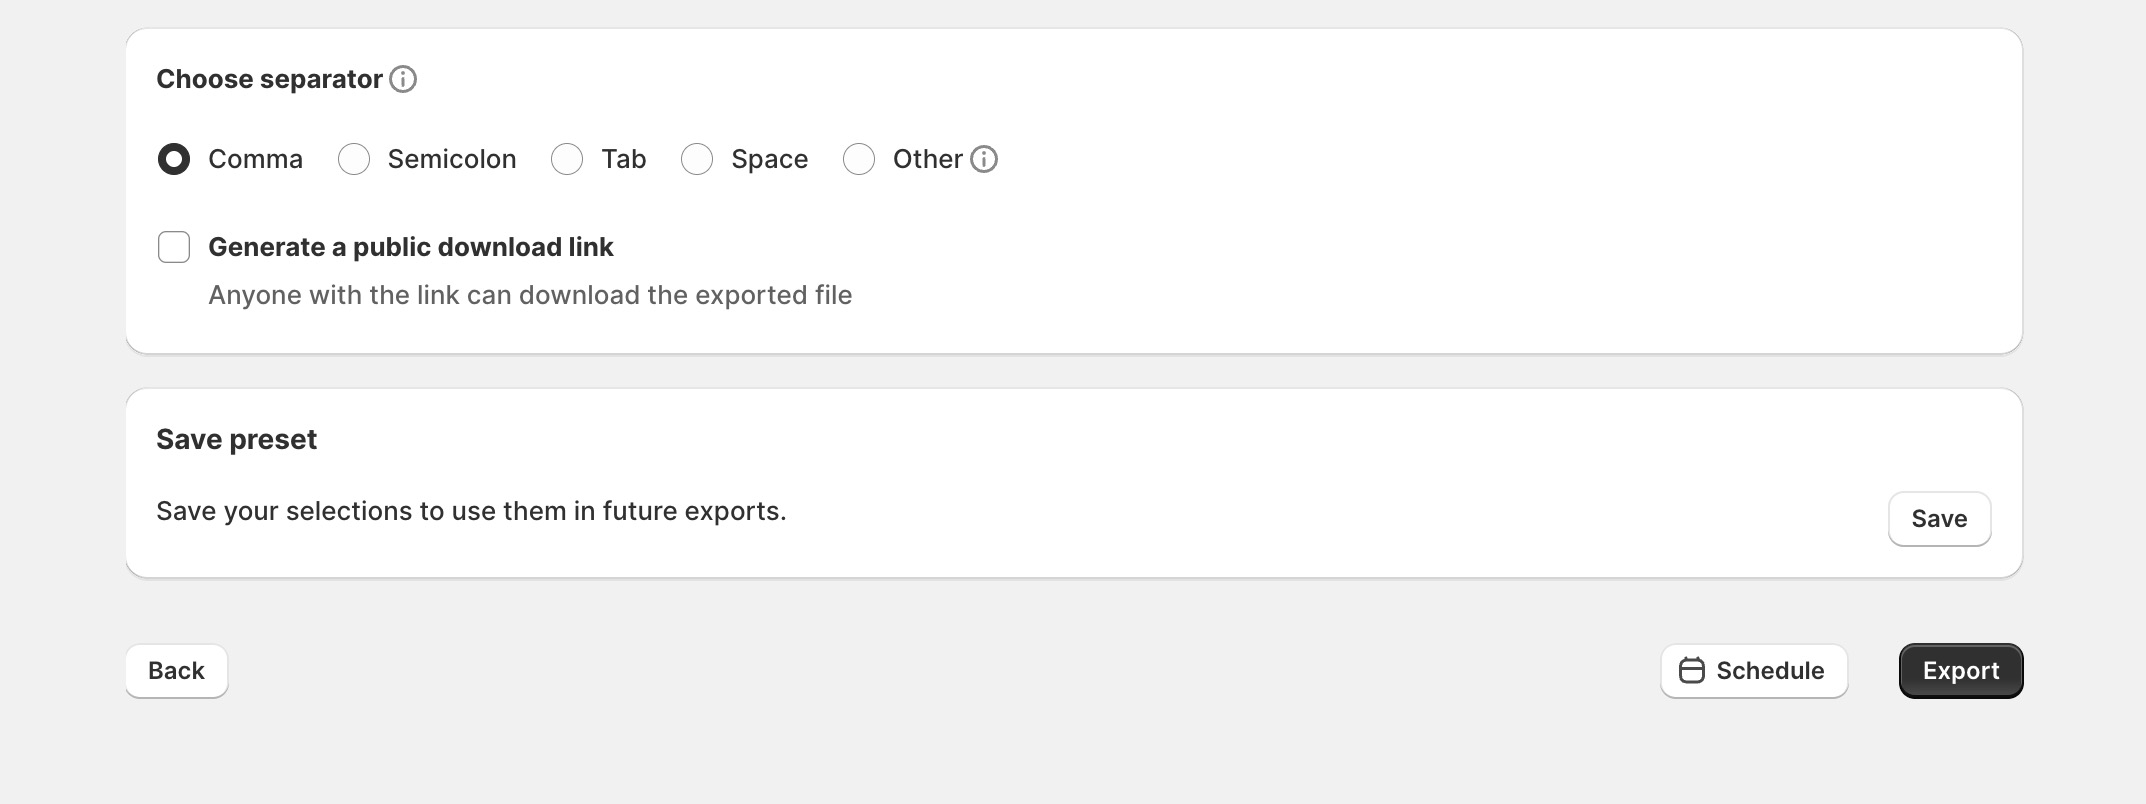
Anyone with the generated link can download the exported file. Enable this option only when the file needs to be accessed through a URL, and share the link only with trusted people or systems.
Save the export configuration as a preset
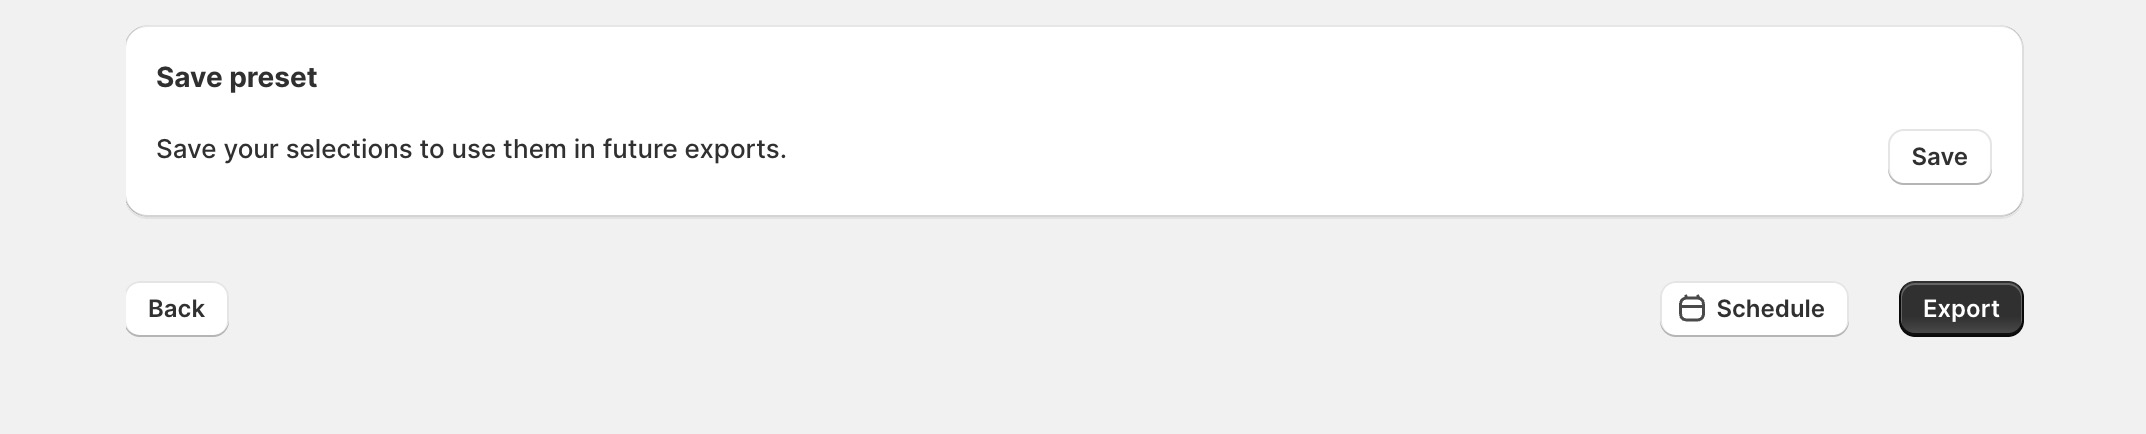
To reuse the current Location export configuration later, save it as a preset.
Under Save preset:
- Click Save.
- Enter a name for the preset.
- Save the configuration.
The saved preset retains the selected columns, filters, file settings, and other export configurations.
You can run the Location export immediately or schedule it for a future date and time.
Step 3: Export Locations
Click Export to begin exporting the Locations.
Alternatively, click Schedule to configure a scheduled or recurring export. For more information, refer to the article Scheduling Shopify Import Export With StoreRobo.
Monitor the export until its status changes from In progress to Completed.
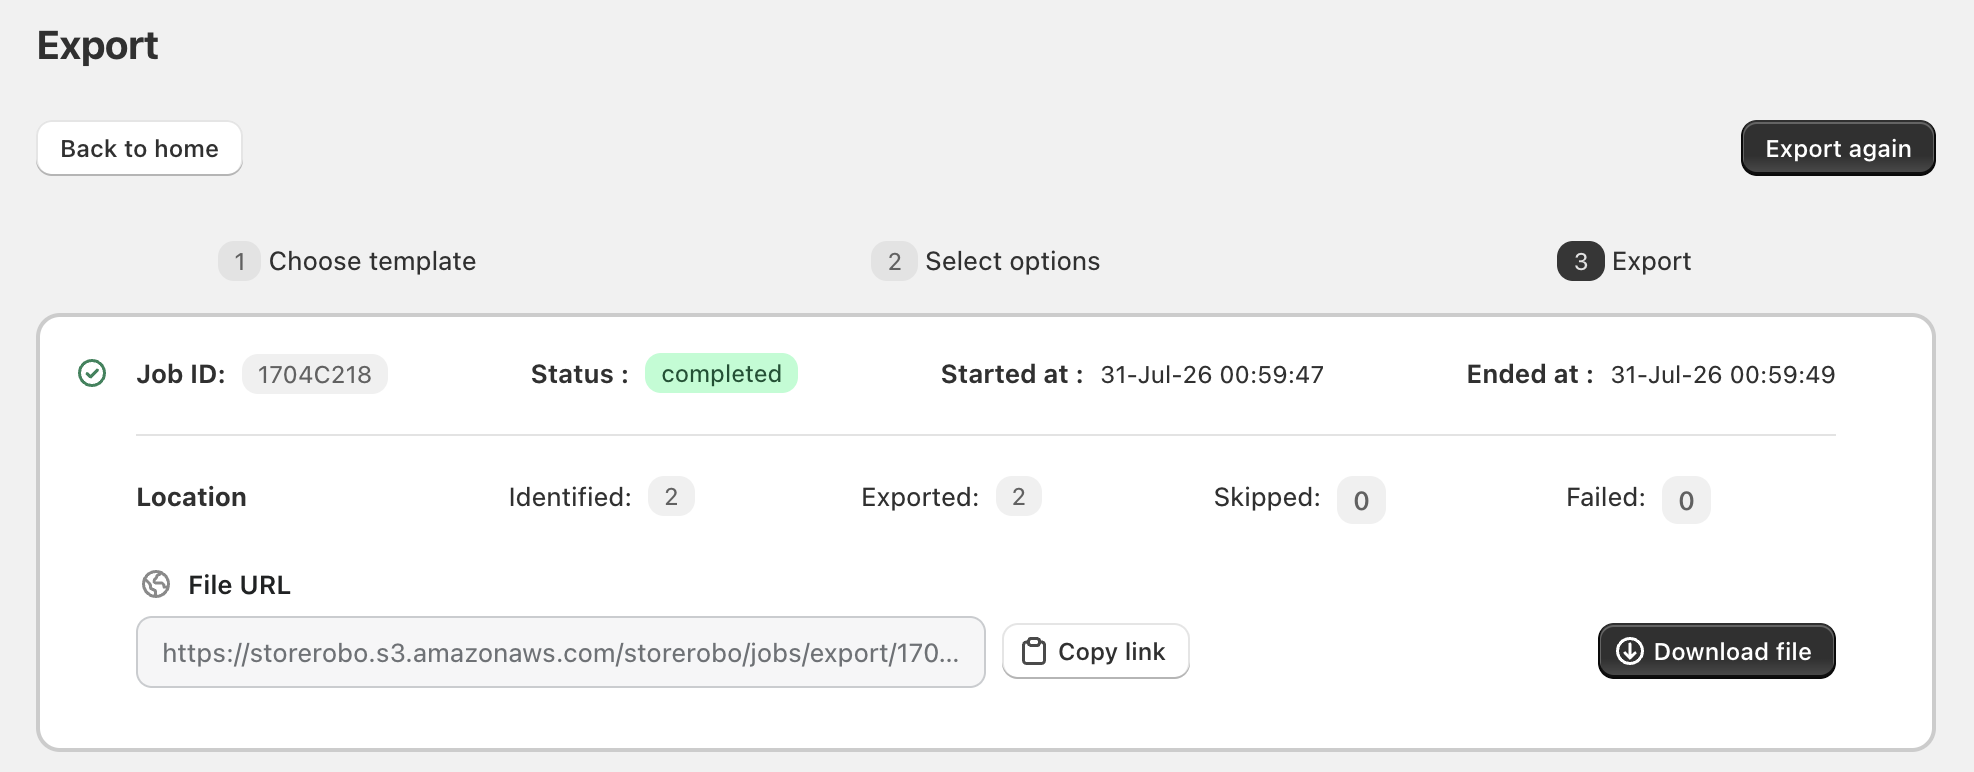
Once the export is completed, you will also receive an email notification.
You can then:
- Download the exported file.
- If Generate a public download link was enabled, copy the generated file URL.
- If FTP/SFTP export was configured, access the file from the selected server.
Anyone with the file URL can download the exported file. Share the URL only with trusted people and systems.
Import Shopify Locations
Download the sample CSV file and review the supported Location fields before preparing the import file.
Once you have installed StoreRobo on your Shopify store:
- From the Shopify admin dashboard, go to Apps > StoreRobo > Home.
Step 1: Choose the import file
- Choose the source from which you want to import the file.
The supported import paths include:
- Local storage – Upload the file directly from your device.
- URL – Import a file hosted on the web using its file URL.
- FTP/SFTP server – Import a file stored on an FTP or SFTP server.
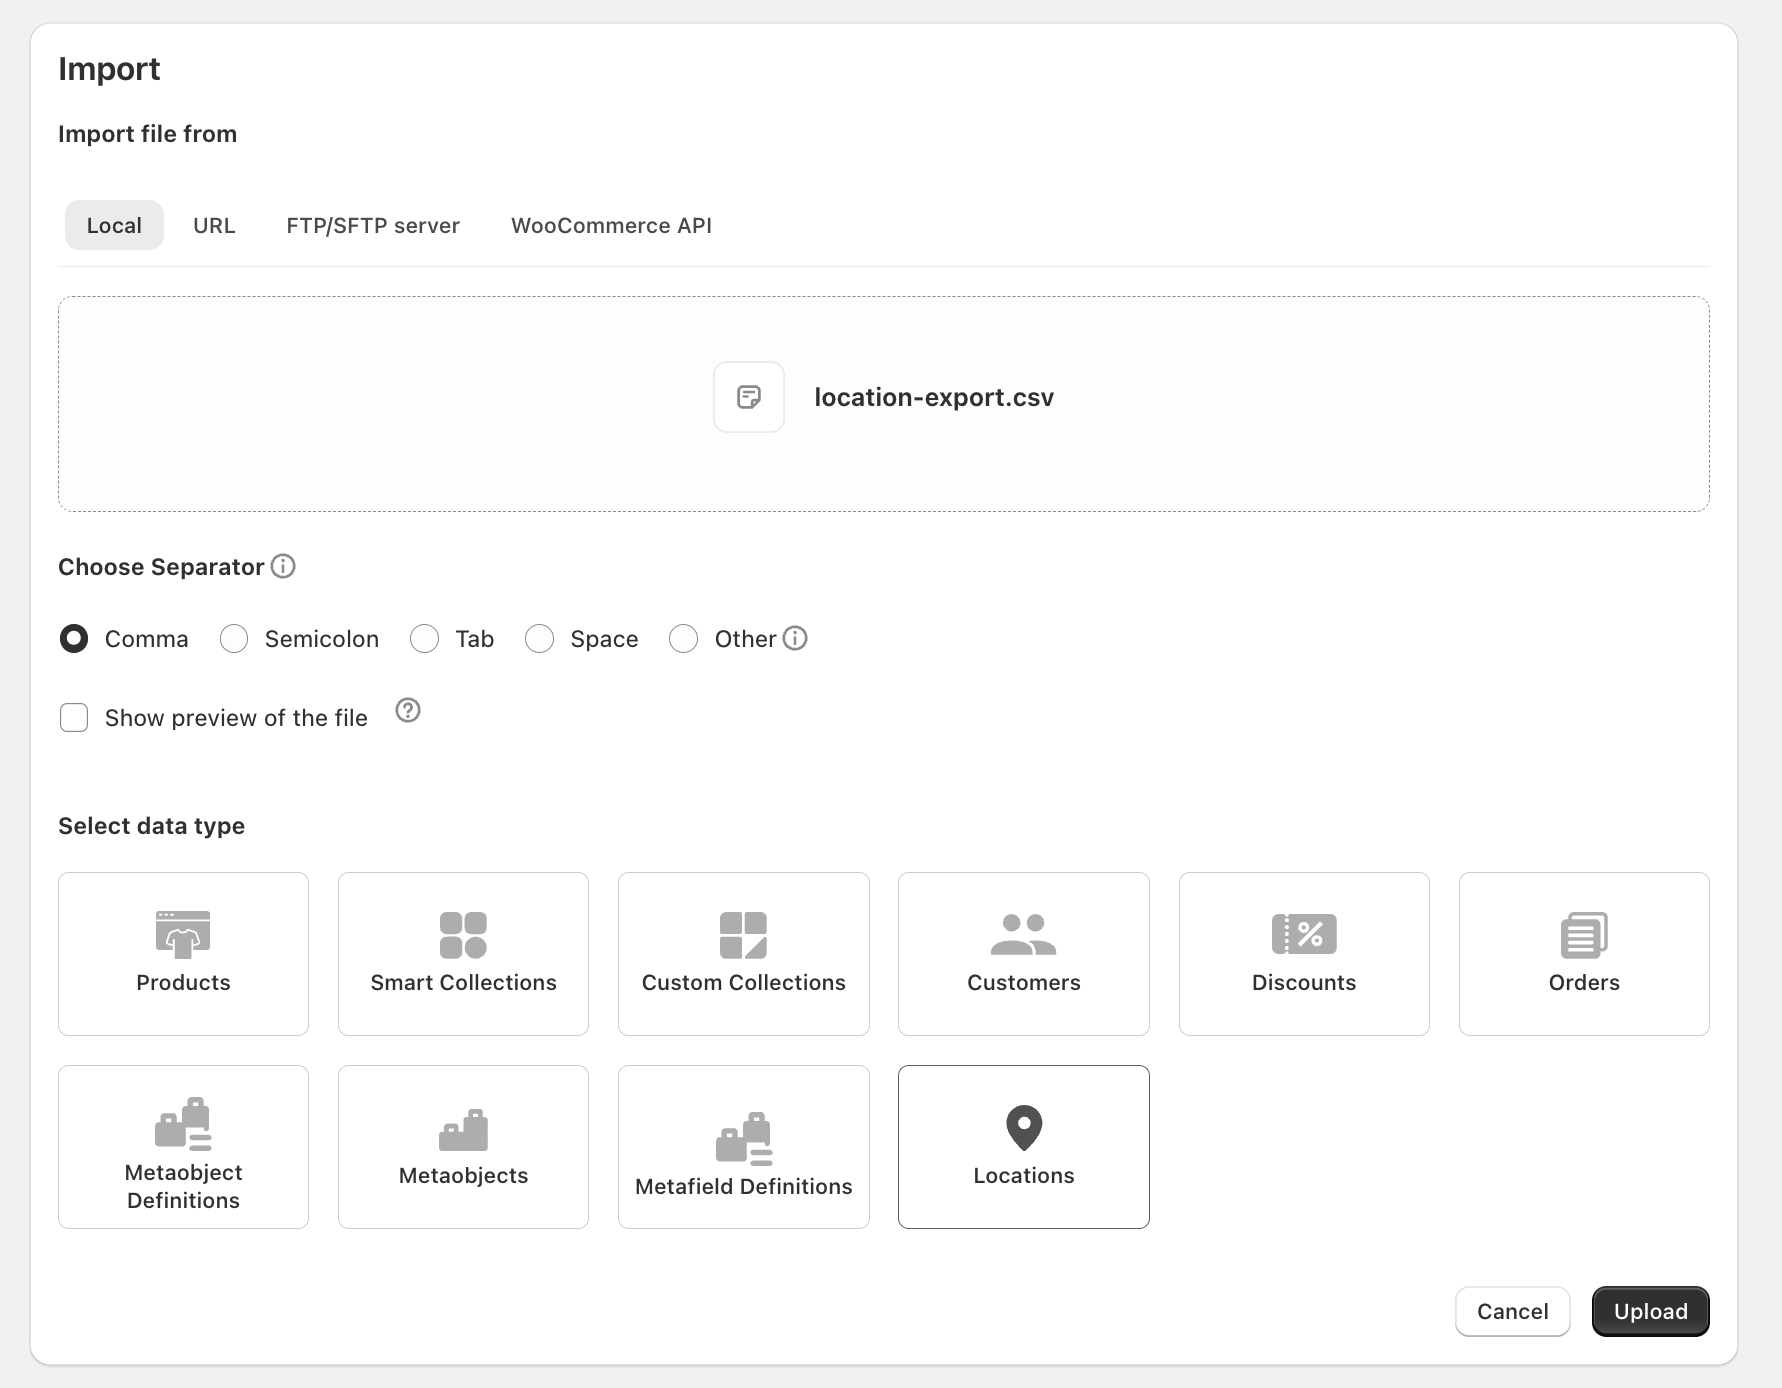
When importing a CSV file, select the delimiter or separator used in the file. Use the preview option to verify that StoreRobo has separated the columns correctly.
- Under Select data type, choose Locations.
StoreRobo may also automatically identify Locations based on the uploaded file or Excel sheet name. Verify that the correct data type has been selected before proceeding.
- Click Proceed or Upload, depending on the selected import path.
Required fields for creating Locations
To create a new Location, the import file should contain the following information:
- Name
- Address 1
- City
- Country or Country Code
The Zip field may also be required depending on whether the selected country uses postal codes.
If the Active field is not provided while creating a Location, the Location will be active by default.
StoreRobo validates the required fields before starting the import. Rows with missing or invalid required information are reported with a clear error.
Step 2: Select options
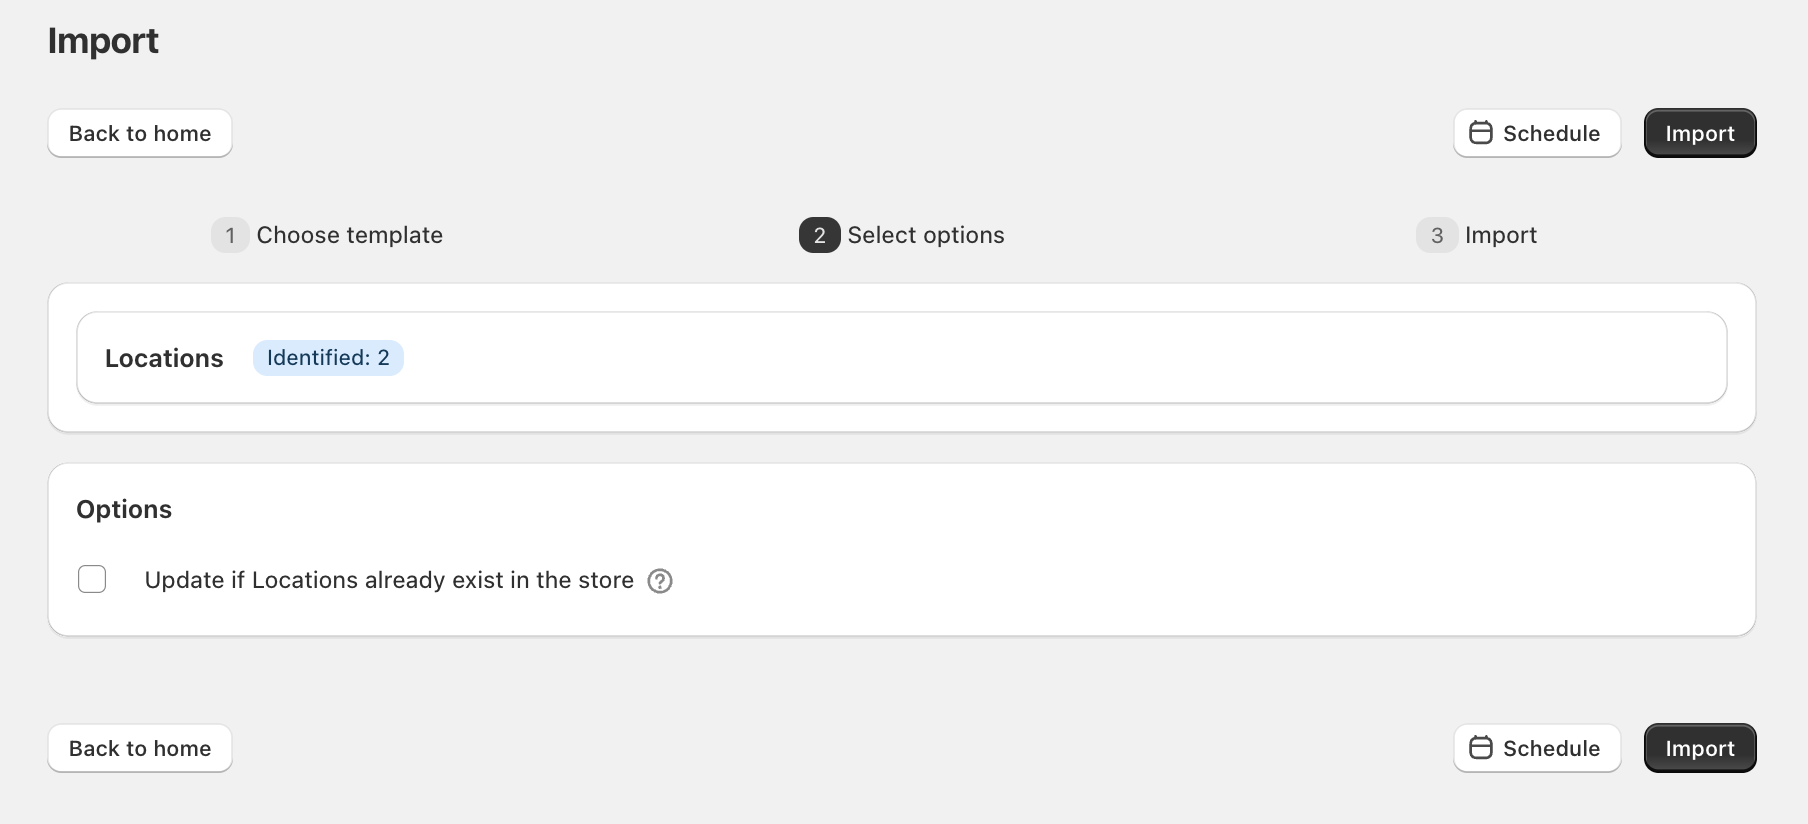
After the file is uploaded, StoreRobo identifies the Location records in the file and displays the total number of identified Locations.
- Verify the number of Locations identified from the import file.
- To update Locations that already exist in the store, enable Update if Locations already exist in the store.
- Review the import option before proceeding.
- Click Import to start the import immediately. Alternatively, click Schedule to run the import at a later date or time.
Deactivate Locations during import
To deactivate an existing Location:
- Include the Location ID or name in the import file.
- Set the Active field to
FALSE. - Enable Update if Locations already exist in the store.
- Run the import.
StoreRobo deactivates the matched Location. If the update option is disabled, the existing Location is skipped instead.
Step 3: Import Locations
After reviewing the identified Locations and import option:
- Click Import to begin the import immediately.
- Alternatively, click Schedule to run the import at a future date or on a recurring schedule.
Once the import is completed, the status changes to Completed.
The import summary displays the number of Locations that were:
- Identified
- Imported
- Skipped
- Failed
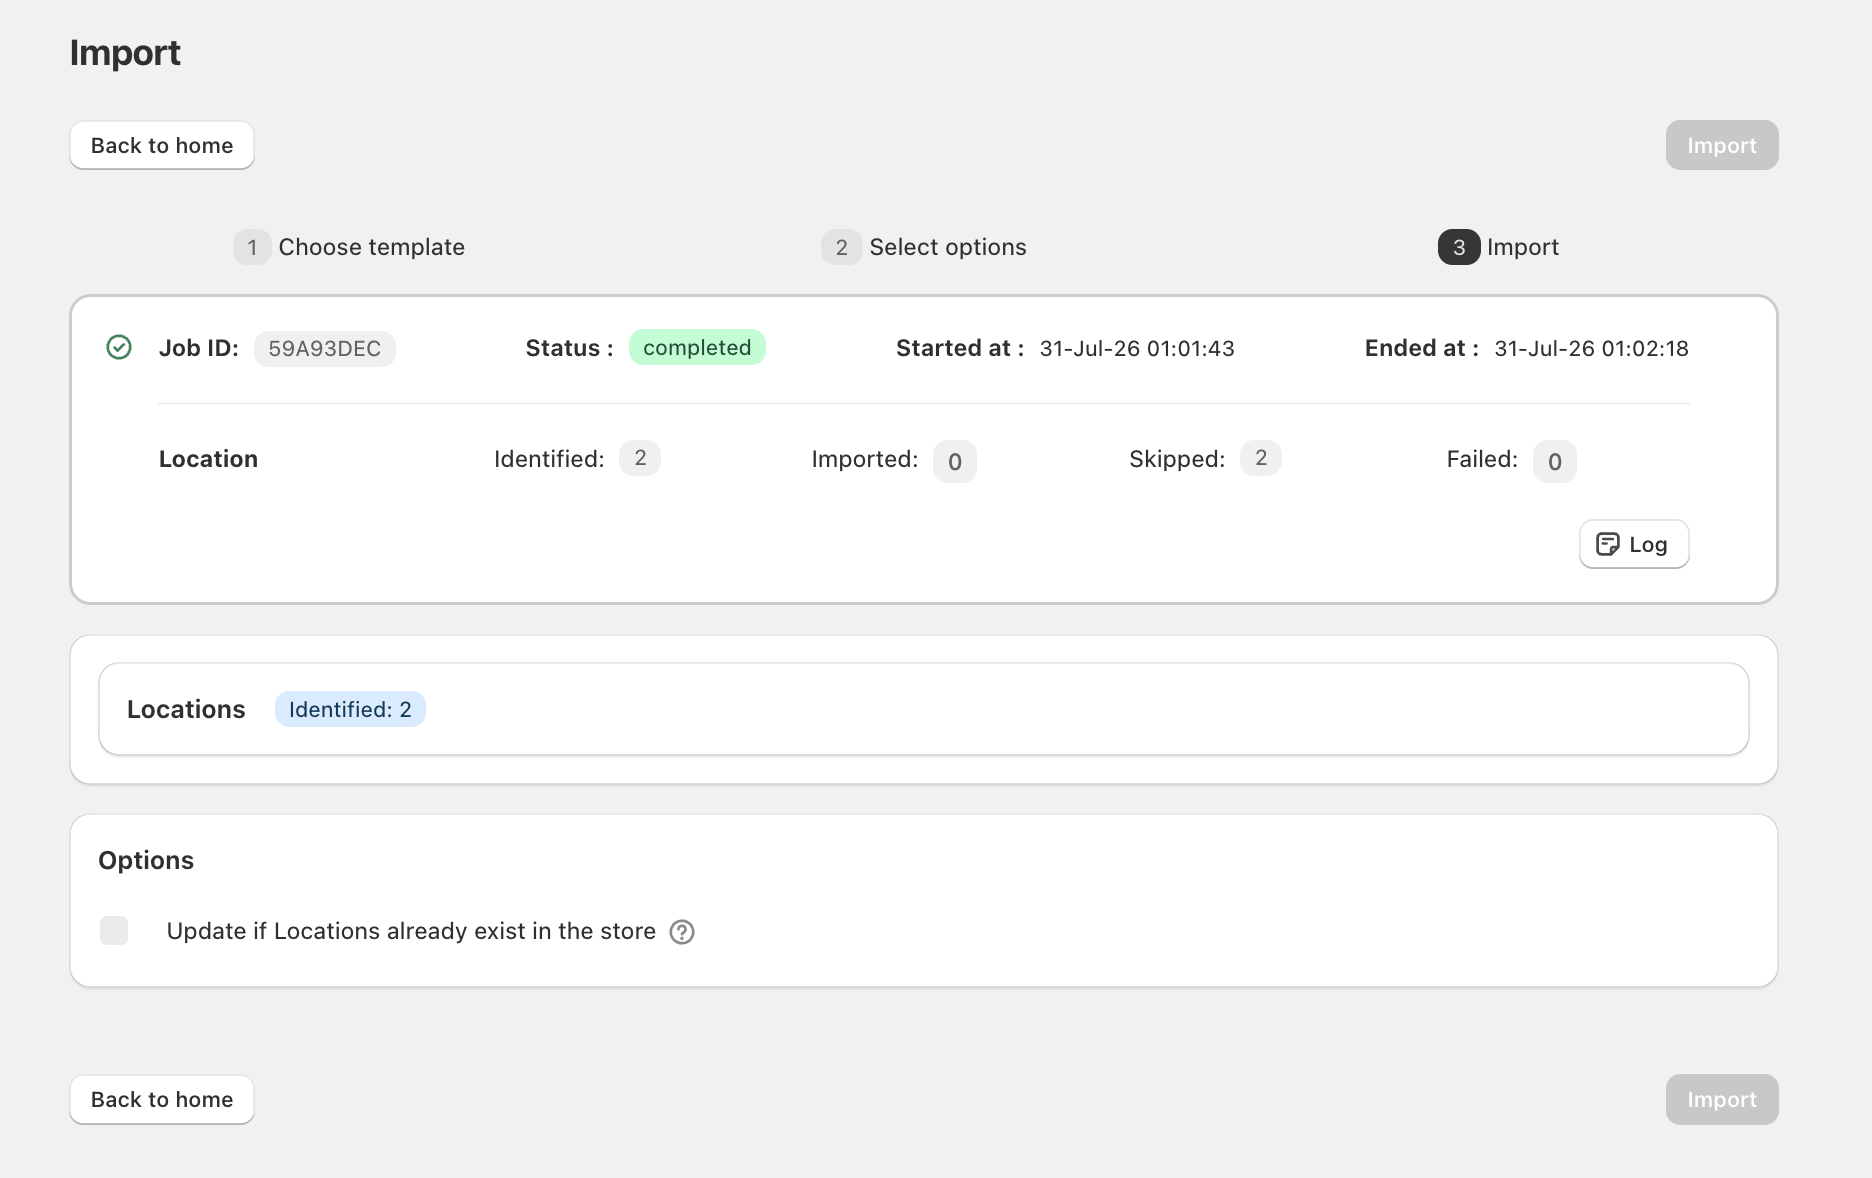
Click Log to review the import results. For failed rows, the log includes the row number, affected field, and reason for the error.
