In quote submission pages, reCAPTCHA v3 is necessary since it offers a strong defense against spam while boosting security in general. The WebToffee WooCommerce Request a Quote plugin enables store owners to include reCAPTCHA v3 on the quote submission pages. Hence, discouraging automated quotation inquiries and encouraging the submission of just real quote requests. Here are the key steps in adding reCAPTCHA v3 to the quote submission page:
- Register your website on reCAPTCHA.
- Add reCAPTCHA v3 to the quote submission page.
Registering websites on reCAPTCHA
Follow the below steps to register your website on Google reCAPTCHA:
- You can register your website on Google reCAPTCHA by clicking on this link.
OR
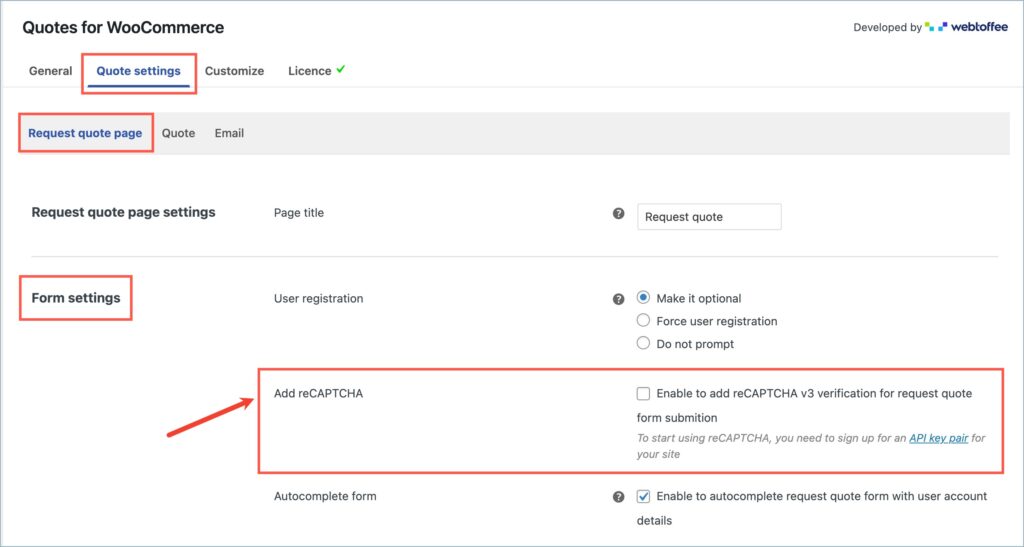
- Navigate to Quotes > Quote Settings > Request quote page.
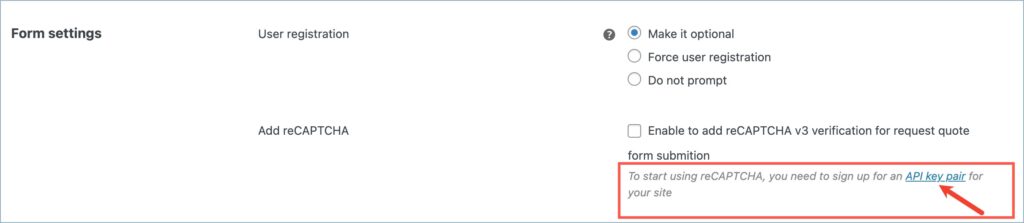
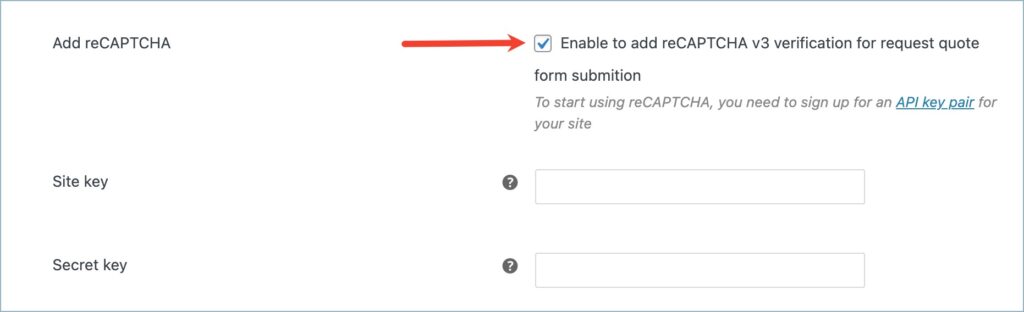
- Under the Request quote page tab, scroll down to the Form settings section and find the Add reCAPTCHA option.
- On the right side of the Add reCAPTCHA option, you’ll find a help text that contains a hyperlink called API key pair. Clicking on this hyperlink will redirect you to the Google reCAPTCHA page, where you can register your site.
Once done with the registration, you will receive a site key and a secret key for your website. Save it for further use.
Adding reCAPTCHA v3 to the quote submission page
The steps are as follows:
- Navigate to Quotes > Quote Settings > Request quote page.
- Under the Request quote page tab, scroll down to the Form settings section and find the Add reCAPTCHA option.
- Now, enable the Add reCAPTCHA option by marking its checkbox. On enabling the option, two additional fields to insert the site key and the secret key will appear.
- Fill in the Site key and the Secret key in the respective text fields. The site key and the secret key are the ones obtained after site registration in Google reCAPTCHA.
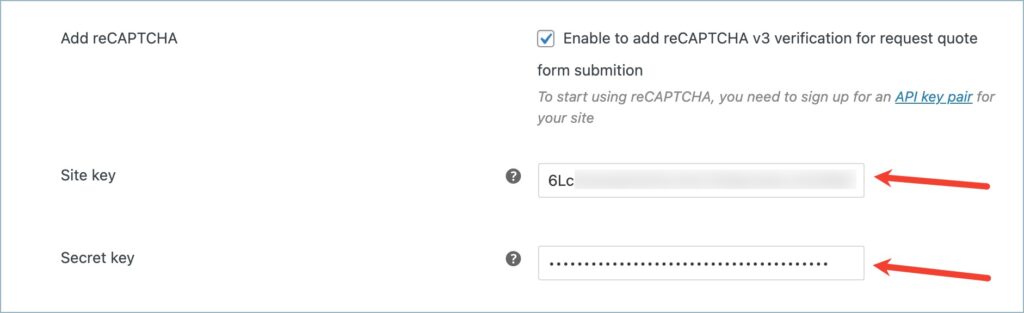
- Finally, click on Update Settings to save changes.
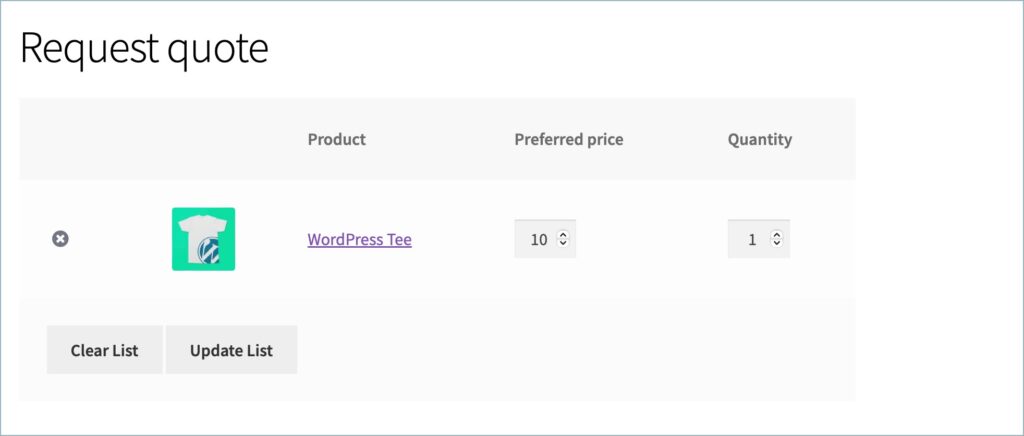
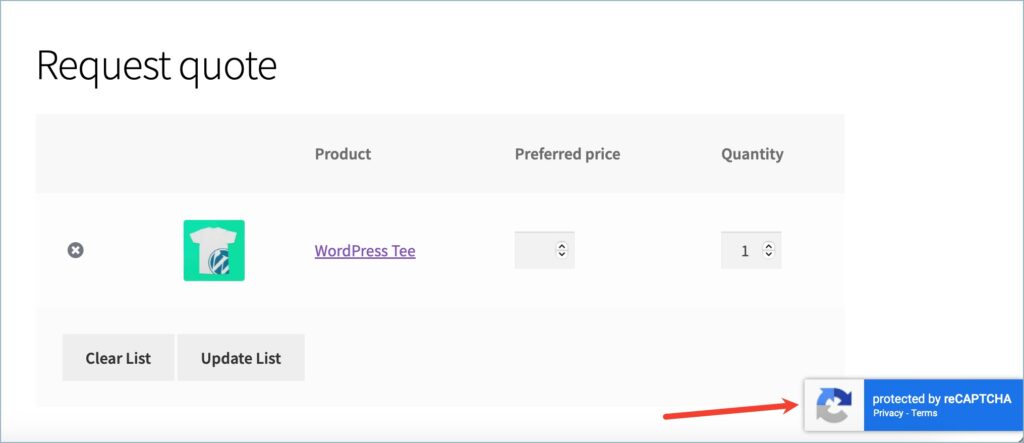
The Request quote page before and after enabling the reCAPTCHA protection will look like this: