Including all the users in your new website or updating each user’s information manually, can be dawdling!. Import Export Suite for WooCommerce Plugin helps you to export a CSV file that includes all the WordPress user’s data and import the same to the website much quickly. To export the Users/Customers:
- Select the post type as Users/Customers.
- Select an export method.
- Filter data.
- Map and reorder export columns.
- Use advanced options/ batch export and scheduling.
Export Users
To export WordPress users / WooCommerce customers, click on WebToffee Import/Export(Pro) > Export.
Step 1: Select a post type
As a first step, you need to choose the post type as Users/Customers.

Step 2: Select an export method
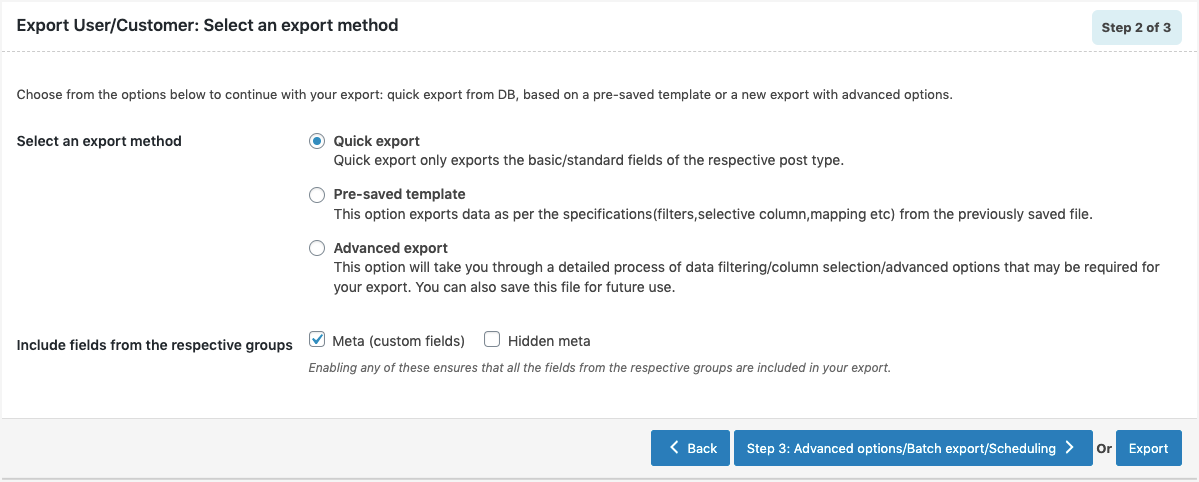
Choose from the below options to continue with your export:
- Quick export from DB
- Based on a pre-saved template
- Advanced export
Let us have a look at each of these export methods:
Quick Export
- exports the basic/standard fields of the respective post type.
- To include fields from Meta(custom fields) and Hidden meta select the respective group’s checkboxes.
- Click the Export button to complete the action or proceed to Step 3 for advanced options.
- Navigate to Step 5 to know more about Advanced options/ Batch export/ Scheduling.
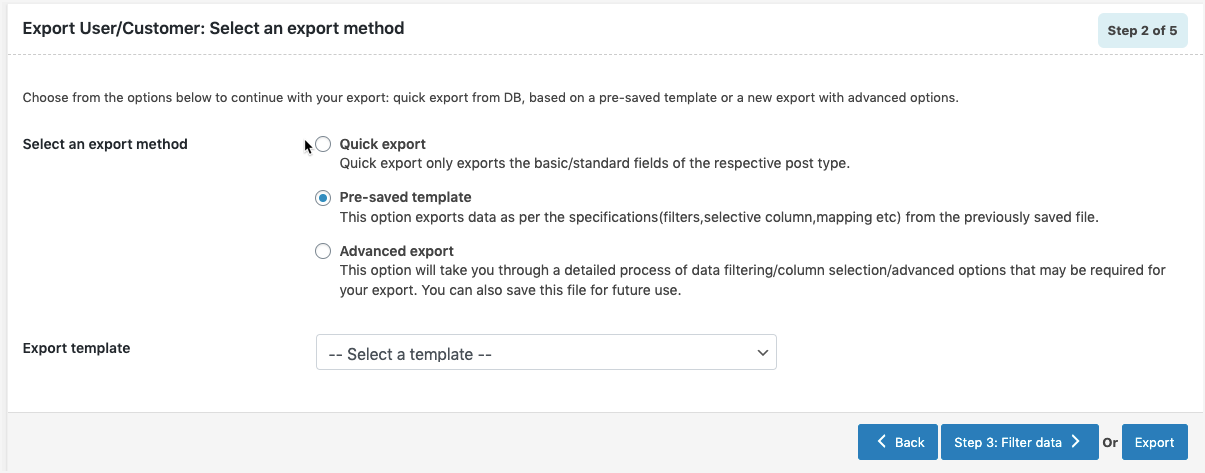
Pre-saved template
- exports data as per the specifications(filters, selective column, mapping.. etc) from the previously saved file.
- By selecting this option, one can choose a previously saved template from the Export template drop-down.Note: The template will be listed in the drop down only if you have saved it in previous exports, if you go through the Advanced export, at Step 5 you will get an option to save the template. Once you save that, next time when you want to export a pre-saved template, it will be populated within the drop down.
- Click the Export button to complete the action or proceed to Step3 to filter data.
- Navigate to Step 3 to know more about filtering options.
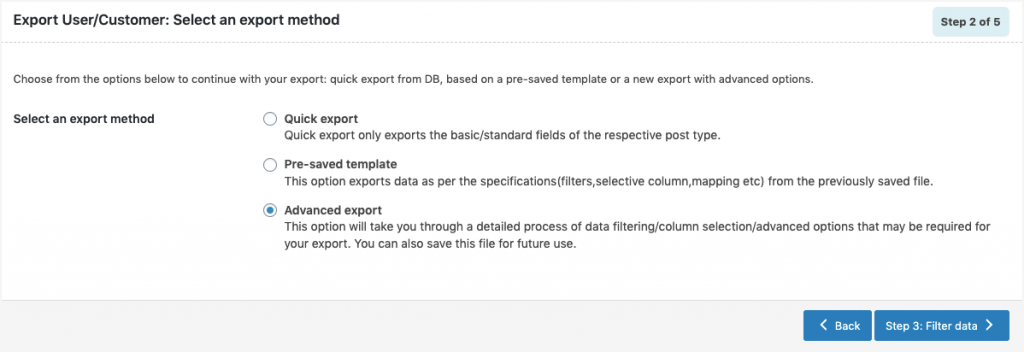
Advanced Export
- This option will take you through a detailed process of filtering/column selection/advanced options that may be required for your export.
Step 3: Filter data
Click on Step 3, to view the following window where one can filter data on the basis of:
- Total number of users to export : The actual number of users you want to export. e.g. Entering 500 with a skip count of 10 will export users from 11th to 510th position.
- Skip first n users : Specify the number of users to be skipped from the beginning. e.g. Enter 10 to skip first 10 users from export.
- User Roles : Input specific roles to export information pertaining to all customers with the respective role/s
- User Email : Input the customer email to export information pertaining to only these customers
- Date From : Date on which the customer registered. Export customers registered on and after the specified date.
- Date To : Export customers registered up to the specified date.
- Sort Columns : Sort the exported data based on the selected columns in the order specified. Defaulted to ascending order.
- Sort by: Defaulted to ascending. Applicable to above-selected columns in the order specified.
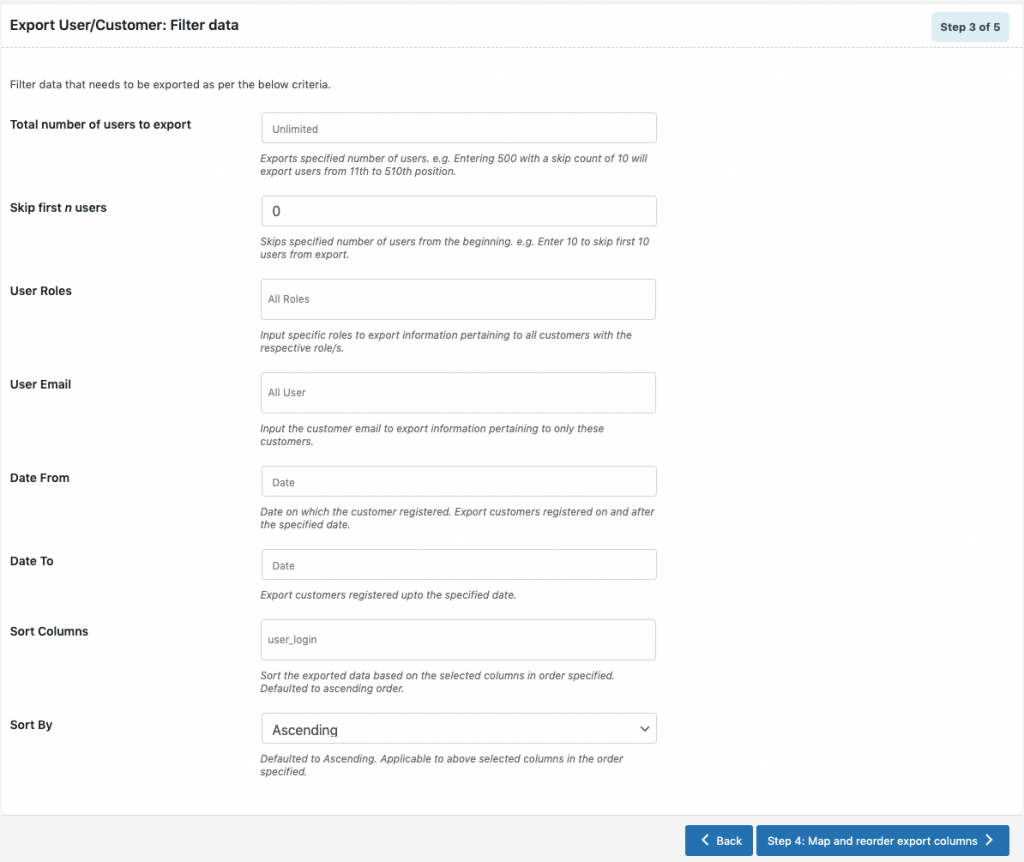
- Click on Step 4 to proceed further.
Step 4: Map and reorder export columns
Here, one can map and reorder the export columns under the following 3 fields:
- Default fields: The column names appearing in this section can be edited if required. The preferred names and choices that were last saved can be viewed on choosing a pre-saved template. One can also move the columns to reorder the arrangement.
- Meta(custom fields)
- Hidden meta
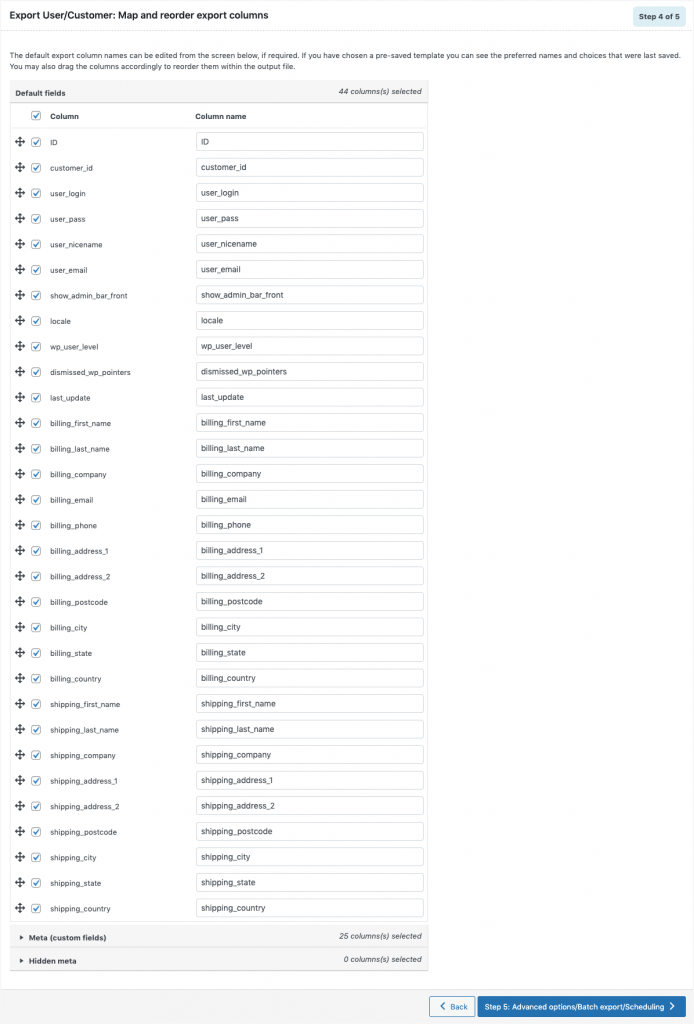
- Click on Step 5 to proceed.
Step 5: Advanced Options/Batch Export/Scheduling
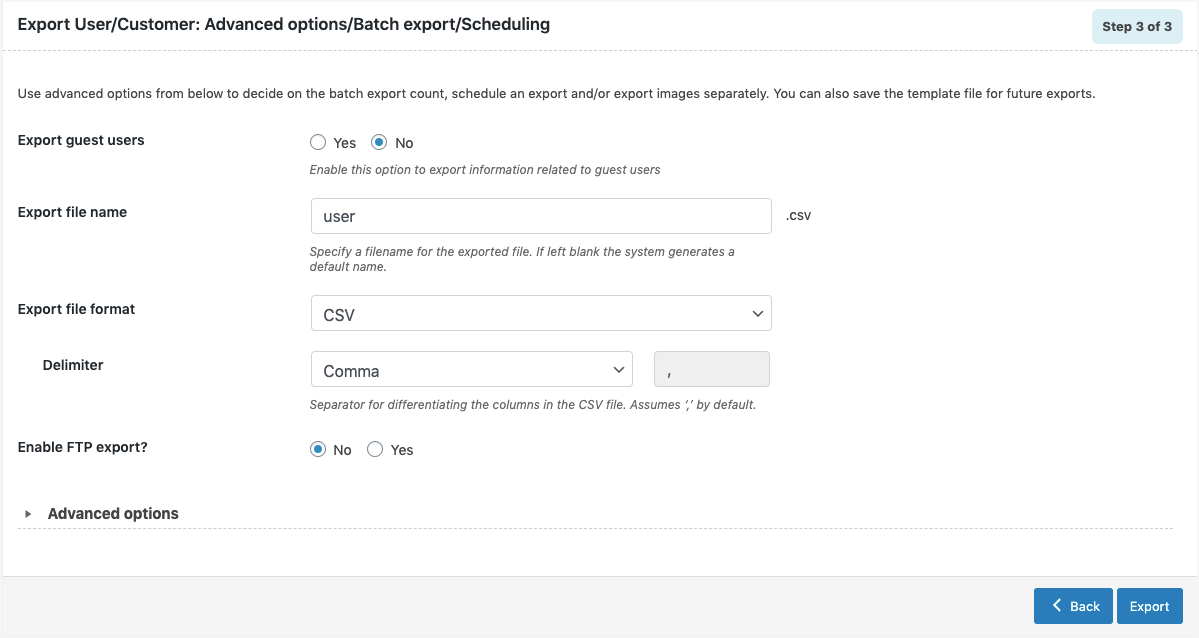
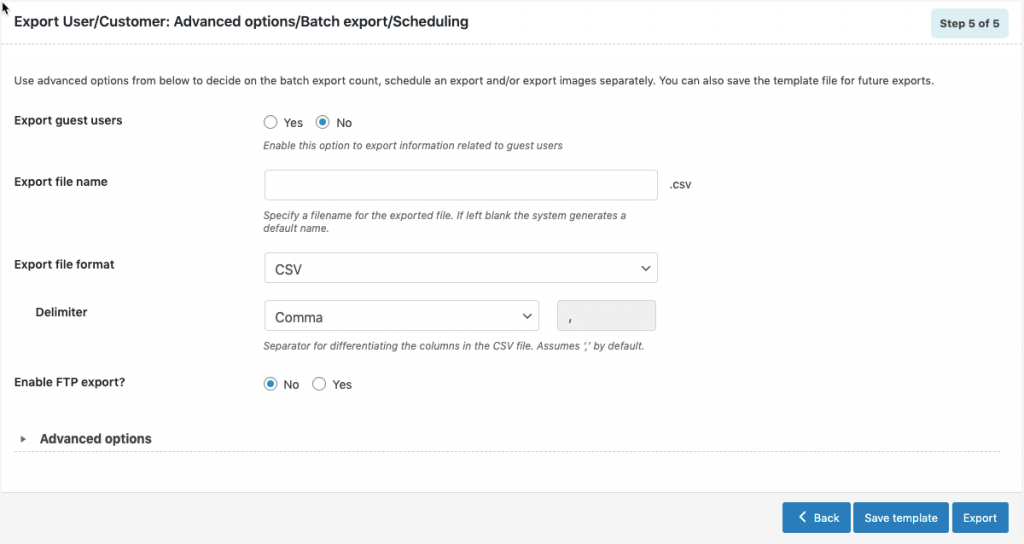
- On reaching Step 5, the following window will appear, from where one can:
- Export guest users: Exports information related to guest users.
- Export file name: Specify a filename for the exported file. If left blank, the system generates a default name.
- Export file format: Both CSV and XML are available.
- Delimiter: Separator for differentiating the columns in the CSV file. Assumes ‘,’ by default.
- Enable FTP export: On opting ‘Yes’, choose an FTP profile and specify the export path or use default path.
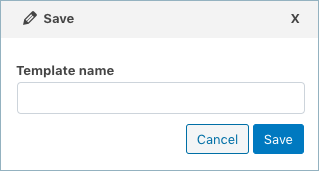
- Save the template file for future export as shown below(if needed).
- Click on Export and export or schedule the export to finish.
