Coupons are the potential tools to attract new customers, market your store products and retain loyal shoppers. Import Export Suite for WooCommerce Plugin helps you to import/export all your coupons from one store to another in an efficient and quick manner. To import WooCommerce coupons:
- Select the post type as Coupon.
- Select an import method.
- Map the import columns.
- Use advanced options/ batch import and scheduling.
Import Coupons
To import WooCommerce coupons, click on WebToffee Import/Export(Pro) > Import.
Step 1: Select post type
As a first step, you need to choose the post type as Coupon.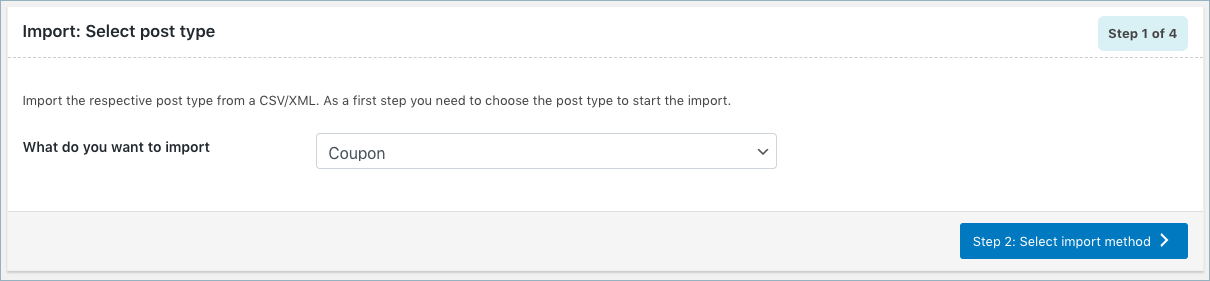
Step 2: Select import method
Choose from the below options to continue with your import:
- Quick import
- Based on a pre-saved template
- Advanced import
Let us have a look at each of these import methods:
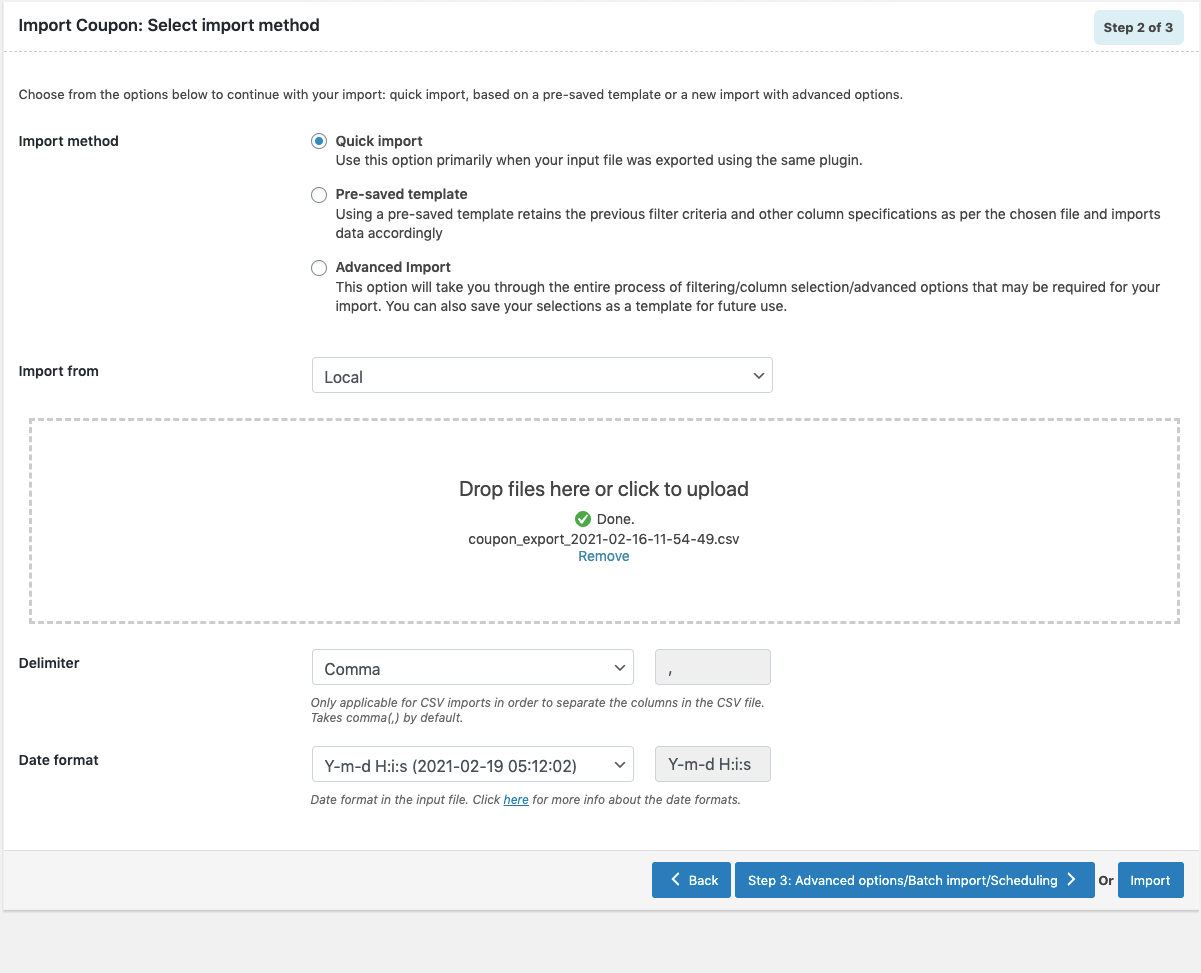
Quick Import
- imports the basic/standard fields of the respective post type.
- primarily used when your input file was exported using the same plugin
- One can import file from:
- Local
- URL
- FTP
- Click the Import button to complete the action or proceed to Step3 for advanced options.

- Navigate to Step 4 to know more about Advanced options/ Batch import/ Scheduling.
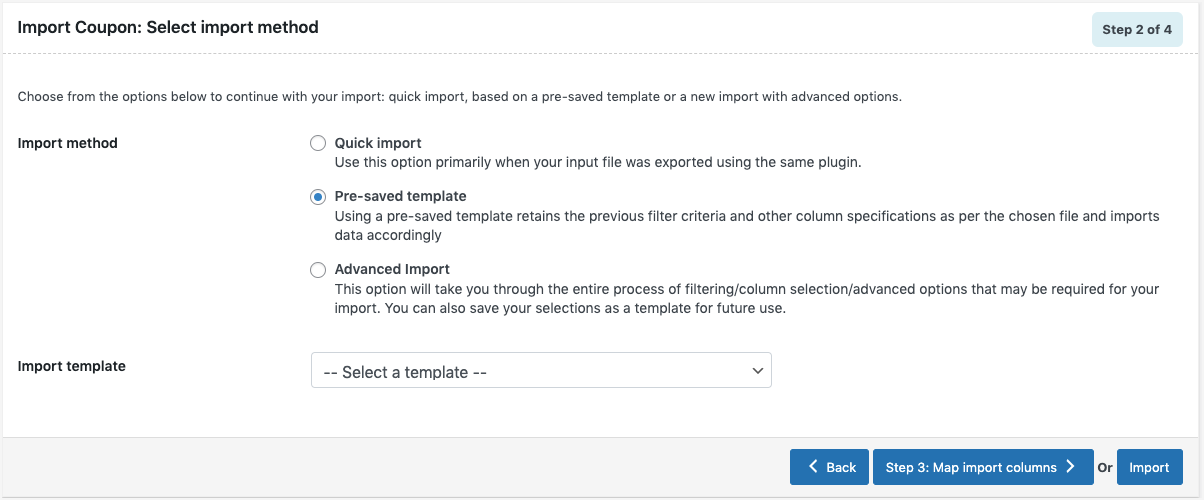
Pre-saved template
- This method retains the previous filter criteria and other column specifications as per the chosen file and imports data accordingly.
- By selecting this option, one can choose a previously saved template from the Import template dropdown.
- Click the Import button to complete the action or proceed to Step3 to map and reorder columns.

- Navigate to Step 3 to know more about mapping and reordering import columns.
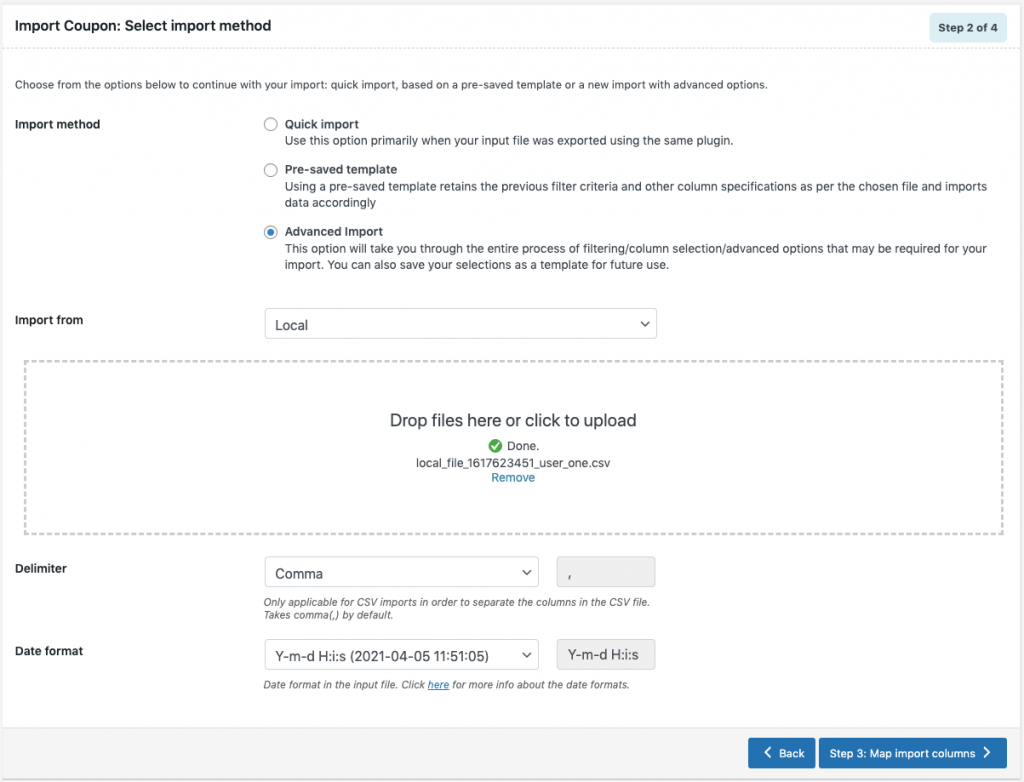
Advanced import
- This option will take you through a detailed process of filtering/column selection/advanced options that may be required for your import.
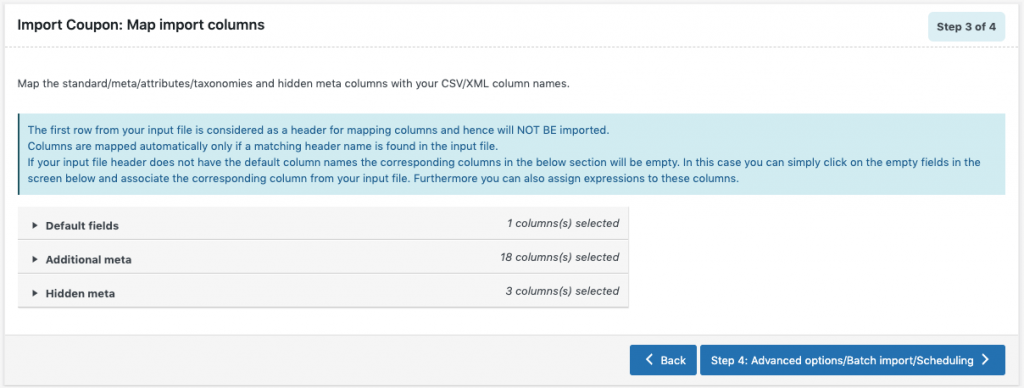
Step 3: Map import columns
Here, one can map the import columns under the following 3 fields:
- Default fields: The column names appearing in this section can be edited if required. The preferred names and choices that were last saved can be viewed on choosing a pre-saved template. One can also move the columns to reorder the arrangement.
- Additional Meta
- Hidden meta
Evaluate field
Evaluate field can be used to append a value/expression to an existing item while importing. It basically selects/maps any column from the input file and compute the values with expressions and creates output.
- Expression: Any of the operators +*/-()&@ or string constants can be used along with the attributes to manipulate the respective value.
- Input: Select the column from the dropdown which has to be modified.
- Output: Sample value will be created based on the first record from input file.
- Click on Step 4 to proceed.
Step 4: Advanced Options/Batch Import/Scheduling
- On reaching Step 4, the following window will appear, from where one can:
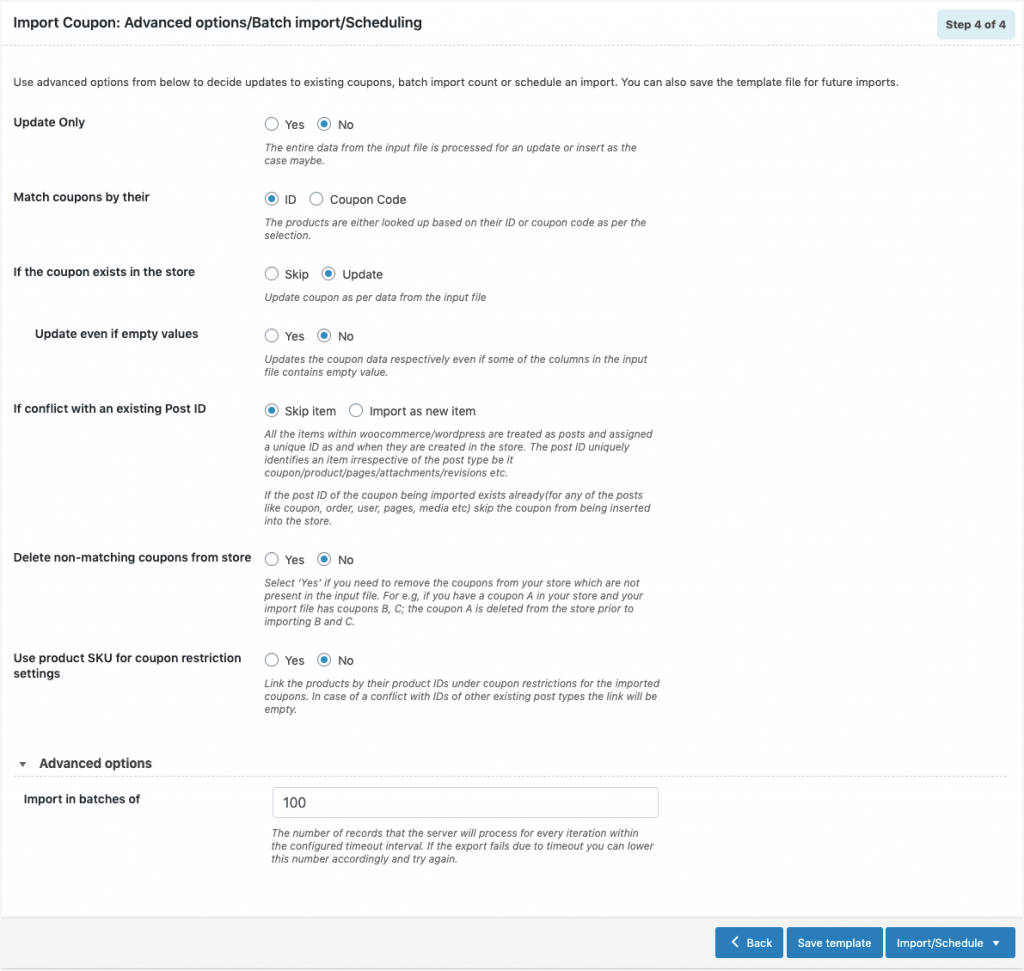
- Update Only: On selecting “Yes”, the store is updated with the data from the input file only for matching/existing records from the file. On selecting “No”, the entire data from the input file is processed for an update or insert as the case maybe.
- Match coupons by their: The coupons are matched either based on their ID or Coupon Code.
- If the coupon exists in the store: One can either Skip or Update the entry.
- Update even if empty values: Updates the coupon data respectively even if some of the columns in the input file contains empty value.
- If conflict with an existing Post ID: One can either skip the item or import it as a new item.
- Delete non-matching coupons from store
- Use product SKU for coupon restriction settings
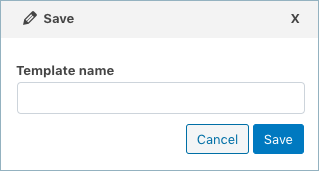
- Save the template file for future (if needed).
- Click on Import/Schedule to finish.
You can either import the coupons directly into your store or schedule the import using FTP.
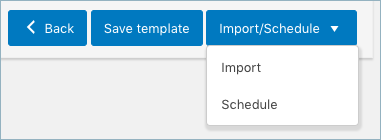
To schedule the import:
- Hit the Schedule option, and you will be taken to the cron schedule window.
The plugin supports two different schedule types:
- WordPress Cron: Upon a visit, WordPress Cron will check to see if the time/date is later than the scheduled event/s, and if it is– it will fire those events.
- schedules your job at the specified time.
- is dependent on your website visitors.
- Server Cron: You may need to trigger the URL every minute depending on the volume of data to be processed.You can use this option :
- to generate a unique URL that can be added to your system in order to trigger the events.
- if you have a separate system to trigger the scheduled events.
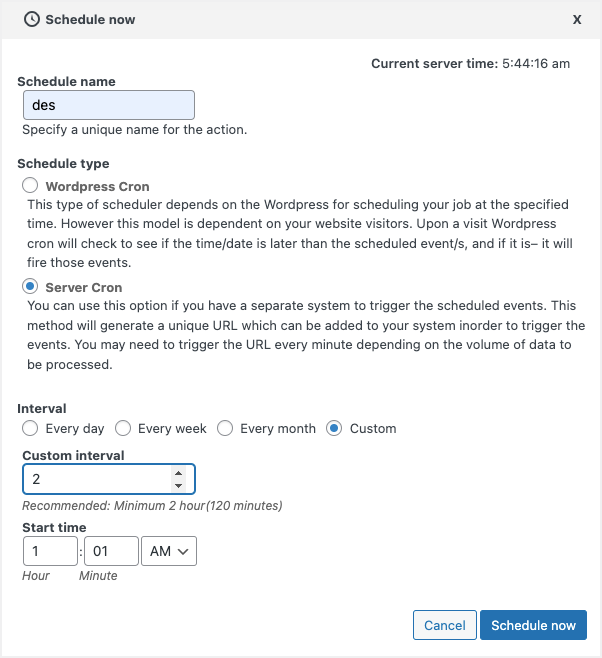
Also, the import/export can be scheduled on a daily, weekly, monthly, or custom basis. The time at which the import has to be scheduled can also be configured.
To directly import:
- Hit on the Import option
Once the import is completed, a pop-up will be displayed showing import status which contains the number of successful imports and failed imports (if any).