In the ever-evolving landscape of digital marketing, the integration of social media platforms has become paramount for businesses seeking to expand their online presence. Among the various tools available, Facebook and Instagram stand out as dynamic platforms with a combined user base exceeding billions.
To harness the full potential of these platforms, businesses are increasingly turning to catalog sync configuration—a powerful feature that enables seamless product integration across both Facebook and Instagram. In this article, let us explore how to configure the Facebook/Instagram Catalog sync using the WooCommerce Product Feed plugin.
Pre-requisites
Create the necessary business accounts with popular sales channels.
Facebook/Instagram catalog sync is an alternate method to sync the WooCommerce products directly (not using a product feed) with Facebook and Instagram catalogs to take part in programs like Dynamic ads, Facebook shops, Instagram shops, etc.
With this method you don’t have to copy and paste the feed URL. This method works by allowing you to perform on demand sync using which you can sync products whenever any update is made or products are added to your store.
Syncing WooCommerce products with Facebook/Instagram
To sync WooCommerce products with Facebook/Instagram:
- Once the plugin is installed and activated, navigate to WebToffee Product Feed > Facebook/ Instagram Catalog Sync > Manage Connection.
- Click the Connect Facebook button and allow permission for WebToffee product feed & Sync manager plugin.
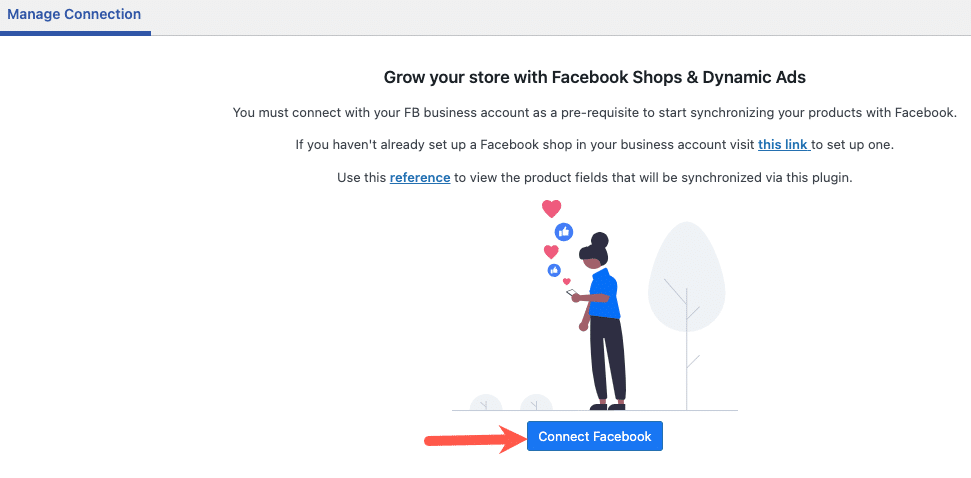
- Login to your Facebook account in which you have set up your Business account.
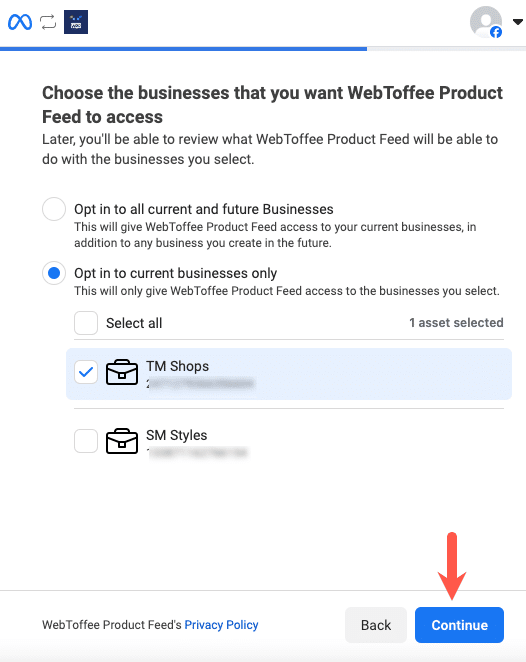
- Choose the business account. If you have multiple business accounts, it is necessary to choose the account you wish to sync products.
- Click on Continue.
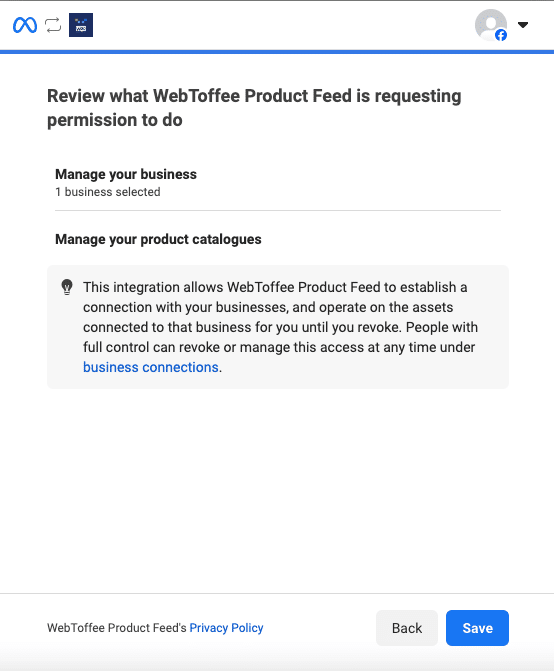
- Review the changes and click on Save.
- Click on Got it to reach the Manage Connection tab and proceed with the product sync. To manage the connection in the business account, go to Business integrations.
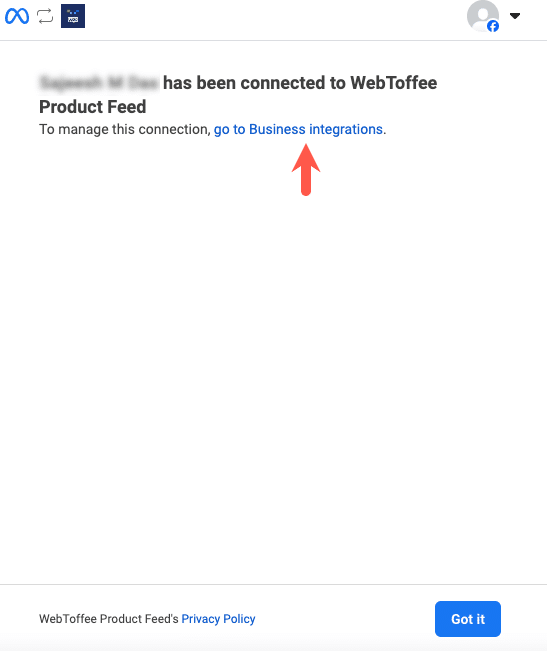
- Now you have established connection with your business account. You can get started with syncing products with Facebook catalog.

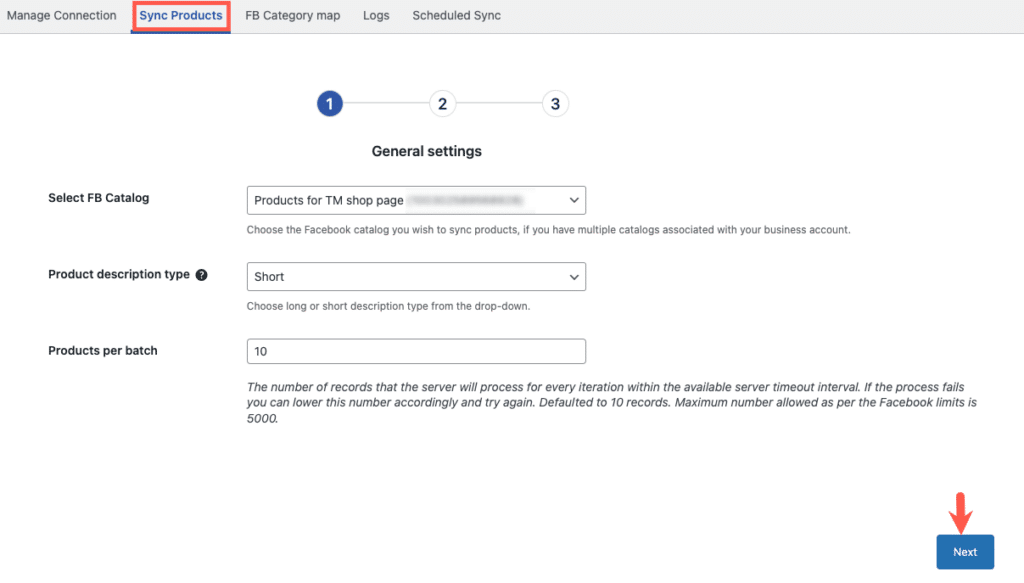
- Navigate to the Sync Products tab. First, select a FB catalog(if you have multiple catalogs associated with your business account).
- Provide the Product description type between long and short.
- Specify the Products per batch. It is the number of products that will be processed in a single iteration. Increase or decrease the value based on your server performance. If you are not sure about it, leave it to the default.
- Click on Next.
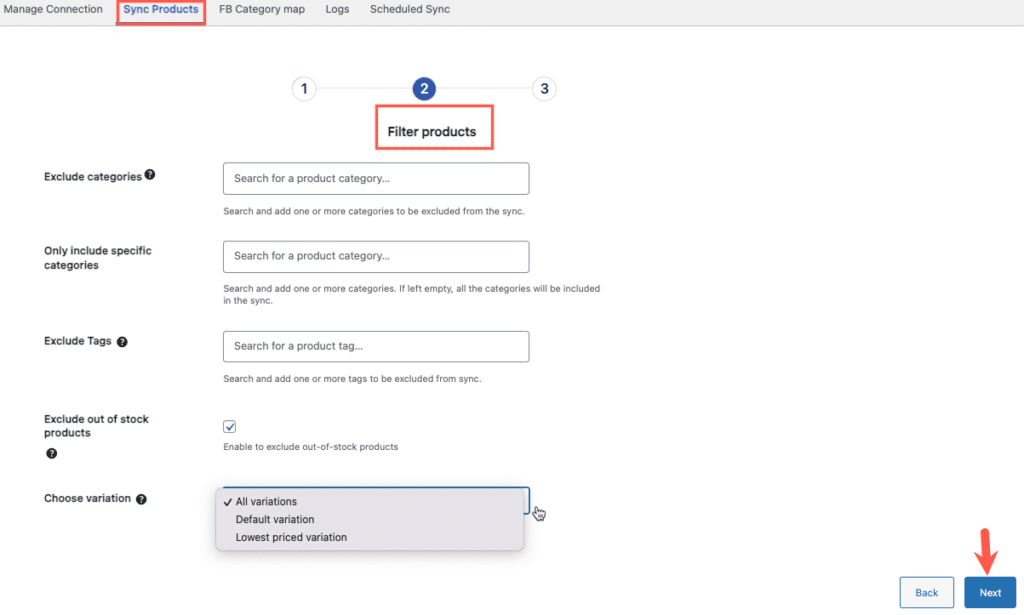
- In the next step, filter products you wish to sync with Facebook catalog using different criteria which include:
- Exclude categories – Excludes specific WooCommerce categories from syncing with Facebook catalog.
- Only include specific categories – Includes specific categories in the sync.
- Exclude tags – Exclude products associated with selected tags.
- Exclude out of stock products – Enable the option to exclude out of stock products.
- Choose variation – Choose among All variations, Default variation and Lowest priced variation.
- Click on Next to proceed.
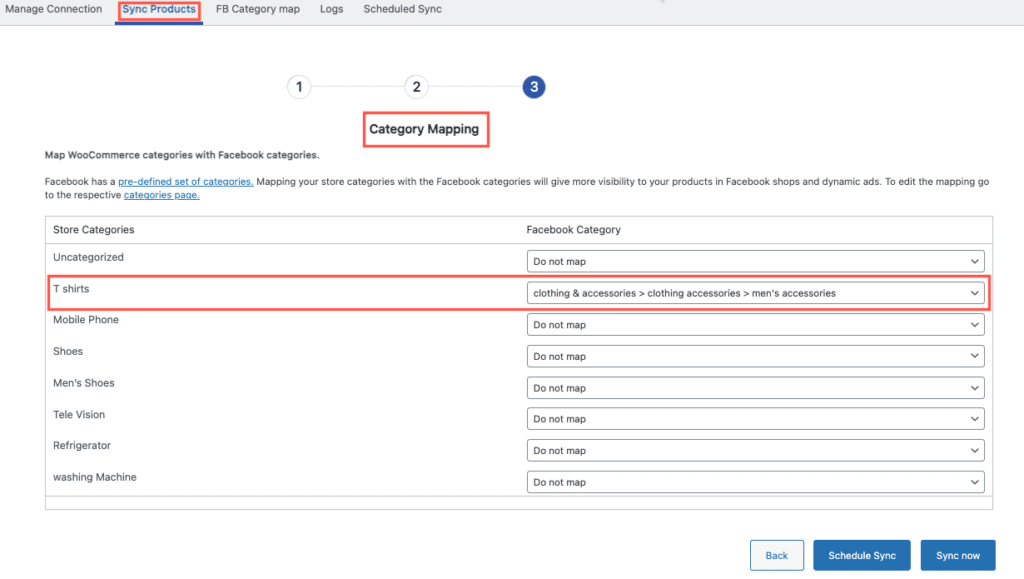
- In the next step, map the store categories to that of Facebook categories. Furthermore, you can edit the already mapped categories for Facebook by going to the category edit page. Product level category mapping is also possible with the plugin.
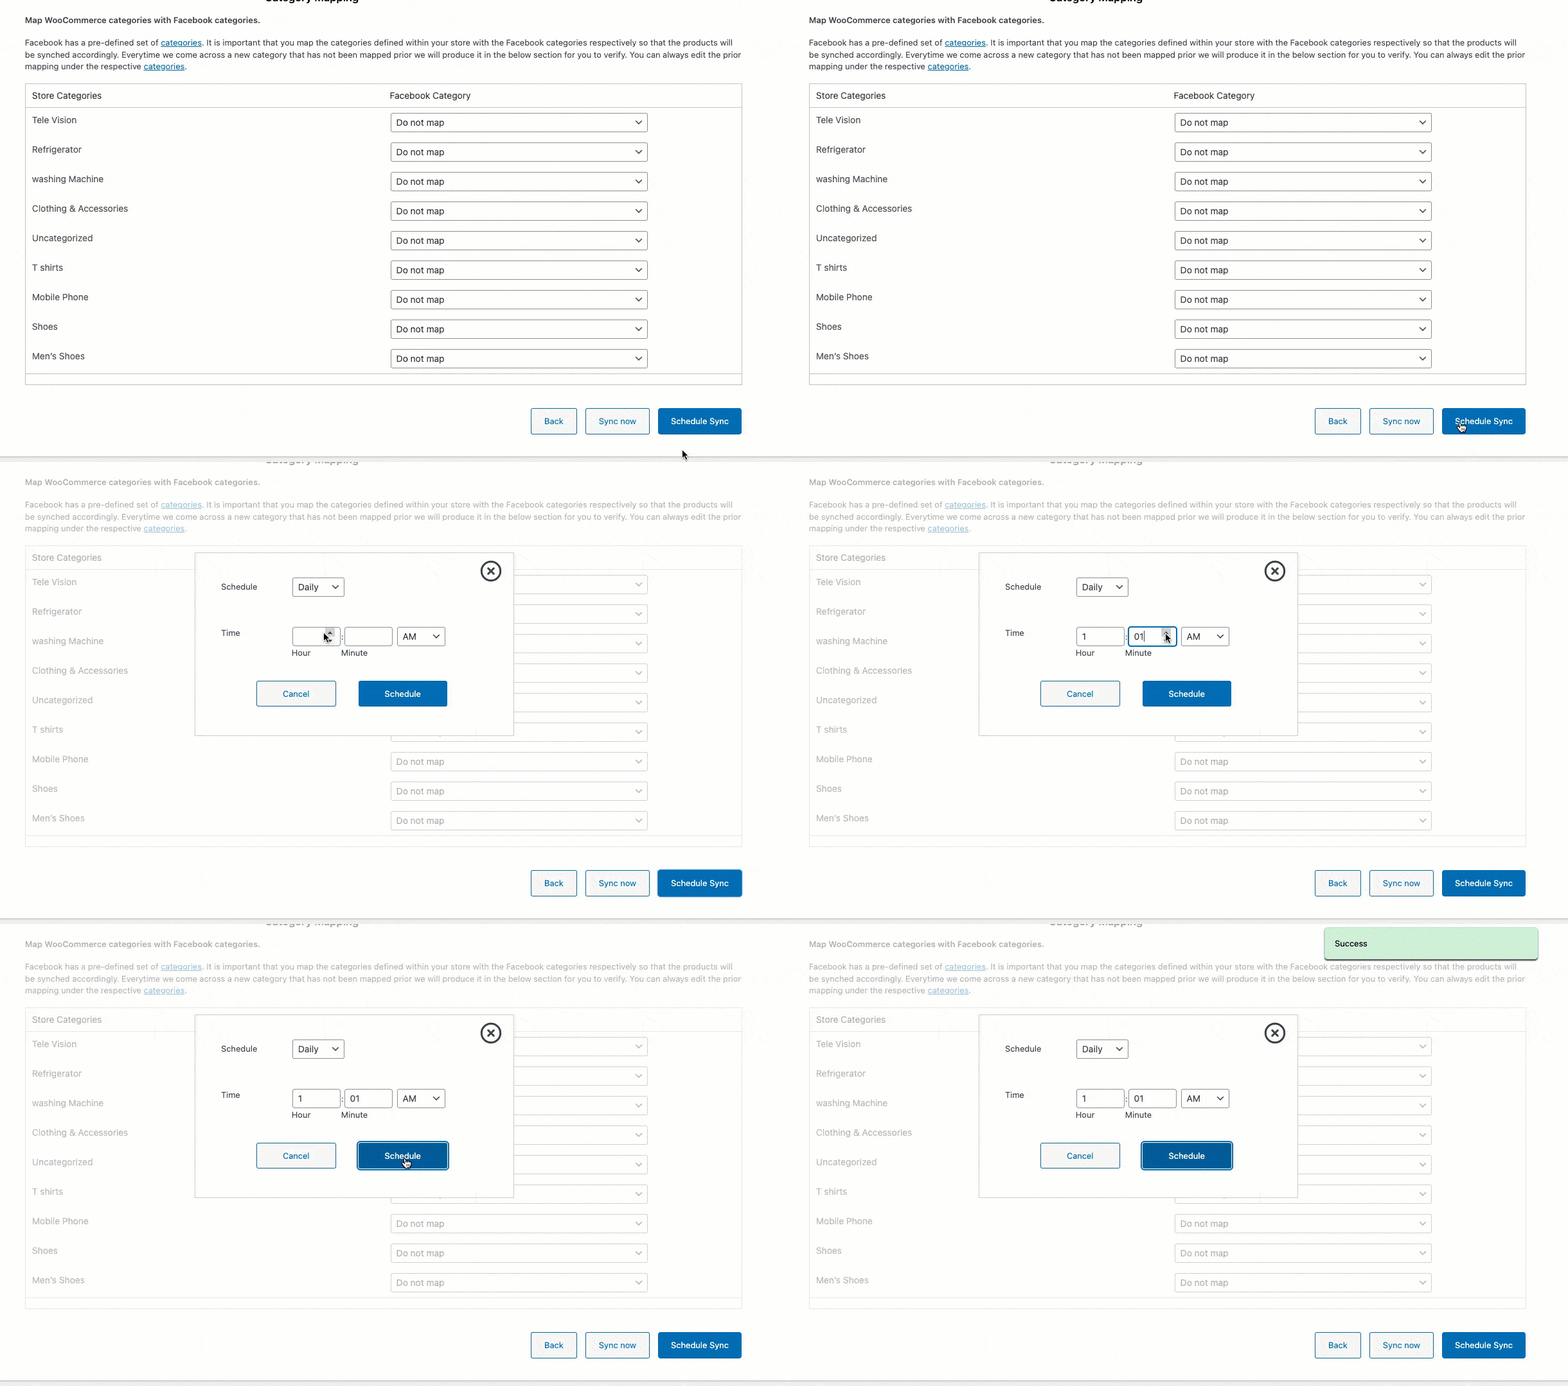
- Click on Schedule Sync to schedule the process. Alternatively, to sync immediately, click on Sync now.
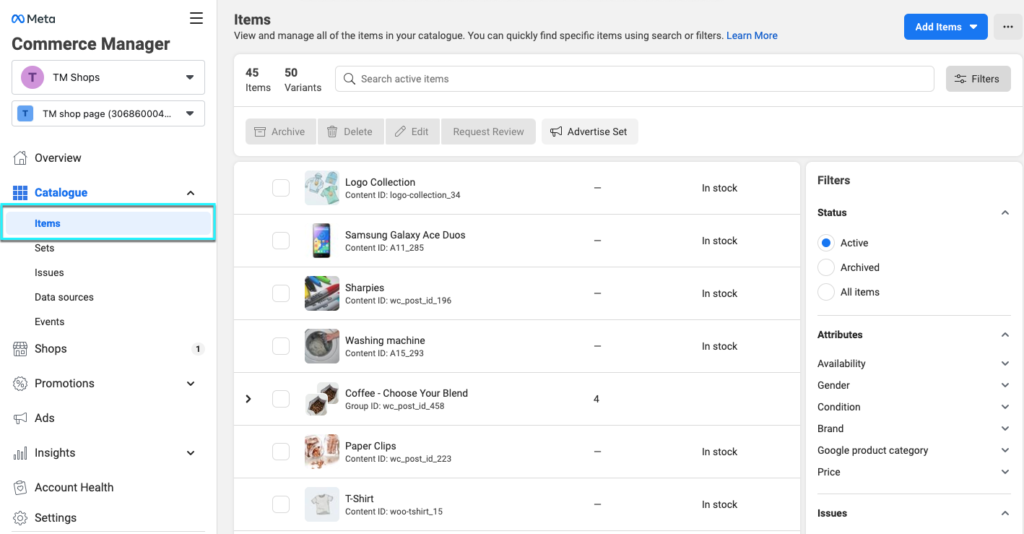
- Once the sync is completed, click the Check FB Catalog button. This will redirect you to the catalog.

- There you can view the synced items in your catalog.
Logs
Logs section records the product sync status. It provides reasons for failure to sync if any, besides each record.

Log records are used for debugging purposes. In case of any product sync failure, you can refer to the log file by clicking on View Status.

Scheduled Sync
This section lists all the scheduled processes and their statuses.
