TikTok is a platform for short-form mobile videos. TikTok Shop is a shopping service that allows merchants, brands, and creators to promote and sell their products directly on TikTok via in-feed videos, LIVEs, and the product showcase tab. Using the WebToffee WooCommerce product feed and sync manager plugin, generating a TikTok feed can be effortlessly achieved with the following steps.
- Create a new feed with Tiktok Shop as the channel.
- Map the attributes and categories.
- Generate the feed.
- Login to TikTok Business Center.
- Add catalog and products.
- Select an Update method and Import.
Generate a TikTok feed
From the WordPress admin dashboard, navigate to WebToffee Product Feed > Create new feed.
- Under Configuration, choose a Country, select the Channel as TikTok Shop, and key in a unique File name. Move to the second step.
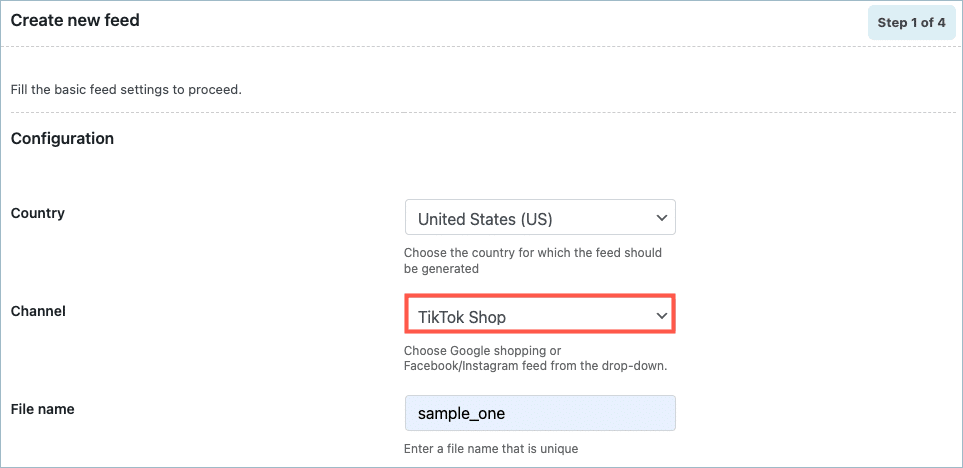
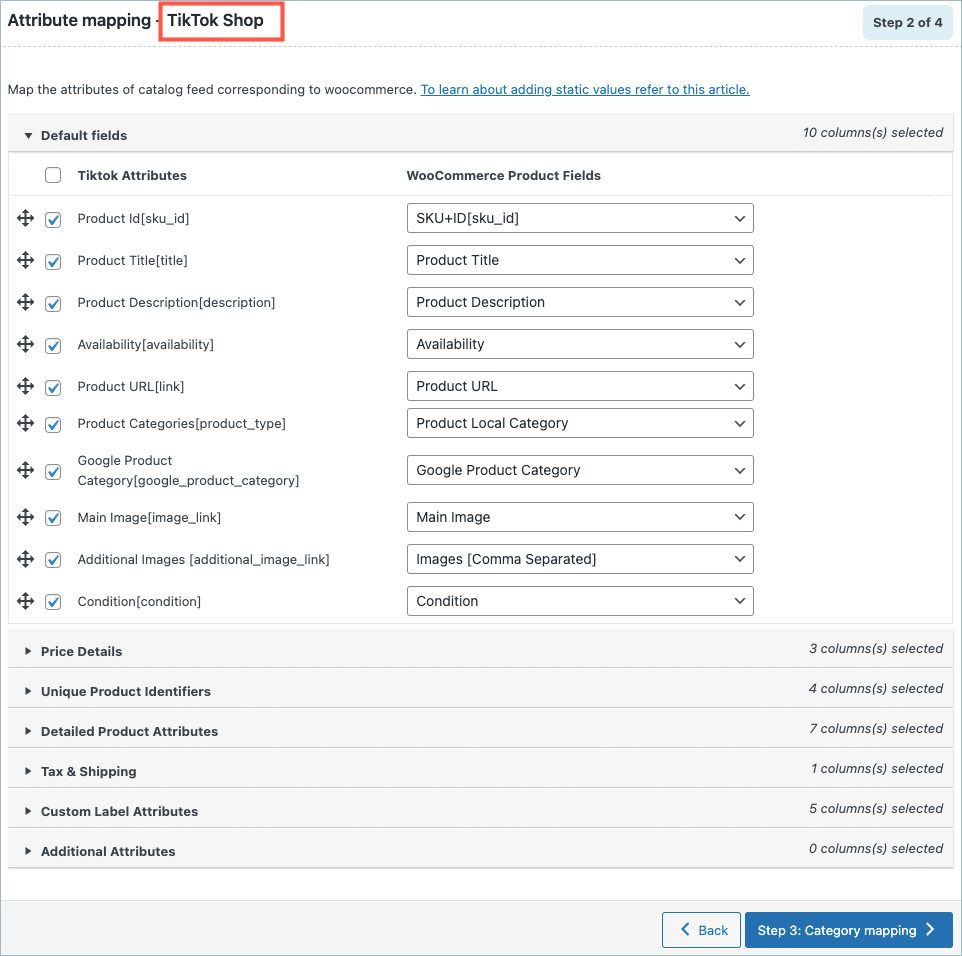
- In step 2, all the required attributes will be mapped by default. Map the additional fields if required.
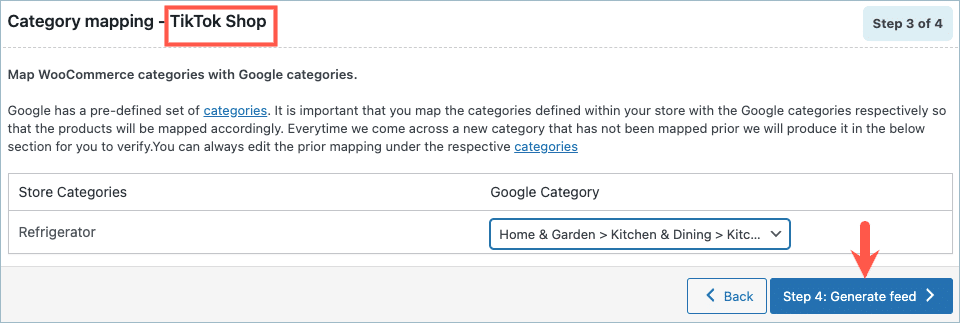
- In step 3, map the store categories with TikTok categories for TikTok Shop.
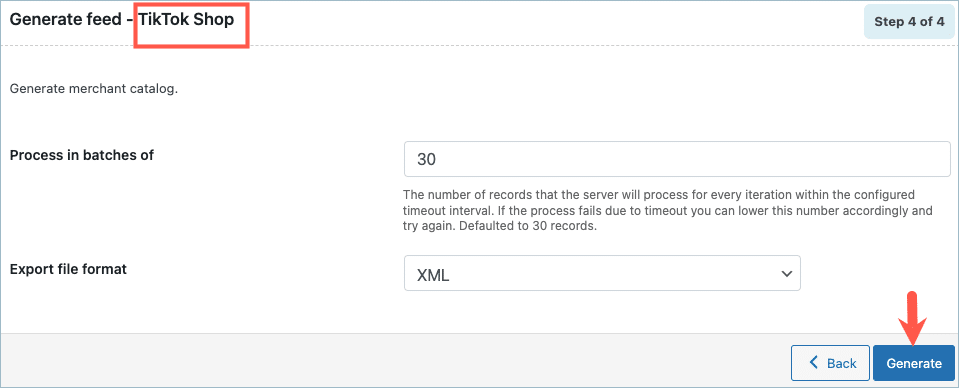
- On reaching step 4, the Generate feed page, click on Generate.
- On successful feed generation, a pop-up will appear from where you can download/copy the generated feed.

- Click on Copy URL to collect the file URL.
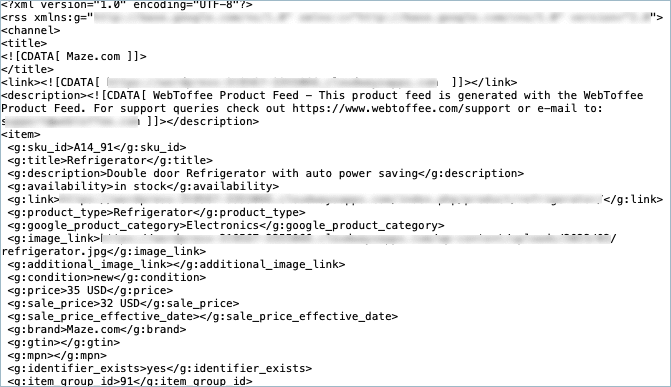
This URL can be later used to set up the feed in the TikTok account.
Set up TikTok feed in TikTok Business Center
To setup TikTok feed:
- Log into your TikTok Business Center account.
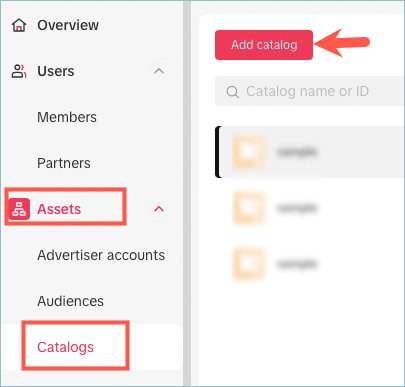
- From the dashboard, navigate to Assets > Catalogs.
- Click on Add catalog.
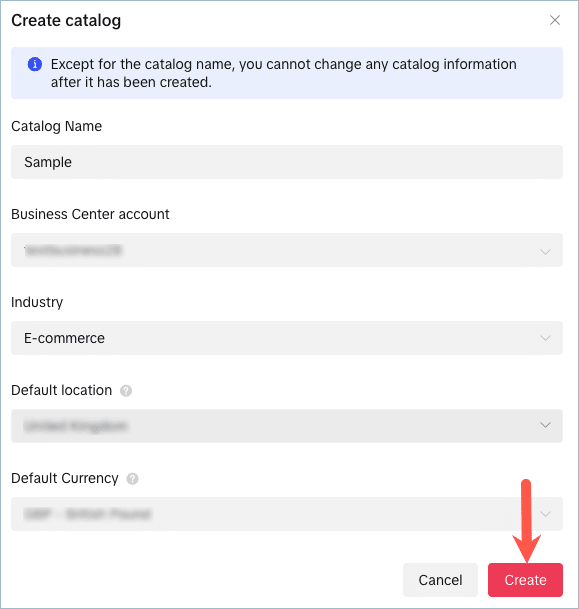
- A pop-up will appear as shown below. Fill in the details and click on Create.
- On the Catalog list page, click on Add products.

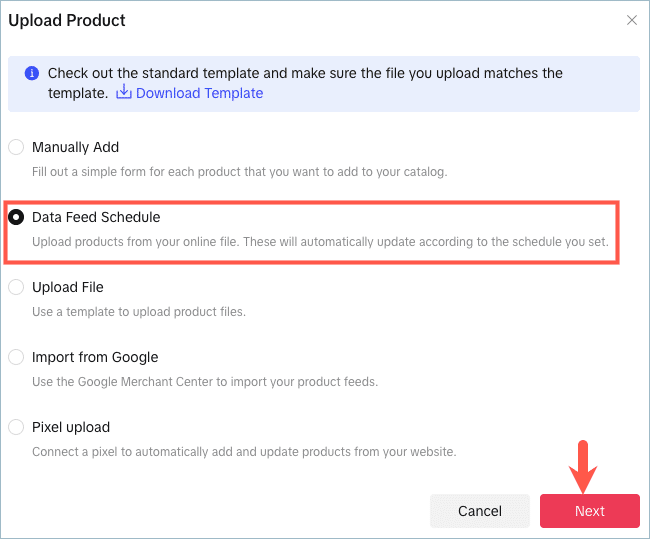
- Select the required upload product method. Here, as we have copied the feed URL, thus choose Data Feed Schedule.
- Click on Next to continue.
- In the Feed Schedule page, input the Data Feed Name and paste the generated Data Feed URL.
- Under Automatic Upload, choose the time interval based on which you want to schedule the import.
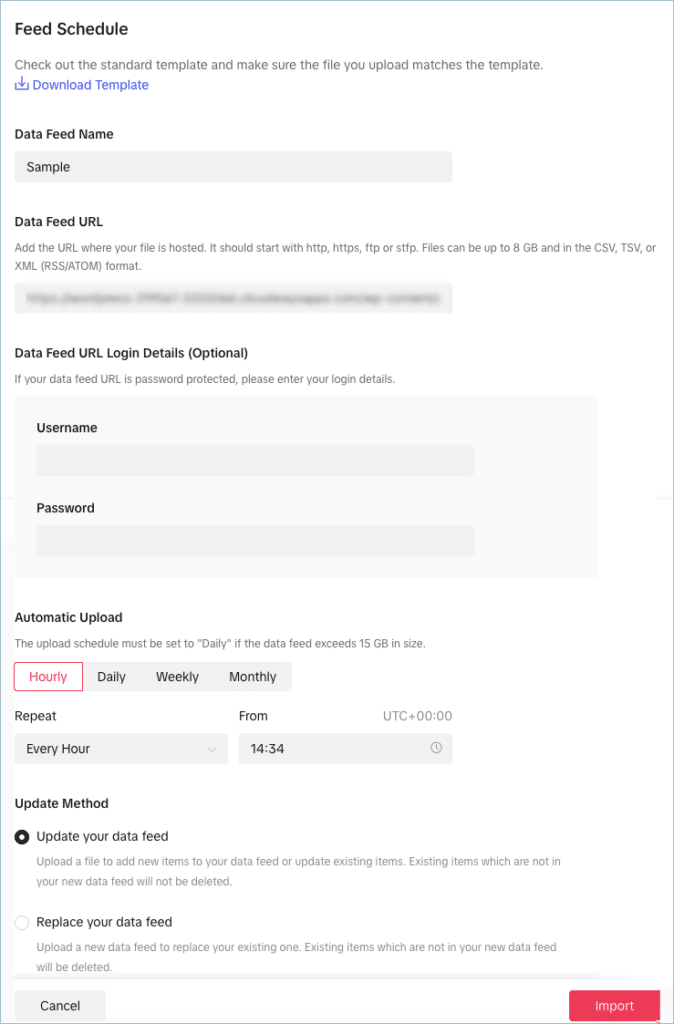
- Select an Update Method and click on Import to finish. Once the import is completed, the below-shown screen will appear with the status of the imported file.
