The right to opt out in the California Consumer Privacy Act-CCPA gives consumers the ability to direct a business not to sell their personal information to a third party. GDPR cookie consent plugin allows you to successfully comply with the CCPA law. If the user considers to not sell their personal information, all the scripts related to the categories which are configured to sell personal information will be blocked.
Provisions are given to either collect a prior consent or even an implicit consent from the visitors. Prior consent will be collected by explicitly displaying the CCPA notice at the front end of the site. You will get different customisation options to define the CCPA banner text, colour and style etc. Alternatively, implicit consent are facilitated by the help of shortcode. You can place the shortcode in whichever page of your site and just inform the the user about the information being collected.
Another peculiarity is that when a cookie category is associated with CCPA , the scripts under each category will be considered as personal data collecting scripts and will be blocked if opted out from CCPA.
Using the plugin you can also restrict to show the notice for visitors from California only.
Lets us go through the steps on how we can achieve CCPA compliance for your website.
Step 1: Install and activate the plugin
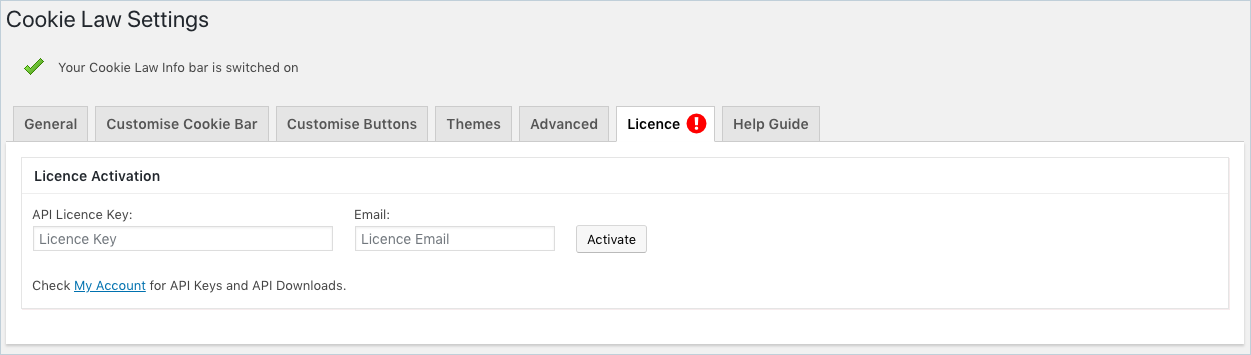
After you have installed and activated the GDPR & CCPA Cookie Consent plugin on your website, you need to activate the license of the plugin so that you will be notified of the plugin updates. To do so, from the WordPress admin dashboard, go to GDPR Cookie Consent > Cookie Law Settings > License.
The page looks as in the screenshot below:
Cookie-Law-Settings-License
Enter the license key and the license email that you will get from the My Account page in WebToffee and click activate.
Once the license has been activated, you can begin setting up the plugin.
Step 2: Getting Started
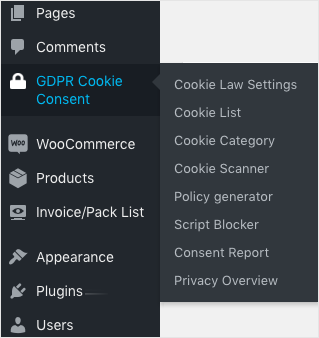
After you have activated and installed the GDPR & CCPA Cookie Consent plugin on your WordPress website, on your dashboard, you will see a menu for the GDPR Cookie Consent plugin.
GDPR Cookie Consent-Modules
To achieve CCPA compliance for your website, navigate to GDPR Cookie Consent > Cookie Law Settings. You can explicitly enable the required law and customise the appearance of the cookie notice bar to match with the theme of your website from the Cookie Law Settings page as shown below.
Step 3: Configure CCPA
Enable CCPA
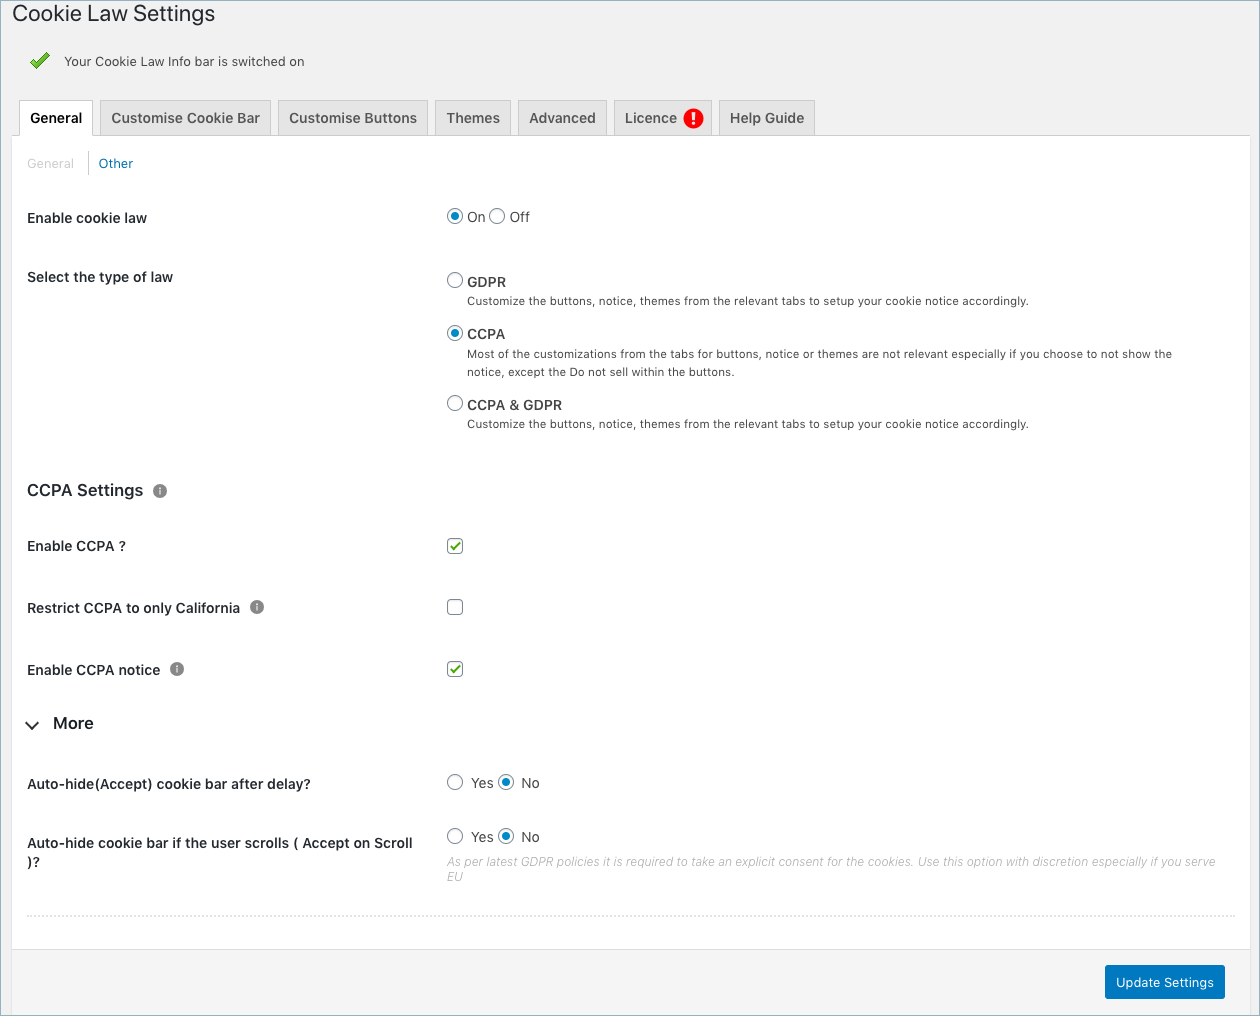
It is in the cookie law settings page where you get options to enable the required consent law as shown below:
Cookie law settings- CCPA settings
The general settings consists of the following options:
- Enable Cookie law: You can enable or disable the cookie law on your website. The cookie notice bar will not be shown on the front-end of the website. If this option is turned off, and the cookies will be installed without any consent from the user.
- Select the type of law: You can either choose GDPR, CCPA or both based on your site requirement. To comply to CCPA alone, enable CCPA.
- CCPA Settings: The right to opt out in the California Consumer Privacy Act gives consumers the ability to direct a business not to sell their personal information to a third party. If the user considers to not sell their personal information, all the scripts related to the categories which are configured to sell personal information will be blocked. The DO NOT SELL option is facilitated via a shortcode [wt_cl i_cc pa.optout]
- Enable CCPA: Check the option to enable CCPA for your site. On enabling, you can place the shortcode for the CCPA anywhere in your site to obtain the cookie notice in that concerned page.
- Restrict CCPA only to California: When enabled this regulation will be applicable only to visits from California; applicable to all visitors when disabled.
- Enable CCPA notice: Enabling the notice will display the banner with the relevant text as per your configuration at the front end. Use this option particularly to record prior consent from the website visitors. Most of the customizations from the tabs for buttons, notice or themes are not relevant especially if you choose to not show the notice, except the Do not sell within the buttons.
- More options
- Enable the Auto-hide cookie bar after delay option and configure time if you want to assume the user acceptance if he/she lingers in the web page for the specified amount of time.
- Enable the Auto-hide cookie bar (Accept on scroll) option if you want to assume the user acceptance if he/she scrolls the web page.
Customize Cookie bar
Navigate to the Customize Cookie Bar tab to further modify the default look and feel of the notice. However, the notice will be made visible at the front end of the website only if the the Enable CCPA notice is checked from the cookie law settings.
Now that, the CCPA notice is enabled, let’s see how we can customize to suit the theme of your site.
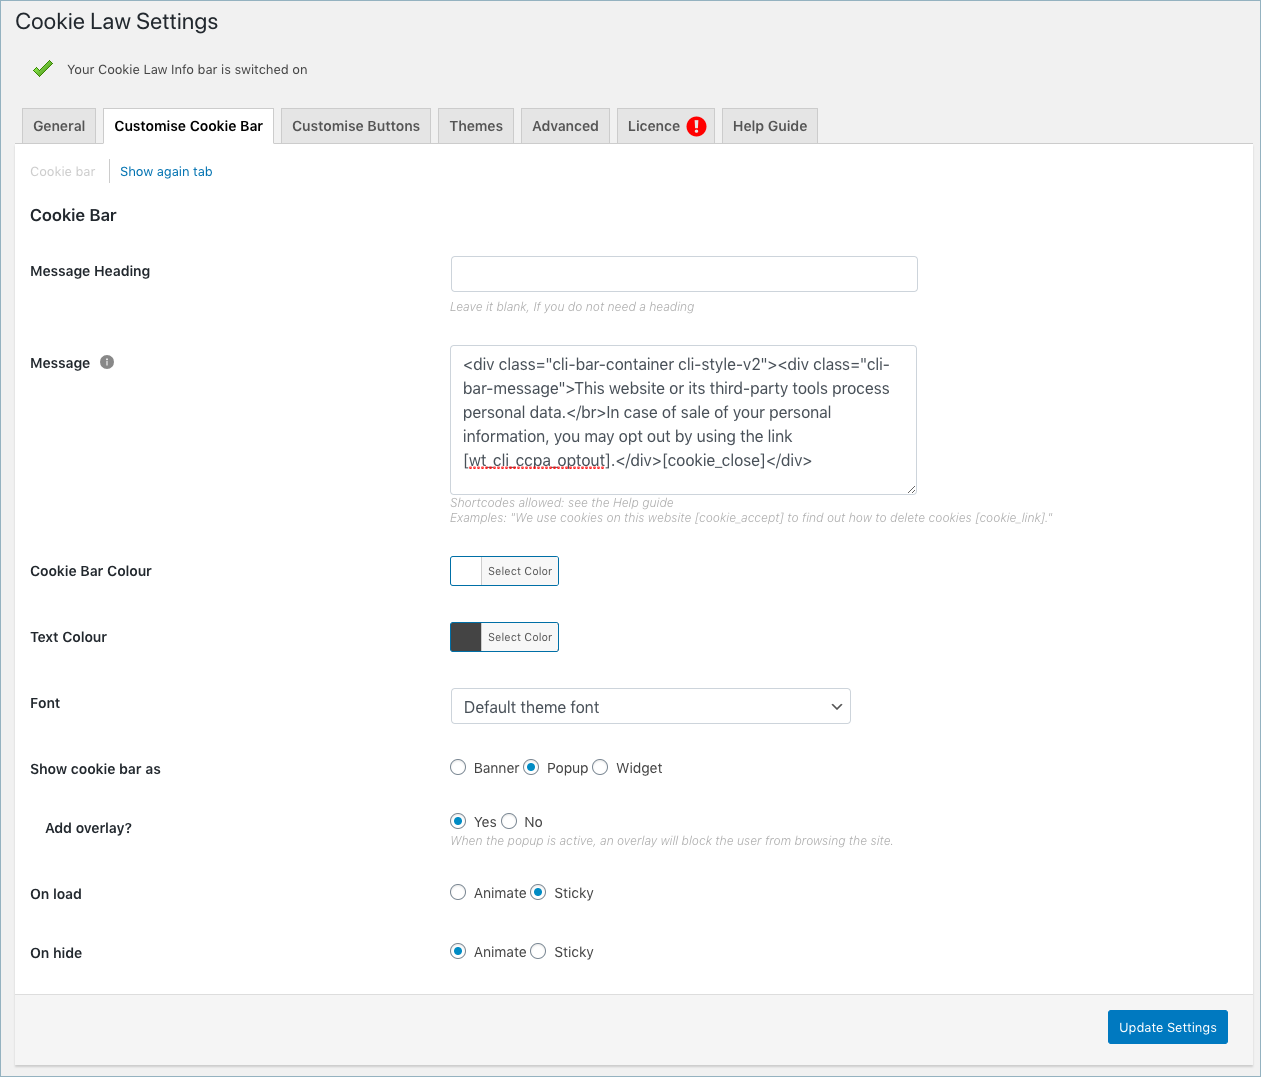
The Customize Cookie Bar tab is as shown below:
Customize Cookie Bar-CCPA
Following are the fields in this tab:
- Enter an appropriate message title for the cookie bar in the field provided.
- Content for the cookie bar can be entered in the Message text area. It supports basic HTML tags and other shortcodes.
- You also have a provision to control the colour of the Cookie Bar and/or the message font. By default, the plugin will take the active theme font.
- Cookie Bar can be set as a Banner, Pop up or as a widget.
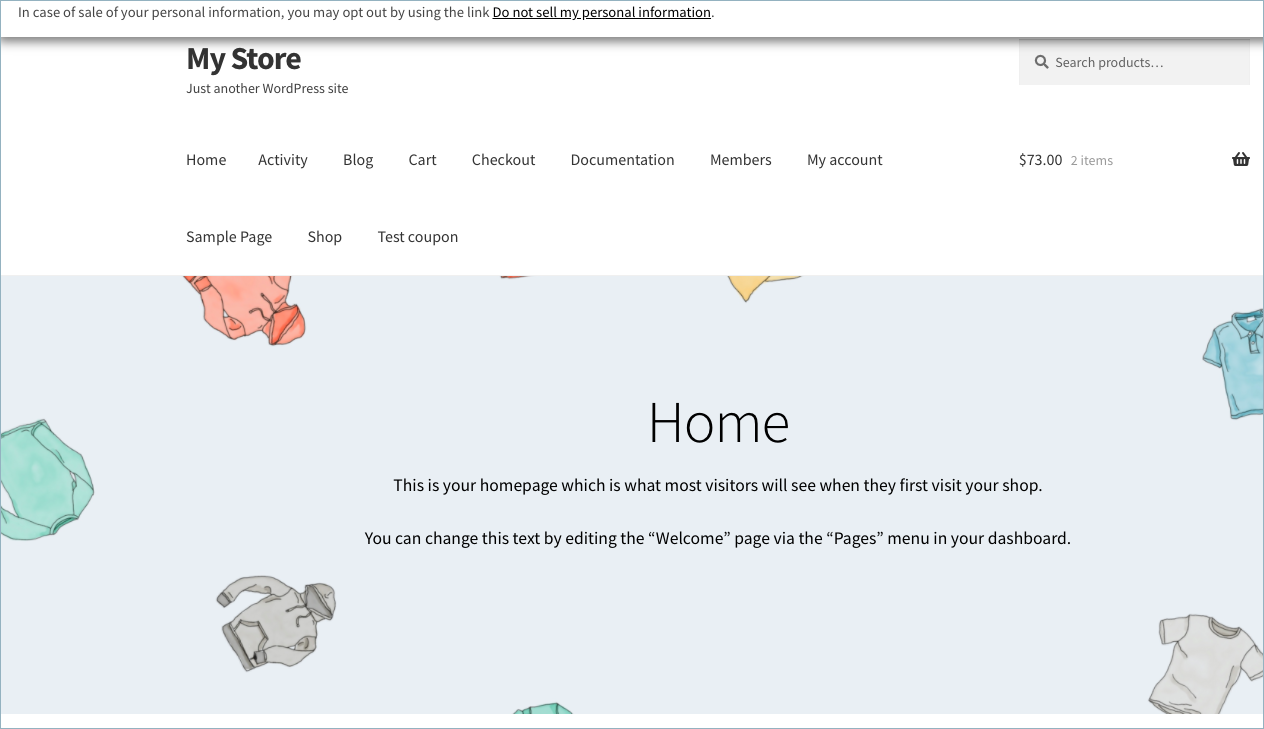
- With the banner option, you get to choose if you want to place the banner in the header or footer. Here, I have placed the banner in the footer.

CCPA notice as header
On setting the notice as header, the notice will appear in front end as shown below:

CCPA notice as header
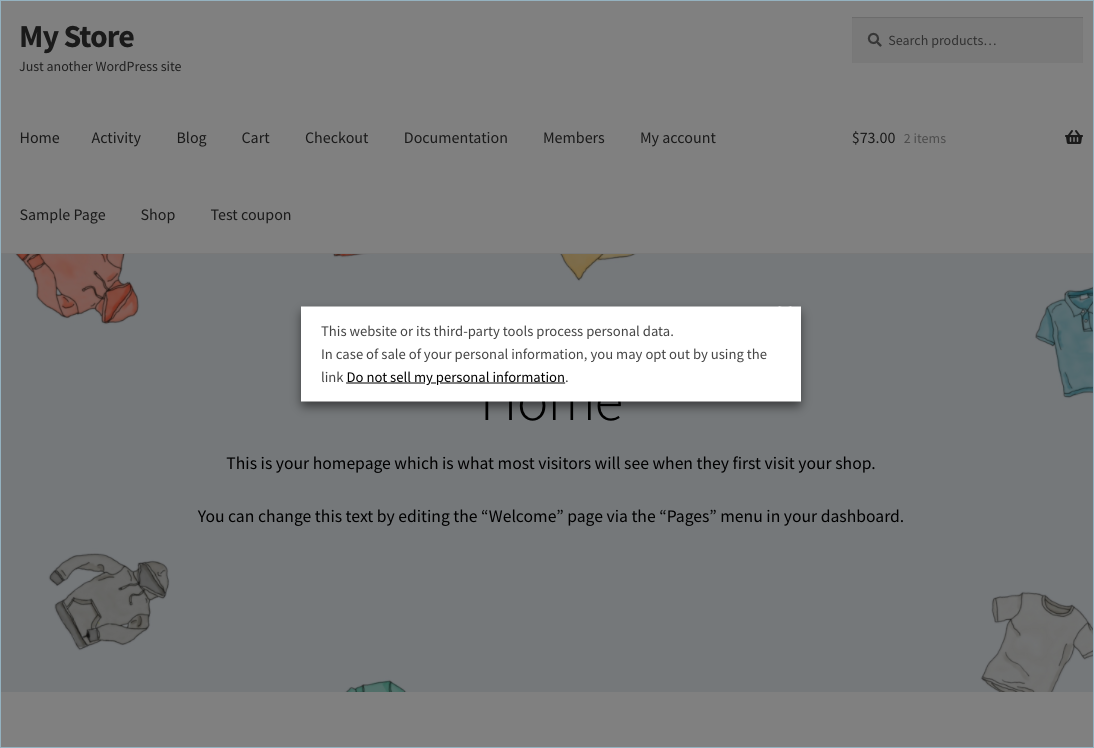
- If the popup is chosen, then the cookie notification will be shown as a popup instead of a notification bar. You can set an overlay along with the popup, which will block the user from browsing the website unless consent is obtained.

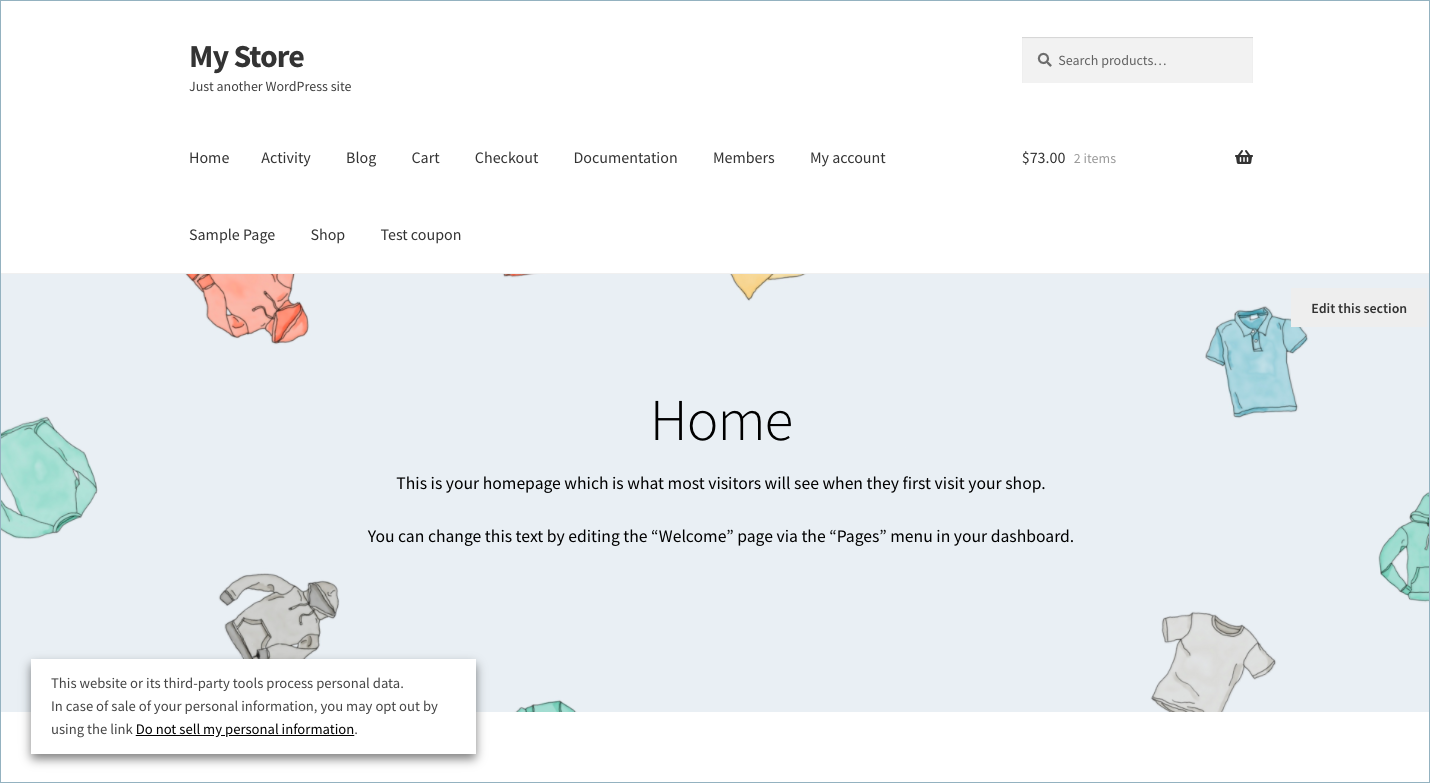
- As for the widget, you can position it to the left or right of the website.

CCPA notice as widget
The notice will appear as shown below:

CCPA notice as widget-left aligned
- With the banner option, you get to choose if you want to place the banner in the header or footer. Here, I have placed the banner in the footer.
- On load option allows you to either animate the notification or make it sticky while loading the website.
- On hide option allows you to either animate the way the notification disappears or to disappear without any visual effect.


CCPA notice as link or checkbox
To set the type of notice required for your site, navigate to the Customise Button tab. You can choose to have the notice as link or checkbox by choosing appropriate option from this tab.
CCPA notice as link
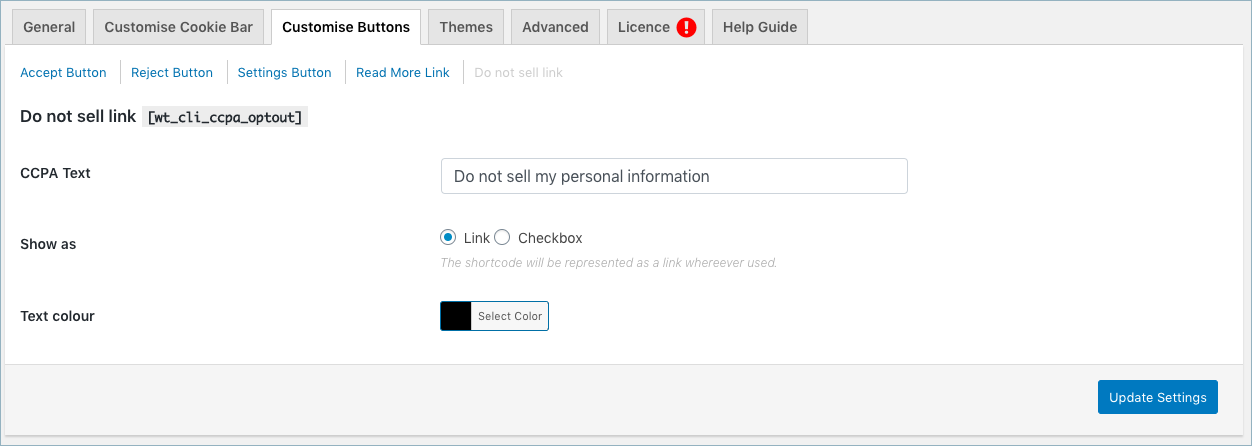
CCPA notice as link or checkbox
On enabling CCPA notice as link, the cookie notice will be as shown below:
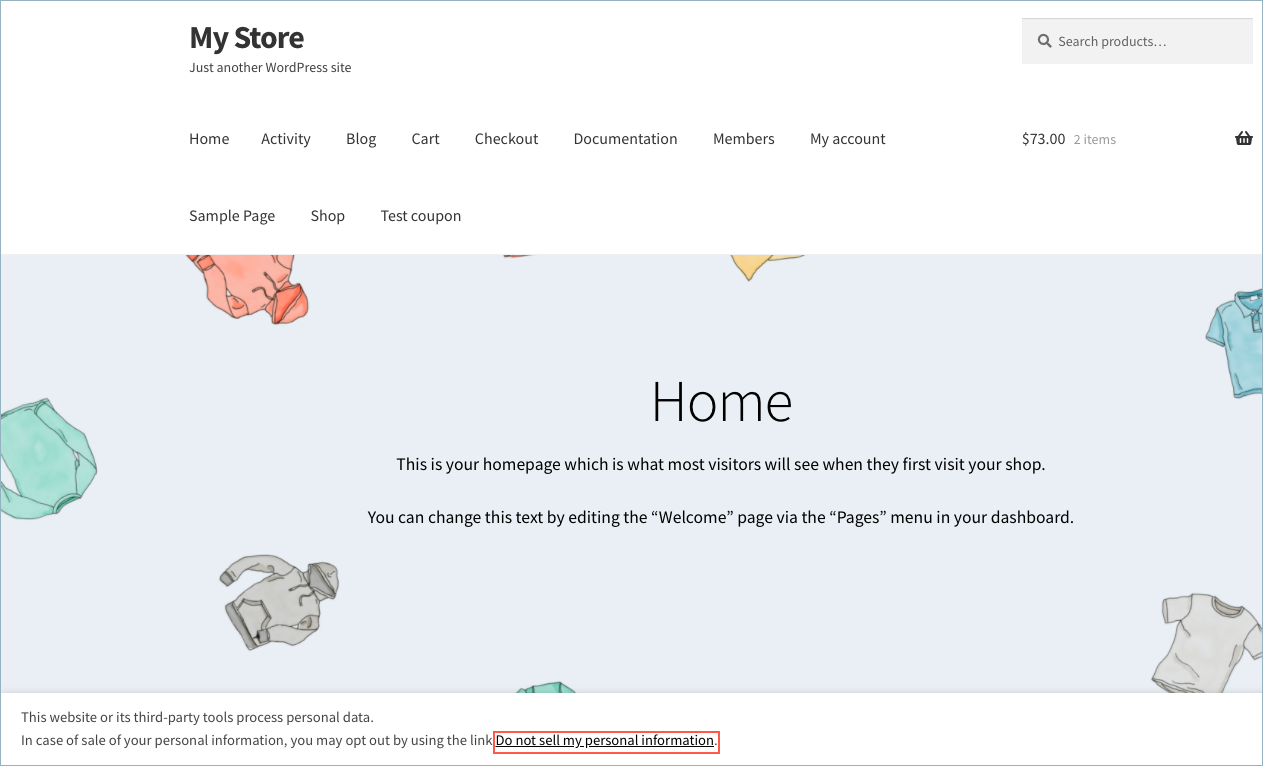
CCPA notice bar on site
On clicking Do not sell my personal information link, you can either cancel or opt out as shown below:
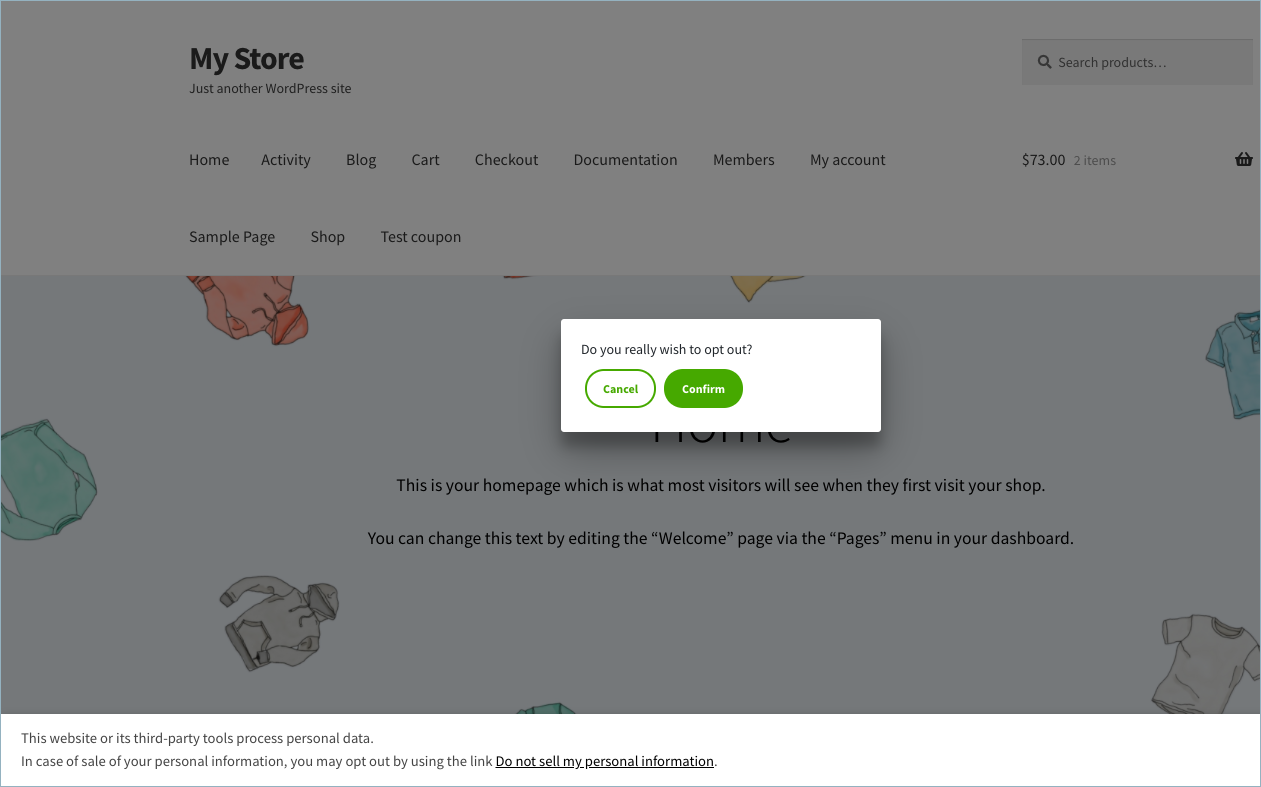
CCPA notice bar on site-Opt out option
On confirming, all the scripts related to the categories which are configured to sell personal information will be blocked, thus complying with CCPA.
CCPA notice as checkbox
On enabling CCPA notice as checkbox, the cookie notice will be as shown below:
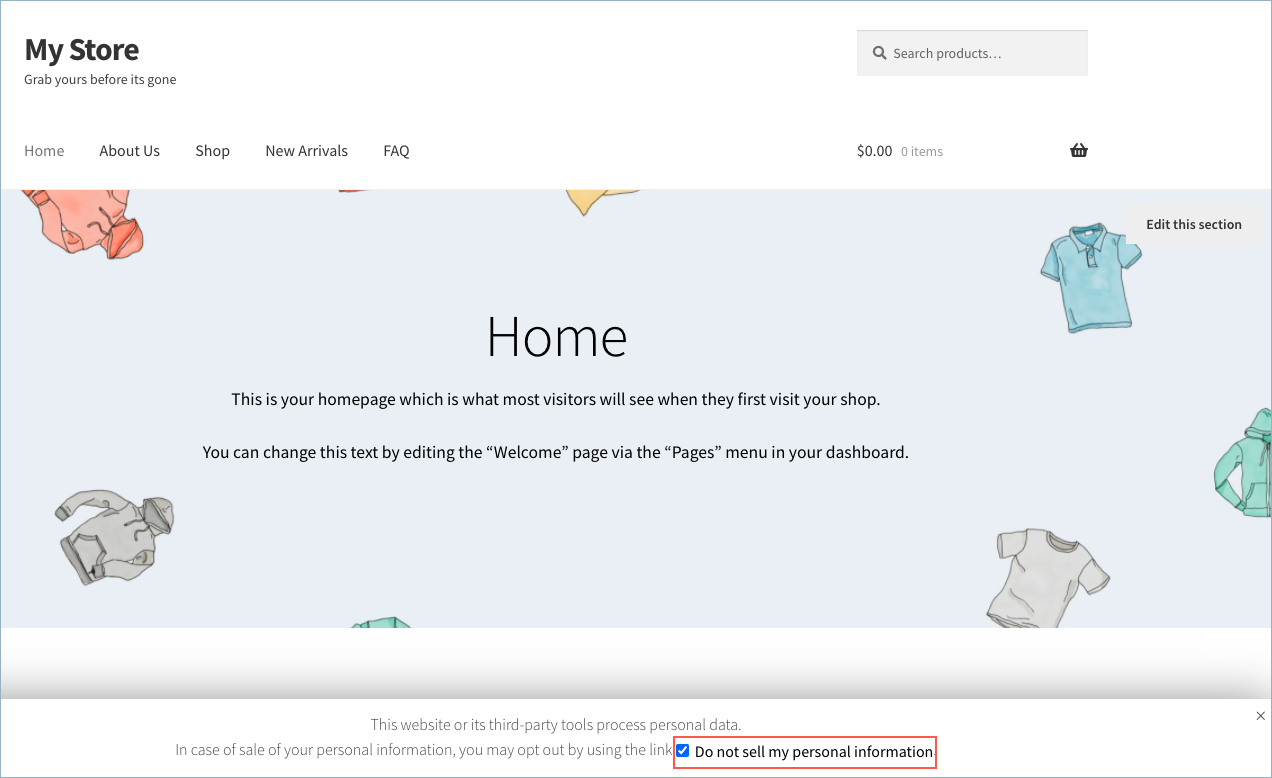
CCPA-as-checkbox
You can select the checkbox and close the cookie notice bar to mark the consent.
To know more about the plugin, refer here.
Comments (2)
Mike
October 3, 2021
Hi,
How can I do this insert CCPA shortcode [wt_cli_ccpa_optout] to render CCPA notice in a specific page of your site, preferably, cookie policy page? which code should I use to direct to my page? thanks
Mark
October 5, 2021
Hi Mike,
You can directly add the shortcode [wt_cli_ccpa_optout] anywhere in the page to add the “Do not sell” link which when clicked will open up the popup to confirm.