Let us see how we can achieve GDPR Compliance with the WordPress GDPR Cookie Consent plugin.
Firstly, install and activate the plugin. Soon after, you can see a cookie consent banner on the bottom of the screen in its default style. This can be customized further to achieve the look and feel you desire.
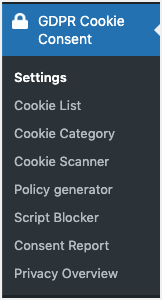
Now, from your WordPress dashboard, go to the GDPR Cookie Consent menu.
We will now take you through the steps within the plugin that will make you GDPR compliant.
Step 1: Identify and record your website cookies
To make your website compliant with the cookie law, you would want to know what are cookies that your website may actually be using. Ideally, the developer should be aware of what services are being enabled in the website and what user information is being extracted on account of the same.
However, the following sections of the plugin will assist you with identifying and recording the cookies to the best extent possible.
- Cookie Scanner
- Cookie Category
- Cookie-List
Cookie Scanner
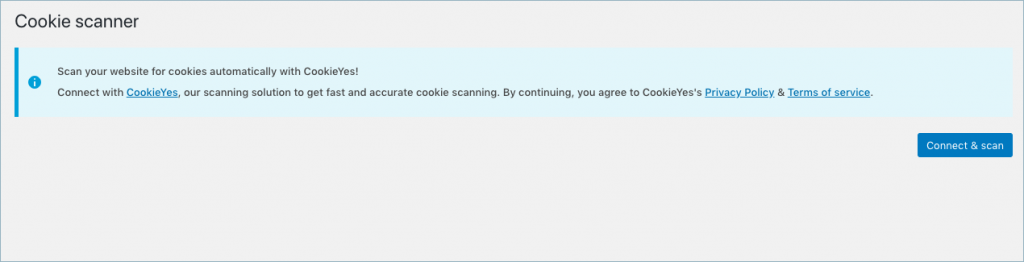
So, let’s head to the Cookie Scanner. The plugin lets you automatically scan the cookies and add them to the plugin. From GDPR Cookie Consent > Cookie scanner, click on the Connect and scan button to connect with the CookieYes.
Existing users of CookieYes can enter the username and password.
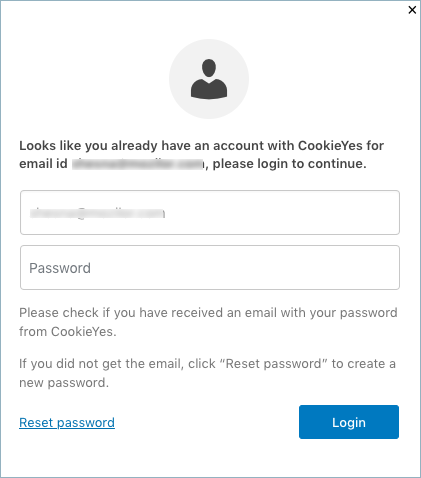
However, new users will get connected automatically with CookieYes. Upon successfully connecting with the CookieYes, you can start the scanning process.
Scan website for cookies
Click on the Scan website for cookies to begin the scanning.

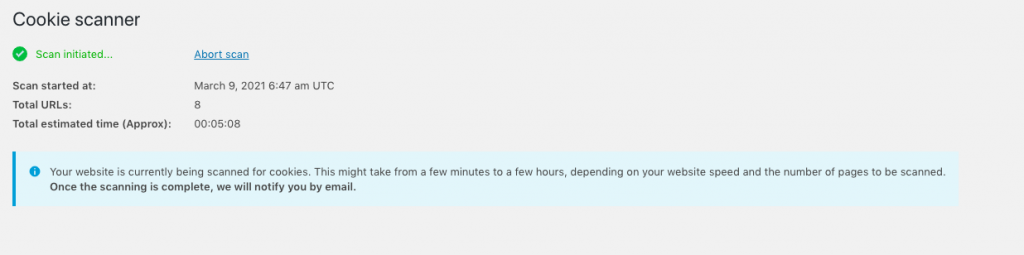
Subsequently, scanning of cookies will be initiated. It might take a few minutes to a few hours to complete the scanning of your website. This depends on the number of pages to scan and the website speed. You can even switch between your screens while the scanning is in progress. Scanning can be aborted by clicking on Abort scan.
After the scan is complete, you can view all the cookies that have been scanned and the URLs that have been scanned from the Scan result. The result will look as shown below:
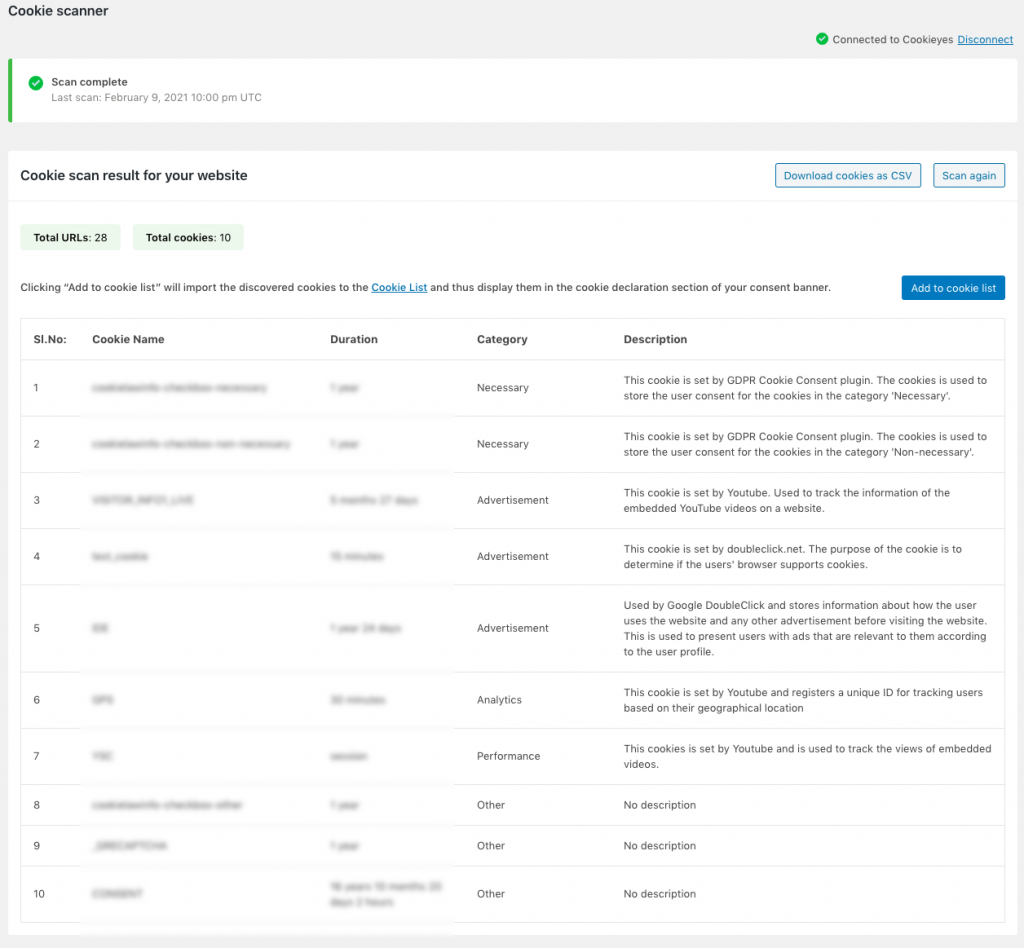
From here, you can add the scanned cookies to the cookie list, download the cookies into a CSV file, and perform the scan again.
When you choose to add the scanned cookies to the cookie list, you are presented with three options as shown in the screenshot below:
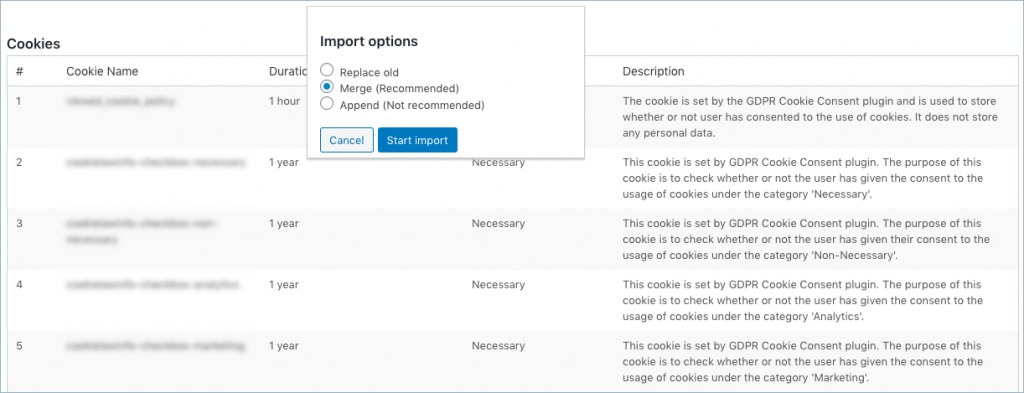
- Replace old: In the first option, you can replace all the existing cookies in the list and add the newly scanned cookies.
- Merge (Recommended): With the second option, the plugin performs a check whether the scanned cookies are already present in the list and skip those cookies that exist. This is the recommended method to add cookies.
- Append (Not recommended): In the third method, you can append the newly scanned cookies with the existing cookies in the list. This is not recommended since it could result in duplicate entries in the cookie list.
After you select an option, click on the Start Import button.
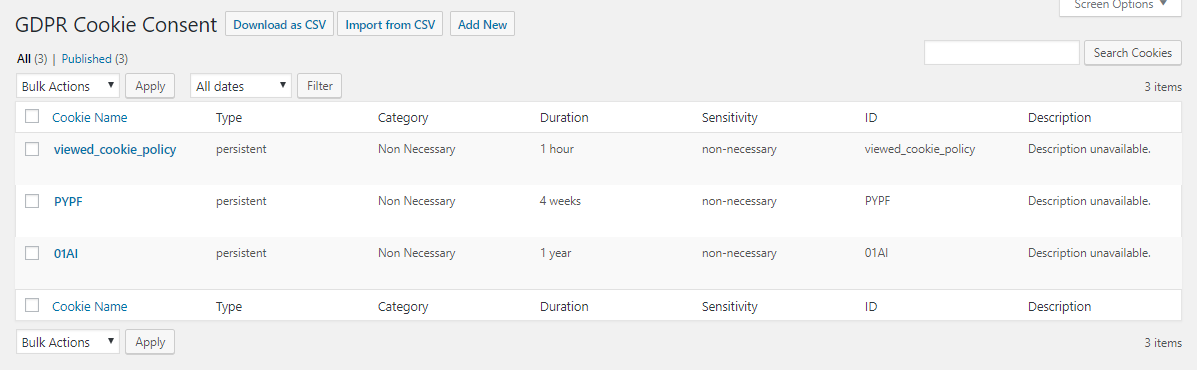
All the scanned cookies and its related data will be added to the cookie list. The data added to the cookie list are the cookie ID, cookie-type, cookie category, and the duration of the cookies.
By default, the values in the cookie type field thus added will be persistent, all the cookies will be assigned to the non-necessary category or necessary category which are the two predefined categories of the plugin, and the value in the cookie-sensitivity field will non-necessary.
Refer Guide to use Cookie Scanner to get a detailed overview of Cookie Scanner.
Cookie Category
The main purpose of the Cookie Category section is to create categories into which cookies of similar functions can be grouped. Categorizing cookies also gives the visitors granular control over which categories of cookies they want to render on their website. For example, they might be okay with the cookies that are used for website analytics but do not want any cookies that are used for advertisement purposes.
The plugin comes with 6 pre-defined cookie categories by default: Necessary, Analytics, Performance, Functional, Advertisement, and Others. The cookies listed under the necessary category will be treated as essential for the website to function; hence, the visitor will not be able to turn it off. But the cookies listed under all other categories can be subjected to an on/off. The visitor can turn off the category/s(which in turn will block the corresponding scripts) and register their consent accordingly. By doing so only the scripts/cookies corresponding to the categories enabled by the visitor will be rendered on the website and the rest will be blocked.
Now, there are a couple of ways to update the Cookie Categories/Lists.
- Add them manually
- Or via the list exported through the Cookie Scanner(briefed above)
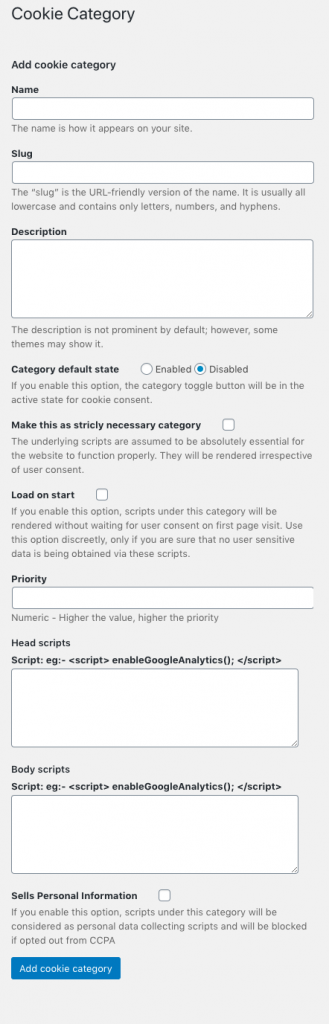
Manual: To create a custom category, you can add the name and the details of the category under the Add New section. For example, In order to add all of the Hotjar cookies in a category named “Analytics”. Create a new category under the field name and fill the rest of the fields as well and then click Add New Tag. It is essential for a category to have at least one cookie assigned to it so that it can appear in the cookie banner on the website under the Settings option.
The visitor can now see the Analytics option and enable or disable it to register their consent.
Via Scanner: The scanner updates the cookie description and category for the identified cookies along with a host of other information. By default, the scanner treats all the third-party cookies as non-necessary but classifies them under Analytical/Marketing/ Functional/Performance. Depending on the purpose or nature of the associated scripts you may have to reassign the categories for these cookies.
For e.g, the GA scripts/cookies are classified as Analytical(Non-necessary). However, that site owners may prefer to set this up as a primary functionality depending on the nature of their business. If so, you will have to remap the category accordingly against the respective cookies from the Cookie List(or in the exported list prior to import).
Cookie List
The cookies can be added to the Cookie list in one or more ways:
- Added directly from the Cookie Scanner upon a successful scan
- Export the results from the scanner, edit (if necessary), and import using the Import from CSV option from the Cookie List.
- Manually enter the cookie details into the Cookie List using the Add New option.
- Manually create a CSV file and import from the Cookie List using Import from CSV option.
– Editing a cookie category:
Here, the plugin has automatically assigned the category “non-necessary” to the cookie as it recognizes the cookie to be one. From here, we can remove this category and type in the category that we want this cookie to be in.
-Adding a cookie manually:
- to add cookies not identified by the scanner(mostly cookies that reside in external domains injected via iframes or the likes for e.g: .hotjar.com)
- if your website relies on scripts from third-party plugins/themes not identified in our automatic script blocker, you can add a cookie and the script to be blocked manually.
From the Cookie List menu, click on Add New. This will open up the Add New Cookie Type page.
- type in the name of the cookie
- key in the description of the cookie
- specify the category the cookie belongs to
- enter the Cookie ID and the duration of the cookie
- and then enter the cookie sensitivity – which indicates whether the cookie is necessary or non-necessary
- Key in the “Head scripts” and the “Body scripts”- Add the scripts of these cookies, manually. You can make use of either or both of the fields depending on where you want the scripts to be rendered when the users give their consent. Note to remove these scripts from any other place in your website to make sure it is placed only via the plugin.
Step 2: About Script Blocking – Automatic vs Manual
Script blocker lists the third-party services that the plugin is capable of identifying and blocking automatically. By default, the scripts corresponding to all the listed service cookies are set to be blocked automatically. So, you only need to ensure that the toggle button corresponding to the services that you are actually using is enabled to ensure that they get blocked automatically prior to obtaining consent. You must, however, assign a category to this service so that visitors are presented with an enable/disable option to record their consent.
To automatically block the scripts of the cookies installed by these services using the GDPR Cookie Consent plugin, go to GDPR Cookie Consent > Script Blocker > Scripts tab. This will take you to the Manage Script Blocking page as shown in the screenshot below.
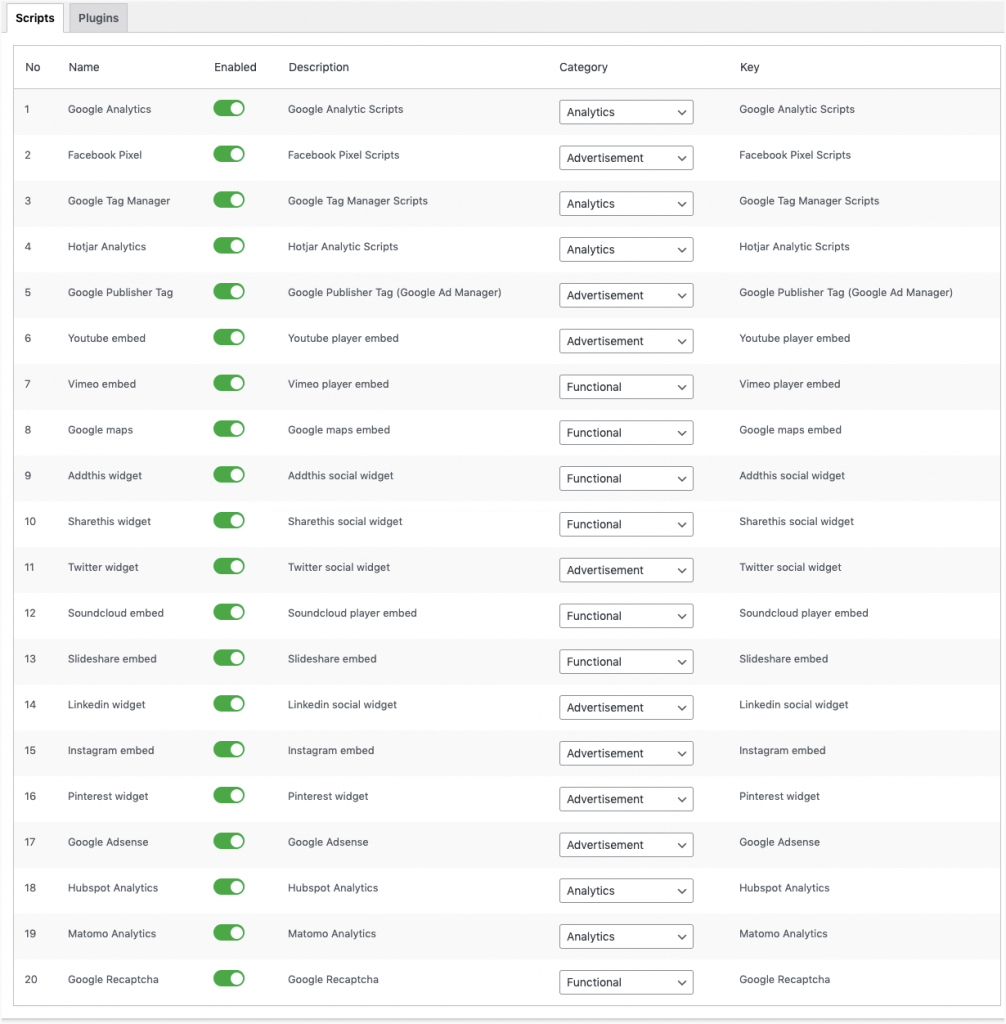
For e.g, let’s say your website uses Hotjar Analytics to track how the user uses your website. To ensure that the Hotjar cookies are not installed unless the users have given explicit consent, make sure that the toggle button corresponding to Hotjar is enabled.
Alternatively, you can also choose to add the scripts(in the head/body section) via the Cookie List, especially scripts corresponding to services not listed under the Script Blocker.
To autoblock scripts of plugins, move on to the Script Blocker >Plugins section. It will allow you to manage automatic script blocking for your website. The following three plugins are currently supported for auto-blocking.
- Official Facebook Pixel
- Smash Balloon Instagram Feed
- Smash Balloon Twitter Feed

Plugins marked inactive are either not installed or activated on your website. Enabled plugins will be blocked by default on the front-end of your website prior to obtaining user consent and rendered respectively based on consent.
If you wish to disable automatic script blocking for any of these plugins, you can do so by simply toggling the button against the respective plugin.
To know more about Script Blocker, refer to How to automatically block cookies using a script blocker.
Step 3: Audit log of user consents
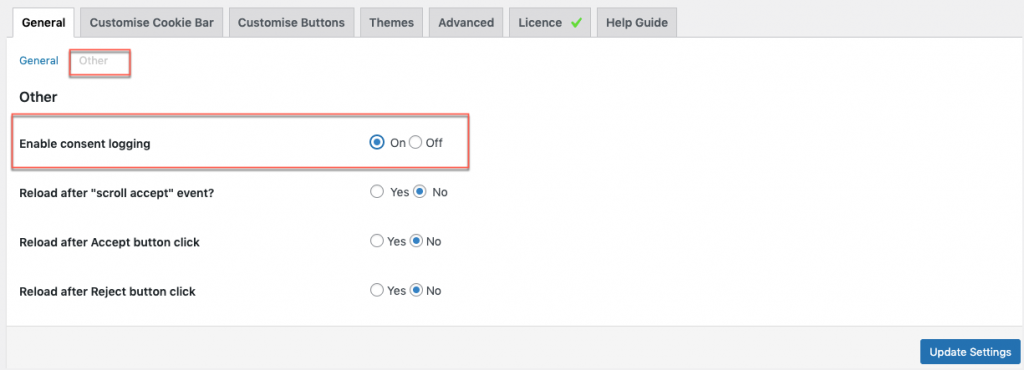
The GDPR Cookie Consent also maintains an audit log of the user consents per cookie category. This record can be used as proof of the consents that have been obtained on the website. This can be done by enabling the consent log from the GDPR Cookie Consent menu > Settings – General tab. Go to the “other” section and check “On” for the “Enable consent logging field”.
After consent logging is enabled, you will be able to see the user consents on the Consent Report page with details like:
- IP address
- Visited date
- Cookie details
- User ID – if the user is logged in
Step 4: Manage Consent
The plugin also comes with a consent withdrawal/change consent option. This can be done by enabling the consent log from the GDPR Cookie Consent menu > Settings – Revisit Consent. This ensures that the minimized cookie tab is retained throughout the pages so that the user can edit their consent at a later point, thus complying with the GDPR norms.
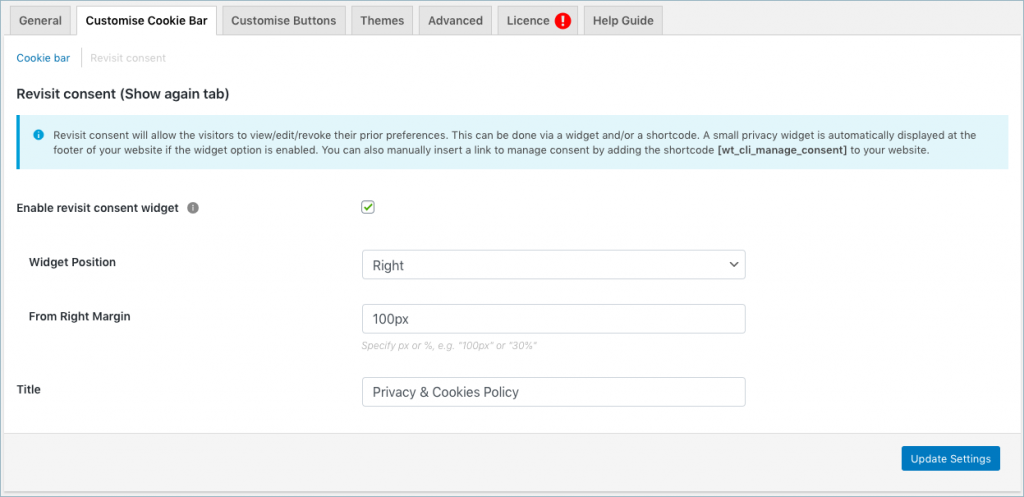
- Enabling the revisit consent automatically displays a small privacy widget at the footer of your website. You can also manually insert a link to manage consent by adding the shortcode Privacy & Cookies Policy to your website.
- You can place the Manage consent tab to either the left or right of the web page.
- Use the From left margin to position the show again tab. Enter a value in either pixel or percentage to specify the distance from the respective margin, to place the dialog accordingly.
- The Title field allows you to customize the text on the widget. For instance, you can key in ‘Privacy and Cookie Policy’ as a title or whatever you may like.
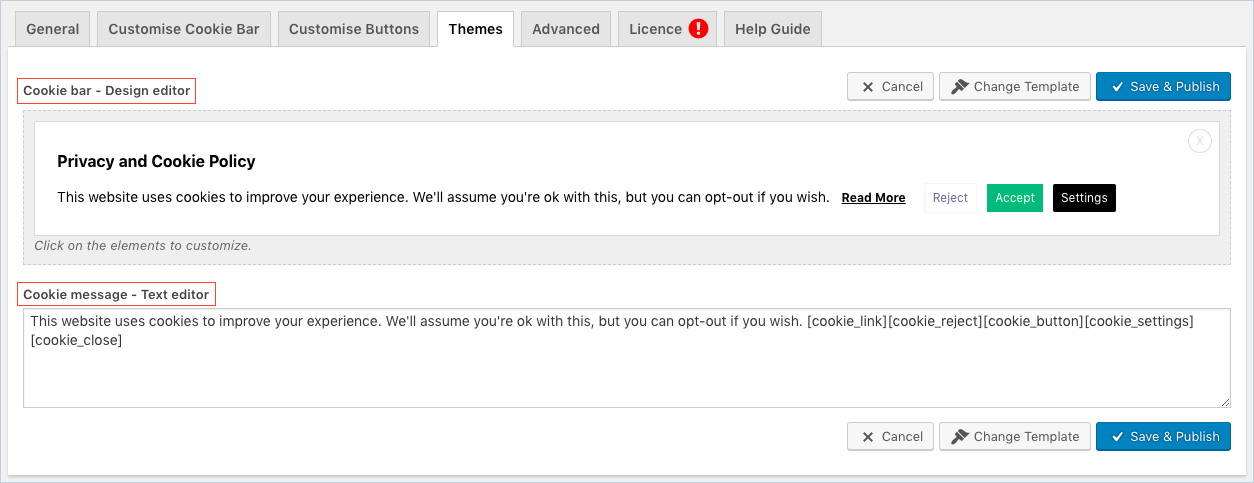
Step 5: Cookie notice bar
The cookie message bar can be completely customized to match the look and feel of your website using pre-made templates or by including a custom CSS via the editor. You can also choose from the various styles available to show the cookie message as a banner, widget, or a pop-up from GDPR Cookie Consent menu > Settings > Themes tab.
We have various shortcodes that can be used to add content to pages and posts on your website with little effort. To name a few you can:
- add nicely formatted buttons and/or links into the cookie bar, without you having to add any HTML
- print out a nice table of cookies by category
- delete cookies
- add content only if consent has been obtained for the specified category.
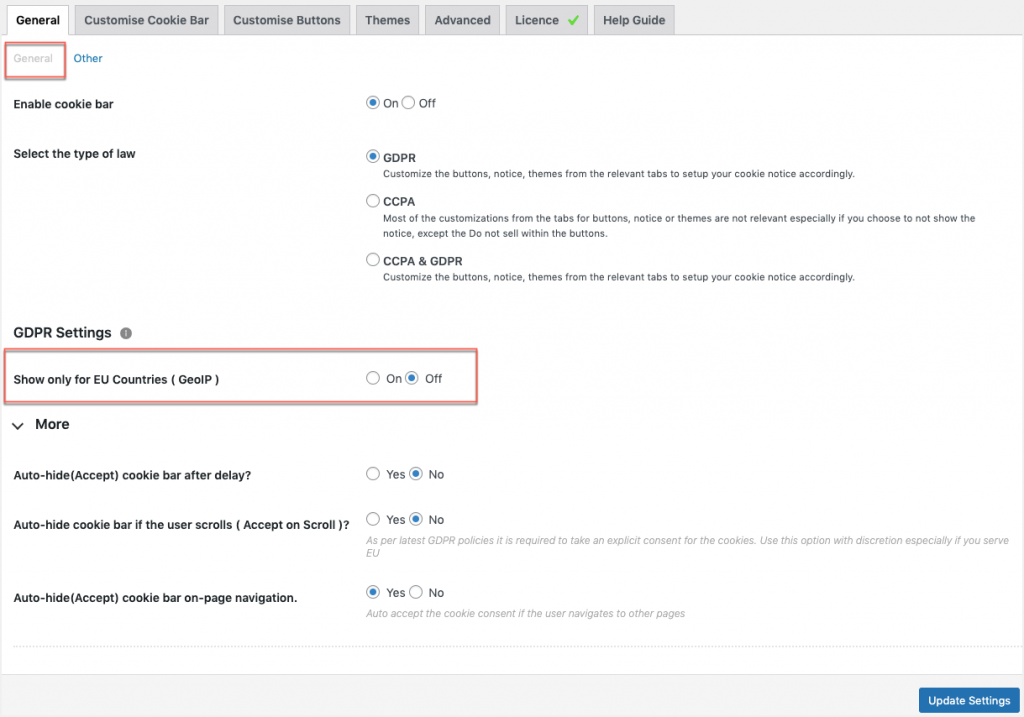
Step 6: Restrict cookie declaration for EU users
The plugin comes with an option to show the cookie message bar to the users of the EU only. This way you can assume implicit consent for the users of the non-EU countries. This ensures that the consent for using the cookies on the website will only be taken from the visitors of the European Union. However, this GeoIP feature can be extended to more countries using a custom code snippet which can be found in our code snippet section.
To set the cookie notification only for the EU visitors, enable the Show only for EU Countries (GeoIP) from the GDPR Cookie Consent menu > Settings – General tab.
A detailed setup guide for the GDPR cookie consent plugin can be found here.
info
May 27, 2022
Hi, is it possible to export the script code applied by the cookies plugin?
Mark
May 27, 2022
Hi,
Greetings from Webtoffee!
We don’t have an option to export scripts from the plugin. However, you can export plugin settings as a JSON file by going to GDPR Cookie consent menu and Click on Settings. Now in the browser URL, add &debug towards the end as shown below:
wp-admin/edit.php?post_type=cookielawinfo&page=cookie-law-info&debug
Daniele Babolin
March 31, 2022
It’s Possible To Disable Popup / Widget …If The Page In Witch Plugin Is Active Is Embedded Into An Iframe? …If I Do This Actually There Is A Blocked Page Inside Another One And Is Not Fine To See That Effect
Mark
May 2, 2022
Hi Daniele,
Greetings from Webtoffee! Sorry for missing your query.
You can hide the banner on the original page so that when it is loaded in an iframe, it won’t have any popups in it. Please use the filter here to achieve this.
Sonja Kammerer
February 7, 2021
hi,
I am using the free version of the plugin.
I am able to add cookie types, but I am not able to enter scripts!
Also there is no way to categorize the cookies.
How shall the cookie disclaimer work if this is not possible to do??
Kindly looking forward to your feedback on how to use the free version with this gap.
Or do I need to purchase the full version in order to really work with my cookies?
Thanks for your feedback!
Kind regards,
Sonja
Mark
February 15, 2021
Hi Sonja,
You can add the scripts in the free version, but via a different screen. Please refer the free version setup guide here for detailed instructions. Hope it helps!
Travis Hatridge
August 27, 2020
Hi,
I want make sure that cookies are actually being blocked when a user clicks “reject” or de-selects a category. What is the best way to do this?
Regards,
Travis
Mark
September 4, 2020
Open the browser developer console and go to Application tab(in Chrome) > Cookies and select the domain of your site and see if cookies are settings after reject.