The StoreRobo Import Export Suite app supports import/export of multiple products with images and other meta fields. The app lets you import Shopify products via custom CSV. Once the app is installed, to import the products to the store:
- Choose the Import file location.
- Ensure the import template is set as custom CSV.
- Apply the filter options.
- Map the import columns.
- Click on the Import button to finish.
To begin with:
From the Shopify admin dashboard, click on Apps > SR Product Import Export > Home and import the products in three easy steps.
Step 1: Choose the Import file location
The first step is to select the location of the file to import. Four options are available:
- Local
- URL
- FTP/SFTP server
- WooCommerce API
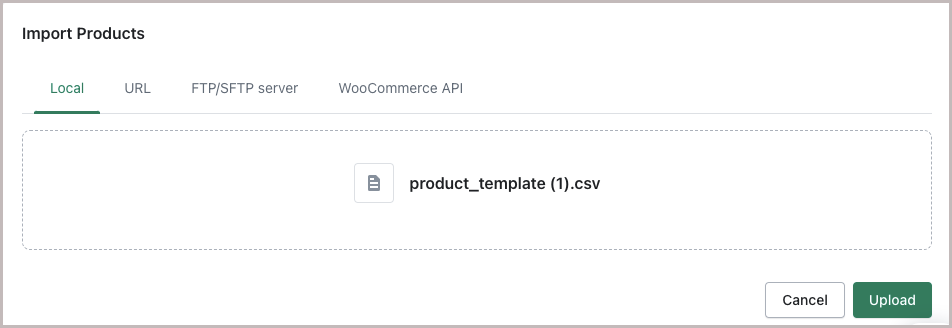
On importing the file from Local, upload the input file and click on Upload.
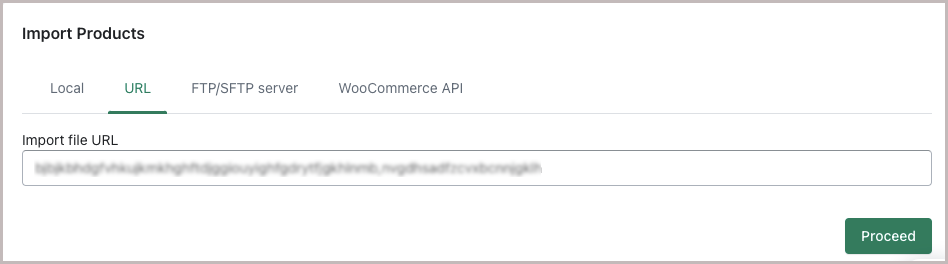
On importing the file with a URL, provide the file url and click on Proceed.
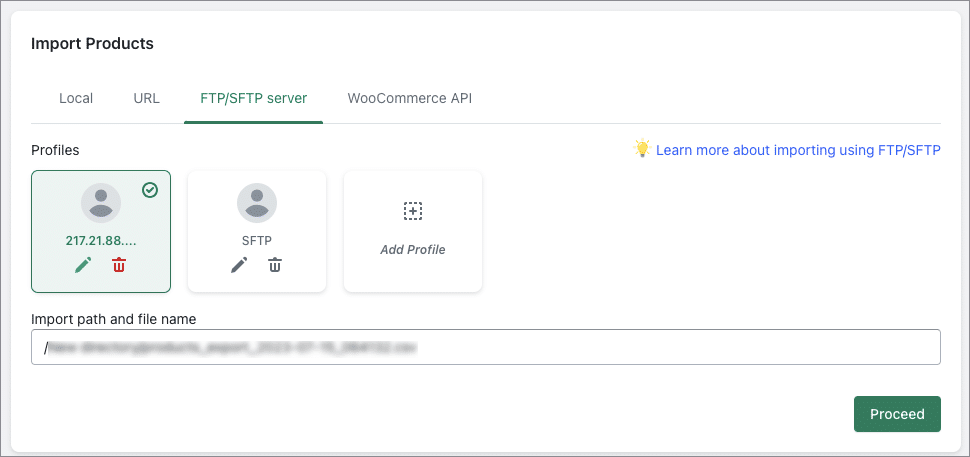
On importing the file from FTP/SFTP server, select the FTP profile, provide the import path and click on Proceed. Here, you can also add a new FTP profile. To know more, refer to Importing Products in Shopify Using FTP/SFTP.
On importing file from WooCommerce API, provide the consumer key, consumer secret and the server/domain name. Then, click on Connect. To know more, refer to: Import Products from WooCommerce to Shopify using WooCommerce API.

Step 2: Select the options
Once the file is uploaded, you will be moved to the second step. Here, the Import template is set as Custom CSV.
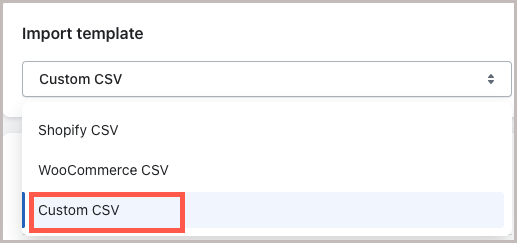
When the Import template is custom CSV, a mapping screen will appear as shown. Here, you can map the columns based on:
- General
- Image
- Variant
- Inventory
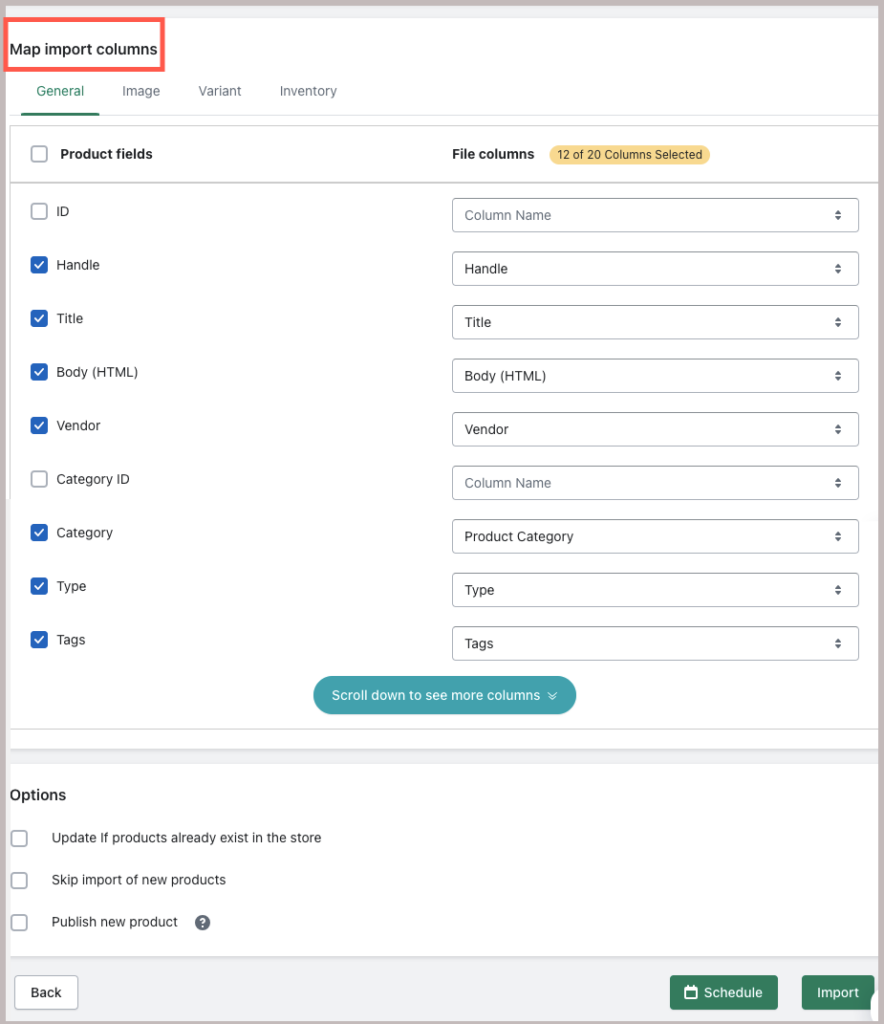
Choose the required options and move to the next step.
Step 3: Import
Click on Import to import the products. Alternatively, to schedule the import, click on Schedule.
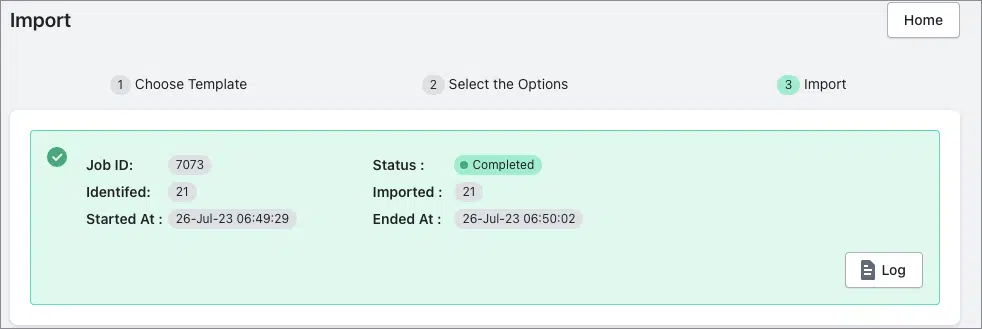
On successful completion of the import process, the user will be notified via email.
Comments (2)
Matej
October 11, 2023
i am getting an error “duplicate columns found” even when there are no one duplicated…why?
Vineetha
October 16, 2023
Hi Matej,
Thanks for reaching out! This error arises when duplicate columns are there. Can you please reach us via support with your input CSV file?