Giropay is a joint online payment method used by German banks and savings banks. It allows users to make payments with Giropay username and password, or even easier, with fingerprint or face recognition.
Giropay redirects customers to their website to authenticate payment and there is an immediate notification about the success or failure of a payment.
Giropay supports payment in euros (EUR).
| Property | Value |
|---|---|
| Settlement to Worldpay Currencies | EUR |
| Preferred Currency | EUR |
| Shopper Debit | EUR |
Stripe accounts in the following countries can accept Giropay payments with local currency settlement.
| 🇦🇺 Australia | 🇪🇪 Finland | 🇱🇻 Latvia | 🇵🇹 Portugal |
| 🇦🇹 Austria | 🇫🇷 France | 🇱🇮 Liechtenstein | 🇷🇴 Romania |
| 🇧🇪 Belgium | 🇩🇪 Germany | 🇱🇹 Lithuania | 🇸🇬 Singapore |
| 🇧🇬 Bulgaria | 🇬🇮 Gibraltar | 🇱🇺 Luxembourg | 🇸🇰 Slovakia |
| 🇨🇦 Canada | 🇬🇷 Greece | 🇲🇹 Malta | 🇸🇮 Slovenia |
| 🇭🇷 Croatia | 🇭🇰 Hong Kong | 🇲🇽 Mexico | 🇪🇸 Spain |
| 🇨🇾 Cyprus | 🇭🇺 Hungary | 🇳🇱 Netherlands | 🇸🇪 Sweden |
| 🇨🇿 Czech Republic | 🇮🇪 Ireland | 🇳🇿 New Zealand | 🇨🇭 Switzerland |
| 🇩🇰 Denmark | 🇮🇹 Italy | 🇳🇴 Norway | 🇬🇧 United Kingdom |
| 🇪🇪 Estonia | 🇯🇵 Japan | 🇵🇱 Poland | 🇺🇸 United States |
Getting started
- As a first step, install and activate the Stripe payment gateway for the WooCommerce plugin.
- Go to plugin settings or from the WordPress dashboard, go to WebToffee Stripe > General Settings > Local Gateways.
- Head on to the Giropay.
The Giropay settings page is shown below.
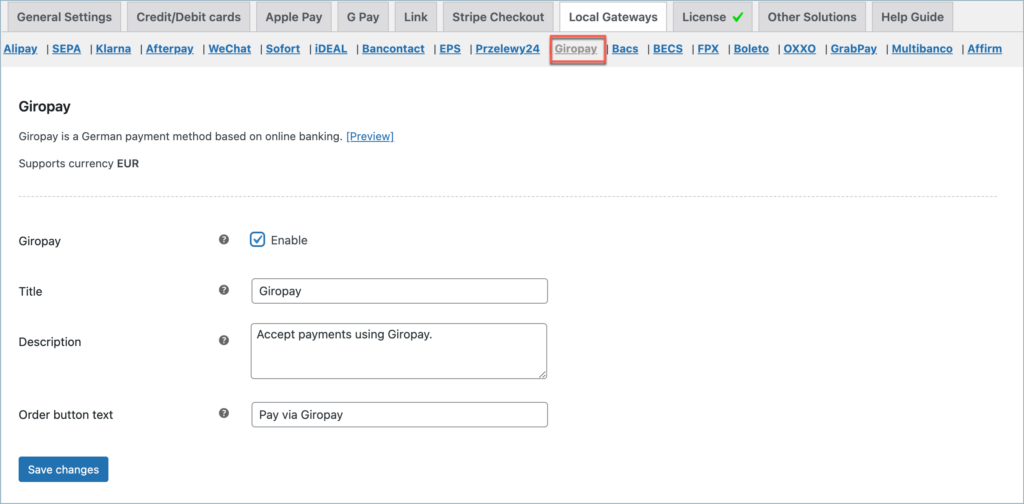
Setting Giropay
- Giropay: Enable to accept Giropay payments.
- Title: Enter a custom title for Giropay payment. This title will be visible on the checkout page.
- Description: Type in a custom description for Giropay payment. This description will be visible on the checkout page.
- Order Button Text: Enter a custom text for the Giropay payment button.
The below image shows a Giropay option on the checkout page.
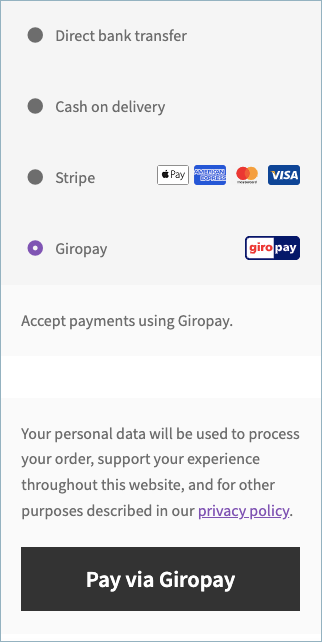
Pay via Giropay
To make the payment, the customer chooses the bank/Sparkasse to connect to Giropay. Then s/he needs to log in to access banking account data. To approve the payment customer uses TAN to make a pre-filled Giropay transfer.
Giropay Payment Workflow
- The user selects Giropay and chooses their bank.
- The customer is redirected to their bank’s login page.
- The participating bank displays transaction data.
- The consumer enters the account number or PIN.
- The bank authorizes transactions in real-time, deducting the amount directly from the consumer’s account (if there is not enough balance, the transaction will be refused).
- The merchant received real-time confirmation of the payment from the bank.
- The customer is redirected back to the Merchant page with a confirmation that the payment has been successful.