SEPA (Single Euro Payments Area) Direct Debit payment is a reusable, delayed notification payment method. In the SEPA payment method, stripe authenticates the customer’s names and bank account numbers in IBAN format. The payment method supports EU currency.
Settings: SEPA Payment
- Firstly, install and activate the Stripe payment gateway for the WooCommerce plugin.
- Then, go to plugin settings, or from the WordPress dashboard, go to WebToffee Stripe > General Settings > Local Gateways.
- Head on to the SEPA Payment.
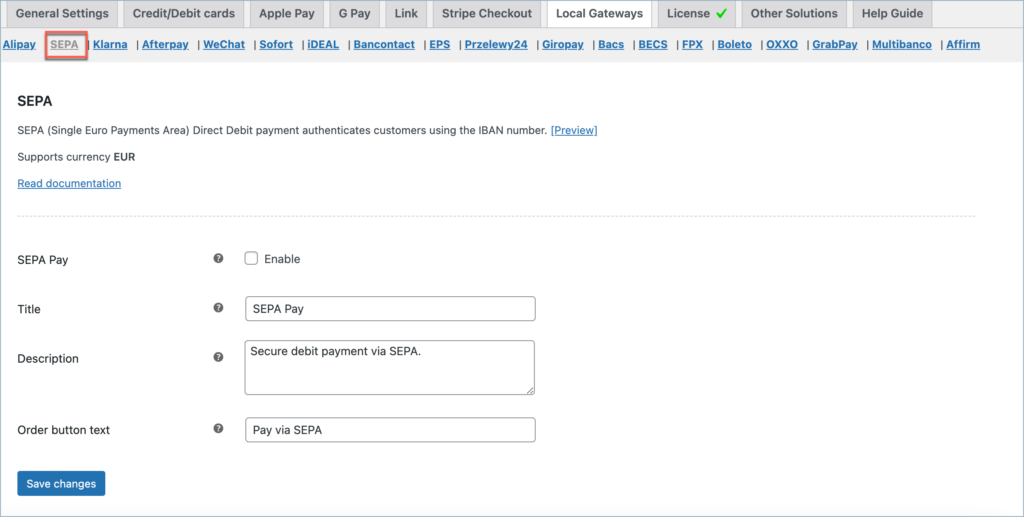
- SEPA Pay: Enable to accept SEPA payments.
- Title: Enter a custom title for SEPA payment. This title will be visible on the checkout page.
- Description: Enter a custom description for SEPA payment. This description will be visible on the checkout page.
- Order Button Text: Enter a custom text for the SEPA payment button.
Finally, click on the Save changes button to update the plugin settings.
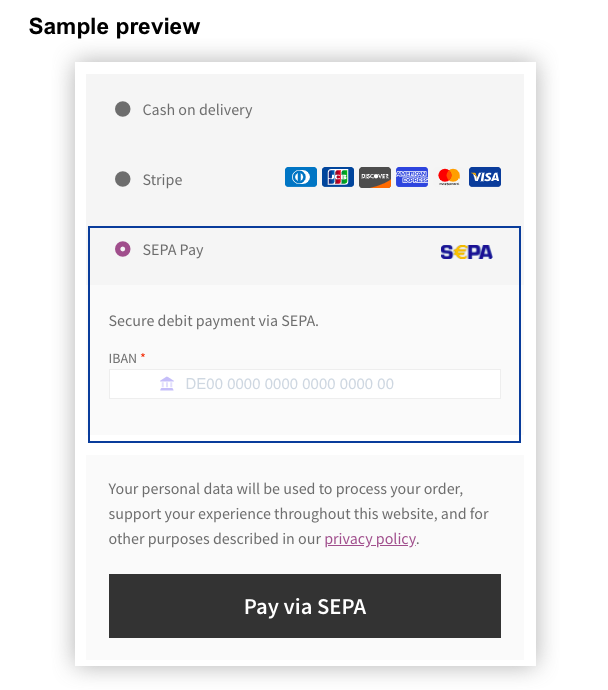
Pay via SEPA
To sum up, the SEPA payment workflow will be as shown below:
- The customer selects SEPA Direct Debit at checkout
- The customer provides full name, IBAN, and authorizes mandate.
- The customer gets the notification that the payment is complete.
Adding webhook endpoint
To receive the order status updates in a timely manner, it is recommended to add your site’s webhook to the stripe dashboard. Follows the steps in – Setting up Webhooks and Supported events article to add a webhook endpoint.
Moreover, to get a deeper understanding of the plugin, visit the setup article.