In an E-commerce store, refunds for orders may arise from various circumstances, whether initiated by the customer or the store owner. Regardless of the initiator, it is crucial to inform customers about the refund process through the issuance of credit notes. The WebToffee’s WooCommerce PDF Invoices, Packing Slips, and Credit Notes plugin helps to automatically email credit notes to customers upon order refund. The plugin sends the credit notes in PDF format as an attachment along with the refund email. To effectively email credit notes to customers upon order refund, follow the below steps:
- Pick order statuses for generating credit notes based on the refund type.
- Enable Attach Credit note in ‘Refund’ email option.
Configuring the credit note settings for a full refund
- Navigate to Invoice/Packing > Credit Note > General.
- Under the General section, head to Create credit notes automatically.
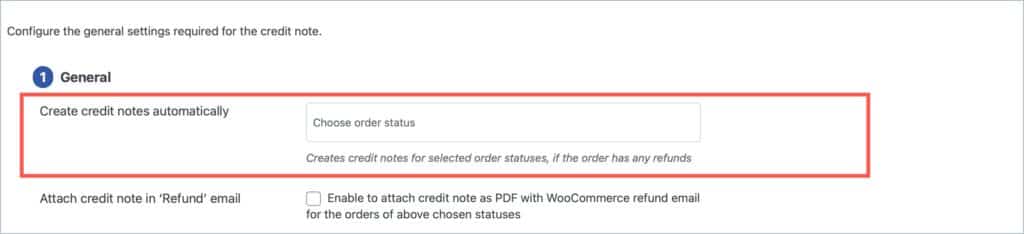
- Choose the order status as ‘Refunded‘.

- Mark the checkbox next to ‘Attach credit note in ‘Refund’ email’ and enable it.
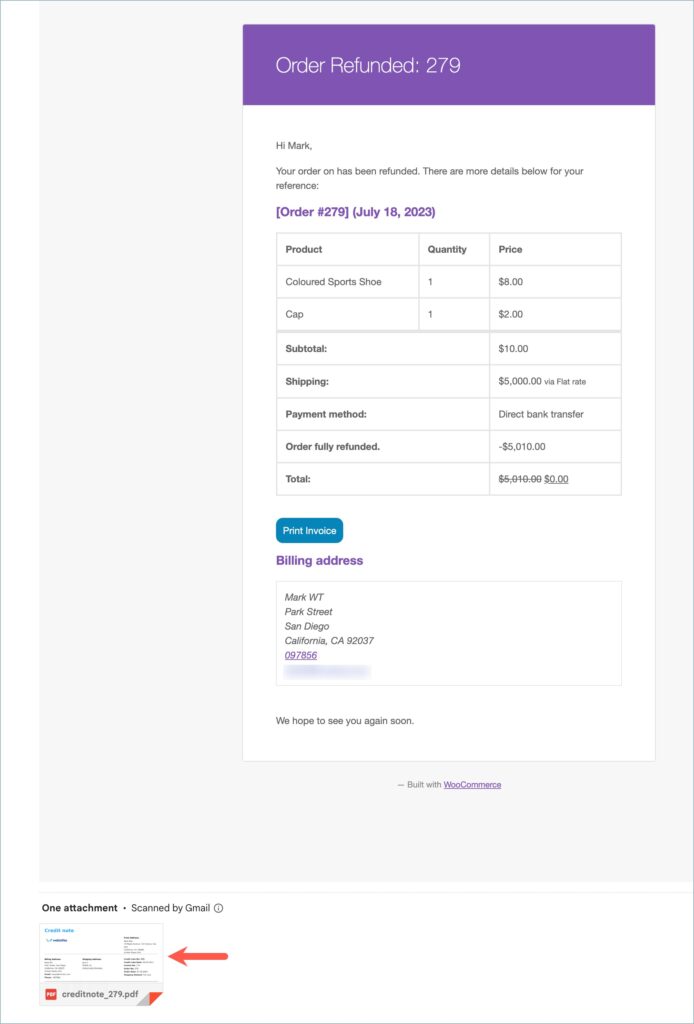
- Enabling this option will ensure that credit notes are sent to the customers as a PDF along with the WooCommerce refund email.

- As a final step, head to the Update Settings and click on it to save changes. The plugin will now automatically send credit notes to the customer’s email after a full refund.
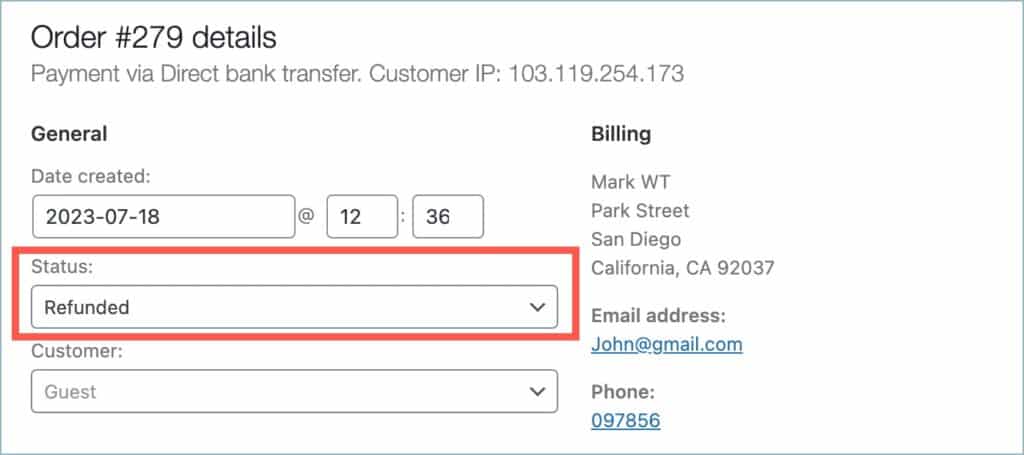
In the below-stated example, the Admin chooses order #279 to make a full refund. The Admin changes the status to “Refunded” and updates the order. Upon update, a credit note will be generated and this will be attached to the refund email and sent to the customer as shown below.
Configuring credit notes settings for a partial refund
- Navigate to Invoice/Packing > Credit Note > General.
- Under the General section, head to Create credit notes automatically.
- Choose the order statuses for which credit notes have to be sent.
- Mark the checkbox next to ‘Attach credit note in ‘Refund’ email’ and enable it.
- As a final step, head to the Update Settings and click on it to save changes. The plugin will now automatically send credit notes to the customer’s email upon a partial refund.
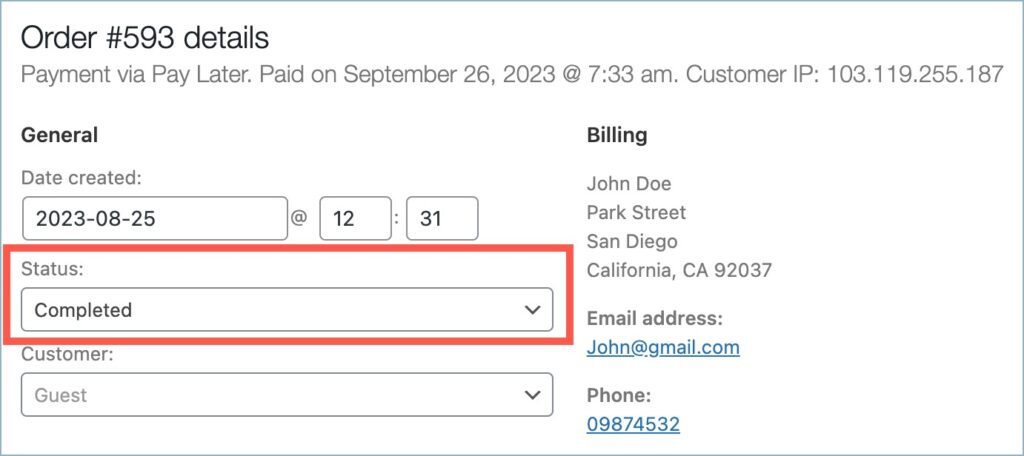
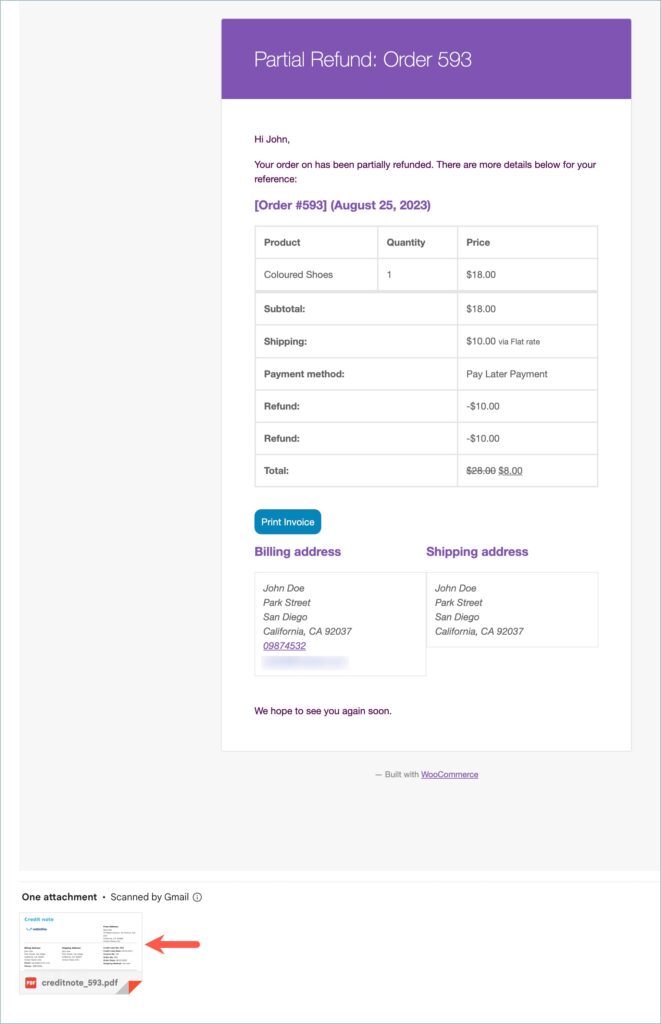
In the below-stated example, the Admin chooses order #593 to make a partial refund. The Admin changes the status to “Completed” and updates the order. Then the admin initiates a partial refund. Upon partial refund initiation, a credit note will be generated, attached to the refund email, and sent to the customer as shown below.