- Invoices
- Packing Slips
- Credit Notes
With WebToffee’s WooCommerce PDF Invoices, Packing Slips, and Credit Notes plugin, store owners can effortlessly generate invoices, packing slips, and credit notes for their WooCommerce store. In the latest version of the plugin, store owners can export invoices, packing slips, and credit notes conveniently in the form of a zip file. Additionally, store owners can refine the export process by filtering orders based on date and time, order statuses, users, and payment methods.
Here are the key steps involved in exporting the documents:
- Navigate to the Reports menu.
- Select the preferred document type to export.
- Apply the filters.
- Export the documents as a ZIP file.
- While exporting invoices, invoices that are already generated will only be included in the zip file.
- When exporting packing slips, packing slips for all orders will be included in the zip file, regardless of whether they have been generated or not.
Exporting documents as a zip file
Here are the detailed steps:
- From the WordPress dashboard, navigate to Invoice/Packing > Reports.
- Choose the document type you wish to export from the drop-down menu. Options include invoices, packing slips, and credit notes. Once selected, the system will display the respective document count.
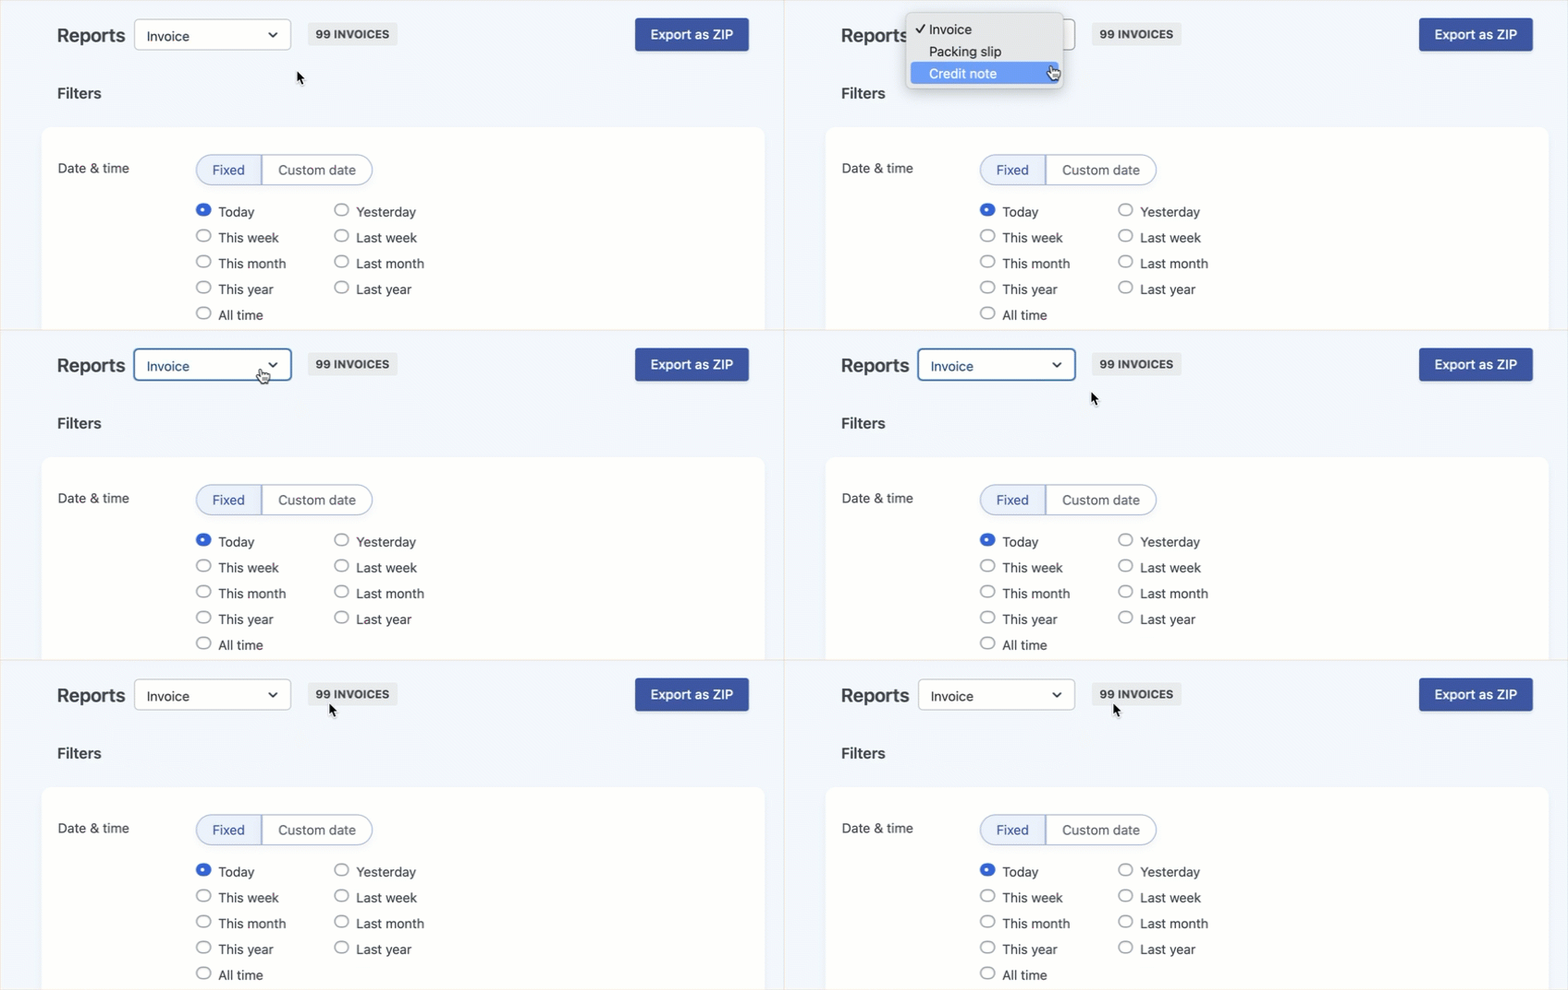
- Now, use filters to refine the export process.
Filters include
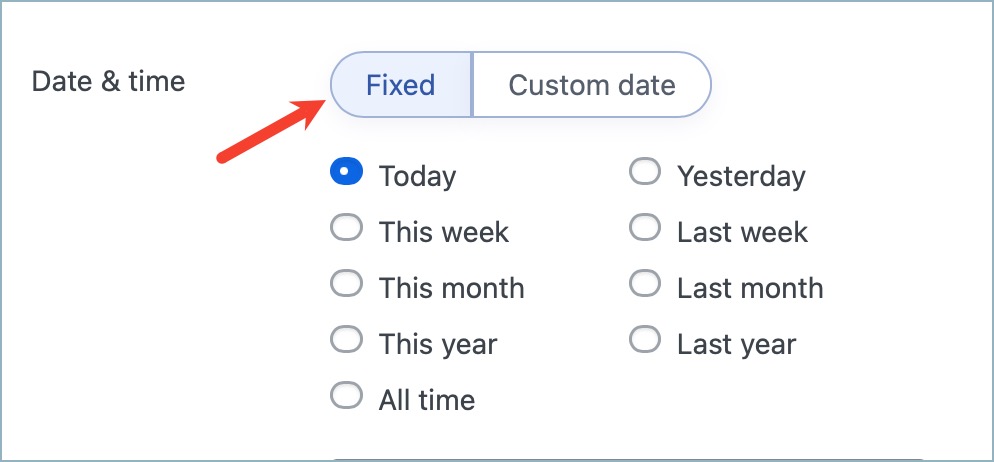
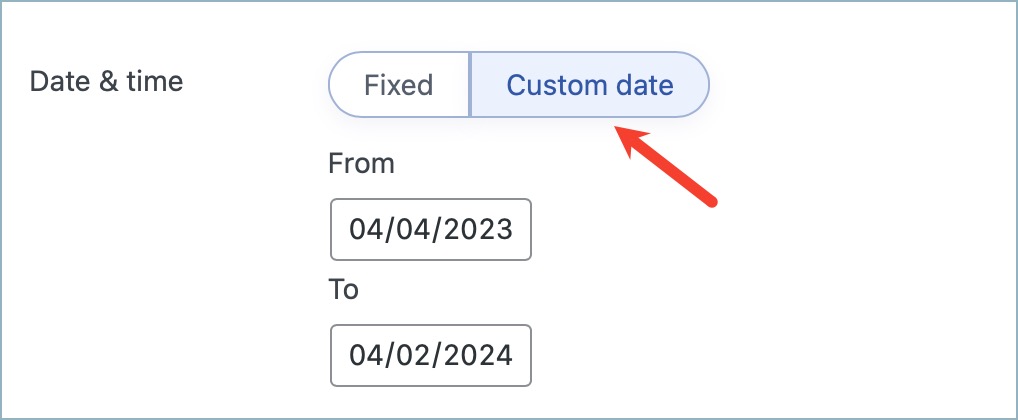
- Date and time: You have the option to choose orders from a fixed period, such as a week, a month, or a year, and a custom period, where you can specify a start date and an end date. The system will include only orders within the selected timeframe in the zip file.
- Order statuses: Choose the preferred order statuses from the dropdown. The system will consider only orders that match these statuses for export.
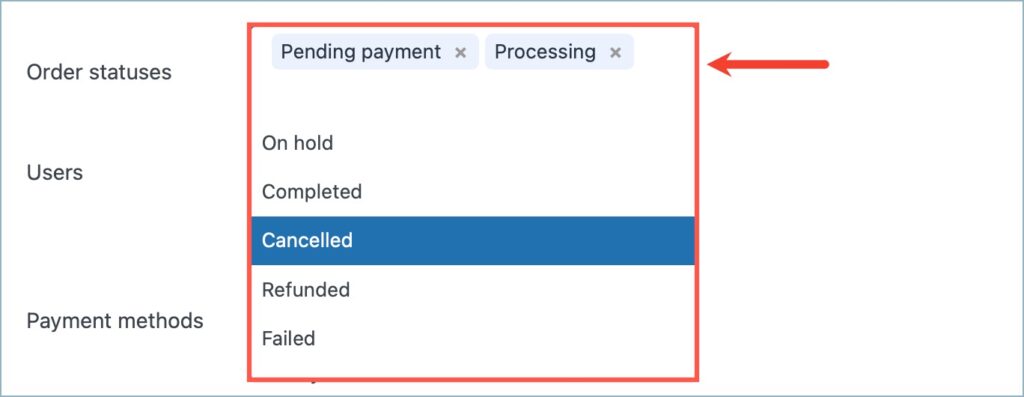
- Users: Here, you can filter orders based on users. On clicking the dropdown, you’ll find three options to choose from:
- All users: Includes all orders, regardless of the user.
- Selected users: On selection, another dropdown appears where you can choose preferred users.
- All users except: On selection, another dropdown appears where you can exclude orders of specific users.


- Payment methods: Filter orders by the payment method used. When you select a specific payment method, the system will only consider orders paid using that method. If left unselected, the system will include all orders.

- Finally, click on “Export as ZIP.” A progress indicator will show the progress of preparing the zip file. Upon completion, the system will automatically download the zip file.
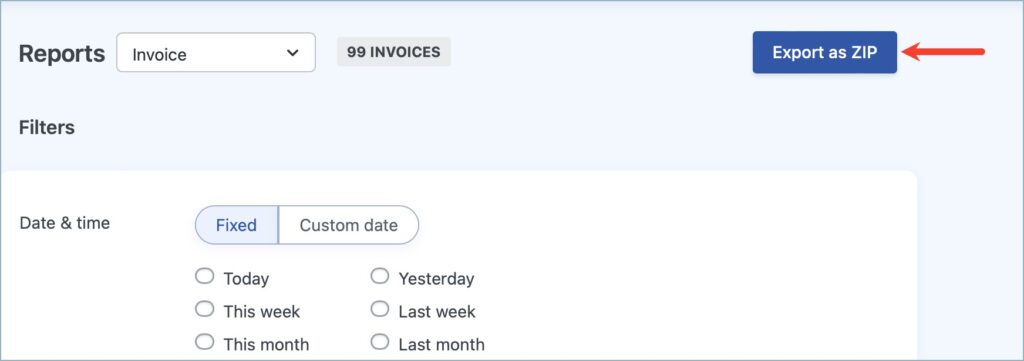
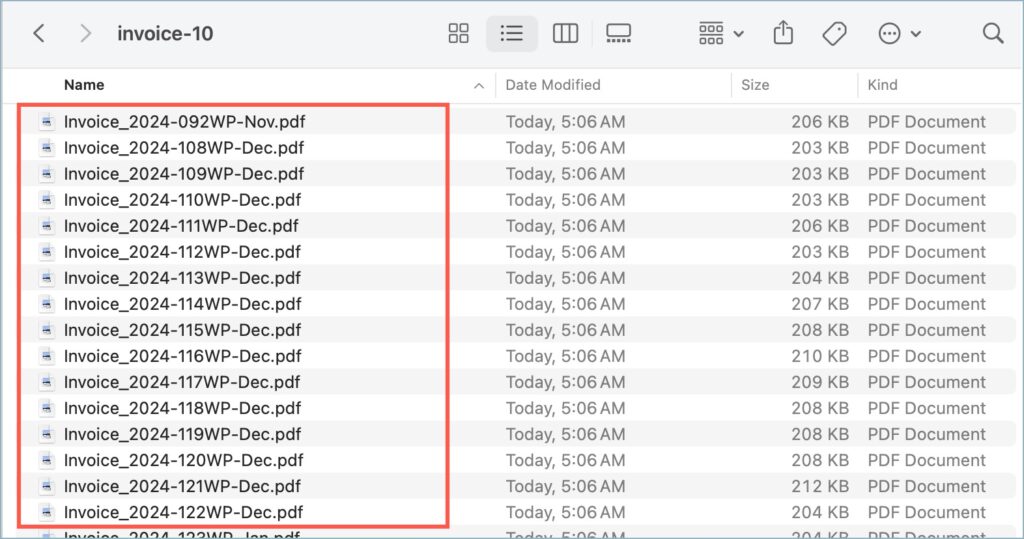
Upon unzipping the file, the documents will be available in PDF format.
