Loco Translate is a useful plugin that allows easy translation of plugins and themes into your desired languages. In this article, we will explore how to use Loco Translate to translate WebToffee plugins. Follow the steps below to translate a plugin using Loco Translate:
- Install and activate the Loco Translate plugin.
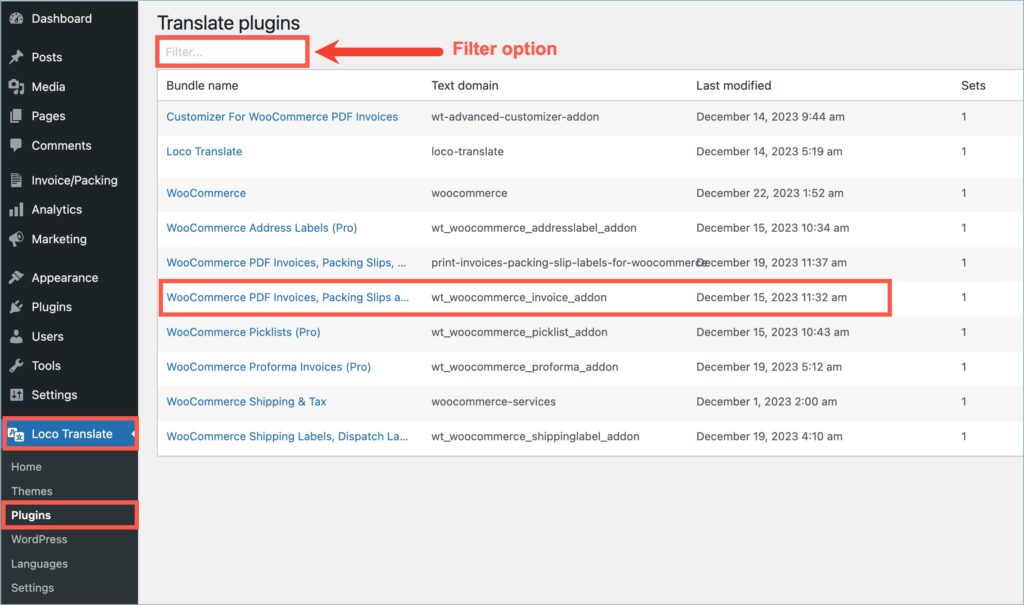
- From the WordPress dashboard, navigate to Loco Translate > Plugins.
- Choose a plugin you wish to translate from the Translate plugins page.
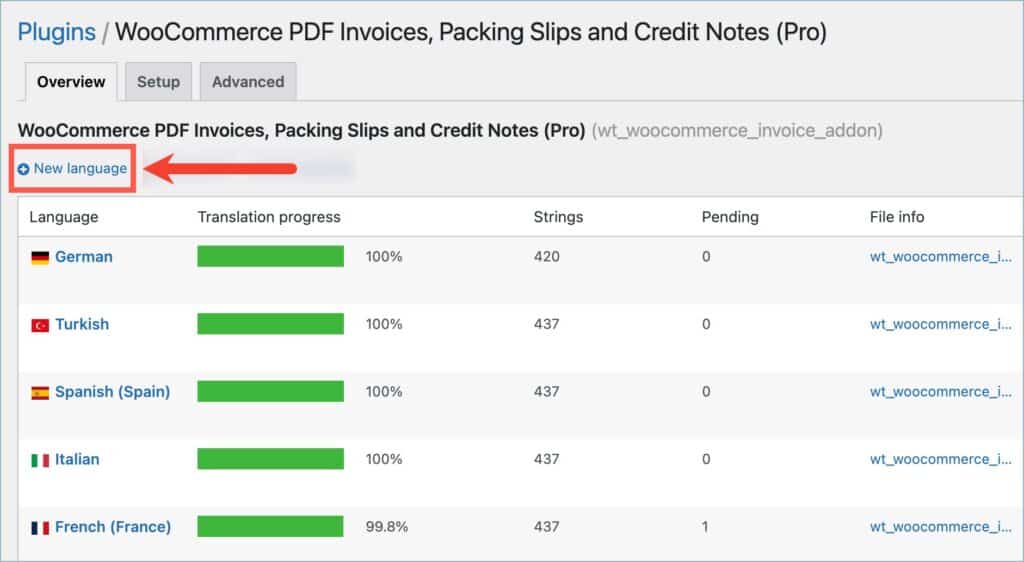
- Click on ‘+ New language,’ then choose a language for translation and specify a location to save the new language file.
- Click on Start Translating to begin the translation process.
- On the Translation Editor page, click on the source text/string that you wish to translate.
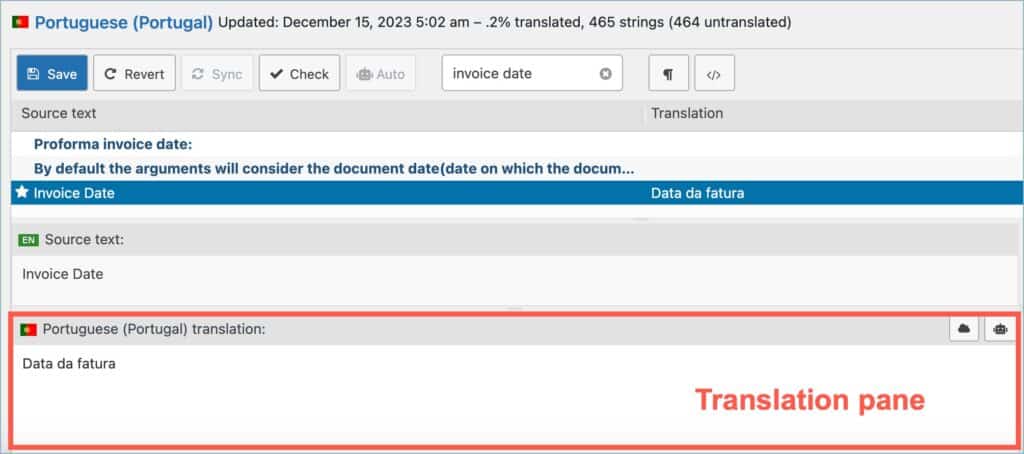
- Add the translation for the selected string in the language translation pane located at the bottom of the editor page.
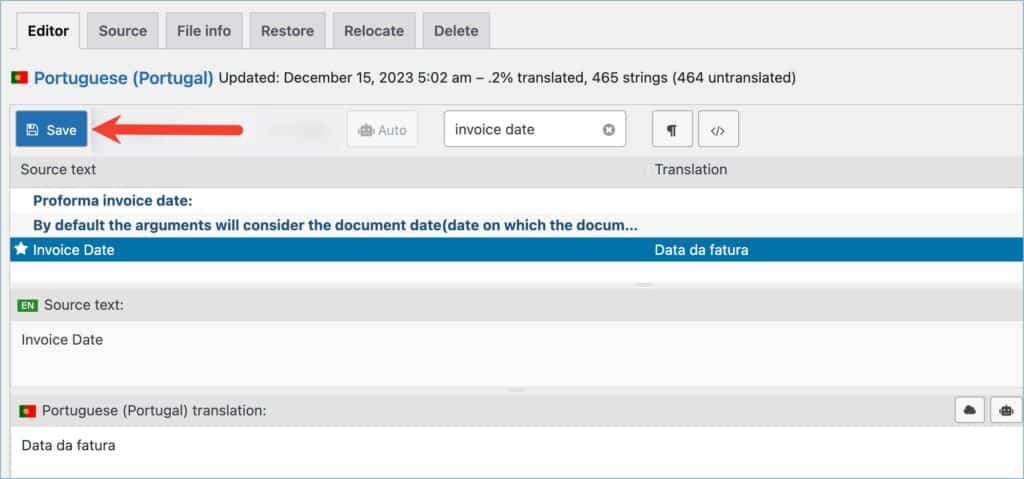
- Click on Save to save the translations.
- Finally, switch the site language to see the translated plugin changes.
Prerequisites
- Install and activate the Loco Translate plugin.
- Install and activate the WebToffee plugin which you wish to translate.
Translating plugins using the loco translate plugin
The following steps shows how to translate strings inside the WebToffee’s WooCommerce PDF Invoices, Packing Slips and Credit Notes plugin. The steps given below are common for all the WebToffee plugins.
- From the dashboard, navigate to Loco Translate > Plugins.
- In the Translate plugins page, select the desired plugin for translation by clicking on it. You can either scroll down to the preferred plugin or use the filter option to search the plugin. Here, let’s select WooCommerce PDF Invoices, Packing Slips, and Credit Notes plugin for translation.
- Selecting a plugin opens a new page. Here, click on the ‘+ New language’ option under the Overview tab. The Overview tab also lists all the language files inside the plugin, translation progress, total strings, pending strings for translation, etc.
- From the New language page, select a language for translation. It can be a WordPress language or a custom language. On choosing WordPress language, specify the language from the dropdown menu.
- Choose a location to save the language file.
- Click on Start translating to initiate the translation process.
- In the Editor page, head to the pane that lists all the source text/strings inside the plugin. Here, select the preferred source text by scrolling down to the text or by using the filter.
- After selecting the preferred source text, add the translation for the same in the translation pane.
- On adding the translations, click on the Save button to save the translations.
- Now, switch the site language (WordPress Settings > General > Site Language) to see the translated plugin changes.
Use Case
Let’s take an example of translating a few source strings inside WebToffee’s free WooCommerce PDF Invoices, Packing Slips, Delivery Notes, and Shipping Labels plugin into the Portuguese language. Here we are adding translations for source texts like product, quantity, and payment method. The GIF below shows the detailed steps.