An invoice product table lists the billable items. The Summary section gives the consolidated amount a customer needs to pay. Moreover, the consolidated bill amount may compromise various extra charges such as discounts, taxes, and payment fees. Thus, adding new rows to the summary section allows the store owners to detail the final consolidated cost. This article elaborates on the steps required to add a new row to the product table’s summary section of a WooCommerce invoice.
Prerequisite
- A WooCommerce store with WooCommerce PDF Invoices, Packing Slips, Delivery Notes & Shipping Labels extension enabled.
- Invoice enabled from the General settings tab.
Steps to navigate to the Invoice.
Follow the steps to reach the invoice customization window.
- In the WordPress dashboard click on Invoices/Packing from the navigation menu. We get to the Documents tab. In the Documents tab, Click on the Settings link next to the Invoice. This displays the general Invoice settings page. Otherwise, you can directly click on Invoices/Packing > Invoices to reach the plugin settings.

- Click on the Customize tab. This displays the default template of the Invoice.

Steps to add a new row to the summary table
In the intended Invoice template, Implement the following steps to add a new row to the summary table of the invoice.
- In the Customization window, move to the Summary table in the Preview Pane and select it. This will display the Settings of the summary table in the Editor Pane.
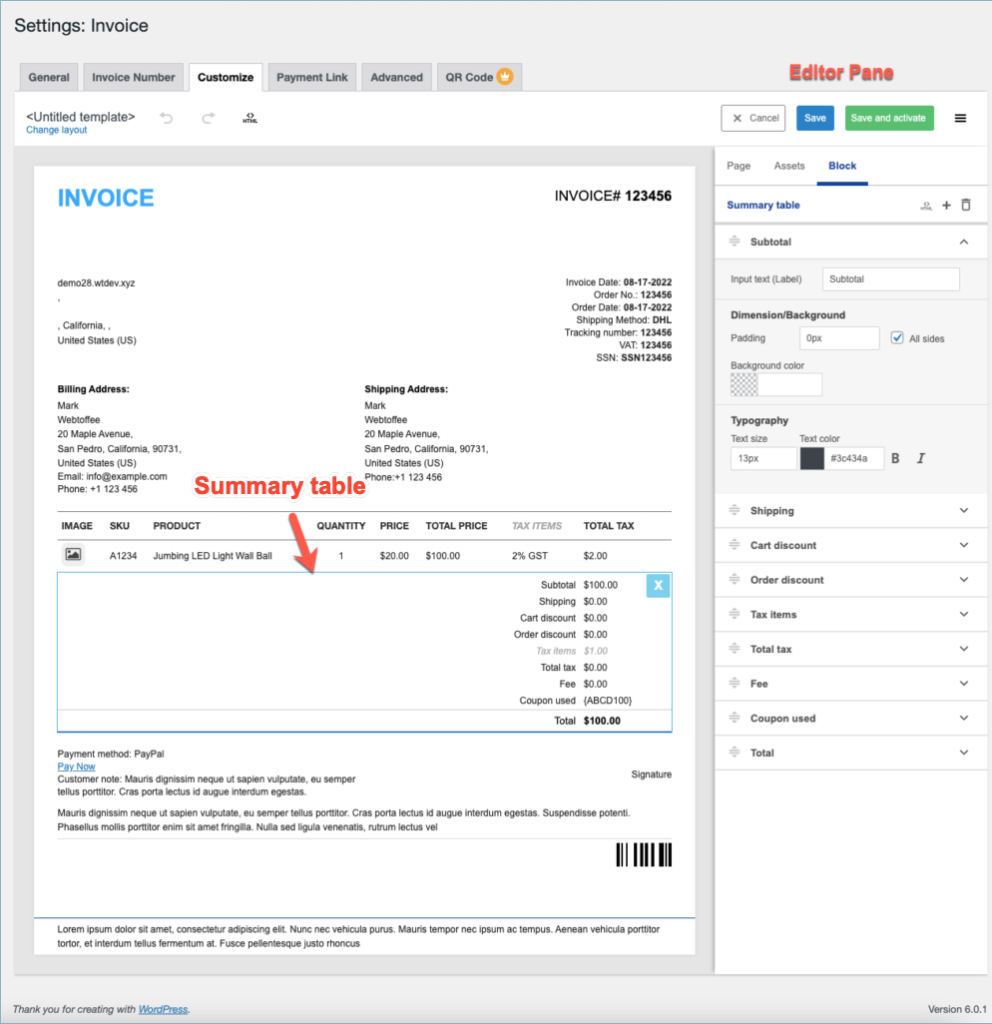
- Click on “+” Icon at the top-right corner of the Editor pane. This displays the Add new row dialogue box.

- In the Dialogue box that appears, enter the name of the new row in the Title text box.
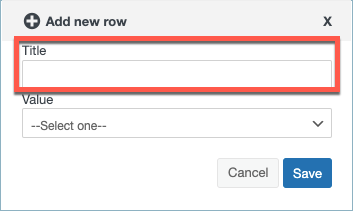
- We can add new rows to the summary table by two methods. In the Value drop-down list box, you can select either Order meta or the Filter option to add rows.

Method 1: Order Meta
Selecting the Order meta option would allow one to enter meta-keys to refer to fields from third-party plugins. The wp_postmeta table contains the required meta-keys. Enter the meta-key in the Please enter meta key text box.

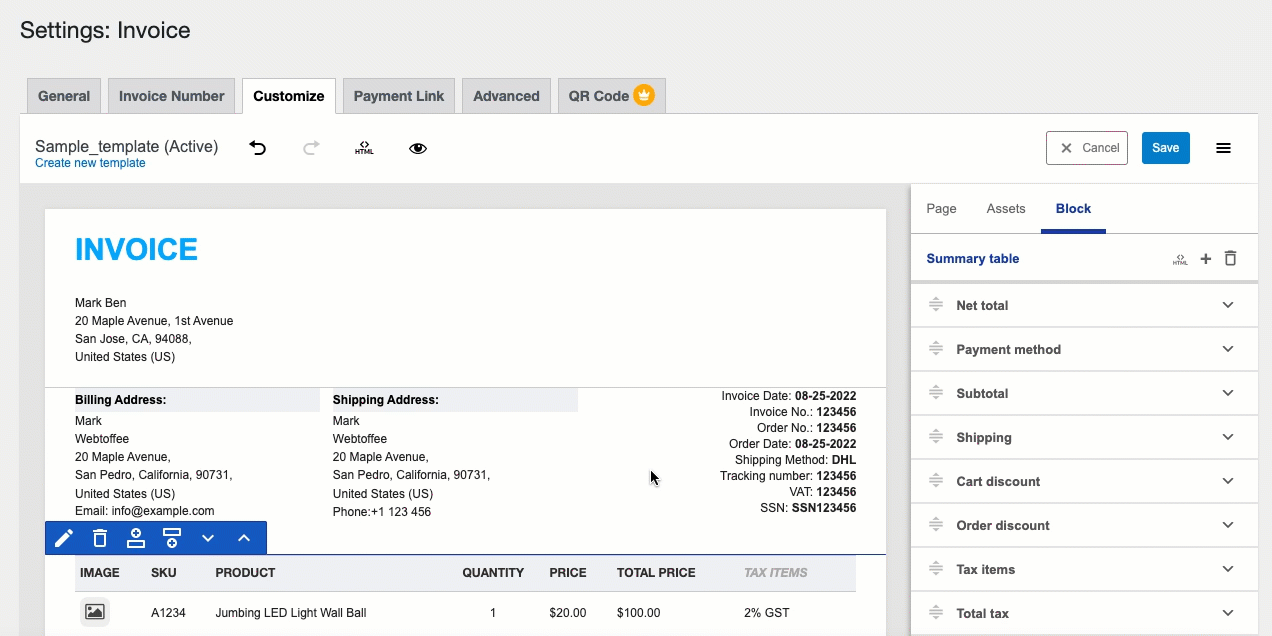
Let us consider the following example. Add a new row with the title Payment method and meta key _payment_method_title . Click on the Save button to add the new row.

The below image shows the invoice PDF after adding a new row.

Method 2: Filter
This option adds custom values to the summary table. We use placeholders to achieve this by Passing the values from the filter to the custom placeholders.
In the following example, [wk_pklist_calculate_net_total] is the custom placeholder. The filter we use here calculates the net total by adding the subtotal and the shipping amount. Add the following code to the function.php file to create a sample filter that calculates the net total.
Enter Net total as title and wk_pklist_calculate_net_total in the Placeholder text box. Click on Save button to add a new row.

Sample invoice PDF after adding the customized row Net total and the corresponding value is shown below.

- The new row adds as the first item in the summary table. In the Editor pane, Click and drag the title of the new row to shift the new row to the desired position.
- Click on Save in the top-right corner of the Customize dialogue box to save the changes to the invoice template.