The Smart Coupons for WooCommerce and WebToffee WooCommerce Gift Cards plugins include pre-designed emails that are delivered to users automatically to remind them of the coupons. However, store owners may desire to change the look and content of these emails in some cases. This article explores the various customization options available for customizing the emails sent by the plugin. To customize the email templates:
- Navigate to the WooCommerce Emails page.
- Set up the basic email template settings.
- Select an email template and set up the advanced email template settings.
- Override the theme and edit the theme file with the desired content and save changes.
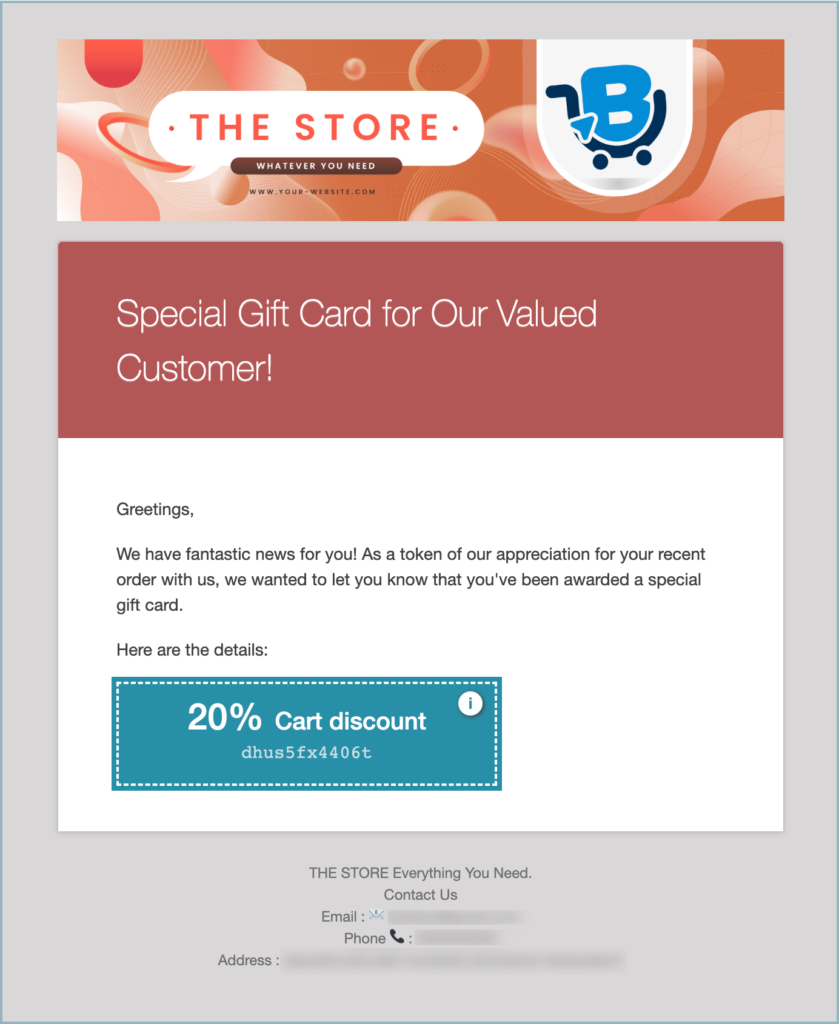
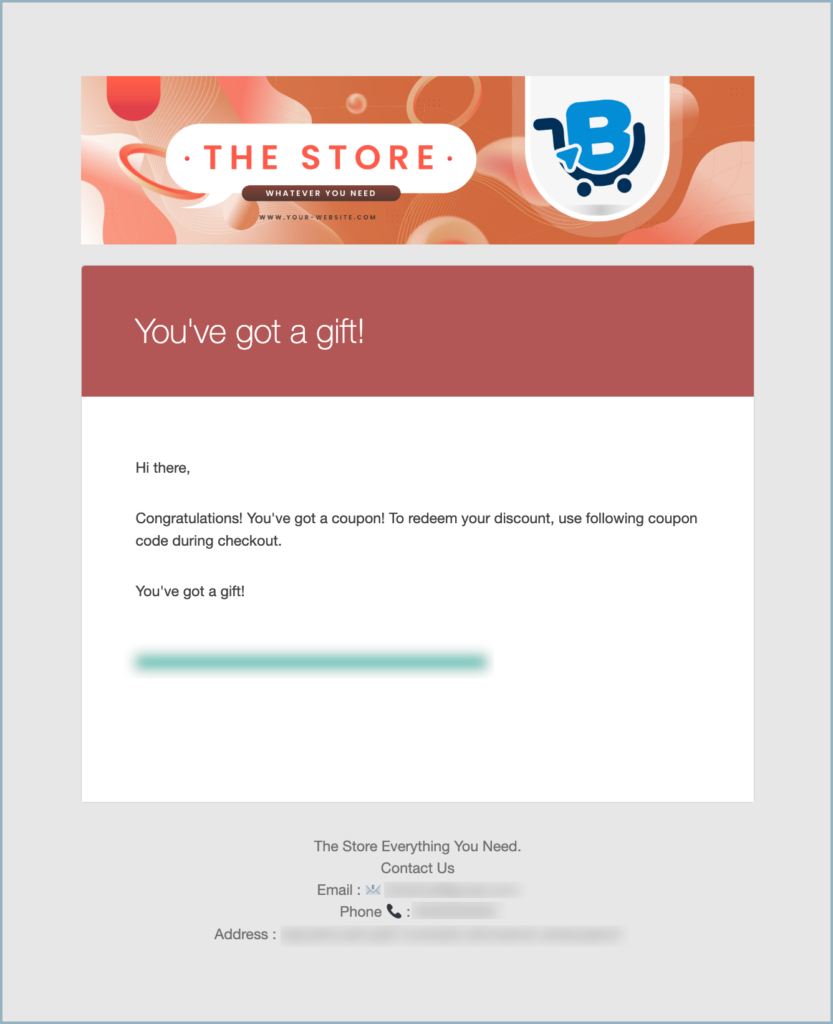
Provided below is a default coupon email template shared with the user, informing them of the gift card they received as a part of their last order.
To customize the email templates, follow the steps below:
To customize the email templates:
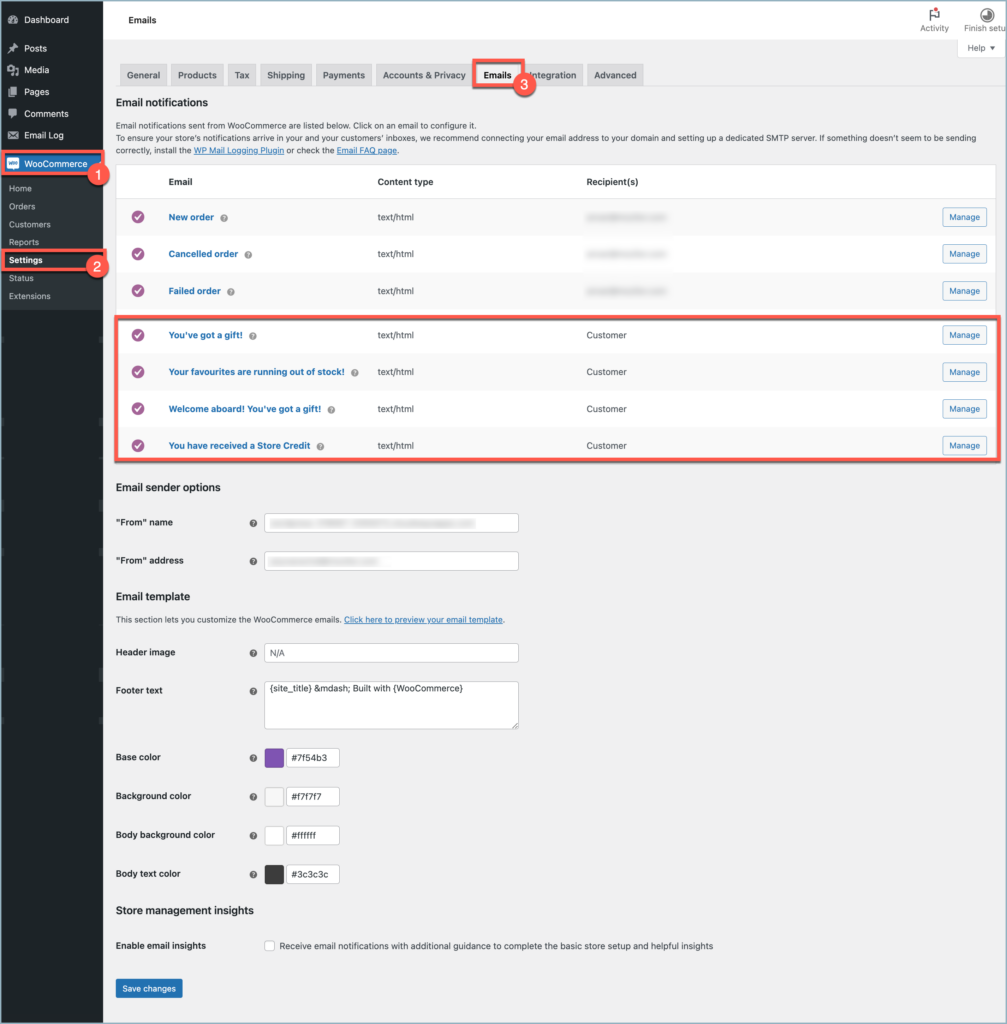
- From the WordPress dashboard, navigate to WooCommerce > Settings > Emails.
- This page displays all available email types in the WooCommerce account and some basic settings to configure these email templates.
- The emails related to Smart Coupons and Gift cards plugin are also listed on this page as shown below:
Step 2: Basic Email template configuration
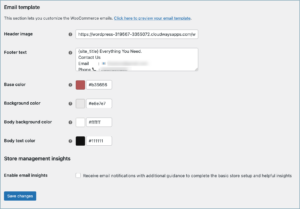
Scroll down on the Emails page to find the basic email template configurations that are common to all email types such as Header image, Footer text, and more listed under the Email template section.

- Header image – This image is displayed on top of the email and is commonly used to display store details. To add an image:
- From the WordPress dashboard, navigate to Media > Add New.
- Upload the desired image.
- Copy the image URL.
- Paste the URL in the Header image section.
- Footer Text – This information is found at the bottom of each email and can be used to include a link to the website and contact information for easy customer access.
- Base color – The color used for headings, links, and the background of your email title.
- Background color – The color used for the background of the email.
- Body background color – This color defines the email content background.
- Body text color – The color for all written email content.
Here is an example of custom template settings and its result:
Step 3: Editing individual Email templates
It is also possible to customize an email further by editing the individual components of the email templates. To do so, navigate to the email template list on the Emails page and click on the Manage button in line with the desired email template. This will open a window with advanced customizations for the email template.
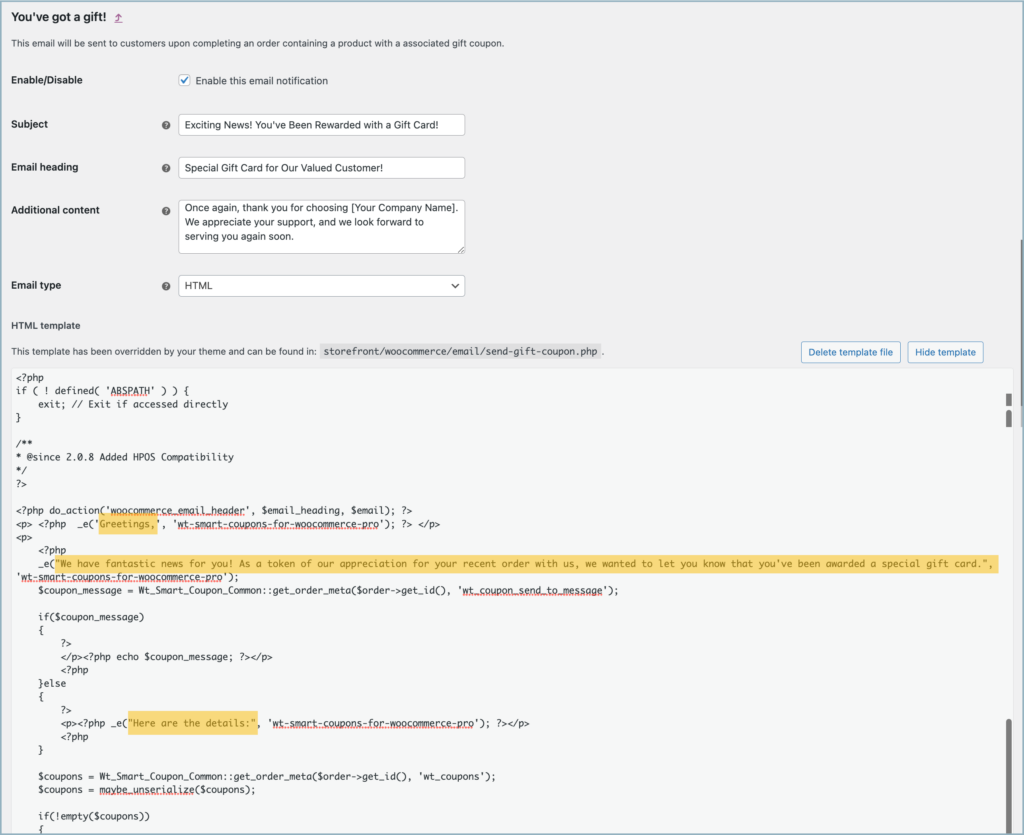
For example, consider the “You’ve got a gift” template.
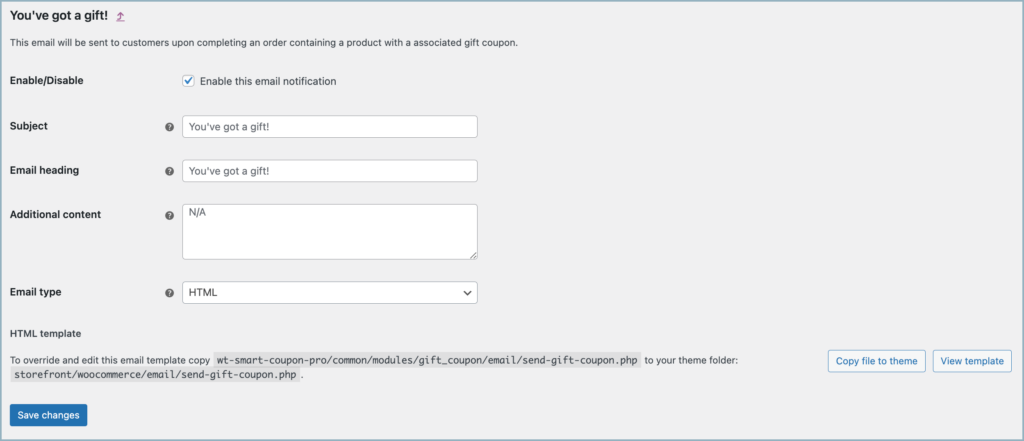
- Check the Enable/Disable checkbox to activate the email notification.
- Use the Subject field to set a suitable subject for the mail.
- Key in an appropriate heading for the email in the Email heading section.
- To add additional text after the email content, enter the required text in the Additional content field. Most commonly used to link something like a thank-you note.
- Email type – You can customize the email body further in three formats.
- Plain text – Plain text without formatting or images. WooCommerce automatically wraps the email content at 70 characters.
- HTML – Provides more control over formatting, the ability to include images, order tables, etc.
- Multipart – Multipart MIME includes both plain text and HTML versions so that you can choose the best format.
Step 4: Override the theme and edit the theme file
Consider editing the HTML template:
- Select HTML from the Email type drop-down.

- To override and edit this email template, the woocommerce/templates/emails/admin-new-order.php should be copied to the theme folder: yourchildtheme/woocommerce/emails/admin-new-order.php.
- To do that, click on the Copy file to theme button under the HTML template section.
- Click on View template to edit the HTML content.

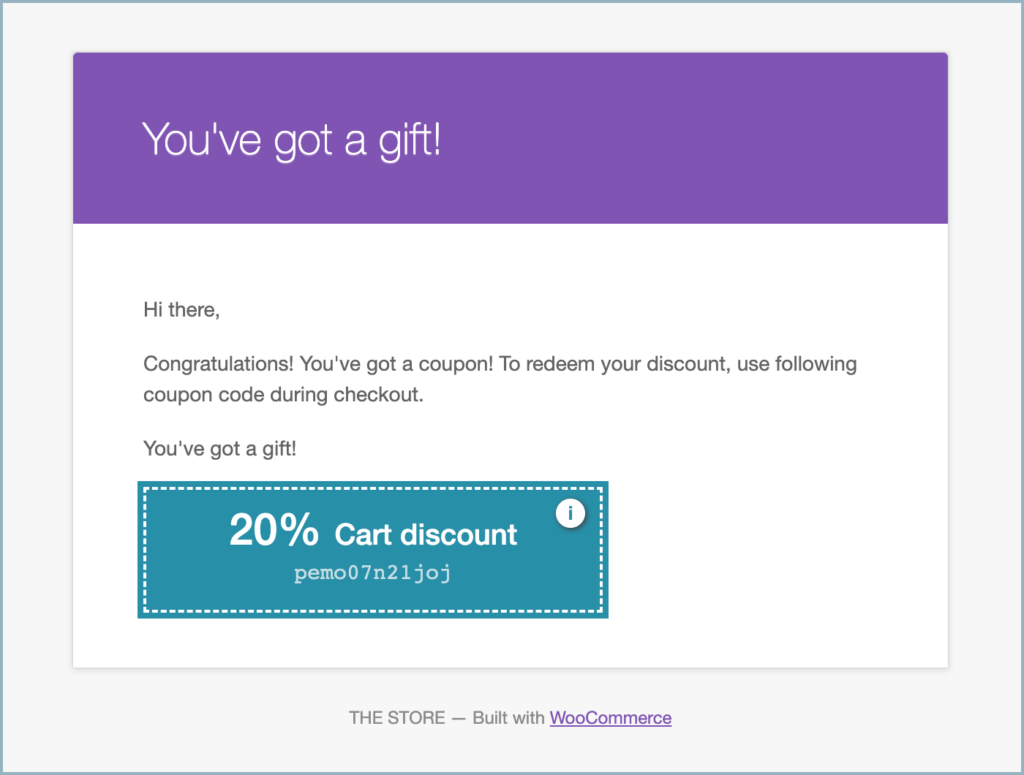
- This will open the editable format of the email content with some existing data.

- Edit the HTML code to make the mail template more attractive.
Here is an example of changed HTML code and the output