The Product Import Export plugin for WooCommerce consists of several features to fulfil the varied needs of the store owner. One among them is its ease of managing the stock or inventory. The plugin allows the import and export of the products in CSV/XML/XLS/XLSX/TSV file formats. You can update the inventory data in two methods:
- Method 1: Update inventory in input file before import
- Method 2: Update inventory while importing
Managing stocks
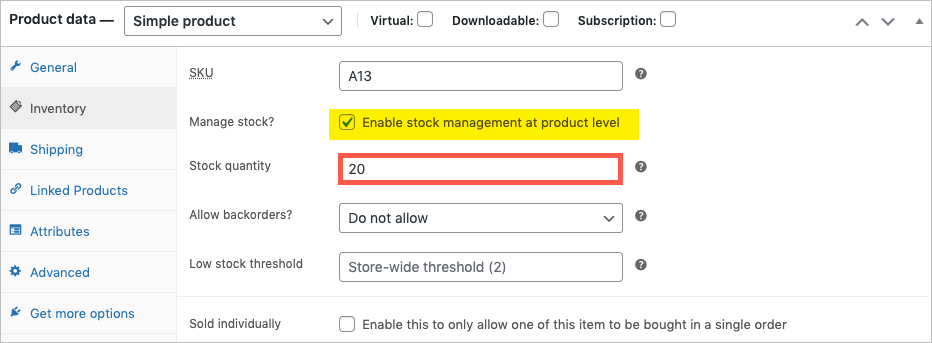
WooCommerce, by default, gives provision to manage stock at the product level by enabling the option: Manage Stock?.
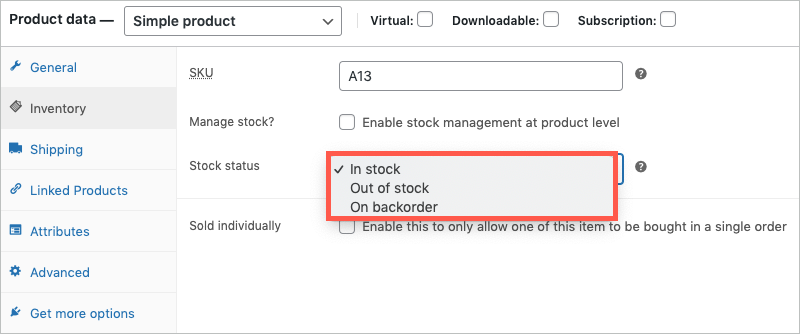
On disabling the option: Manage stock?, Stock status appears, where you can choose among the following.
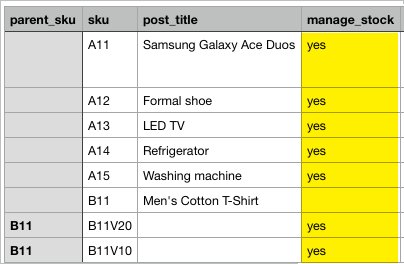
However, with this plugin in place, ensure that the manage_stock column of the CSV/XML/Excel/TSV file is marked as yes for an uninterrupted import/export of stock data.
The import-export plugin offers two methods for updating/modifying the stock or inventory in WooCommerce. Let’s walk through the inventory updating methods.
Method 1: Update inventory in input file before import
In the CSV column header for product stock, you can update the stock value for products. If you do not have a column header for product stock in the CSV file, create one and name it as stock, and update the product stock values.
Our Product Import Export Plugin for WooCommerce facilitates three types of values that will help you update the product stock:
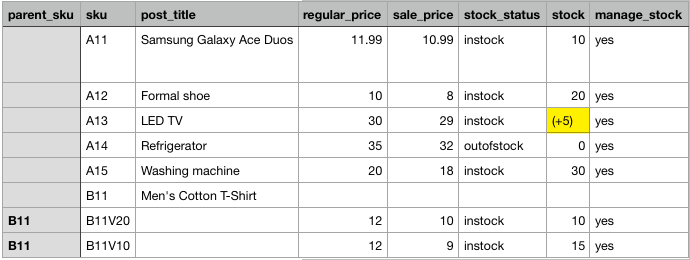
- Replacing stock value: If the existing product stock value is 10, and you replace the stock value with 20, then the updated product stock after importing will result in 20.
- Adding value to existing stock: You can use the (+) sign prefix to the stock value to update the product stock.
If the existing product stock value is 10, replace the value with (+)5, then the updated product stock after importing will result in 15. - Reducing the value of the existing stock: You can use the (-) sign prefix to the stock value to update the product stock.
If the existing product stock value is 10, replace the value with (-)5, then the updated product stock after importing will result in 5.
Once the product stock values are updated, save the input file and import.
Method 2: Update inventory while importing
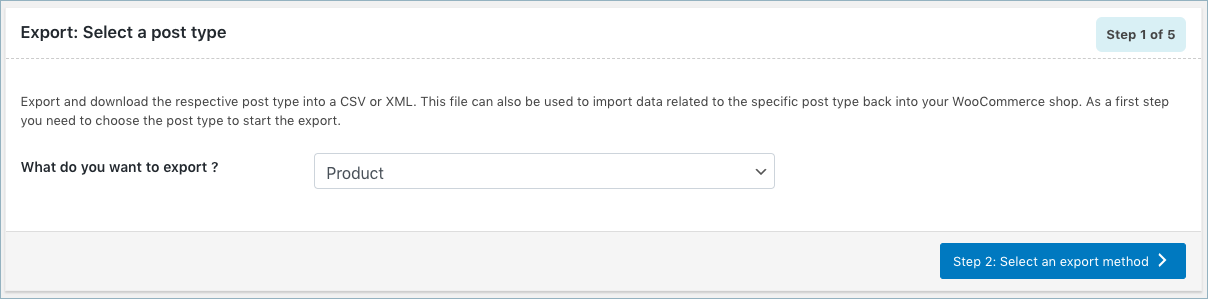
As a first step, install and activate the product import export plugin. Click on WebToffee Import Export (Pro) > Import menu from the WordPress admin panel.
- Select Products under post type.

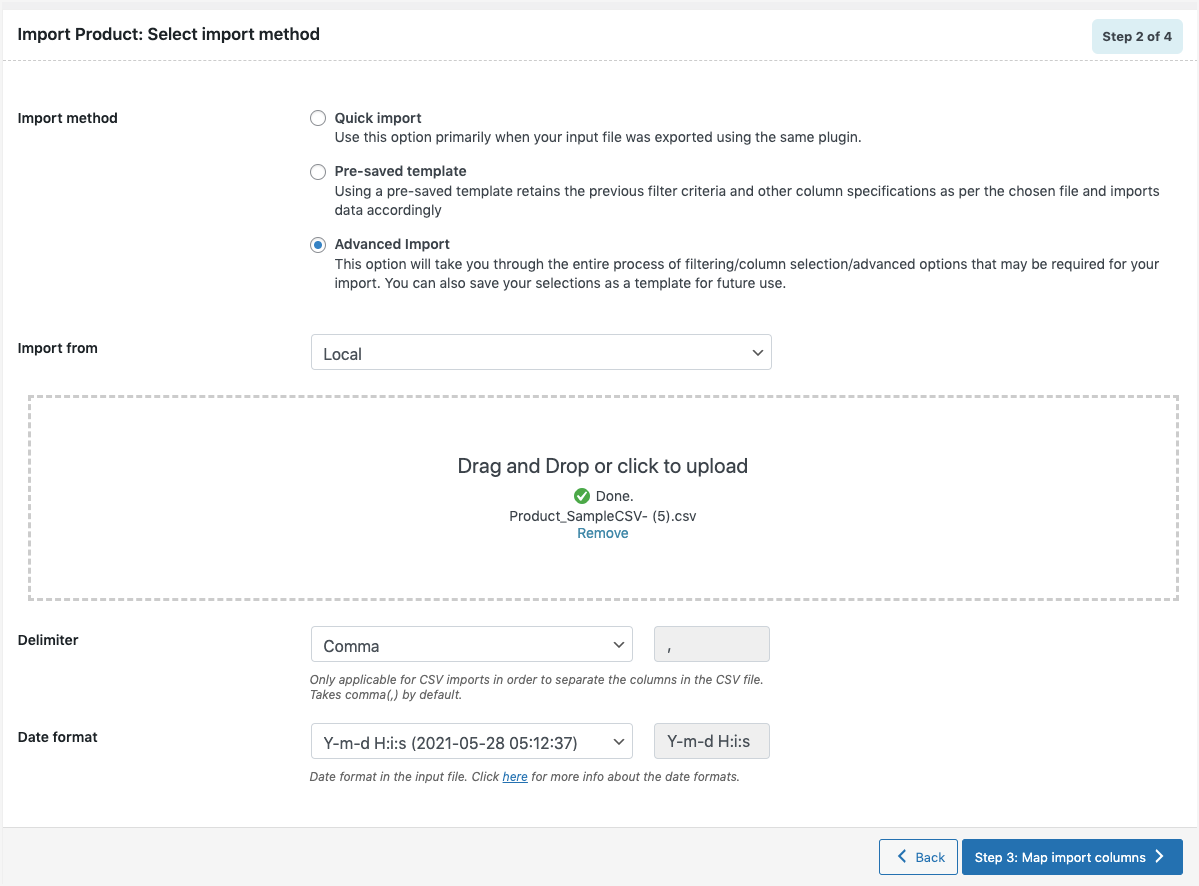
- Select an import method: One can choose among: Quick import, Pre-saved template and Advanced import .

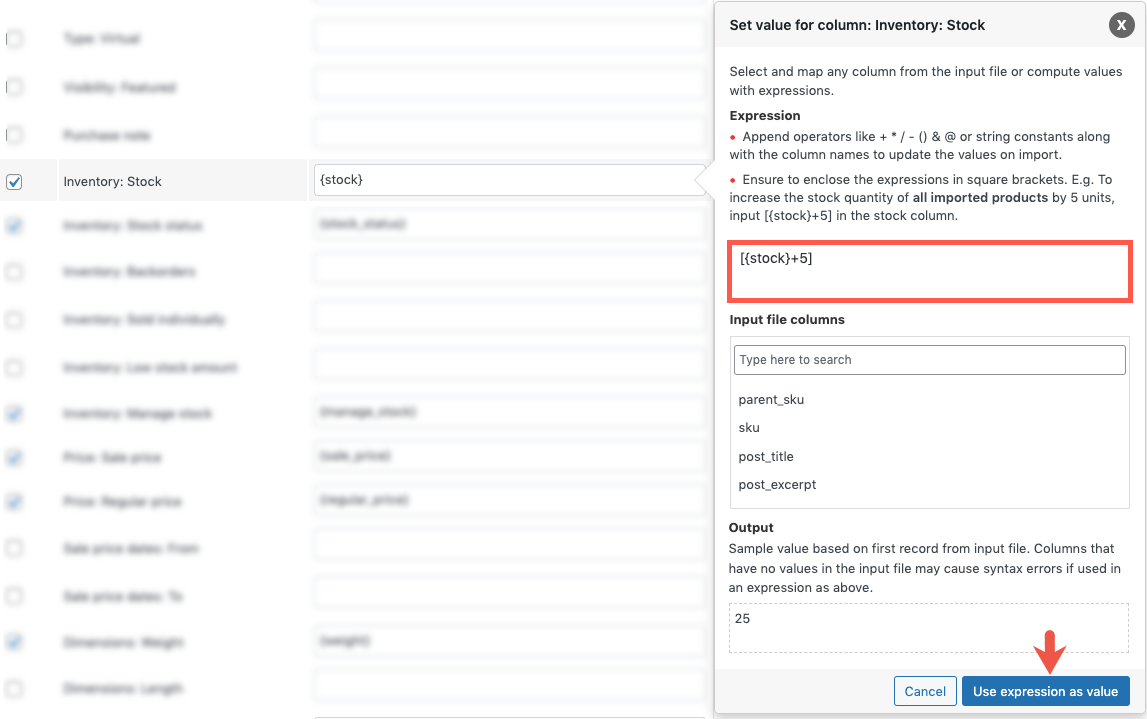
- Map import columns: To map import columns. Here, you can map the commercial names to WooCommerce columns. Use Evaluation Field to fix/update the required value for a particular field.
Make sure Inventory: Stock field is properly mapped to your CSV column header stock: stock value.
On assigning +5 in the evaluation field against the Inventory: stock row, the existing stock value which is 20 will be increased by 5 so that the present stock will be 25.
Click Use Expression as value to update the stock and proceed to the next step.
- Advanced Options/Batch Import: Provides advanced options to import and scheduling import.
In this step, select Update for the option: If product exists in the store to update stocks of existing products on your store.
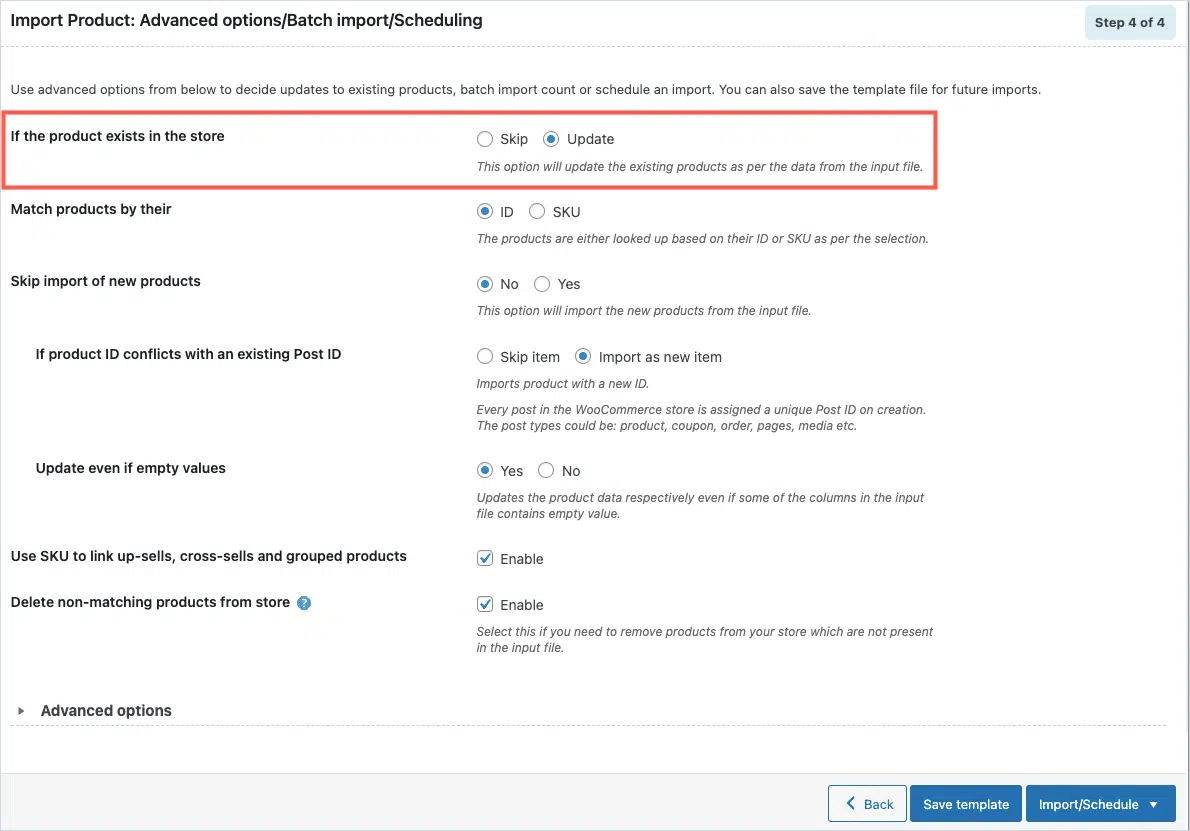
Next, click Import to finish.
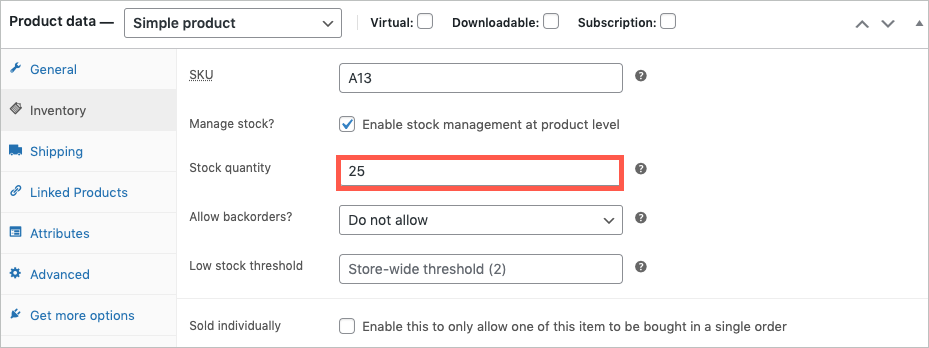
You can check the updated stock in the product data meta-box of the product edit page. A screenshot of the updated stock of a product is as shown below:
Comments (3)
Melissa
April 18, 2022
When I use a csv file to import stock updates, it won’t update the stock of variations. Is there a way to do this?
Alan
April 21, 2022
Hi Melissa,
Please ensure you have used the correct variation ID/SKU in the input file.
Eric Skride
February 17, 2022
Hi!
I recently bought your plugin and it has worked well but can I use expressions for a custom value in the CSV-file to a correct value for WooCommerce when importing?
Example:
Stock Status:
“Yes” (in csv) -> but will write/import -> “instock”
“No” (in csv) -> but will write/import -> “outofstock”
Cheers!
/Eric